背景
- オフショア開発拠点とのファイルのやりとりのため、アカウント管理が自前でできて、そこそこセキュアなファイルサーバが必要となる。
- 以前、某ハンズオンで構築したことのあるownCloudを、IBM Cloud(旧 SoftLayer)上にたてることに。
- 環境は、CentOS 7.x & ownClowd 10.0.x で、SSL化まで。無料でできるところは積極的に利用。
- ObjectStrage が上手く繋げられなかったのは今後の課題。一方で、ObjectStrage はこの手の環境用ストレージには向かないのかも。現状だとAmazon EFS が最適解かな。
Bitnami Stack やAWS マケプレのAMI 利用すれば、SSL化を除いて10分ぐらいで構築できると思います。
参考にした記事
やや情報古かったですが、以下を参考にさせていただきました。
【ownCloud】Softlayerに専用オンラインストレージ構築
無制限ストレージ with Softlayer Object Storage and ownCloud
サーバ環境構築からownCloud 導入まで
ドメイン取得
SSLで運用するのでfreenomで フリーのドメインを取得。
ちなみに、以前は無料ドメインの維持には3ヶ月の間に25回以上のそのドメインへのリクエストが必要と規約にあったんだけど、この記事の時点(2018年9月)ではそのような制約は明記されなくなったっぽい。
ネームサーバもfreenom を利用できるけど、今回はSoftLayer 側のDNS を利用することに。
デバイスのオーダー
B1.1x2x25 、CentOS 7.x - Minimal (64 bit)でオーダー。
Monitoring Package - Basic 以外のオプションはなし。
詳細は割愛。
Timezone変更
CST をJST に。
$ date
2018年  1月  7日 日曜日 00:31:49 CST
$ timedatectl set-timezone Asia/Tokyo
$ date
2018年  1月  7日 日曜日 15:32:19 JST
以上。
ファイルストレージの追加
ファイル保存領域として、当初はObjectStorage をCloudFuseでマウントして利用しようと思ったんだけど、マウント先ディレクトリ以下のパーミッションを保持/変更できなかったため断念。後から調べたら、allow_other オプションつければよかったのかも。
という訳で、現状は100GB のFile Storage をマウント。
EPEL/remi リポジトリの設定(追加)
後々必要となるEPEL、remiリポジトリを追加設定。
1. EPEL の追加
$ yum install epel-release
確認
$ yum repolist enabled
読み込んだプラグイン:fastestmirror
Loading mirror speeds from cached hostfile * epel: ftp.riken.jp
リポジトリー ID        リポジトリー名                                         状態
base/7/x86_64         CentOS-7 - Base                                      9,591
epel/x86_64           Extra Packages for Enterprise Linux 7 - x86_64      12,198
extras/7/x86_64       CentOS-7 - Extras                                      329
updates/7/x86_64      CentOS-7 - Updates                                   1,650
repolist: 23,768
2. remi リポジトリの追加
$ rpm -Uvh http://rpms.famillecollet.com/enterprise/remi-release-7.rpm
必要パッケージ/サービスの導入
オーダーしたサーバはLAMP ではないので、諸々のインストールから。
1. httpd のインストール/設定
$ yum install httpd
デフォルトのページを非表示に
$ mv /etc/httpd/conf.d/welcome.conf /etc/httpd/conf.d/welcome.conf_org
設定変更
$ vi /etc/httpd/conf/httpd.conf

<Directory "/var/www/html"> ディレクティブを変更
151行目:AllowOverride All
164行目:DirectoryIndex index.html index.cgi index.php

最終行に追加
# サーバーの応答ヘッダ
ServerTokens Prod
# キープアライブオン
KeepAlive On
サービス有効化
$ systemctl enable httpd
Created symlink from /etc/systemd/system/multi-user.target.wants/httpd.service to /usr/lib/systemd/system/httpd.service.
確認用のテストページ作成(テキトー)。
 $ vi /var/www/html/index.html
<html>
<body>
<div style="width: 100%; font-size: 40px; font-weight: bold; text-align: center;">
Test Page
</div>
</body>
</html>
サービス開始。
$ systemctl start httpd
ブラウザからサーバのPublic IP で確認。
2. PHPのインストール
PHPと関連する必要パッケージをyum でインストール。
$ yum install --enablerepo=remi,remi-php56,epel php php-mbstring php-pear php-pdo php-gd php-mysql
php.ini の編集
$ vi /etc/php.ini

コメントアウト解除されていること
683行目:default_charset = "UTF-8"
タイムゾーン設定
889行目:date.timezone = "Asia/Tokyo"
動作確認用ページ作成(テキトー)。
$ vi /var/www/html/index.php
<html>
<body>
<div style="width: 100%; font-size: 40px; font-weight: bold; text-align: center;">
<?php print "PHP Test Page";?>
</div>
</body>
</html>
httpd 再起動してブラウザからサーバのPublic IP で確認。
$ systemctl restart httpd
3. MariaDBのインストール/設定
PostgreSQLでもMySQLでも動作するけど、なんとなくMariaDB で構築することに。
$ yum install mariadb-server
文字コードの設定。 * チューニング系の設定は割愛。
$ cp -p /etc/my.cnf /etc/my.conf_org
$ vi /etc/my.cnf

[mysqld] セクション内に追記

[mysqld]
character-set-server=utf8mb4 # 最近、携帯アプリのDB構築をutf8 でしてしまって、絵文字で苦しんだので...
サービス起動
$ systemctl start mariadb
$ systemctl enable mariadb
Created symlink from /etc/systemd/system/multi-user.target.wants/mariadb.service to /usr/lib/systemd/system/mariadb.service.
初期設定実施。
$ mysql_secure_installation

NOTE: RUNNING ALL PARTS OF THIS SCRIPT IS RECOMMENDED FOR ALL MariaDB
      SERVERS IN PRODUCTION USE!  PLEASE READ EACH STEP CAREFULLY!

      In order to log into MariaDB to secure it, we'll need the current password for the root user.  If you've just installed MariaDB, and you haven't set the root password yet, the password will be blank,
so you should just press enter here.
Enter current password for root (enter for none): [そのままEnter]
OK, successfully used password, moving on...

Setting the root password ensures that nobody can log into the MariaDB
root user without the proper authorisation.

Set root password? [Y/n] Y [rootユーザのパスワード設定]
New password:
Re-enter new password:
Password updated successfully!
Reloading privilege tables..
 ... Success!

By default, a MariaDB installation has an anonymous user, allowing anyone to log into MariaDB without having to have a user account created for them.  This is intended only for testing, and to make the installation go a bit smoother.  You should remove them before moving into a production environment.

Remove anonymous users? [Y/n] Y [匿名ユーザの削除]
 ... Success!

Normally, root should only be allowed to connect from 'localhost'.  This ensures that someone cannot guess at the root password from the network.

Disallow root login remotely? [Y/n] Y [rootユーザのリモートログイン不可]
 ... Success!

By default, MariaDB comes with a database named 'test' that anyone can access.  This is also intended only for testing, and should be removed before moving into a production environment.

Remove test database and access to it? [Y/n] Y [Testデータベースの削除]
 - Dropping test database...
 ... Success!
 - Removing privileges on test database...
 ... Success!

Reloading the privilege tables will ensure that all changes made so far will take effect immediately.

Reload privilege tables now? [Y/n] Y [権限情報の再読み込み * rootユーザのパスワード変更結果を反映]
 ... Success!

Cleaning up...

 All done!  If you've completed all of the above steps, your MariaDB installation should now be secure.

Thanks for using MariaDB!
ログインの確認。
$ mysql -u root -p
Enter password:  [設定したパスワードでログイン]
Welcome to the MariaDB monitor.  Commands end with ; or \g.
Your MariaDB connection id is 10 Server version: 5.5.56-MariaDB MariaDB Server

Copyright (c) 2000, 2017, Oracle, MariaDB Corporation Ab and others.

Type 'help;' or '\h' for help. Type '\c' to clear the current input statement.

MariaDB [(none)]> select user,host,password from mysql.user;
+------+-----------+---------------------------------------+
| user | host      | password                              |
+------+-----------+---------------------------------------+
| root | localhost | *(ヒミツ)                               |
| root | 127.0.0.1 | *(ヒミツ)                               |
| root | ::1       | *(ヒミツ)                               |
+------+-----------+---------------------------------------+
3 rows in set (0.00 sec)

MariaDB [(none)]> show databases;
+--------------------+
| Database           |
+--------------------+
| information_schema |
| mysql              |
| performance_schema |
+--------------------+
3 rows in set (0.00 sec)
ownCloud用DB作成。
MariaDB [(none)]>
MariaDB [(none)]> CREATE DATABASE owncloud;
Query OK, 1 row affected (0.00 sec)

MariaDB [(none)]> GRANT ALL ON owncloud.* to owncloud@localhost IDENTIFIED BY '(パスワード)';
Query OK, 0 rows affected (0.00 sec)

MariaDB [(none)]> flush privileges;
Query OK, 0 rows affected (0.00 sec)

MariaDB [(none)]> quit
Bye
4. ownCloud インストール
ownCloud パッケージをリポジトリへ登録。
$ wget http://download.owncloud.org/download/repositories/stable/CentOS_7/ce:stable.repo -P /etc/yum.repos.d
--2018-01-07 15:45:23--  http://download.owncloud.org/download/repositories/stable/CentOS_7/ce:stable.repo
download.owncloud.org (download.owncloud.org) をDNSに問いあわせています... 136.243.124.46, 85.10.210.219, 138.201.139.178, ...
download.owncloud.org (download.owncloud.org)|136.243.124.46|:80 に接続しています... 接続しました。
HTTP による接続要求を送信しました、応答を待っています... 200 OK
長さ: 281
`/etc/yum.repos.d/ce:stable.repo' に保存中

100%[======================================>] 281         --.-K/s 時間 0s

2018-01-07 15:45:29 (25.2 MB/s) - `/etc/yum.repos.d/ce:stable.repo' へ保存完了 [281/281]
ownCloud のインストール。
$ yum install owncloud

読み込んだプラグイン:fastestmirror
ce_production                                            | 1.2 kB     00:00
ce_production/primary                                      | 2.0 kB   00:06
Loading mirror speeds from cached hostfile
 * epel: ftp.riken.jp
ce_production                                                               2/2
パッケージ owncloud は owncloud-files によって不要になりました。代わりに owncloud-files-10.0.4-1.1.noarch のインストールを試みています。
依存性の解決をしています
--> トランザクションの確認を実行しています。
---> パッケージ owncloud-files.noarch 0:10.0.4-1.1 を インストール
--> 依存性解決を終了しました。

依存性を解決しました

================================================================================
 Package              アーキテクチャー
                                   バージョン         リポジトリー         容量
================================================================================
インストール中:
 owncloud-files       noarch       10.0.4-1.1         ce_production        36 M

トランザクションの要約
================================================================================
インストール  1 パッケージ

総ダウンロード容量: 36 M
インストール容量: 104 M
Is this ok [y/d/N]: y
Downloading packages:
警告: /var/cache/yum/x86_64/7/ce_production/packages/owncloud-files-10.0.4-1.1.noarch.rpm: ヘッダー V3 RSA/SHA256 Signature、鍵 ID 479bc94b: NOKEY
owncloud-files-10.0.4-1.1.noarch.rpm の公開鍵がインストールされていません
owncloud-files-10.0.4-1.1.noarch.rpm                       |  36 MB   00:13
http://download.owncloud.org/download/repositories/production/CentOS_7/repodata/repomd.xml.key から鍵を取得中です。
Importing GPG key 0x479BC94B:
 Userid     : "ownCloud build service <obsrun@localhost>"
 Fingerprint: dda2 c105 c4b7 3a66 49ad 2bbd 47ae 7f72 479b c94b
 From       : http://download.owncloud.org/download/repositories/production/CentOS_7/repodata/repomd.xml.key
上記の処理を行います。よろしいでしょうか? [y/N]y
Running transaction check
Running transaction test
Transaction test succeeded
Running transaction
  インストール中          : owncloud-files-10.0.4-1.1.noarch                1/1
  検証中                  : owncloud-files-10.0.4-1.1.noarch                1/1

インストール:
  owncloud-files.noarch 0:10.0.4-1.1

完了しました!
「パッケージ owncloud は owncloud-files によって不要になりました。代わりに...」とか言われてるし。wget の手順は不要だったかも?
気を取り直して、httpd サービス再起動
$ systemctl restart httpd
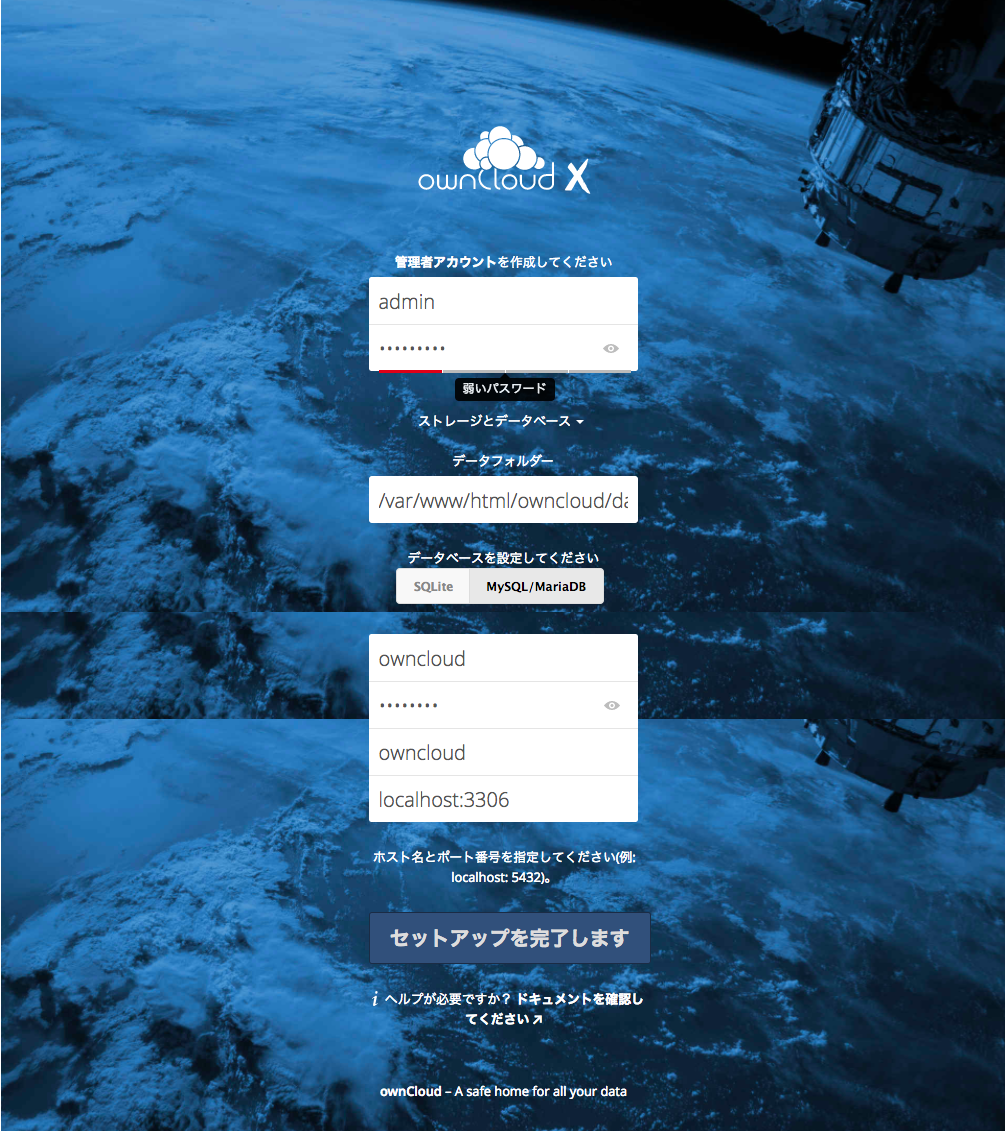
これでhttp://[Public IP]/owncloud/にアクセス。
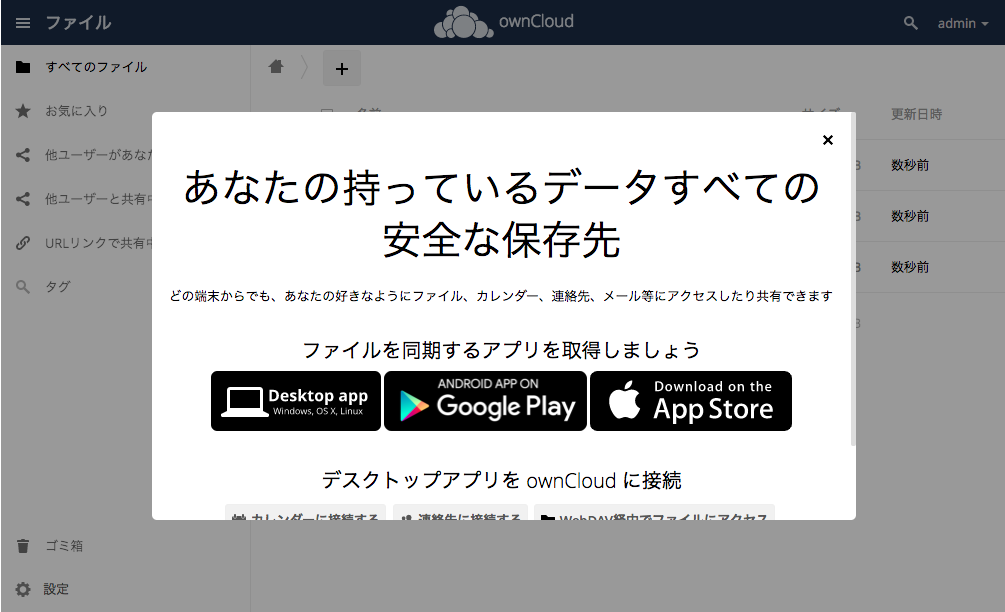
管理者アカウント作成後、以下の画面が表示される。
データフォルダには実際のデータのアップロード先のフォルダ、データベースは「MySQL/MariaDB」を選択した上で、先に構築したDB情報を入力して「セットアップを完了します」をクリック。
作成した管理者アカウントでログイン。
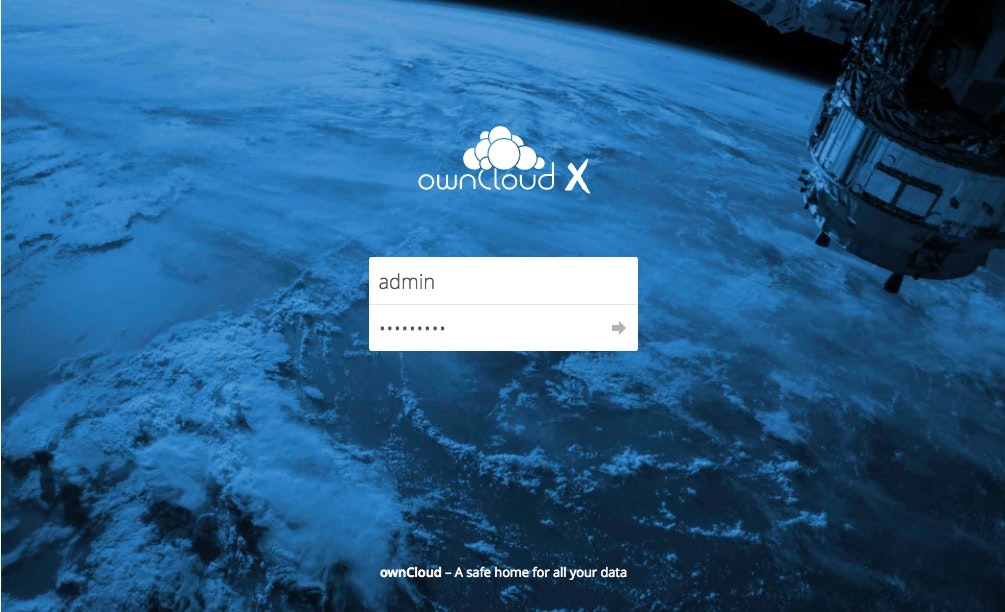
以下の画面が表示されればOK。
この後SoftLayer 側のDNSの設定まで終わらせて、ドメイン名(FQDN)でもアクセス可能なことを確認。
ドメイン名でアクセスする際は、config/config.php を編集してhttpd をリスタートすることを忘れずに。
$ cd /var/www/html/owncloud/config
$ vi config.php

	(省略)
	:
	 'trusted_domains' =>
	  array (
	    0 => '161.202.99.235',
	    1 => 'ドメイン名(FQDN)',
	  ),
	:
	(省略)
SSL証明書取得/自動更新
Let's Encrypt を利用して無料のSSL証明書を取得、自動更新するところまで。
1.certbotのインストール
(EPELリポジトリが有効であることが前提)
$ yum install certbot python-certbot-apache
続いてSSL証明書の取得と導入。
$ certbot --authenticator webroot --webroot-path /var/www/html --installer apache --email (自分のメールアドレス) -d (自サーバのドメイン)
Saving debug log to /var/log/letsencrypt/letsencrypt.log
Plugins selected: Authenticator webroot, Installer apache
Starting new HTTPS connection (1): acme-v01.api.letsencrypt.org
Obtaining a new certificate
Performing the following challenges:
http-01 challenge for (自サーバのドメイン)
Using the webroot path /var/www/html for all unmatched domains.
Waiting for verification...
Cleaning up challenges
We were unable to find a vhost with a ServerName or Address of (自サーバのドメイン).
Which virtual host would you like to choose?
(note: conf files with multiple vhosts are not yet supported)
-------------------------------------------------------------------------------
1: ssl.conf | | HTTPS | Enabled
-------------------------------------------------------------------------------
Press 1 [enter] to confirm the selection (press 'c' to cancel): (1 で先に進む)
Deploying Certificate for owncloud.fits2.ga to VirtualHost /etc/httpd/conf.d/ssl.conf
Please choose whether or not to redirect HTTP traffic to HTTPS, removing HTTP access.
-------------------------------------------------------------------------------
1: No redirect - Make no further changes to the webserver configuration.
2: Redirect - Make all requests redirect to secure HTTPS access. Choose this for
new sites, or if you're confident your site works on HTTPS. You can undo this
change by editing your web server's configuration.
-------------------------------------------------------------------------------
Select the appropriate number [1-2] then [enter] (press 'c' to cancel): [1を選択]
-------------------------------------------------------------------------------
Congratulations! You have successfully enabled https://(自サーバのドメイン)
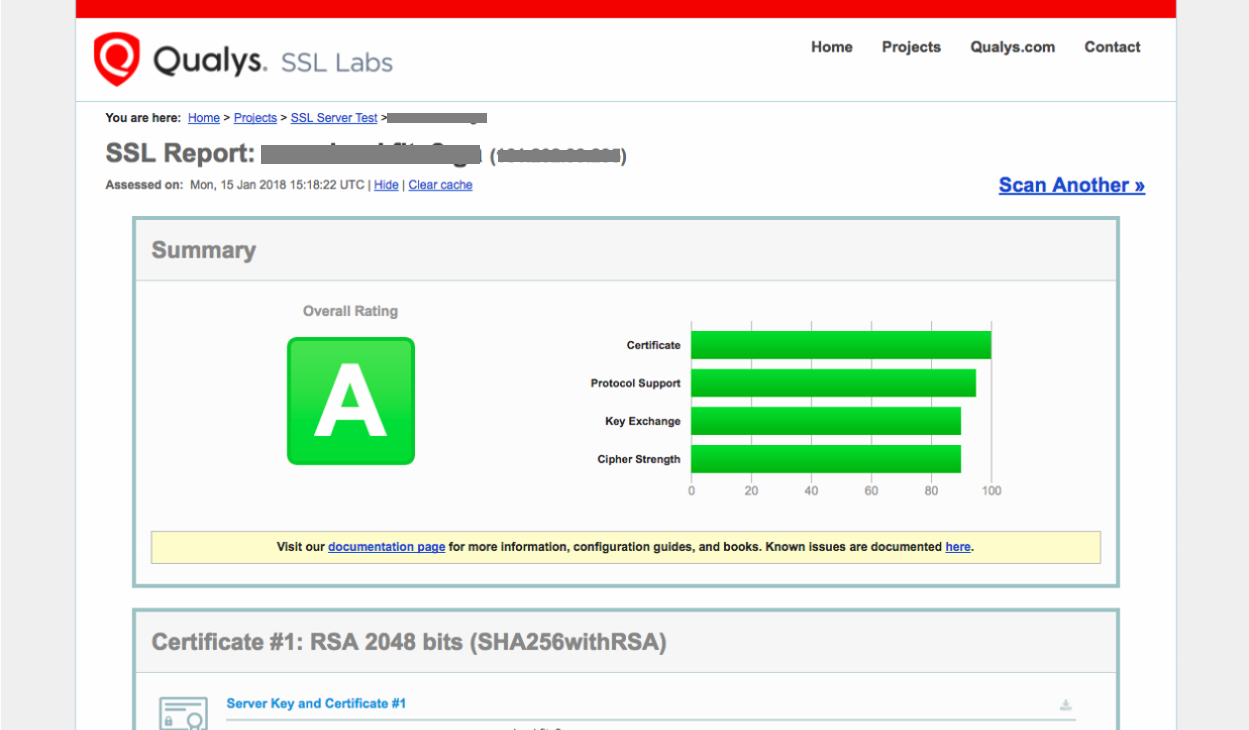
You should test your configuration at:
https://www.ssllabs.com/ssltest/analyze.html?d=(自サーバのドメイン)
-------------------------------------------------------------------------------
IMPORTANT NOTES:
- Congratulations! Your certificate and chain have been saved at:
/etc/letsencrypt/live/(自サーバのドメイン)/fullchain.pem
Your key file has been saved at:
/etc/letsencrypt/live/(自サーバのドメイン)/privkey.pem
Your cert will expire on 2018-04-15. To obtain a new or tweaked
version of this certificate in the future, simply run certbot again
with the "certonly" option. To non-interactively renew *all* of
your certificates, run "certbot renew"
- If you like Certbot, please consider supporting our work by:
Donating to ISRG / Let's Encrypt: https://letsencrypt.org/donate
Donating to EFF: https://eff.org/donate-le
httpd を再起動して、ブラウザからアクセス。
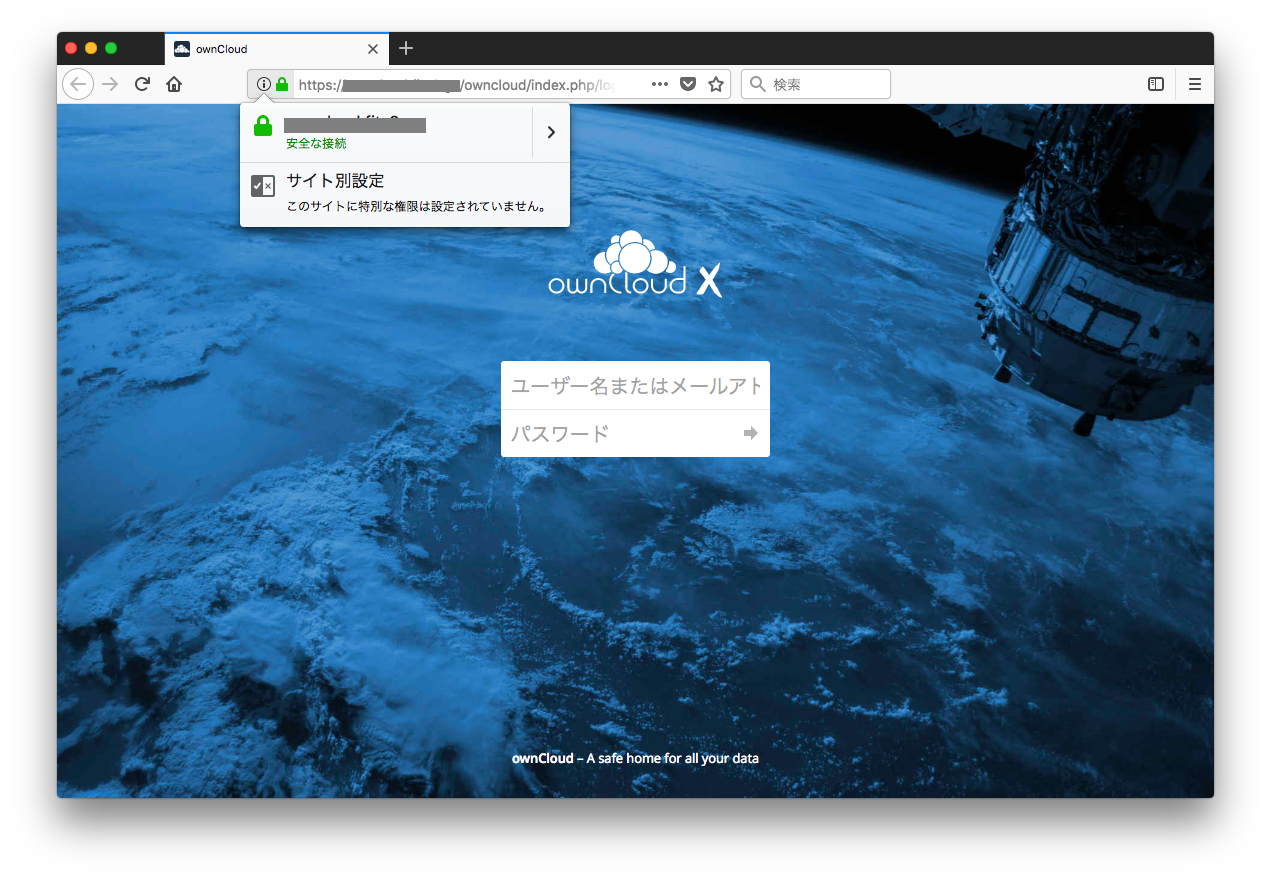
こちらでもチェック。
2.SSL証明書の更新
SSL証明書の更新も、コマンド1発。
$ certbot renew

Saving debug log to /var/log/letsencrypt/letsencrypt.log

-------------------------------------------------------------------------------
Processing /etc/letsencrypt/renewal/(自サーバのドメイン).conf
-------------------------------------------------------------------------------
Cert is due for renewal, auto-renewing...
Plugins selected: Authenticator webroot, Installer apache
Starting new HTTPS connection (1): acme-v01.api.letsencrypt.org
Renewing an existing certificate
Performing the following challenges:
http-01 challenge for owncloud.fits2.ga
Waiting for verification...
Cleaning up challenges

-------------------------------------------------------------------------------
new certificate deployed with reload of apache server; fullchain is
/etc/letsencrypt/live/(自サーバのドメイン)/fullchain.pem
-------------------------------------------------------------------------------

-------------------------------------------------------------------------------

Congratulations, all renewals succeeded. The following certs have been renewed:
  /etc/letsencrypt/live/(自サーバのドメイン)/fullchain.pem (success)
-------------------------------------------------------------------------------
httpd 再起動して、SSL証明書の有効期限が更新されていることを確認。
自動化のところは、今回はcron で済ませる。エラー時の通知とかは、追々対応する予定。
$ crontb -l

5 0 29 * * /usr/bin/certbot renew > /var/log/letsencrypt/certbot.log 2>&1
15 0 29 * * systemctl restart httpd 2>&1 | logger -t httpd
以上です。