7
7

Delete article

Deleted articles cannot be recovered.

Draft of this article would be also deleted.

Are you sure you want to delete this article?

More than 5 years have passed since last update.

【Unity5.6/VR】VideoPlayerと全天球による映像

Last updated at Posted at 2017-05-31

##準備するもの

全天球は、こちらを参考にさせていただきました。

##今回やること

  • VR用カメラの設置
    • 視点ポインターの追加
  • 動画を天球に貼り付ける

##手順
###1.VR用カメラの設置
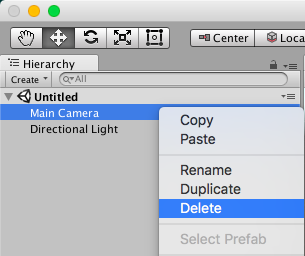
スクリーンショット 2017-05-31 19.08.20.png
※CardboardSDKのカメラを使用するため、デフォルトのカメラは削除します。
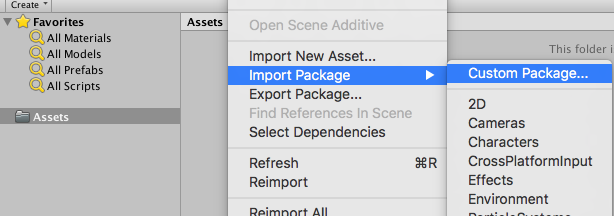
スクリーンショット 2017-05-31 19.11.46.png
Import Package > Custom Package > CardboardSDKForUnity.unitypackageを選択

メインカメラの設置
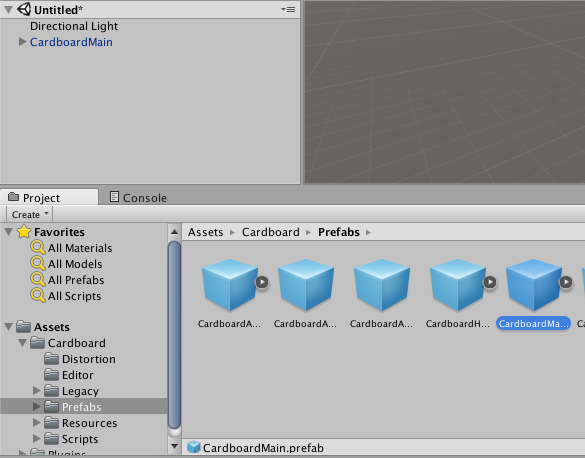
スクリーンショット 2017-05-31 19.19.10.png

Cardboard > Prefabs内のCardboardMain.prefabをsceneに追加

####視点ポインターの追加
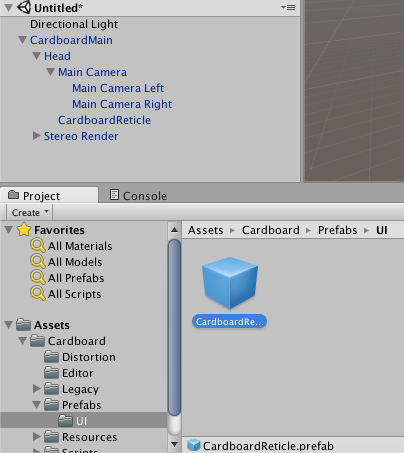
スクリーンショット 2017-05-31 19.30.48.png

Cardboard > UI内のCardboardReticleをHeadにD&Dする

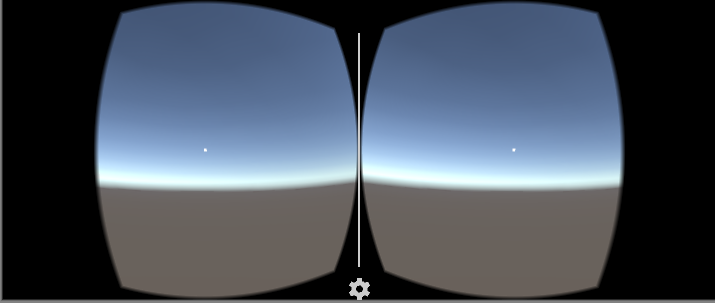
実行するとデフォルトで白色のポインターが表示されます。スクリーンショット 2017-05-31 19.34.16.png

####2.動画を天球に貼り付ける
スクリーンショット 2017-05-31 19.45.49.png

Import > New Assetを選択し、天球を追加する

天球をsceneに追加後、Sphereのinspectorでサイズなどを調整する
(カメラを天球の真中に配置するのも忘れずに!)
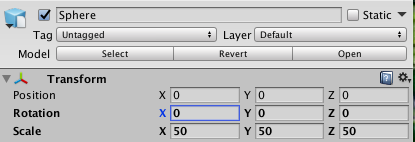
スクリーンショット 2017-05-31 19.56.18.png

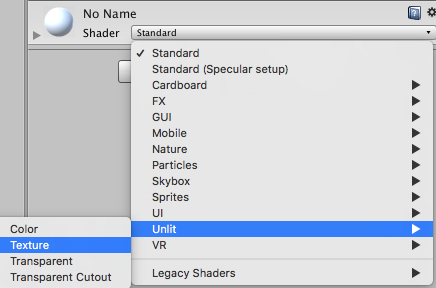
天球の影があるのは不自然なので、Shader > Unlit > Textureを選択スクリーンショット 2017-05-31 19.58.48.png
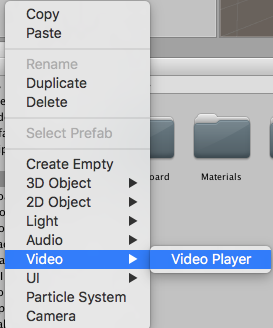
#####VideoPlayerをsceneに追加
スクリーンショット 2017-05-31 20.12.00.png

VideoPlayerのinspectorにおいて、以下の設定を行う
-Video Clip -> import済みの360°動画を選択
スクリーンショット 2017-05-31 20.20.26.png

-Render Mode -> Material Override
スクリーンショット 2017-05-31 20.16.50.png
-Renderer -> Sphere
スクリーンショット 2017-05-31 20.18.50.png
-Audio Output -> Direct
スクリーンショット 2017-05-31 20.21.28.png

ここまでできたら実行してみましょう!

次は、オブジェクトに視点を合わせた際の処理(視点検知)をやります。

7
7
0

Register as a new user and use Qiita more conveniently

  1. You get articles that match your needs
  2. You can efficiently read back useful information
  3. You can use dark theme
What you can do with signing up
7
7

Delete article

Deleted articles cannot be recovered.

Draft of this article would be also deleted.

Are you sure you want to delete this article?