layout_margin とは 何か
簡単に言うと、View の 外側に領域(余白・スペース)を作るということです
早速xmlに記載するのと同じ様式で記載していきます
android:layout_margin →Viewの周り全体に 領域を作ります
android:layout_marginTop →Viewの上側に(以下略
android:layout_marginBottom →Viewの下側に
android:layout_marginStart(Left) →Viewの左側に
android:layout_marginEnd(Right) →Viewの右側に
android:layout_marginVertical →Viewの上下に
android:layout_marginHorizontal →Viewの左右に
"marginStart"と"marginEnd" は "marginLeft"と"marginRight"
どちらで書いても問題ありませんが、"marginStart"と"marginEnd" が一般的です
また、統一されていた方がコードが読みやすくなります
android:layout_margin を 書いたViewの外側に余白・スペースを作りこみます
実際に androidStudio を使って コードとlayoutを見てみましょう
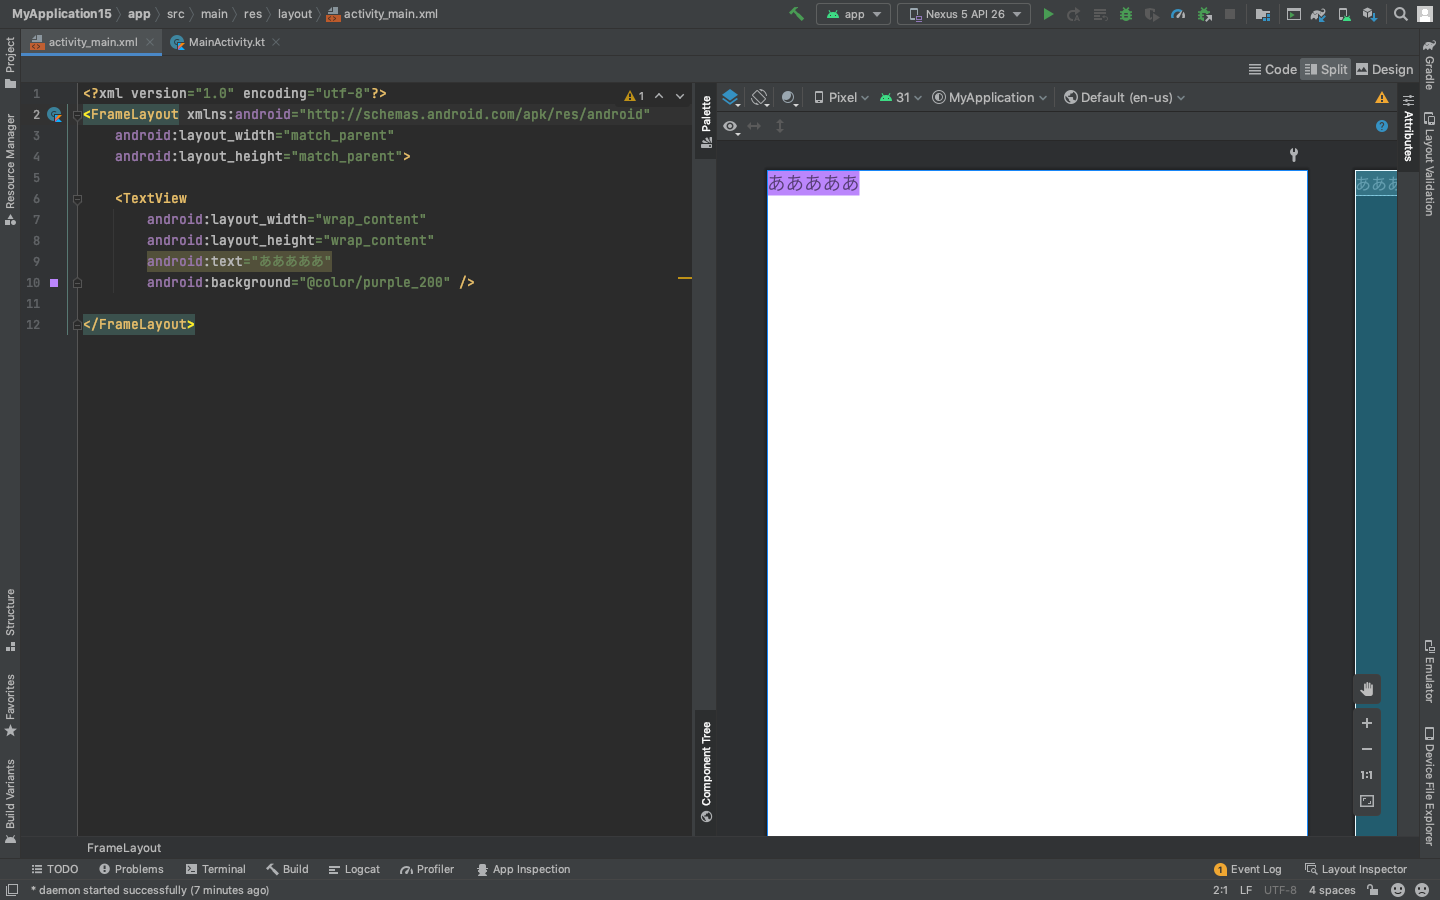
メインとなるViewはmarginで作れた領域がわかりやすくなる様に色をつけたViewを用意しました
何も指定がない為、デフォルトで 左上 にViewが置かれています

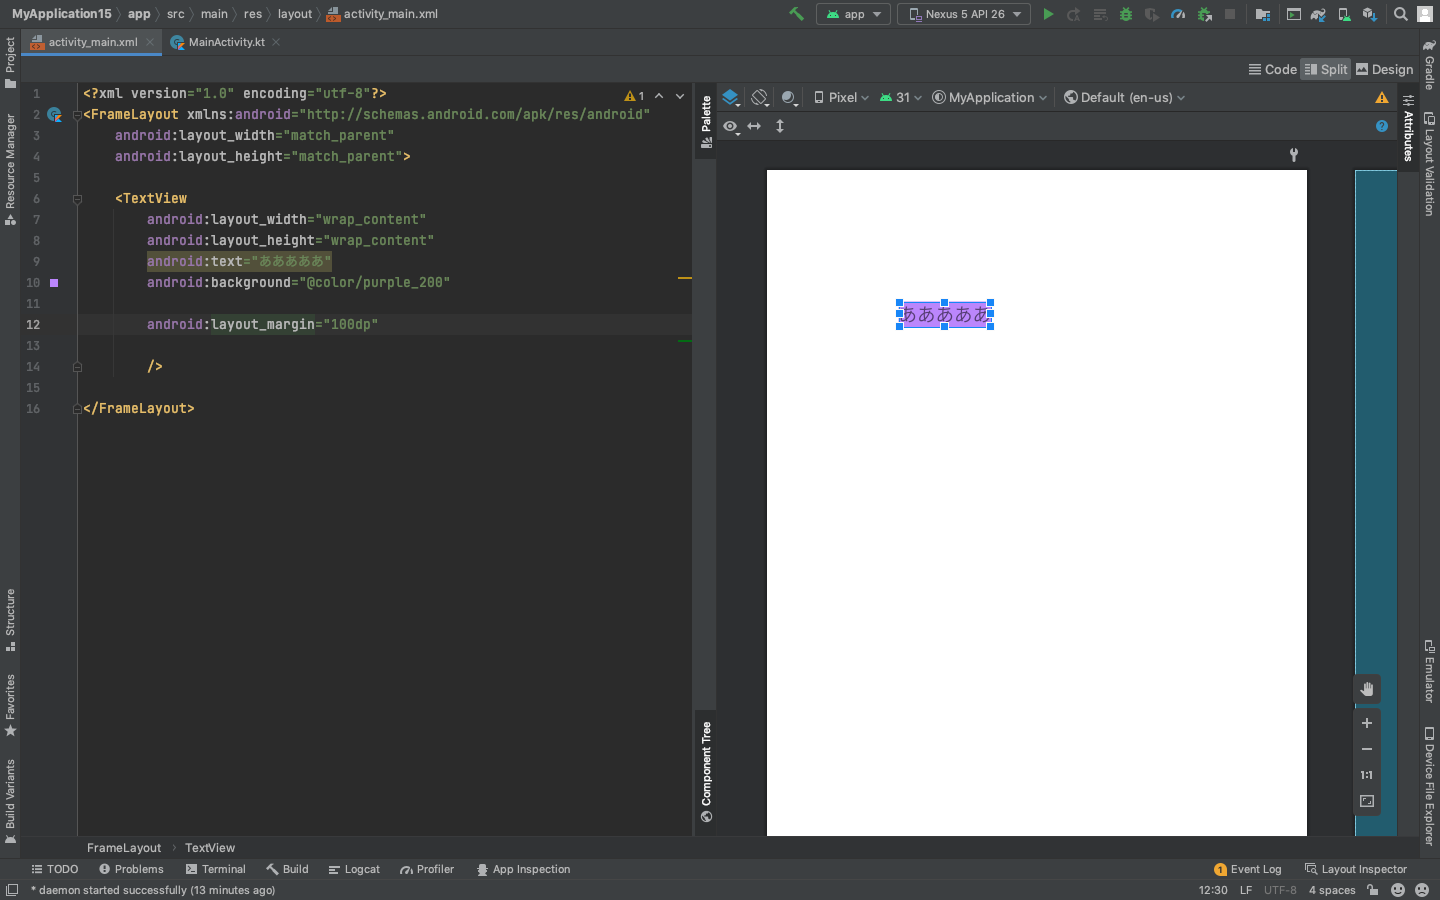
ここに android:layout_margin を 試しに 100dp で 記入しました
android:layout_margin は Viewの周り全体に 領域を作るので上下左右に 100dpずつの余白ができました
