0.はじめに
UnityでいざOpenCVを使おうとするとOpenCV for Unityなどのアセットが必要になってくる
しかしこれ$95もするので、安易に手を出しにくい(OpenCV plus Unityという無料のアセットもあるが)
だったら必要なOpenCVのライブラリだけラップすればいいんじゃね?というのが今回の記事
ただ七面倒臭いことを色々しなくちゃいけないのでそいうのが嫌な方は素直にアセットを使うのがオススメ
最終目標はUnity側で撮ったスクリーンショットをOpenCV側に渡してグレースケール化し出力すること
環境はWindows10とVisualStudioを使用
1.ラップする
まず、OpenCVからビルド済みのOpenCVを入手(Releases->windows)後
DLL化するプロジェクトにDLLとLIBとheaderが入ってるopencv2フォルダをぶっこむ
詳しいC++のDLL化はUnityでC++を使う方法
リンカー->入力でlibを設定後、opencv2フォルダがあるパスを構成プロパティ->インクルートディレクトリに加える
ちなみにこれがないとコンパイルエラーになる
(OpenCV側のincludeが一部<>で括られているheaderが存在するため)
C++のコード
DLLAPI unsigned char* __stdcall opencv_sample(unsigned char* img_data, unsigned int img_width, unsigned int img_heingt, unsigned char channel) {
	cv::Mat m_img(img_heingt, img_width, CV_8UC3, img_data);
	cv::Mat tmp_gray_img;
	cv::Mat color_gray_img;
	cv::cvtColor(m_img, tmp_gray_img, cv::COLOR_RGB2GRAY);
	cv::cvtColor(tmp_gray_img, color_gray_img, cv::COLOR_GRAY2RGB);
	int color_gray_img_len = color_gray_img.rows * color_gray_img.cols * color_gray_img.channels();
	unsigned char* dst = (unsigned char*)::CoTaskMemAlloc(color_gray_img_len);
	memcpy_s(dst, color_gray_img_len, color_gray_img.data, color_gray_img_len);

	return dst;
}
配列をグレースケール化して返す関数
Unity側から送られてくるのはbyte配列なのでC++側はunsigned charのポインターとなる
1チャンネルのグレースケールだと扱いにくいので3チャンネルのグレースケールとして返す
CoTaskMemAllocでメモリを確保すると.Net側でのGC対象とすることができるReturning Strings from a C++ API to C#
Release x64でビルドして実際にDLLを作成する
2.Unityでスクリーンショットを撮る
詳しいやり方はHow to save a picture (take screenshot) from a camera in game?
Unityのコード
    private void LateUpdate()
    {
        bool takeScreenShot = Input.GetKeyDown(KeyCode.F1);

        if (takeScreenShot)
        {
            RenderTexture rt = new RenderTexture(resWidth, resHeight, 24, RenderTextureFormat.ARGB32);
            camera.targetTexture = rt;
            Texture2D screenShot = new Texture2D(resWidth, resHeight, TextureFormat.RGB24, false);
            camera.Render();
            RenderTexture.active = rt;
            screenShot.ReadPixels(new Rect(0, 0, resWidth, resHeight), 0, 0);
            camera.targetTexture = null;
            RenderTexture.active = null;
            Destroy(rt);

            byte[] bytes = screenShot.EncodeToPNG();
            string filename = "./Assets/img/original.png";
            System.IO.File.WriteAllBytes(filename, bytes);

            byte[] gray_bytes = opencv_toGRAYscale(screenShot);

            save_bytes(gray_bytes, "./Assets/img/gray.png");
        }
    }
opencv_toGRAYscaleとsave_bytesは後程説明
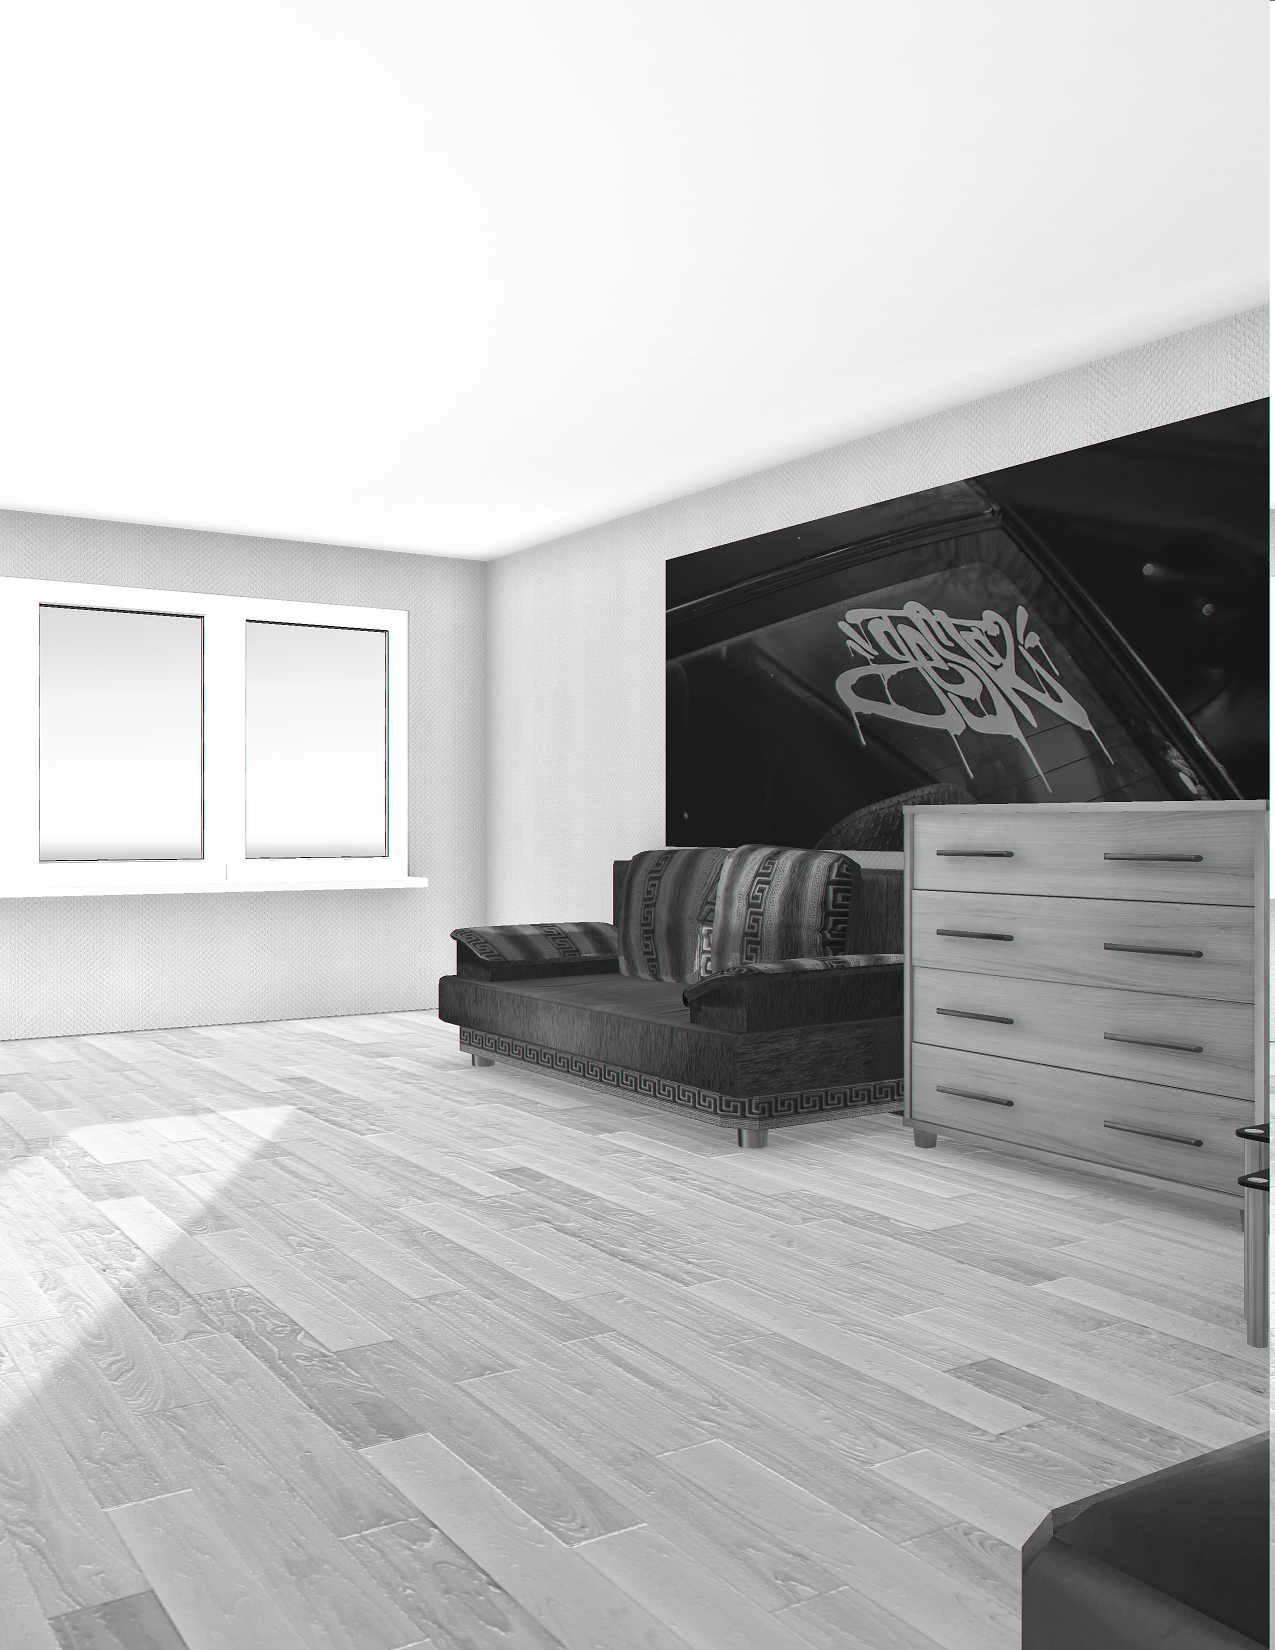
スクリーンショット
実際に撮ったものがこちら

この画像をOpenCVに渡してグレースケール化していく
3.UnityにOpenCVを導入する
AssetsにPlugins/x86_64フォルダを作成
先ほどビルドしたDLLとopencv_world410、opencv_world410dをコピーする
後の設定はUnityでC++を使う方法を参照
宣言
static class OPENCV
{
    [DllImport("dll_opencv", CallingConvention = CallingConvention.StdCall)]
    public static extern byte[] opencv_sample(byte[] img_data, uint img_width, uint img_height, byte channel);
}
先ほど作った関数をUnity側で使えるように宣言します、unsigned charのポインターだった仮引数はbyteの配列とし
戻り値も同様にbyteの配列です
Texture2Dをグレースケールのバイト配列として返す関数
    private byte[] opencv_toGRAYscale(Texture2D screenShot)
    {
        byte[] r_bytes = screenShot.GetRawTextureData();

        byte[] gray_bytes = OPENCV.opencv_sample(r_bytes, (uint)resWidth, (uint)resHeight, 3);

        DestroyTexture2D(screenShot);

        return gray_bytes;
    }

    private void DestroyTexture2D(Texture2D texture)
    {
        Destroy(texture);
    }
気を付けて欲しいのは、先ほども説明した通り
グレースケール化したと言っても戻り値の配列は1チャンネルじゃくて3チャンネルということ
動的に確保したTexture2Dは明示的に破棄しないとメモリを圧迫する原因になります。
配列を出力する関数
    private void save_bytes(byte[] bytes, string file_path)
    {
        Texture2D s_texture = new Texture2D(resWidth, resHeight, TextureFormat.RGB24, false);

        byte[] tmp_bytes = new byte[resWidth * resHeight * 3];
        for(int i = 0; i < resWidth*resHeight*3; i++)
        {
            tmp_bytes[i] = bytes[i];
        }

        Debug.Log(tmp_bytes.Length);

        s_texture.LoadRawTextureData(tmp_bytes);
        byte[] png_bytes = s_texture.EncodeToPNG();
        System.IO.File.WriteAllBytes(file_path, png_bytes);

        DestroyTexture2D(s_texture);
    }
わざわざ配列をコピーしているのは、CoTaskMemAllocで確保した配列の長さがUnity側で
参照できずLoadRawTextureData内部でエラーを吐いてしまうそのための策
ただ例外処理はされているのでやらなくても出力は普通にできる。
結果
 上手くいきました。
まとめ
実際作ってみるとわかるが、やはり結構な手間とある程度のC++の知識が必要となってくるので
ネイティブなOpenCVにはあるのにAssetにはない機能だったり、まだ対応していない機能が欲しかったりする場合
いち早く実装できる可能性はあるかもしれない。
それ以外は安全性から見ても普通にAssetを使った方が無難に思える。