 はじめに
はじめに
どうも!生産技術部のエンジニアです。マニュアルドキュメント類を整理するため、growiを利用させていただきました。以下に、立ち上げ手順をまとめましたので参考にどうぞ。
Growi関連の投稿済み内容
環境
- CentOS : 7.6.1810
- Docker-CE : 19.03.1
- Docker Compose : 1.25.0
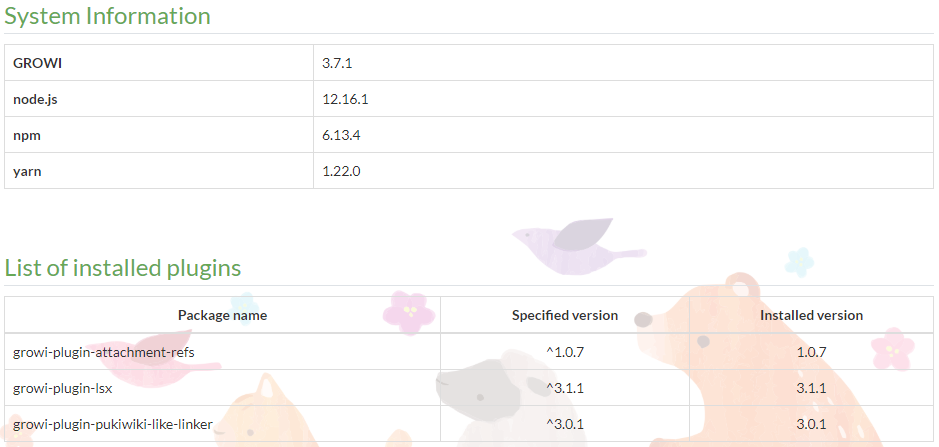
- Growi :以下
前提条件
git、docker、docker-composeの導入が実施済みであること。
立ち上げ手順
1.growi-docker-composeをGitHubから取得
git clone https://github.com/weseek/growi-docker-compose.git growi
2.プロキシの設定
elastic-searchのプロキシ設定
elastic-searchのプラグインを導入する際に、プロキシの設定が必要な様です。
growi/elasticsearch/Dockerfile
FROM docker.elastic.co/elasticsearch/elasticsearch:6.6.1
LABEL maintainer Yuki Takei <yuki@weseek.co.jp>
# 下記2行にご自身の環境に合わせたproxyの設定を追記してください。
RUN ES_JAVA_OPTS="-Dhttp.proxyHost=proxy.example.com -Dhttp.proxyPort=8888 -Dhttps.proxyHost=proxy.example.com -Dhttps.proxyPort=8888" bin/elasticsearch-plugin install analysis-kuromoji
RUN ES_JAVA_OPTS="-Dhttp.proxyHost=proxy.example.com -Dhttp.proxyPort=8888 -Dhttps.proxyHost=proxy.example.com -Dhttps.proxyPort=8888" bin/elasticsearch-plugin install analysis-icu
growiのプロキシ設定
apkを利用する際に設定が必要だと思われますが、確認はしていません。
growi/Dockerfile
FROM weseek/growi:3
LABEL maintainer Yuki Takei <yuki@weseek.co.jp>

# 下記2行を追記し、ご自身の環境に合わせたプロキシに書き換えてください。
ENV http_proxy 'proxy.example.com:8888'
ENV https_proxy 'proxy.example.com:8888'
ENV APP_DIR /opt/growi

# install dockerize
ENV DOCKERIZE_VERSION v0.6.1
USER root
RUN apk add --no-cache --virtual .dl-deps curl \
    && curl -sL https://github.com/jwilder/dockerize/releases/download/$DOCKERIZE_VERSION/dockerize-alpine-linux-amd64-$DOCKERIZE_VERSION.tar.gz \
        | tar -xz -C /usr/local/bin \
    && apk del .dl-deps

WORKDIR ${APP_DIR}
(参考)crowiの場合
crowiを導入する場合は、上記の設定に加えて、npmのパッケージ導入する際のプロキシ設定が必要です。
crowi/Dockerfile
RUN npm -g config set proxy $http_proxy
RUN npm -g config set https-proxy $https_proxy
3.ポートおよびファイアウォールの設定
外部からアクセスできるように、127.0.0.1:3000:3000を3000:3000に書き換える。
growi/docker-compose.yml
services:
  app:
    build:
      context: .
      dockerfile: ./Dockerfile
    ports:
      - 3000:3000    # localhost only by default
      :
      :
ファイアウォールの3000番ポートを開ける。
$ firewall-cmd --add-port=3000/tcp --zone=public --permanent
$ firewall-cmd --reload
success
4.各種設定
-
FILE_UPLOAD=local/mongodb
growiページ上の添付ファイルを保存する先を設定。localは、growiのコンテナ内のローカルフォルダに保存、mongodbは、mongodbのDB上に保存されます。 -
MATHJAX=1
数式を美しく表現できる。
growi/docker-compose.yml
version: '3'

services:
  app:
    build:
      context: .
      dockerfile: ./Dockerfile
    ports:
      - 3000:3000    # localhost only by default
    links:
      - mongo:mongo
      - elasticsearch:elasticsearch
    depends_on:
      - mongo
      - elasticsearch
    environment:
      - MONGO_URI=mongodb://mongo:27017/growi
      - ELASTICSEARCH_URI=http://elasticsearch:9200/growi
      - PASSWORD_SEED=changeme
      - FILE_UPLOAD=mongodb   # activate this line if you use MongoDB GridFS rather than AWS
      # - FILE_UPLOAD=local     # activate this line if you use local storage of server rather than AWS
      - MATHJAX=1             # activate this line if you want to use MathJax
      # - PLANTUML_URI=http://  # activate this line and specify if you use your own PlantUML server rather than public plantuml.com
      # - HACKMD_URI=http://    # activate this line and specify HackMD server URI which can be accessed from GROWI client browsers
      # - HACKMD_URI_FOR_SERVER=http://hackmd:3000  # activate this line and specify HackMD server URI which can be accessed from this server container
      # - FORCE_WIKI_MODE='public'    # activate this line to force wiki public mode
      # - FORCE_WIKI_MODE='private'   # activate this line to force wiki private mode

    command: "dockerize
              -wait tcp://mongo:27017
              -wait tcp://elasticsearch:9200
              -timeout 60s
              npm run server:prod"
    restart: unless-stopped
    volumes:
      - growi_data:/data
      :
      :
5.起動
最後にdocker-composeで起動して終了です。起動後、しばらくしてからhttp://<サーバのIP>:3000にアクセスしサインインの画面が表示されれば完了です。
# Dockerの起動およびリロード
$ docker-compose up -d
最後に
無事に立ち上がりました。バックアップ方法についても検討していきます。