PyPIへのモジュール公開手法がしばらく見ない間にだいぶ変わっていたので備忘録としてメモしておきます。
何を公開したの?
こちらです。
いまのところドキュメントと言えるドキュメントはGitHubだけです
setup.cfg
わたしが昔PyPIを触っていたときは、setup.pyにいろんな設定を書き込むことで、モジュールの設定を記載していたのですが、今はsetup.cfgというファイルにモジュールの情報を書き込むようになったようです。
[metadata]
name = tksugar
version = attr: tksugar.__version__
author = TakamiChie
author_email = [mail]
license = MIT
description = A module that generates a structured Tk window frame from a text file.
keywords =
url = https://github.com/TakamiChie/TkSugar
long_description = file: README.md
long_description_content_type = text/markdown
classifiers =
    Programming Language :: Python :: 3.7
    Programming Language :: Python :: 3.8

[options]
packages = find:
install_requires =
  pyyaml
とりあえず今回の件で気になるところ。
version
あらかじめ、アップロードするモジュールの__init__.pyに、次のような定数を追加しておきます。
__version__ = "0.1.0"
わたしの場合__init__.pyはroot\tksugar\__init__.pyに置いていたので、このような既述でよかったのですが、たとえば__VERSION__.pyというファイルを作ってそこに定義したいとか、root/src/project/__init__.pyにしたいときとかは既述が変わってきますので注意。
long_description
読んで字のごとく長い説明文です。README.mdを読み込んでそのまま表示しています。
この文章がPyPI.orgのサイトの右側に表示されます。
Markdown形式の場合は、必ずlong_description_content_typeとセットで記載しましょう。エラーで止まります。
classifiers
PyPIのサイトにある分類です。iniファイルっぽいですが一行に1つずつ書き込めます。分類の内容はPyPIのサイトを確認してください。
install_requires
書き方はclassifiersと同じです。上記の既述はPipfileのpyyaml = "*"と等価です。
アップロード
- 参考記事に6従い
.pypircを作る。Windows 10の場合C:\Users\[UserName]のフォルダに保存する -
pip install twine wheelする(いろいろ苦戦していたので他のこともやっていたかもしれない) -
python setup.py sdist bdist_wheelする -
twine upload --repository testpypi dist/*する - 問題なければ
twine upload --repository pypi dist/*する
以下のようなコードをPipfileに作っておくとあとが簡単です(参考文献6の内容はWindowsではないので適宜修正/pipenv runはPowerShellでなくコマンドプロンプトで動作してしまうようなので適宜調整)
[scripts]
clear = "pwsh -c Remove-Item -Recurse -Force *.egg-info, build, dist"
build = "python setup.py sdist bdist_wheel"
deploytest = "twine upload --repository testpypi dist/*"
deploy = "twine upload --repository pypi dist/*"
注意点
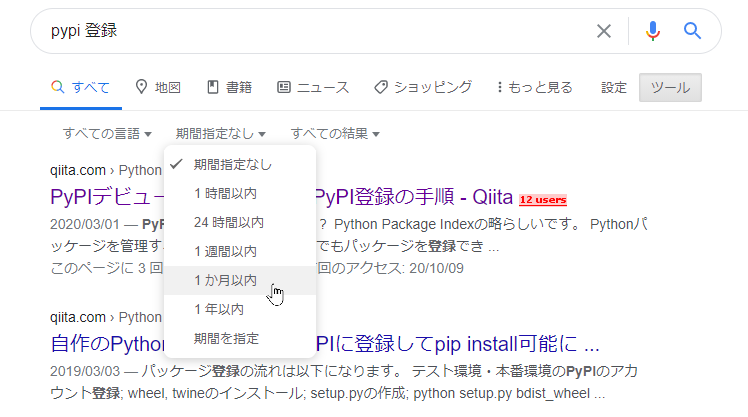
この手の操作方法は割と頻繁に変わるので、ググるときは期間指定を「1ヶ月以内」にするなどして対策しましょう。半年以上前の記事だとどこかしら内容が変わっている可能性があります(記述の内容についてはそれ以前の記事も参考になりますが)。
