はじめに
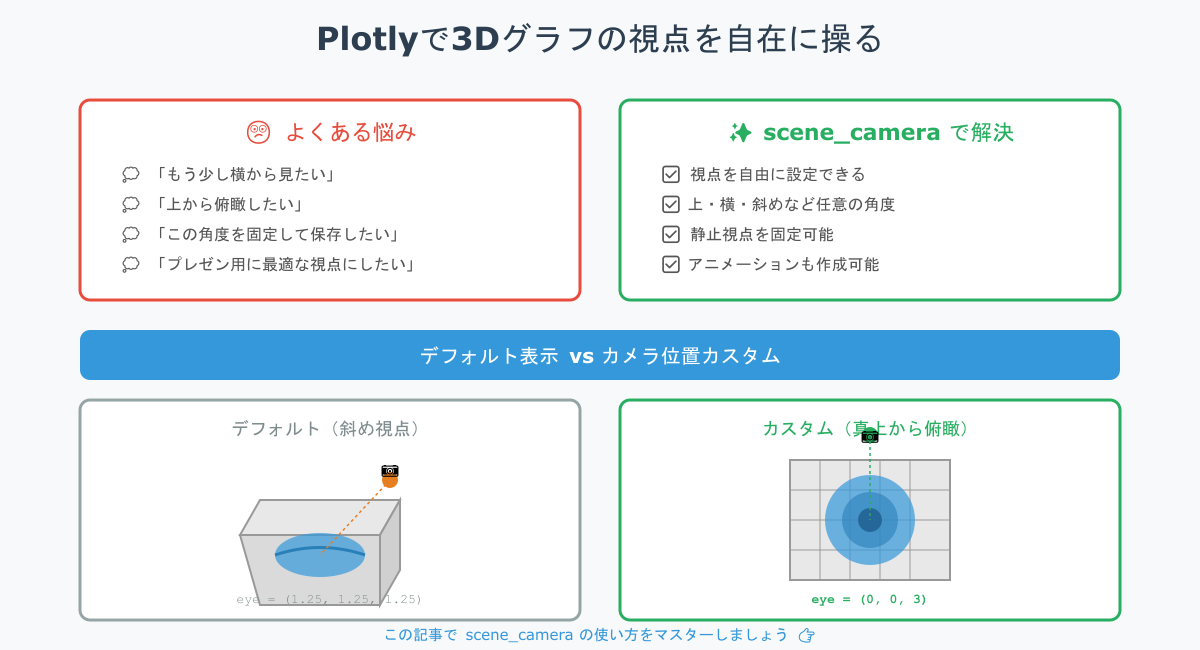
Plotlyで3Dグラフを描いていて、「もう少し横から見たい」「上から俯瞰したい」と感じたことはありませんか?
実は、カメラ位置を指定するだけで視点を自在にコントロールできるのです。
目的
- Plotlyの3Dグラフでカメラ位置(視点)を制御する方法を学ぶ
- 上・横・斜めなどの俯瞰を自由に切り替える
- 資料・レポート用に「静止視点を固定した3D図」を作る
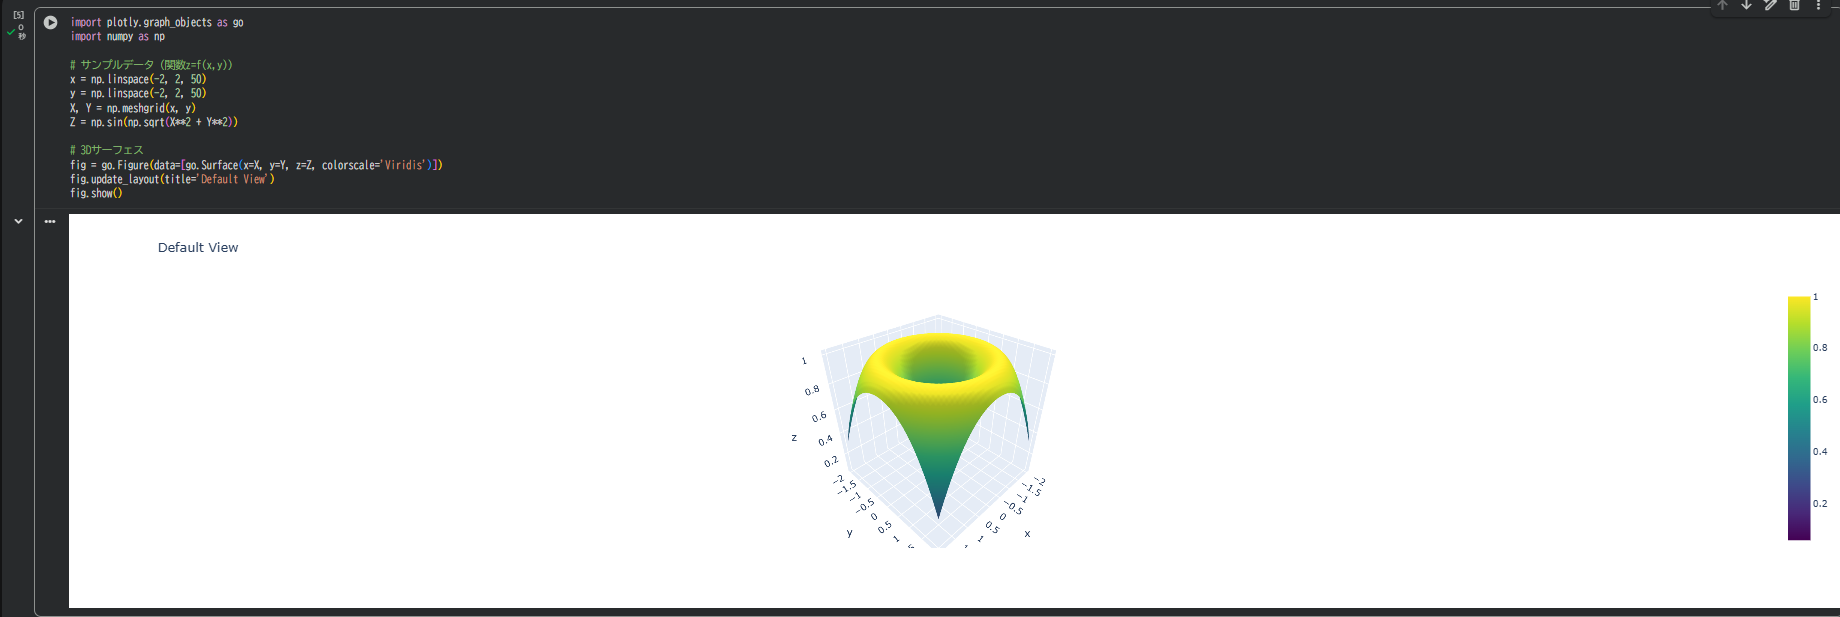
実装例:デフォルトの視点の3D表示
import plotly.graph_objects as go
import numpy as np

# サンプルデータ(関数z=f(x,y))
x = np.linspace(-2, 2, 50)
y = np.linspace(-2, 2, 50)
X, Y = np.meshgrid(x, y)
Z = np.sin(np.sqrt(X**2 + Y**2))

# 3Dサーフェス
fig = go.Figure(data=[go.Surface(x=X, y=Y, z=Z, colorscale='Viridis')])
fig.update_layout(title='Default View')
fig.show()
Colabでもそのまま動作します。ここでは初期視点(左上斜め方向)で表示されます。
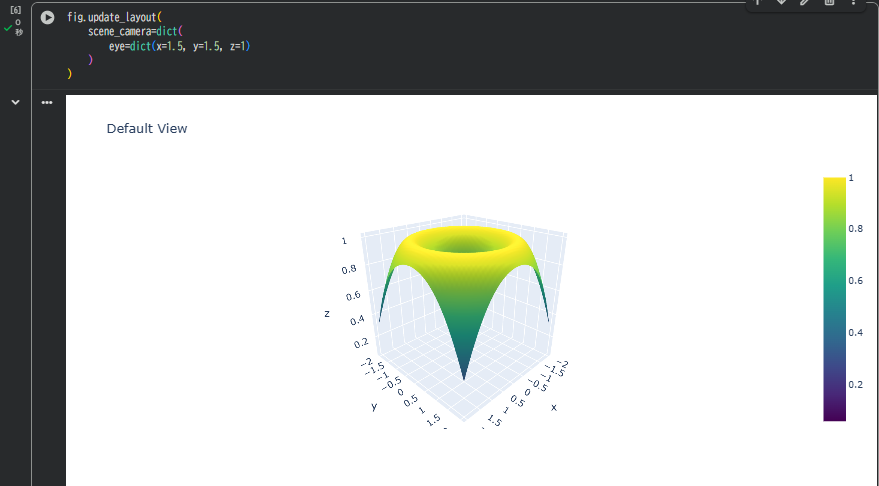
カメラ設定の基本構文
Plotlyの3Dカメラ設定はscene_cameraに辞書形式で指定します。
fig.update_layout(
    scene_camera=dict(
        eye=dict(x=1.5, y=1.5, z=1)
    )
)
パラメータ一覧
| パラメータ | 意味 |
|---|---|
| eye.x | 視点のX方向位置(右→正) |
| eye.y | 視点のY方向位置(奥→正) |
| eye.z | 視点の高さ(上→正) |
デフォルトはeye=dict(x=1.25, y=1.25, z=1.25)です。
値を変えるだけで「カメラの位置」が動きます。
視点をいろいろ変えてみよう
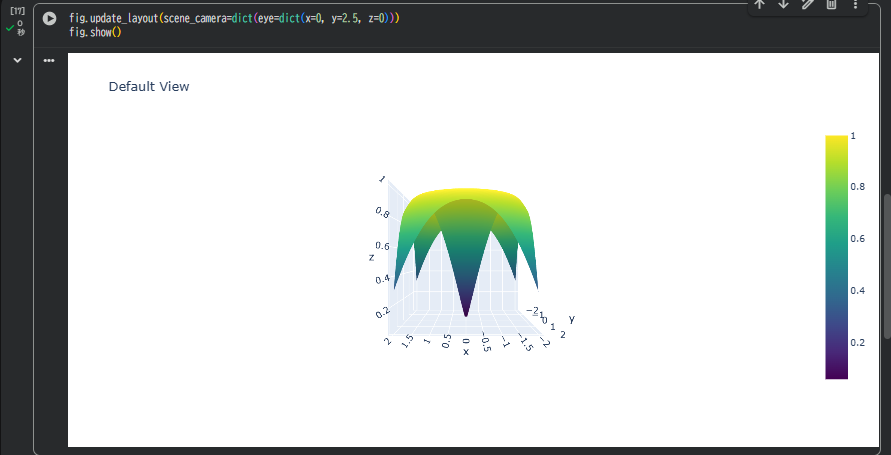
正面(Y軸方向から)
fig.update_layout(scene_camera=dict(eye=dict(x=0, y=2.5, z=0)))
fig.show()
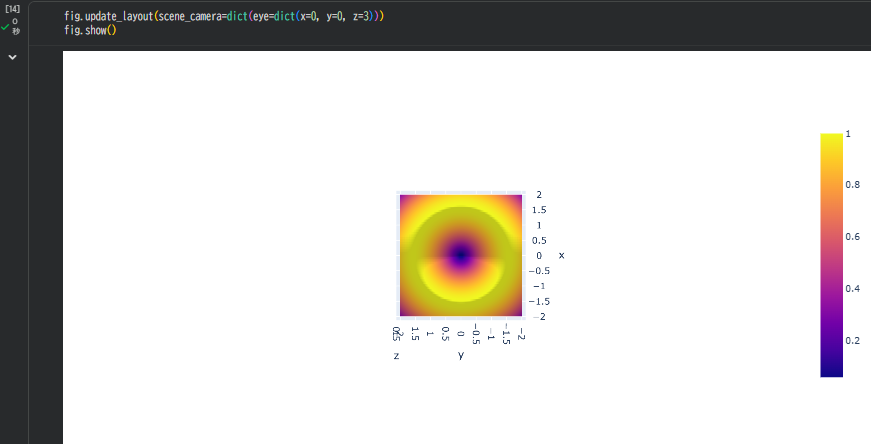
真上から(俯瞰ビュー)
fig.update_layout(scene_camera=dict(eye=dict(x=0, y=0, z=3)))
fig.show()
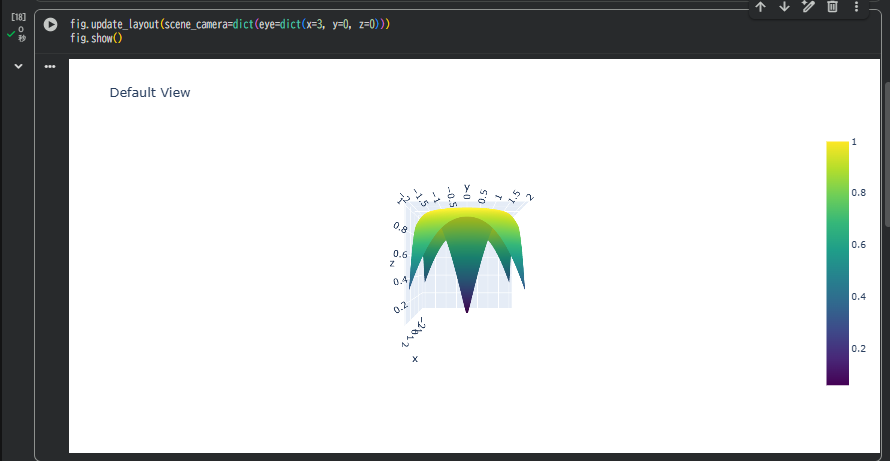
横から(X軸方向)
fig.update_layout(scene_camera=dict(eye=dict(x=3, y=0, z=0)))
fig.show()
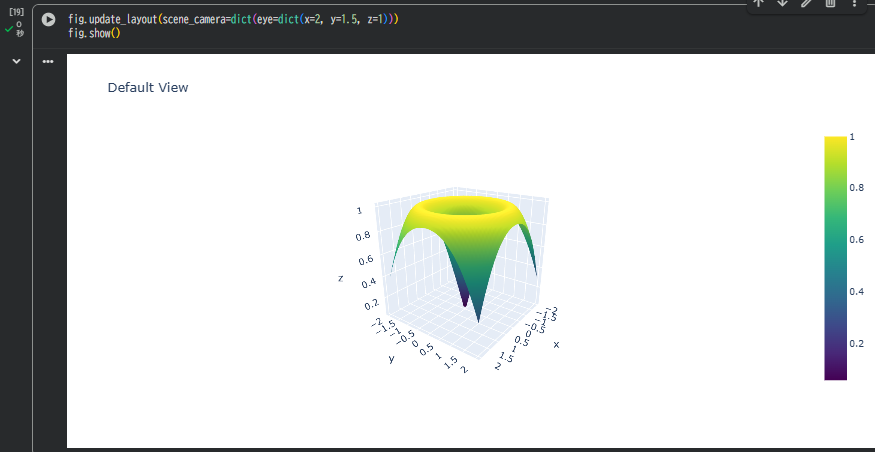
斜め上から(自然なパース)
fig.update_layout(scene_camera=dict(eye=dict(x=2, y=1.5, z=1)))
fig.show()
eyeの数値を変えるだけで、カメラを空間内で自由に動かせます。
回転アニメーションを作る
"""
Plotly frames機能のアニメーション
"""
import plotly.graph_objects as go
import numpy as np
# サンプルデータ
x = np.linspace(-2, 2, 50)
y = np.linspace(-2, 2, 50)
X, Y = np.meshgrid(x, y)
Z = np.sin(np.sqrt(X**2 + Y**2))
# フレーム作成
frames = []
for angle in np.linspace(0, 2*np.pi, 36):
x_eye = 2*np.sin(angle)
y_eye = 2*np.cos(angle)
frames.append(go.Frame(
layout=dict(scene_camera=dict(eye=dict(x=x_eye, y=y_eye, z=1)))
))
fig = go.Figure(data=[go.Surface(x=X, y=Y, z=Z, colorscale='Viridis')], frames=frames)
fig.update_layout(
title="3D Surface Rotation Animation",
width=800,
height=700,
scene=dict(aspectmode='data'),
updatemenus=[
{
"type": "buttons",
"showactive": False,
"buttons": [
{
"label": "▶ Play",
"method": "animate",
"args": [None, {
"frame": {"duration": 100, "redraw": True},
"fromcurrent": True,
"transition": {"duration": 0},
"mode": "immediate"
}]
},
{
"label": "⏸ Pause",
"method": "animate",
"args": [[None], {
"frame": {"duration": 0, "redraw": False},
"mode": "immediate",
"transition": {"duration": 0}
}]
}
]
}
]
)
# 保存と表示
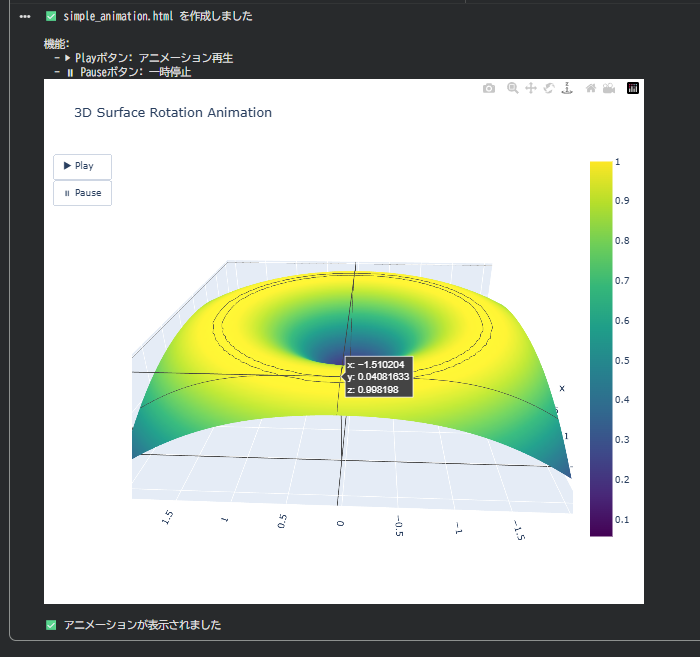
fig.write_html('simple_animation.html')
print("✅ simple_animation.html を作成しました")
print("\n機能:")
print(" - ▶ Playボタン: アニメーション再生")
print(" - ⏸ Pauseボタン: 一時停止")
try:
fig.show()
print("\n✅ アニメーションが表示されました")
except:
print("\n⚠️ ブラウザでHTMLファイルを開いてください")
eyeを時間で動かすことで、カメラが回転するアニメーションを作成できます。
さらに使える視点設定Tips
| 設定 | 説明 |
|---|---|
| center | カメラの焦点位置(データの中心をズラすと効果的) |
| up | 「上方向」ベクトルを指定(Z軸以外を上にできる) |
| projection | perspective(遠近あり)or orthographic(平行投影) |
| aspectmode | 'data', 'cube', 'manual' など比率設定 |
例:CAD風の正射投影表示
fig.update_layout(
    scene_camera=dict(
        eye=dict(x=2, y=2, z=0.8),
        center=dict(x=0, y=0, z=0),
        up=dict(x=0, y=0, z=1),
        projection=dict(type='orthographic')
    )
)
複数シーンに共通設定(テンプレート化)
def set_camera(fig, x=1.5, y=1.5, z=1, title="3D View"):
    fig.update_layout(
        title=title,
        scene_camera=dict(eye=dict(x=x, y=y, z=z)),
        scene=dict(aspectmode='data')
    )
    return fig
関数化しておくと、Surface/Scatter/Line どれでも統一的に視点を適用できます。
トラブルシュート
| 症状 | 対処 |
|---|---|
| グラフが歪む | aspectmode='data' を追加 |
| 視点が反映されない | scene_camera のスペルを確認(typo注意) |
| 上下が逆に見える | up=dict(z=-1) になっていないか確認 |
まとめ
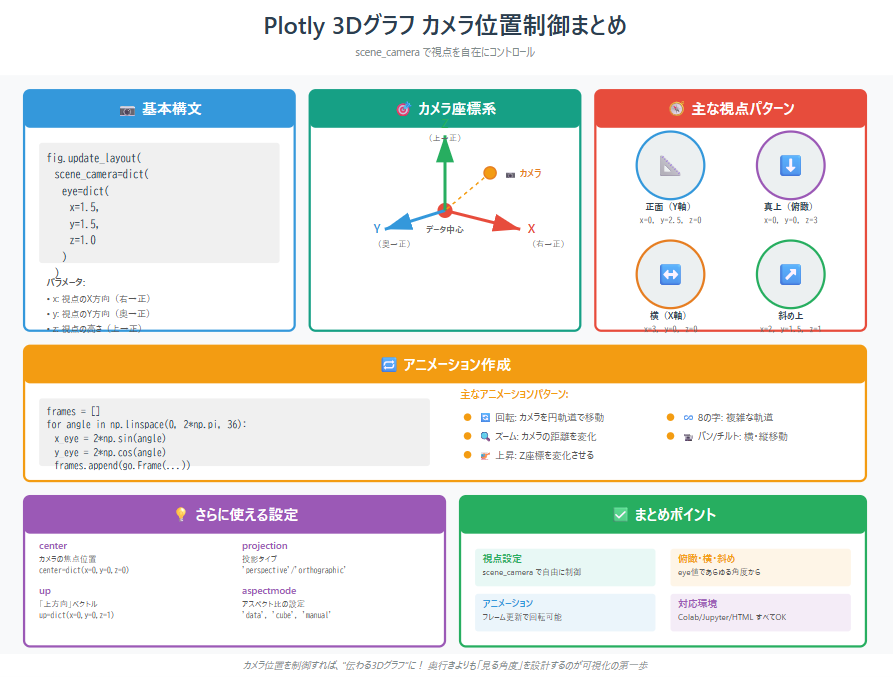
カメラ視点を設定することで、3Dグラフの印象は大きく変わります。
scene_camera=dict(eye=dict(x,y,z))を使えば、俯瞰・横・斜めなど自由な角度からの表示が可能です。
さらにフレーム更新による回転アニメーションや、projection・center・upを組み合わせた高度な制御も行えます。
ColabやJupyter、HTML出力にも対応しており、「伝わる3D可視化」の基礎となる設定です。
参考情報