まえがき
小型のスタンプ型デバイスを製作することになったため,小型マイコンを用いることになった
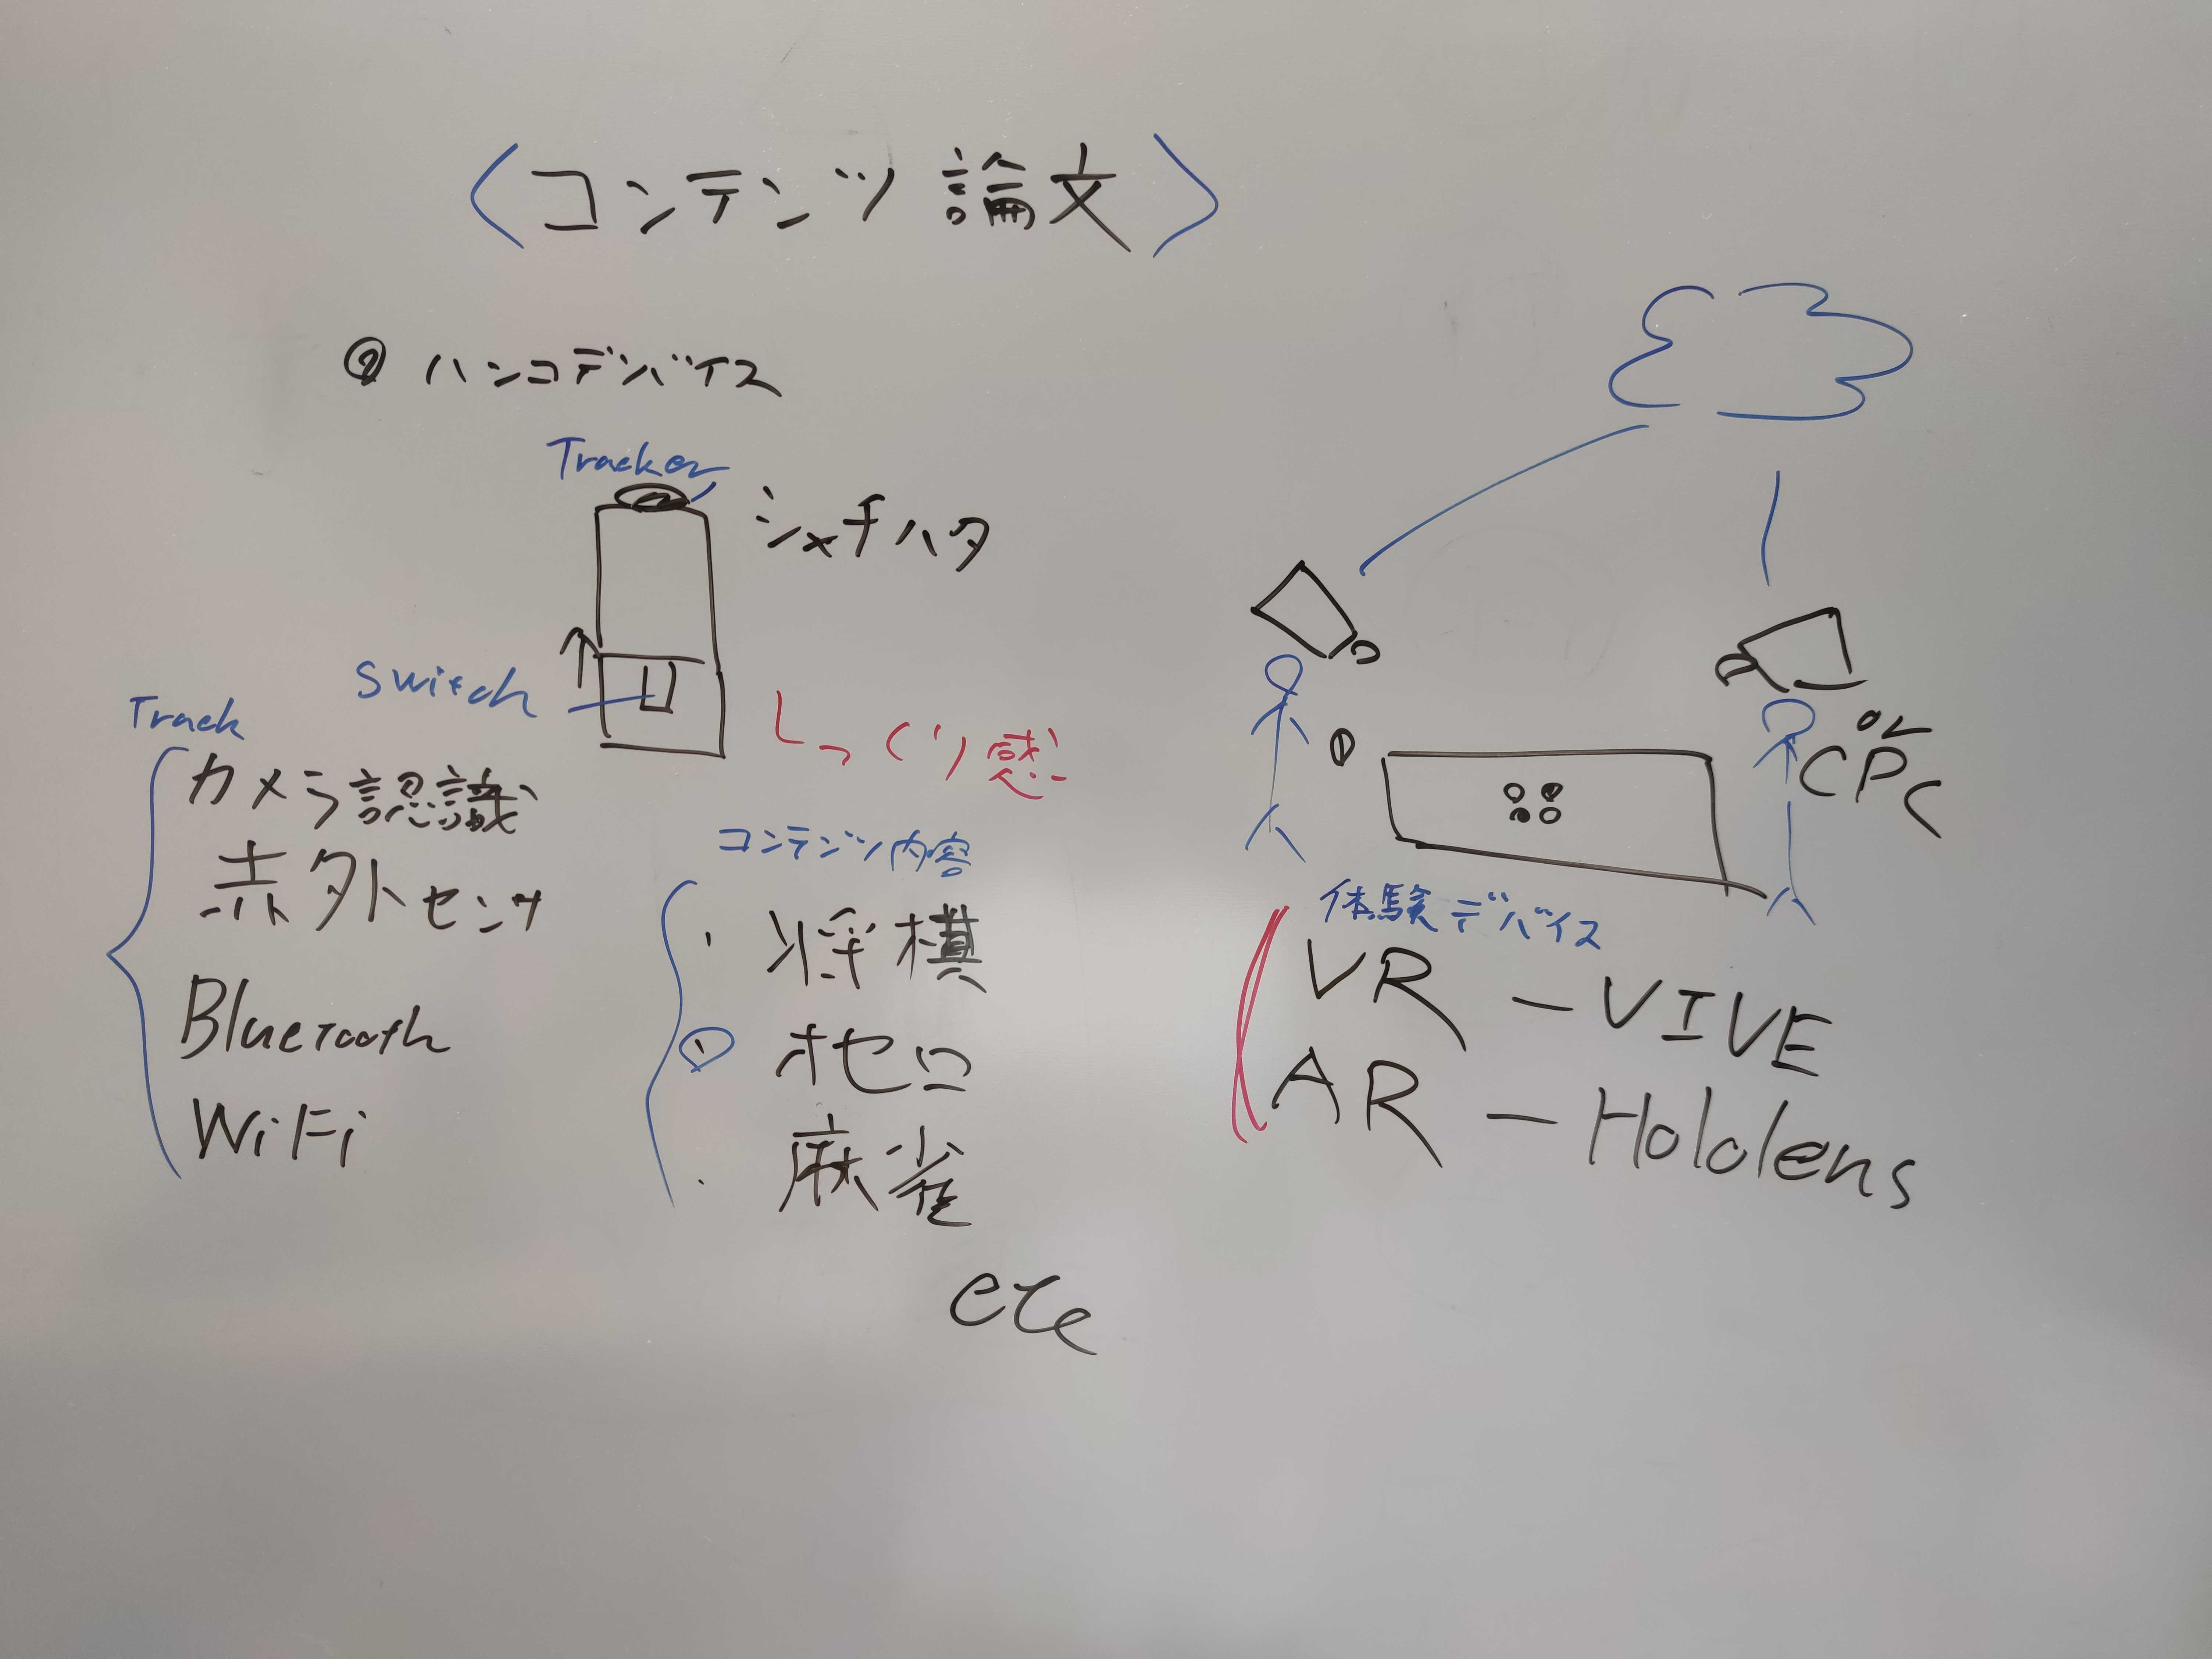
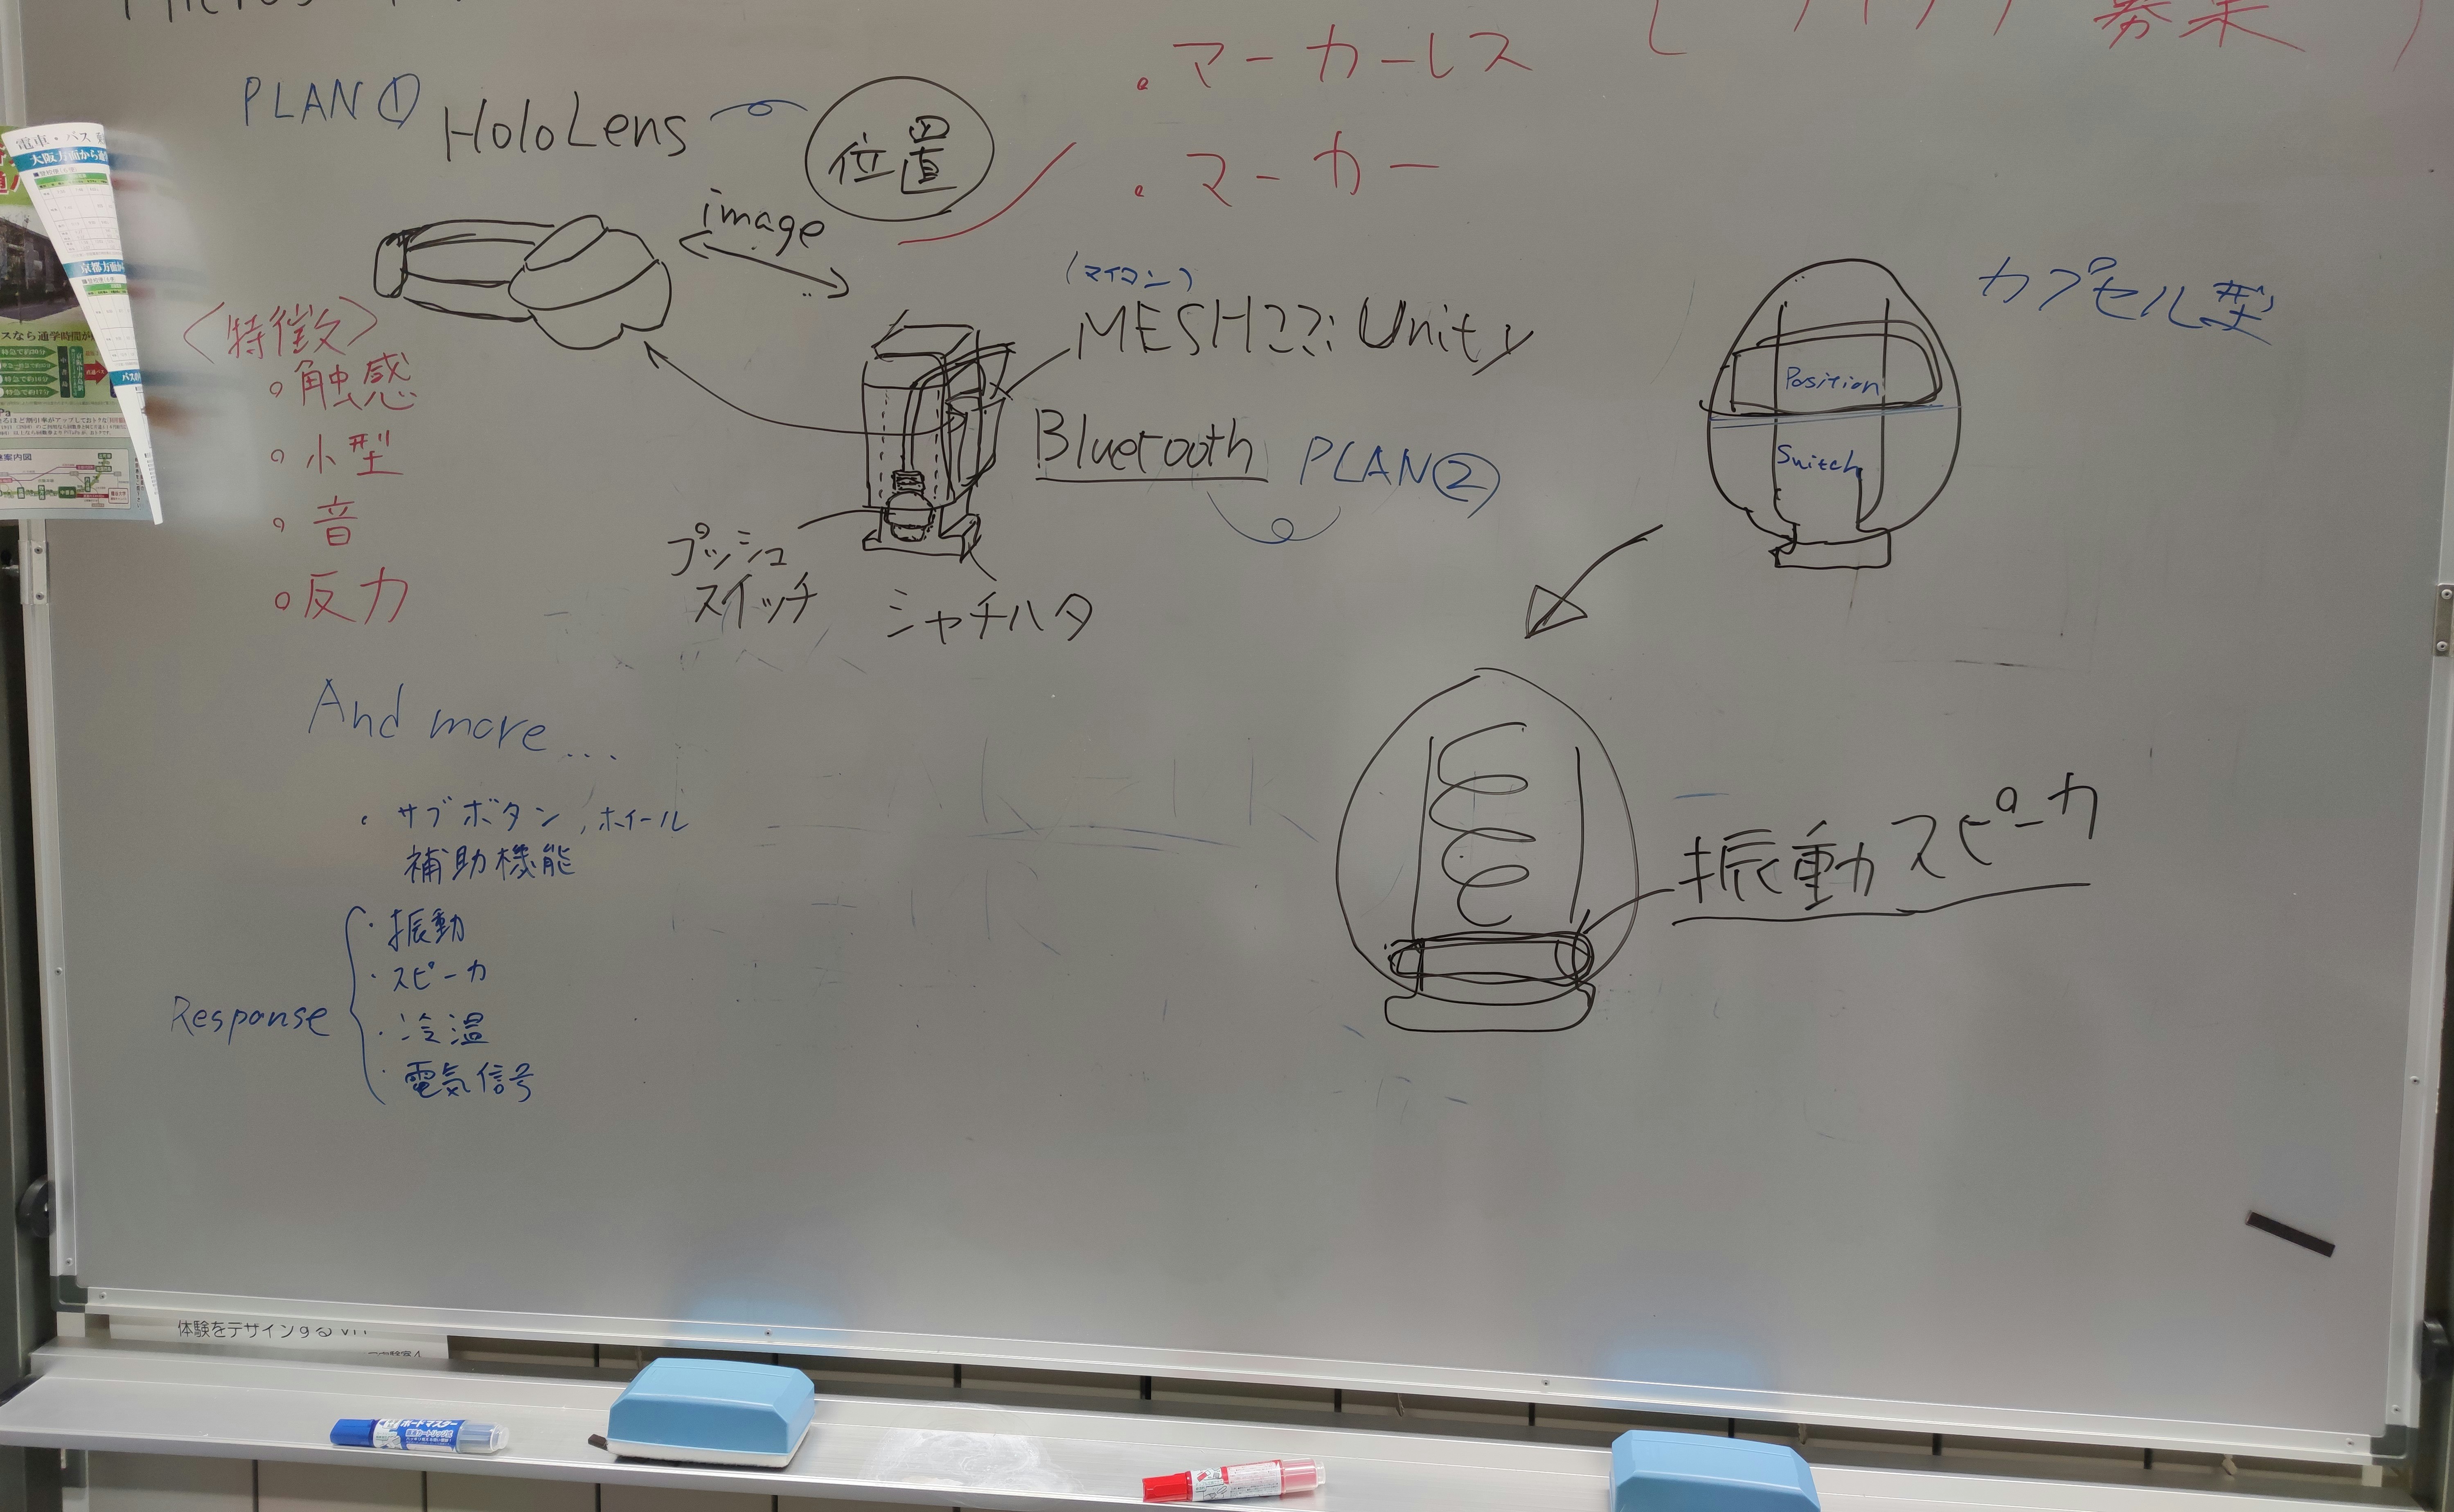
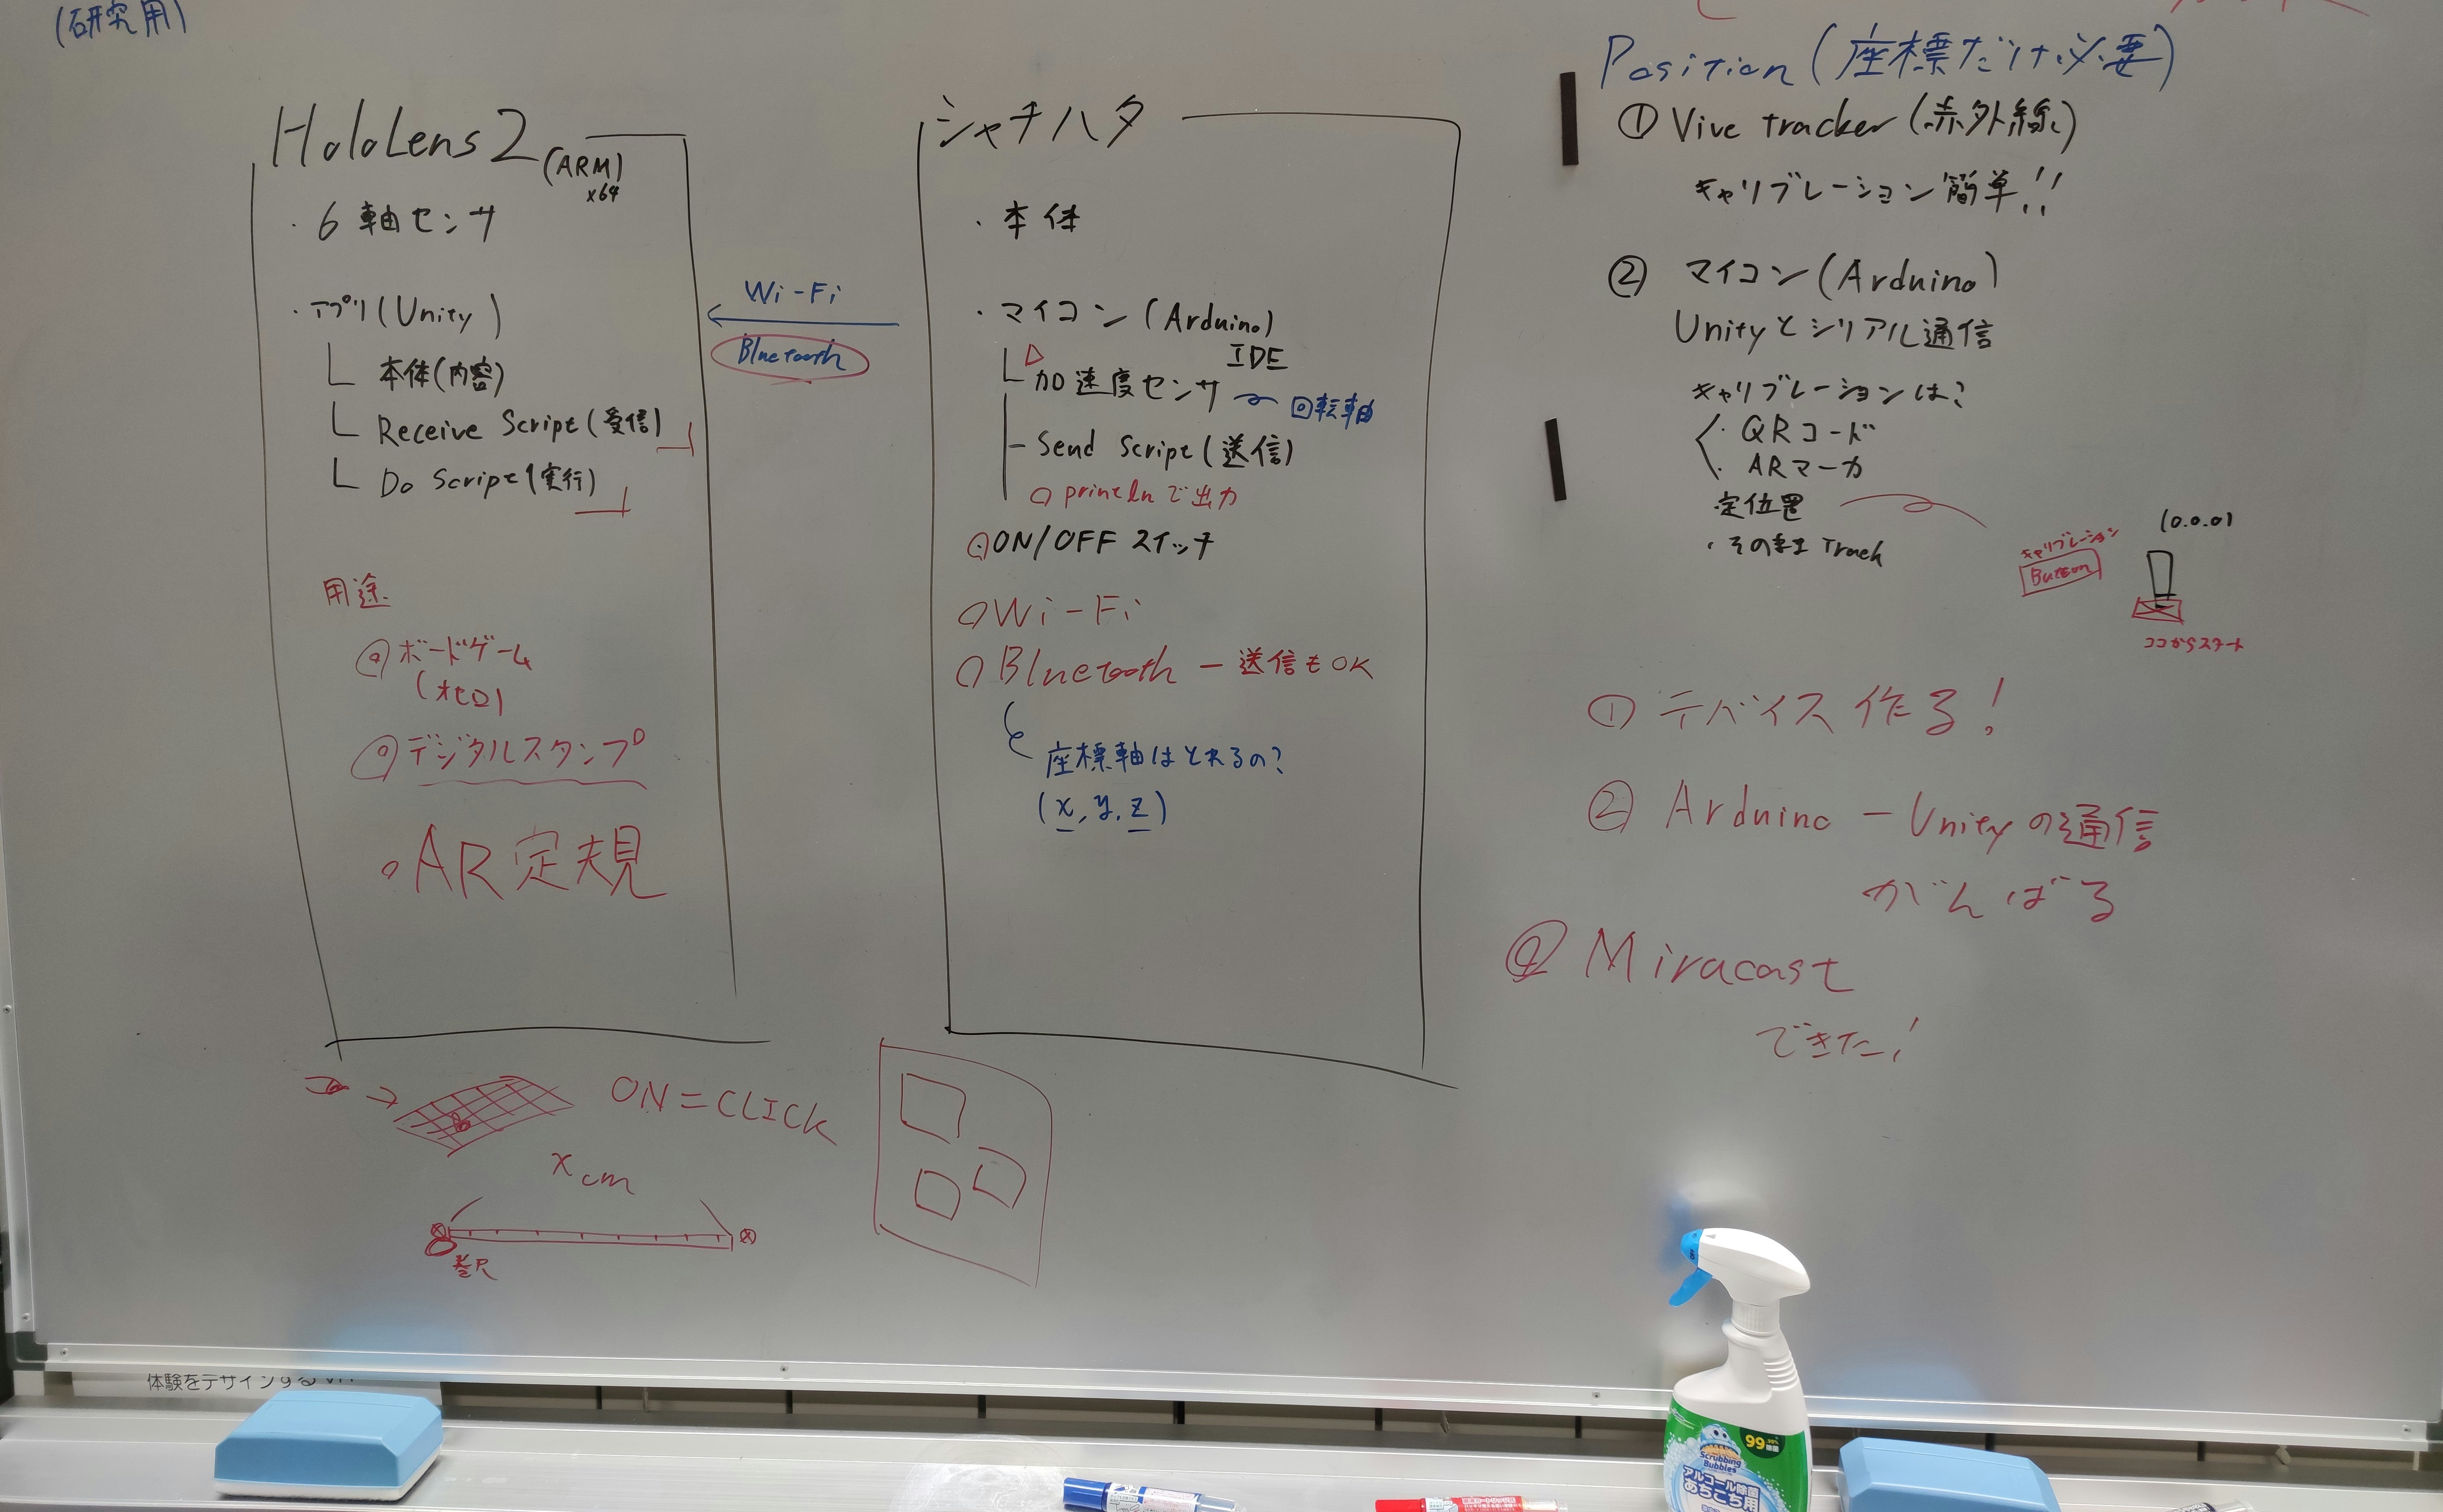
原案はこんな感じです😋
今回使用するマイコンはATOM Matrix
Arduinoと同様の方法で利用するための必要な手順をまとめる
初期設定はこちらのArduino IDEのインストールを参照
1.Arduino IDEを設定
やり方はこちらを参照
2.Demoを試す
こちらの記事を参考にデモを動作させた.
※ポートが選択できない状態の場合ATOM Matrixを接続したまま,一度コンパイラを落として再度立ち上げると反応します
本題
今回はそもそもの内部的要素をつくり,プロトタイプ1号を完成させる
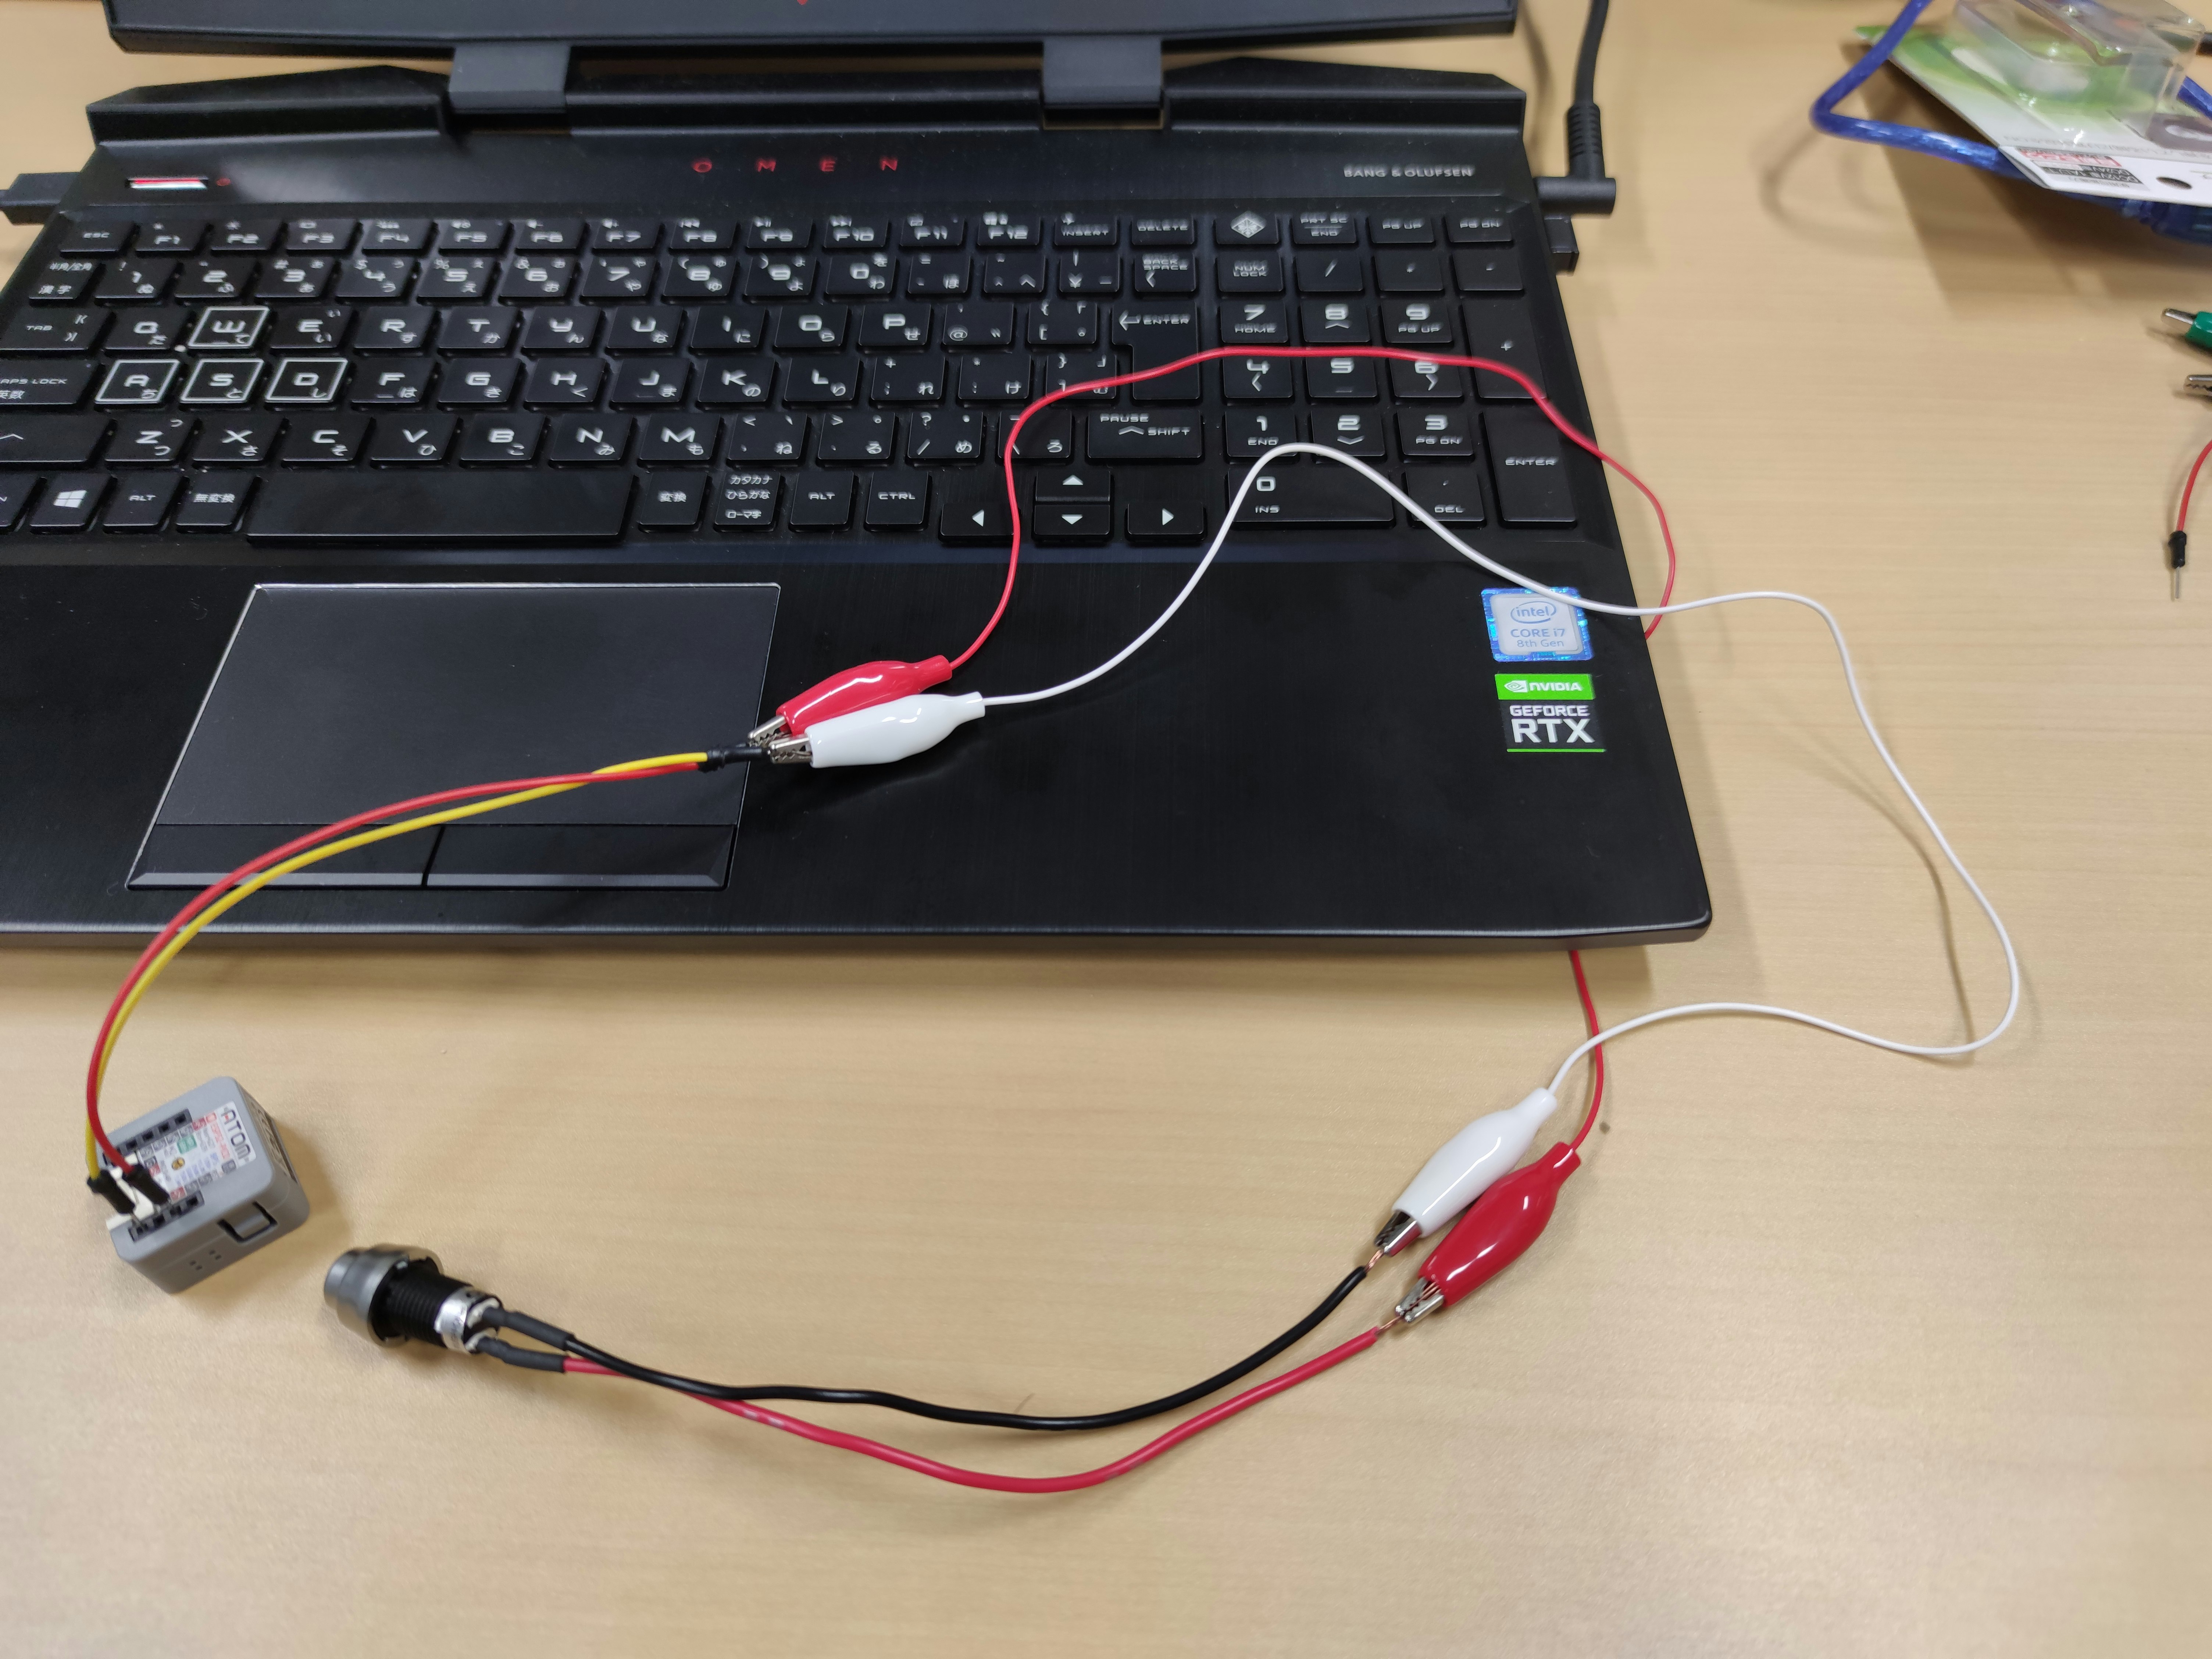
ON/OFFスイッチが欲しいのでそれを作製していく
機器概要
・ATOM Matrix
・なんでもいいので01が変更できるスイッチ
・ジャンパーピン数本
・(必要なら)わにぐちクリップ
手順
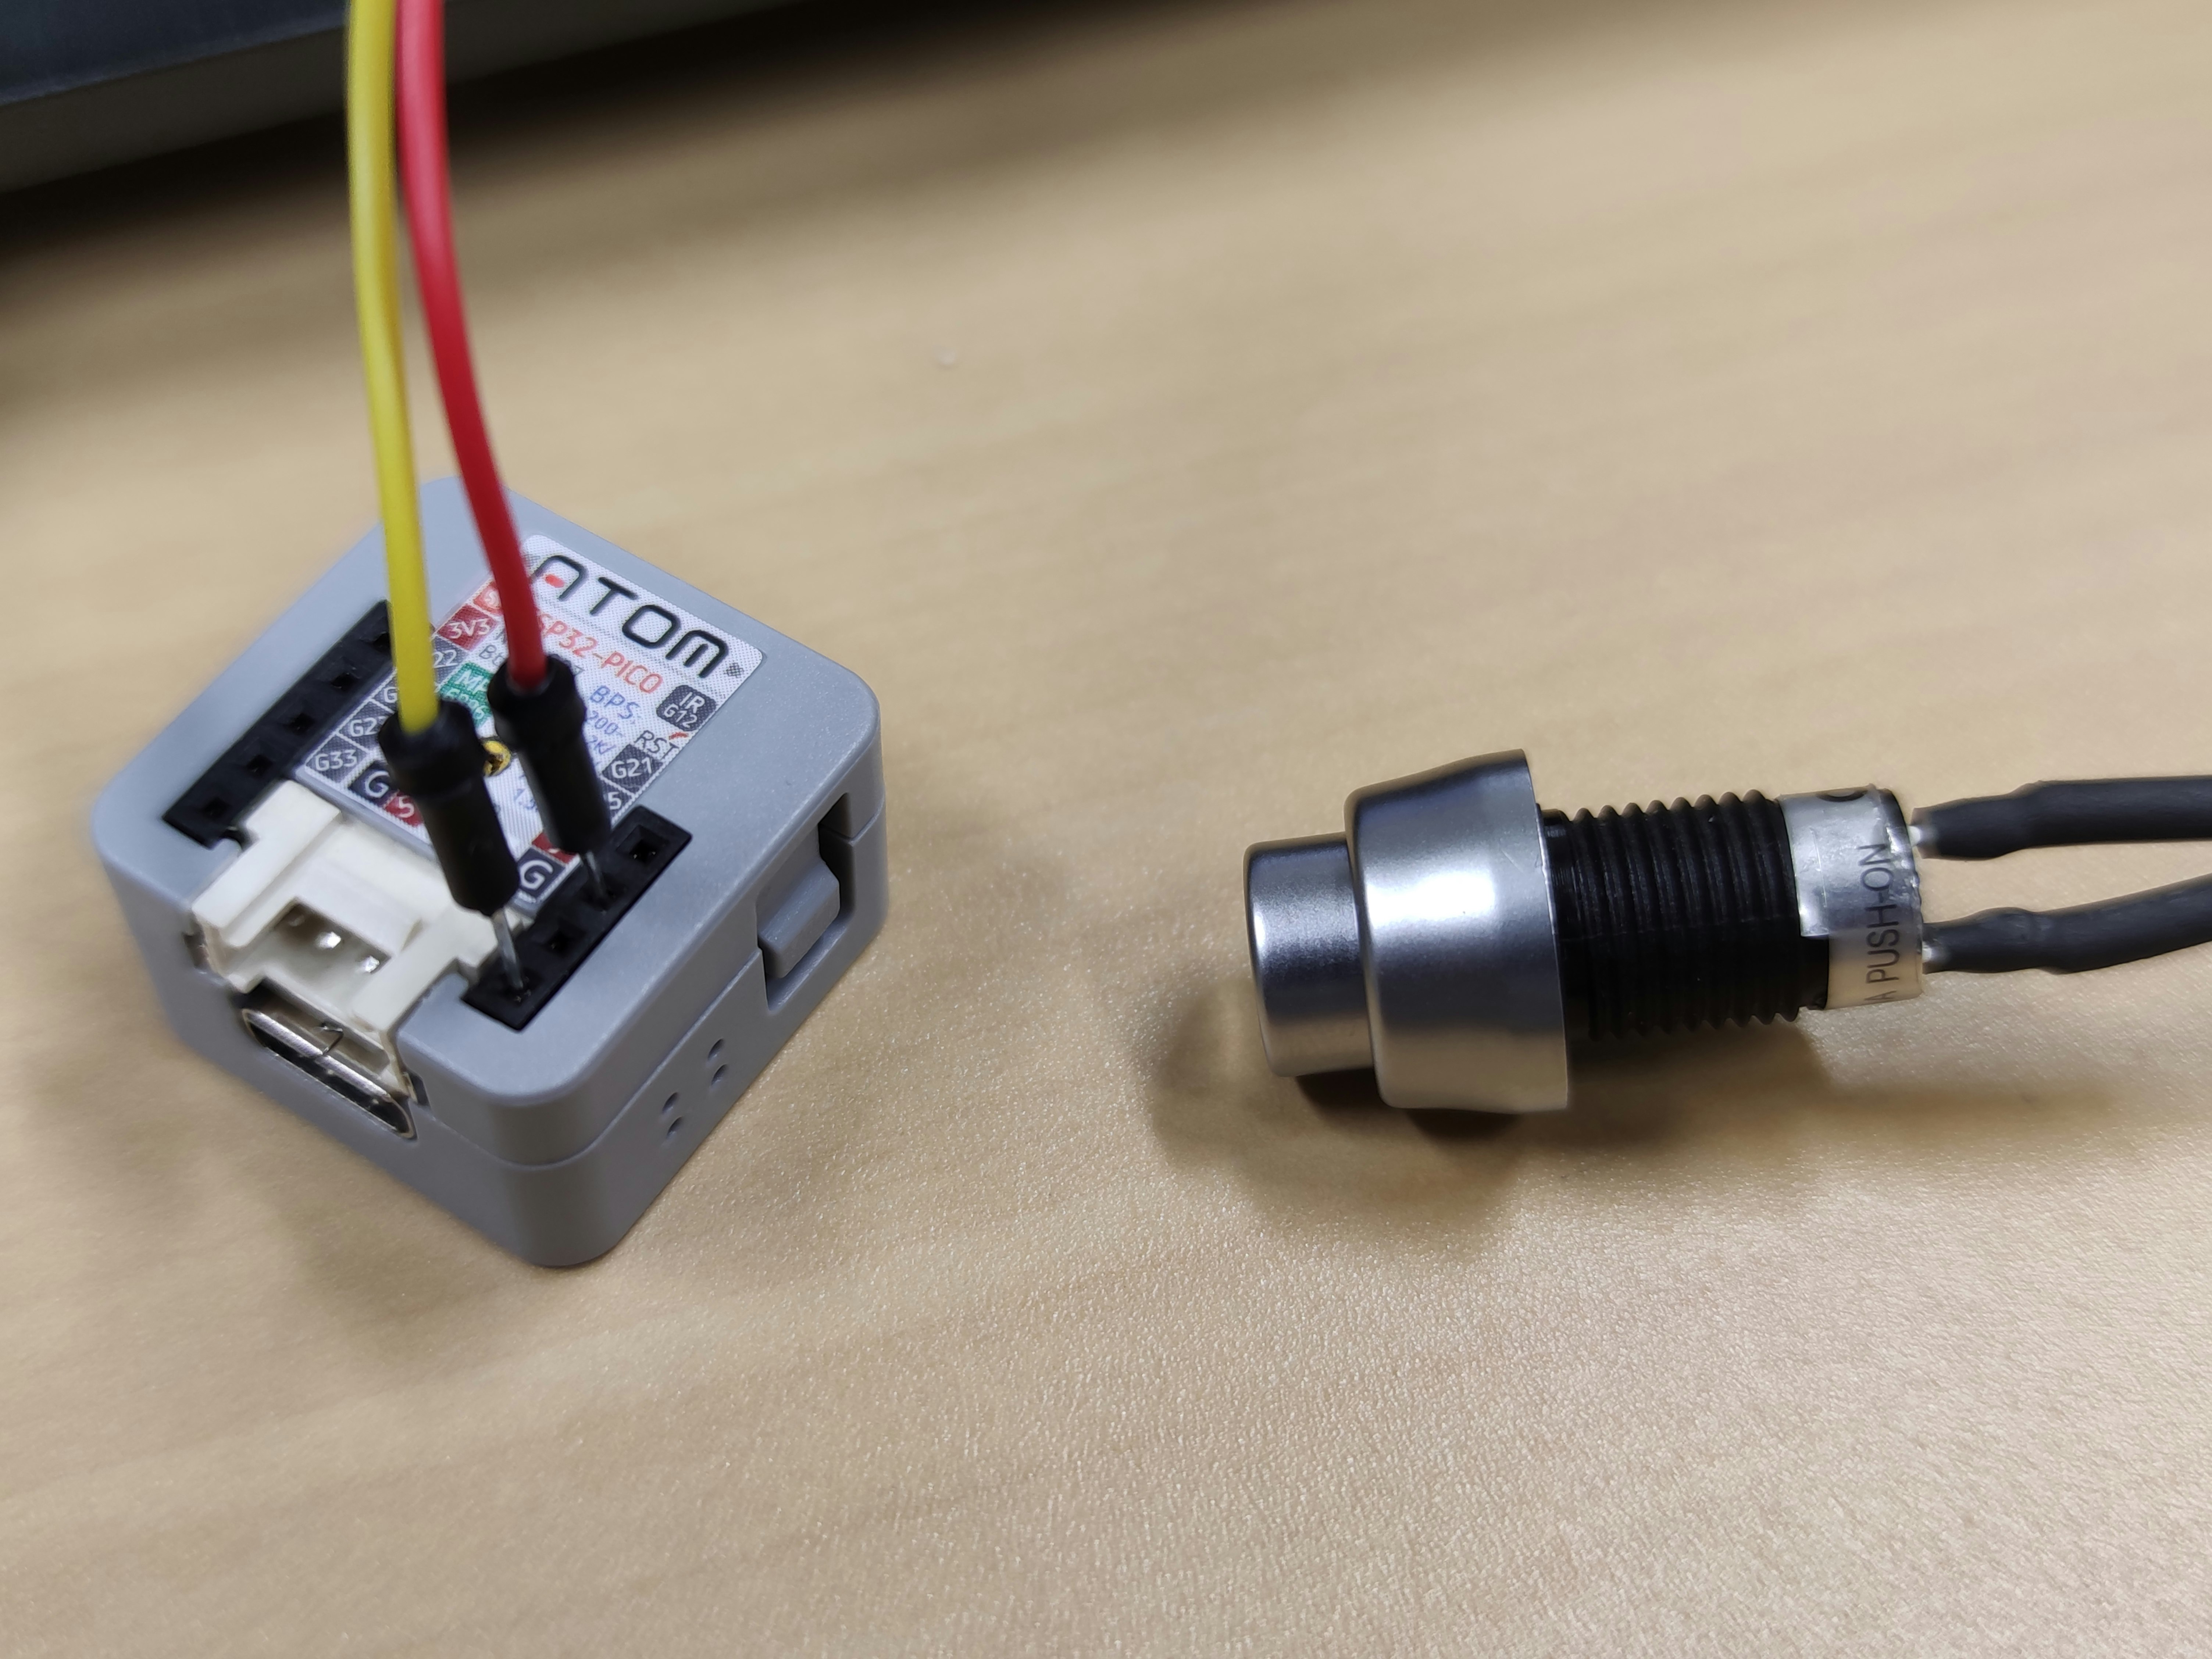
1.回路作製
pinを確認してスイッチと接続,回路を作る
今回はPIN25に接続,もう一方はG(Ground)
2.Arduino IDEでコーディング
今回はBluetoothによる接続でON/OFFの認識を送信する
# include "M5Atom.h"
# include "BluetoothSerial.h"

BluetoothSerial SerialBT;

int digitalIn = 25; //PIN:25 or 33(32)

void setup() {
  M5.begin(true, false, true); //(PINの有効化,,LEDの有効化)
  Serial.begin(115200);
  SerialBT.begin("ESP32"); //Bluetooth時の名前
  pinMode(digitalIn,INPUT_PULLUP);  //PINの設定(pinの番号,入力信号として扱う)
}

void loop(){
 /*実行できているか確認のためLEDを白く発光*/
  int x, y;
  for (x = 0; x < 5; x++){
    for (y = 0; y < 5; y++){
      M5.dis.drawpix(x, y, 0xffffff);
    }
  }

  if(digitalRead(digitalIn) == 0){  //0 = PUSH
    //Serial.println("ON"); //シリアルモニタに出力
    SerialBT.println("ON"); //send ON
  }else{
    //Serial.println("OFF"); //シリアルモニタに出力
    SerialBT.println("OFF"); // send OFF
  }
  delay(100); //動作安定のため0.1秒のディレイを入れておく
  M5.update(); //Buttonの入力結果を反映させるために必要
}
コードをコンパイル&書き込み出来たら実行されるので確認
※USB接続していないと給電されない
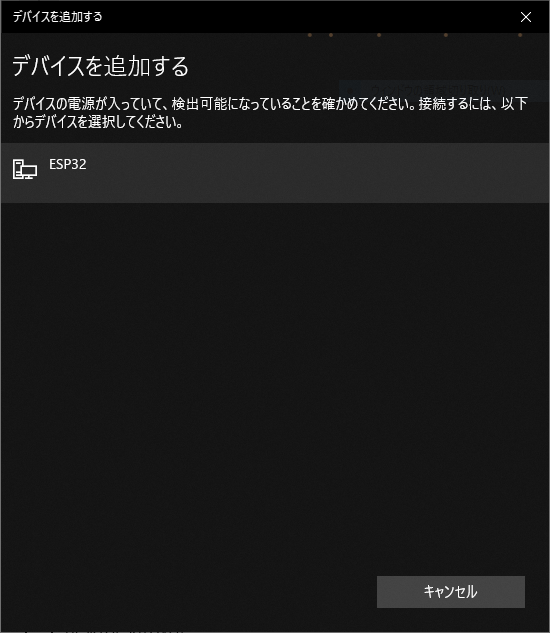
PCの設定からATOM Matrixとペアリングする
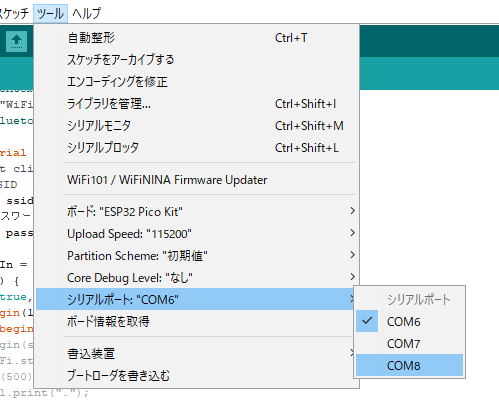
ツール/シリアルポートからBluetoothにあたるポートを選択
ここではUSB有線接続の際はCOM6,Bluetooth接続はCOM8となっていた
実行例
ON/OFFスイッチ pic.twitter.com/PNHHL8ptfZ
— ゆーま (@sagirin262) July 30, 2020
今後の展望
ここから作りたいデバイスのためにしなければならないことは
- UnityとのBluetooth or Wi-Fi接続
- UnityでのON/OFF機能の実装
- 加速度センサ,座標位置の設定,値の取得
などですね
ちょこちょこ頑張ります...😅😅
参考
・ATOM MatrixのセンサとIO
・M5Atom Matrix導入ガイド
コード類
・M5StickCのButtonクラスを調べてみた
・M5StickC非公式日本語リファレンス
・ボタン管理(Button)
・BUTTON
・Arduino 日本語リファレンス
Bluetooth
・ESP32でserial bluetooth接続
・arduinoとAndroidスマホをBluetooth連携させる
・Arduinoを始めよう!(3)Bluetooth編
・ArduinoUnoをBluetooth通信で遠隔Lチカしたい