あらまし
BeagleBoneBlackで学ぶYoctoLinuxの基礎 (4) ~VSCodeを使ったリモートデバッグ~にて、VSCodeを使ったクロスビルド・クロスデバッグ環境が構築できた。
どうも、VSCodeのExtension Remote Developmentを使うとWindows上に起動したVSCodeから透過的にデバッグが可能とのことなので、試してみることにした。

準備
- VMware上で動作するUbuntuのIPアドレスを調べておく
ip addr
- OpenSSH ServerがUbuntuにインストールされていない場合はインストールしておく
sudo apt install openssh-server
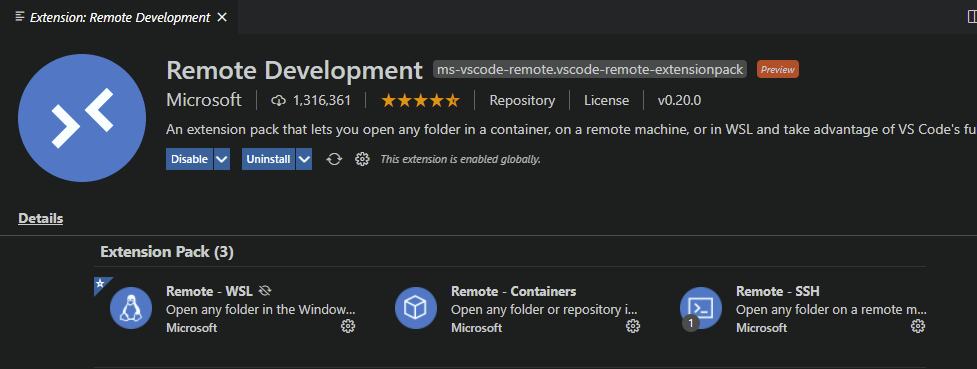
Remote Developmentのインストールと設定
SSH接続先の追加
REMOTE EXPLOERのタブで「SSH Targets」を選択し、接続先を+より新規に作成する。
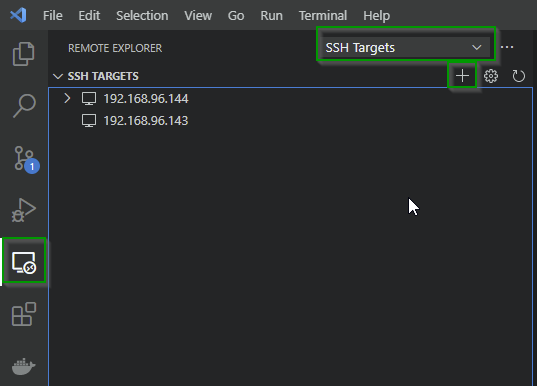
ここでは、VMware上で動作するUbuntuのIPアドレスとは、ユーザー名: root、パスワード: rootでログイン可能であるため、root@192.168.96.XXXと指定した。SSHのポートを変更している場合は明示的に指定する必要があるが、今回は標準の22を利用したため、特に指定なし。

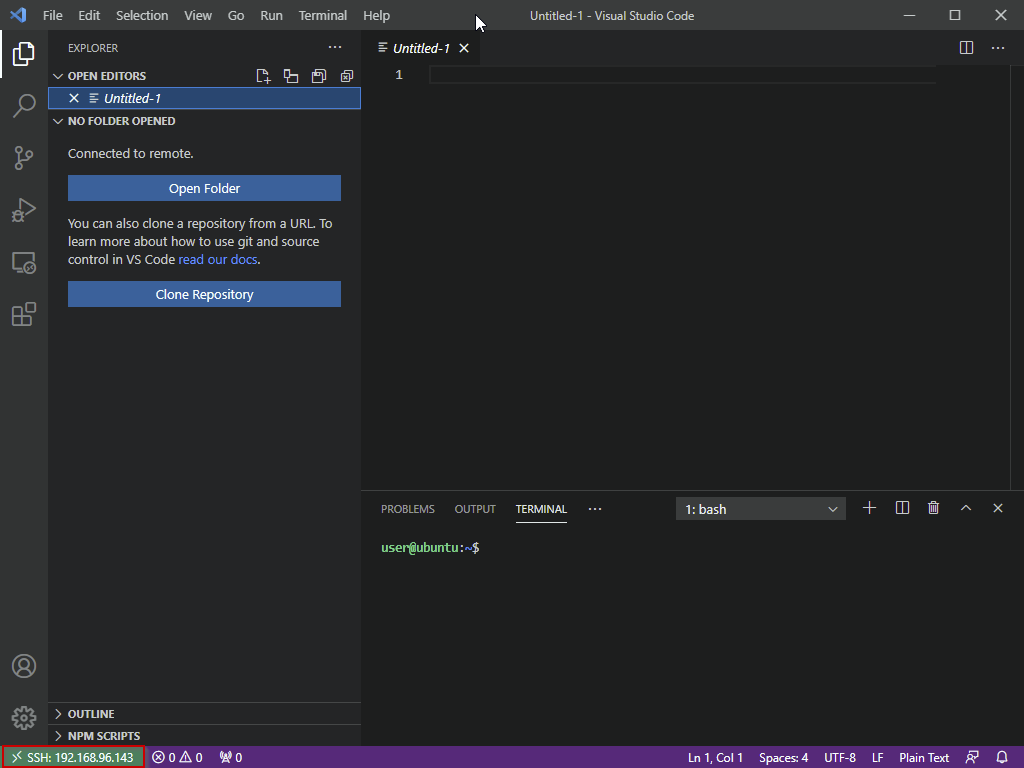
SSHで接続
SSH TARGETSの一覧に追加した接続先が登録されるため、右側のConnect to Host in New Windowを選択すると、新しくVSCodeが起動する。

接続時に、パスワードの入力が求められるため、ログインパスワードを入力する。接続に成功すると、下図の通り、右下に接続先のHostが表示される。
Open Folderより、リモート接続先の任意のフォルダを開くことが可能となる。その後、Remote環境にExtensionをインストールする。この時、接続先のVSCodeに同じExtensionがインストール済みでも、Remote Development用に別にインストールする必要がある。
ブレークしてみる
フォルダを開いた後は、Build、Debugするだけ。
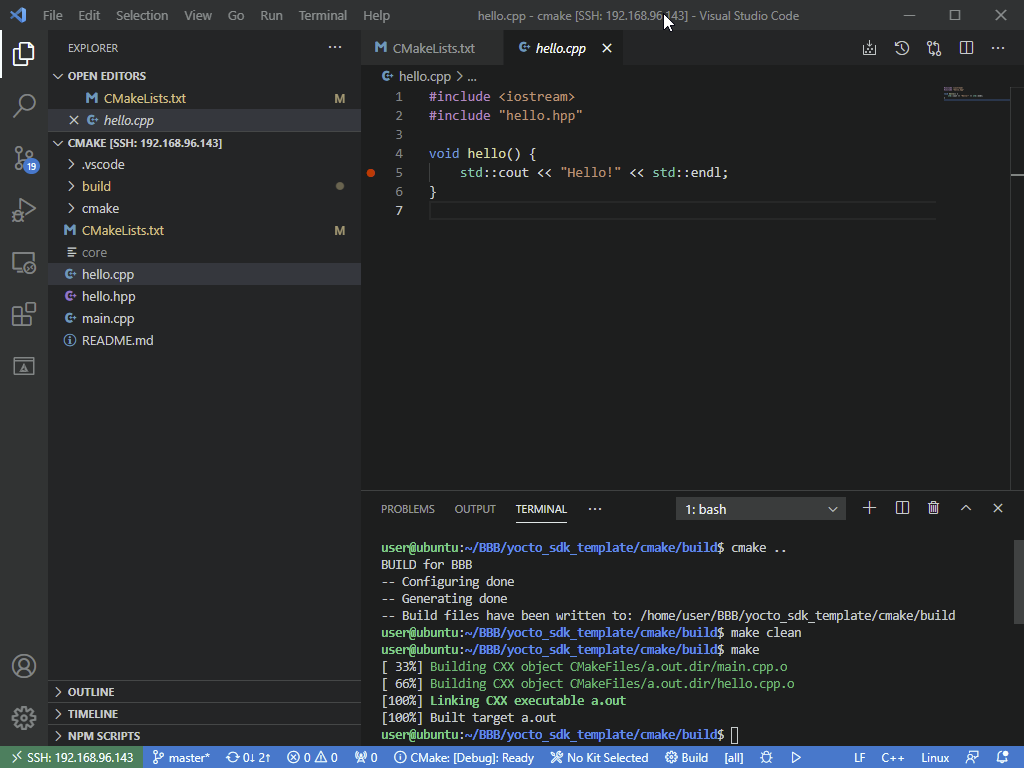
普通にブレークできちゃったよ……

まとめ
Remote Developmentは組み込みLinux環境でも非常に有効 (当たり前だが)
VSCodeは神
以上