動機
研究用にGPUを複数枚搭載したPCを組み立てたのですが、GPUが外排気仕様ということもあり、GPU温度が高かったため、GPUファンの回転数を手動で上げてみました。
環境
環境1
CPU:Ryzen 9 3900X
RAM:DDR4 64 GB(32 GB x 2)
GPU:GeForce GTX 1080Ti x 2
OS:Ubuntu 18.04 LTS
環境2
CPU:Core i9 10980XE
RAM:DDR4 128 GB(32 GB x 4)
GPU:GeForce RTC 2080Ti x 3
OS:Ubuntu 20.04 LTS
方法
ファン制御の有効化
sudo nvidia-xconfig -a --allow-empty-initial-configuration --cool-bits=31
【マルチGPUの場合のみ】画面出力のための設定
画面出力をするには、映像出力ケーブルを接続しているGPUを /etc/X11/xorg.conf 内のDevice0にする必要があります。
nvidia-smi等の使用率でディスプレイが何番目のGPUに刺さっているか確認し、Device0のPCIバス番号を映像出力ケーブルを接続しているGPUのPCIバス番号に変更してください。
※nvidia-smi で表示されるPCIバス番号は16進数ですが、xorg.conf 内で記述するPCIバス番号は10進数です。
sudo vim /etc/X11/xorg.conf
このファイルを編集する。
再起動
sudo reboot
再起動後
nvidia-settings
※SSH接続経由で設定する場合
ssh -XYC <USER NAME>@<HOST IP>
nvidia-settings -c :0
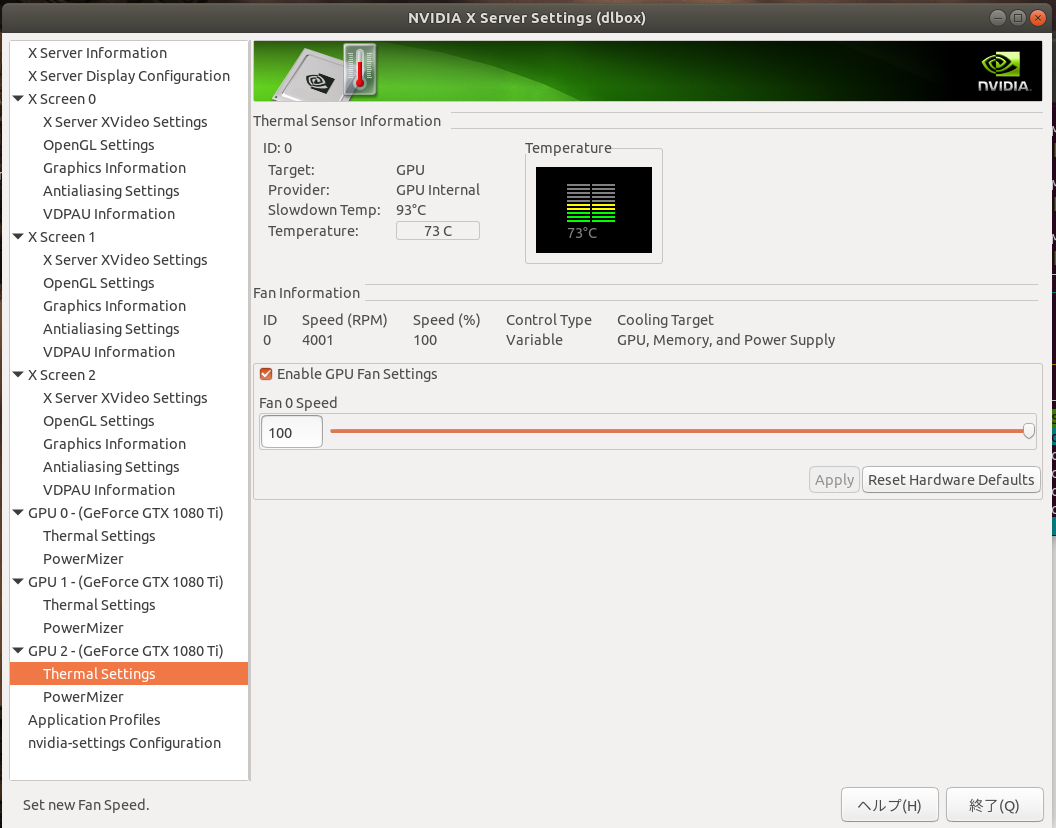
各GPUのThermal settingsでEnable GPU Fan Settingsにチェックを入れることで、
ファンの回転数を変更できます。
画面出力しなくなったときの対処法
GPUのファンをいじる場合、X11 Windowの設定ファイルをいじるため、失敗すると再起動後画面が表示されません。ただ、CUIは生きているので、下記方法で復活できます。
CUIモードへ切り替え
Ctrl+Alt+F2
ログイン
ユーザー名 → パスワードの順で入力すればログインできます
X11 Windowの設定ファイルを削除
sudo rm /etc/X11/xorg.conf
reboot
参考サイト
http://geraniums.hatenablog.com/entry/2018/01/23/165704
https://qiita.com/tttamaki/items/e40d98981d3bffeddccb
