CodeStarでDjangoアプリ作成
こちらの記事を参考にDjangoアプリを作成します。
https://qiita.com/SatoshiGachiFujimoto/items/404e45796ac4e0d7bf81
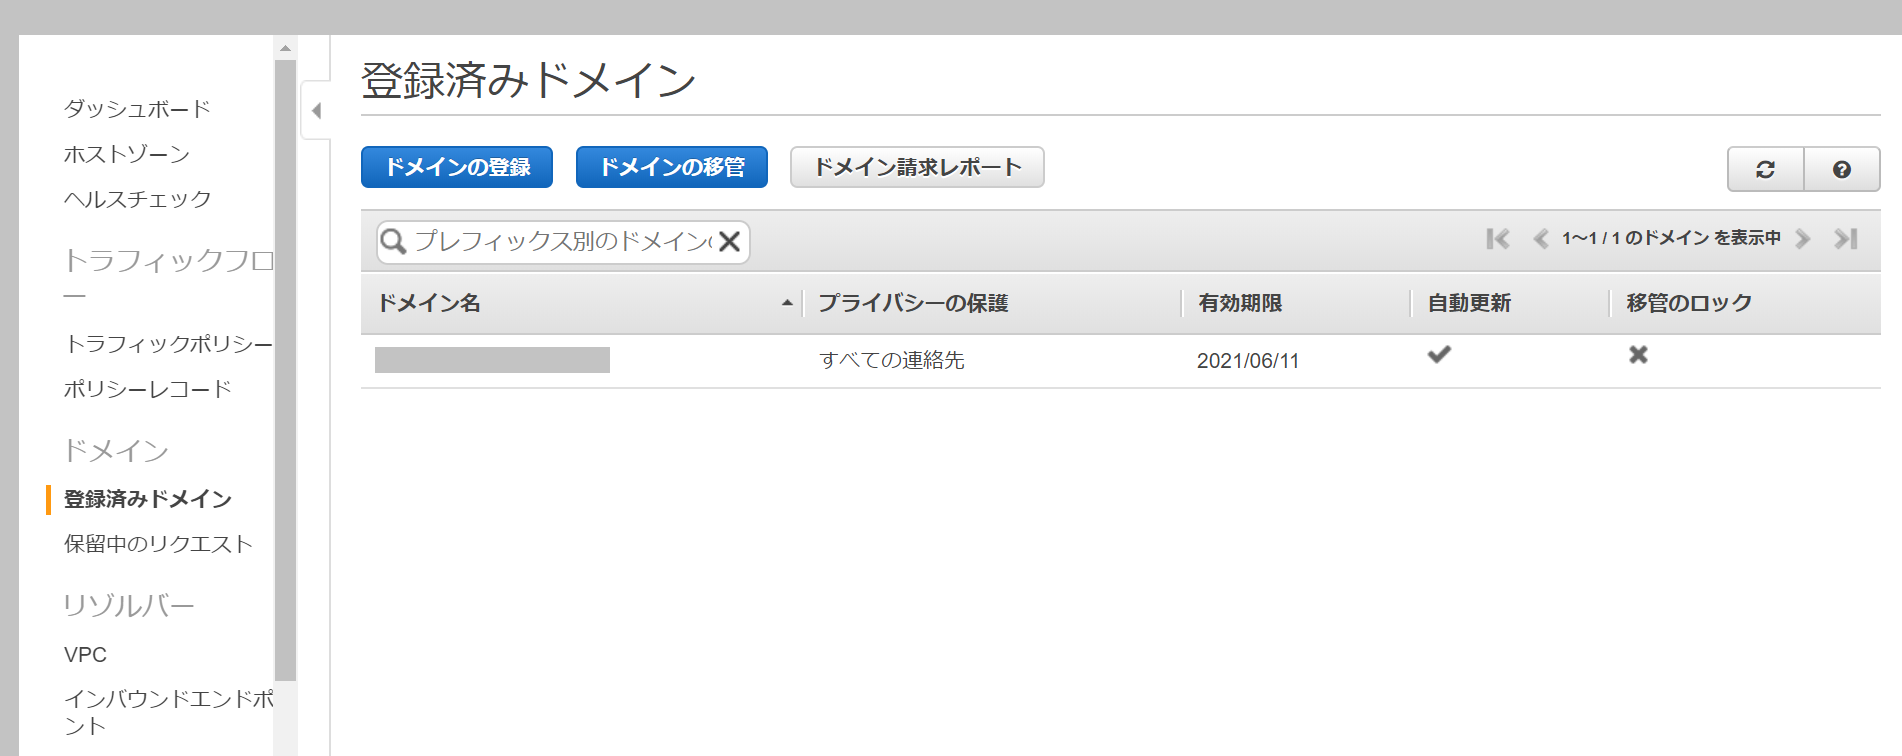
ドメイン登録
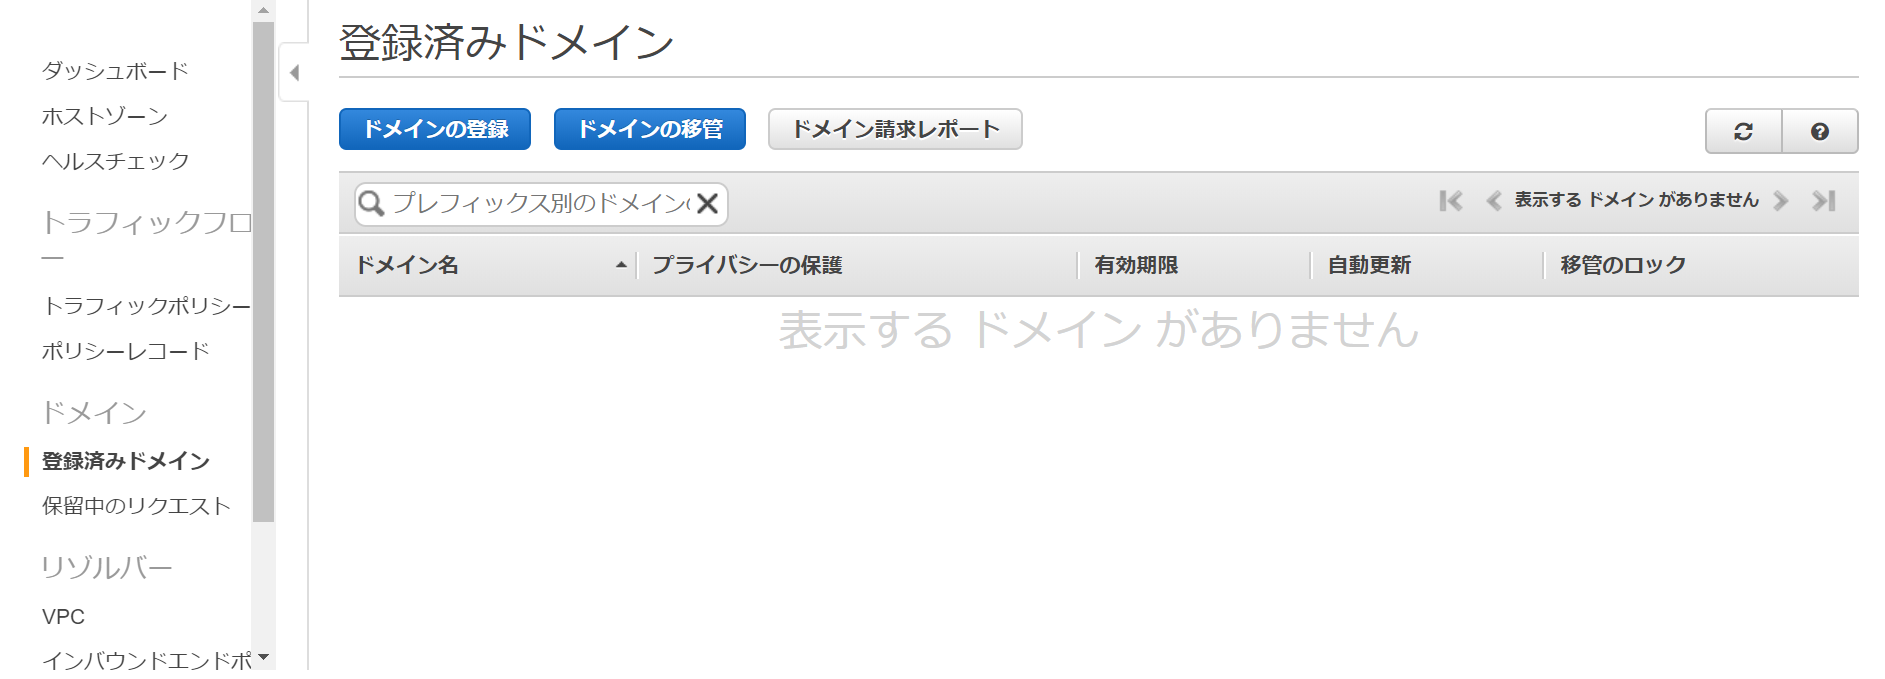
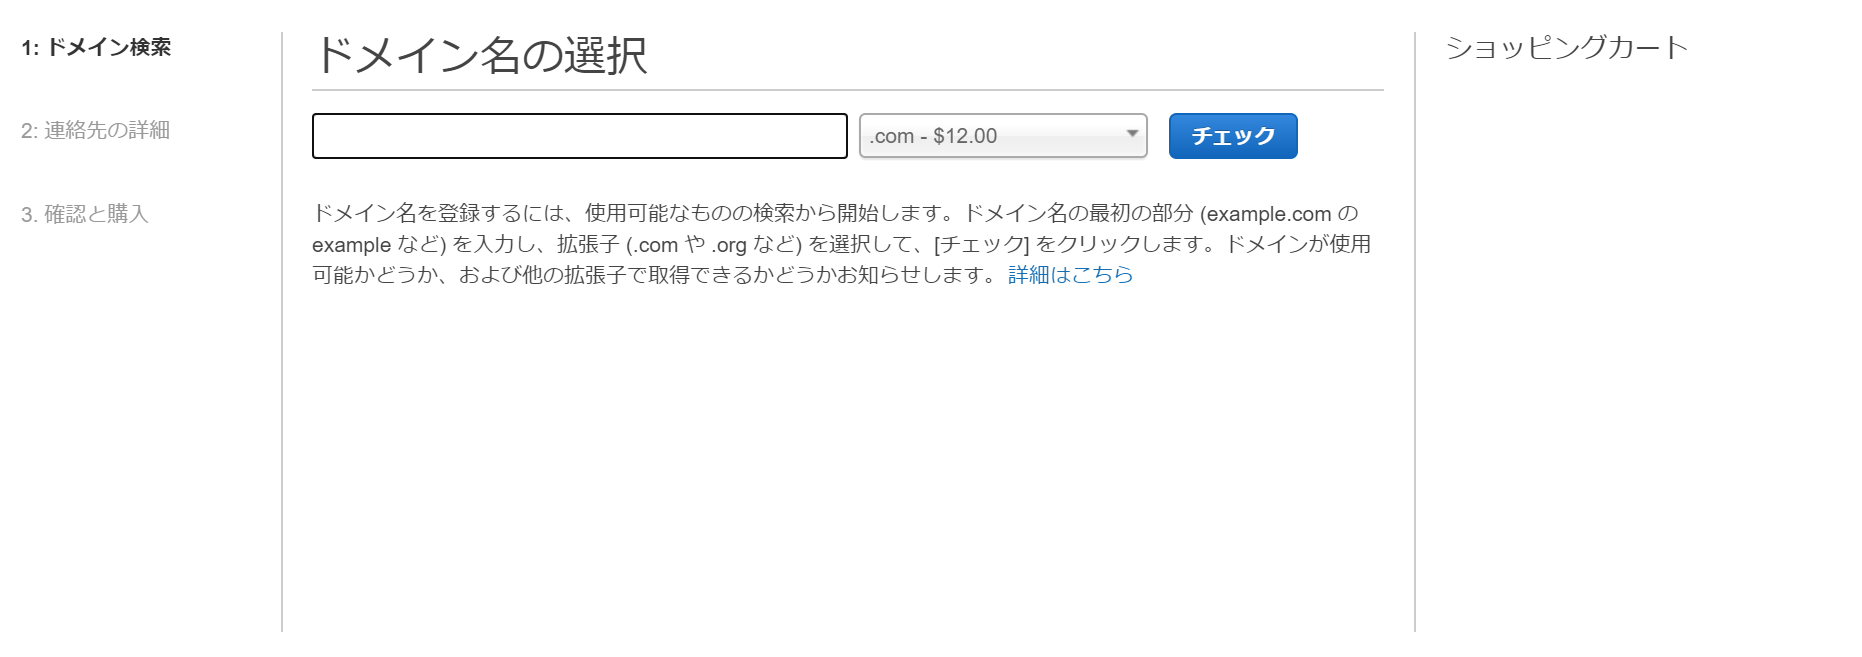
AWS ConsoleからRoute53を開きます。
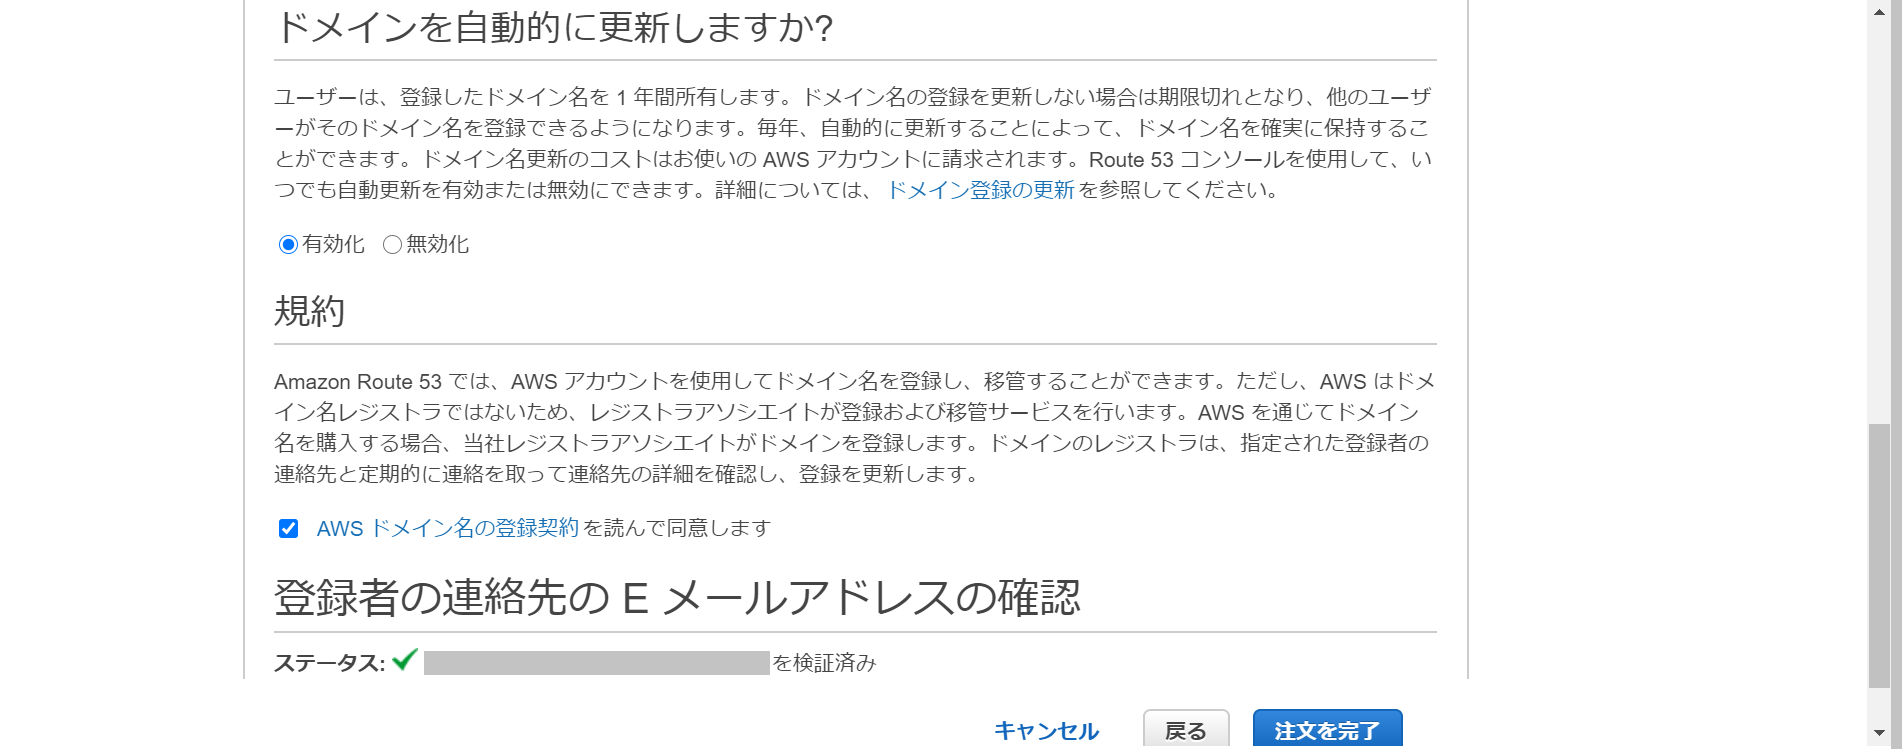
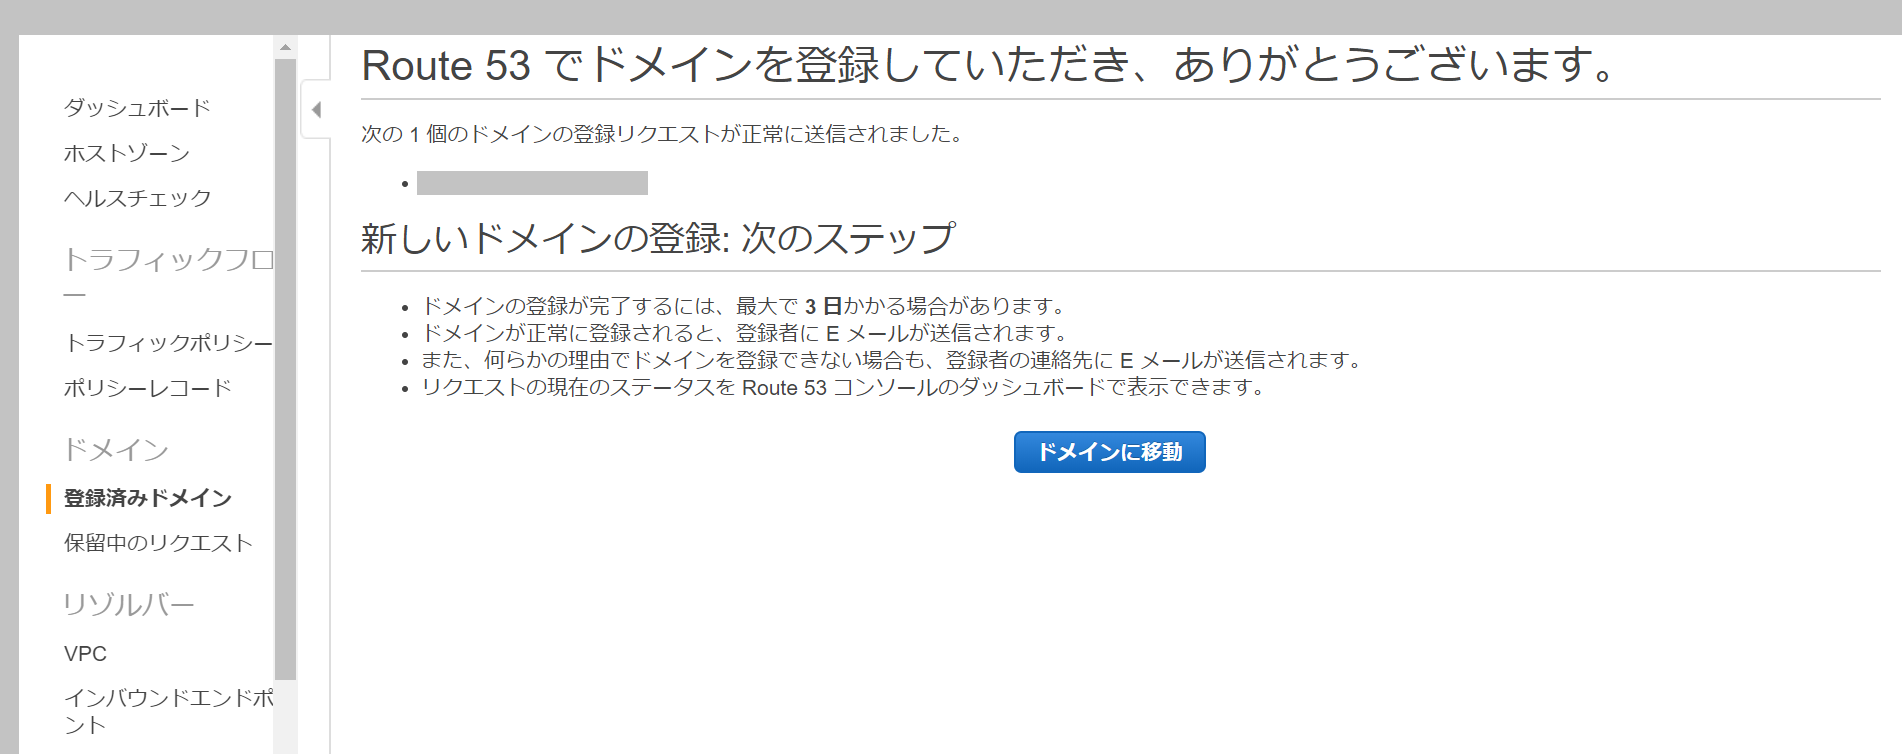
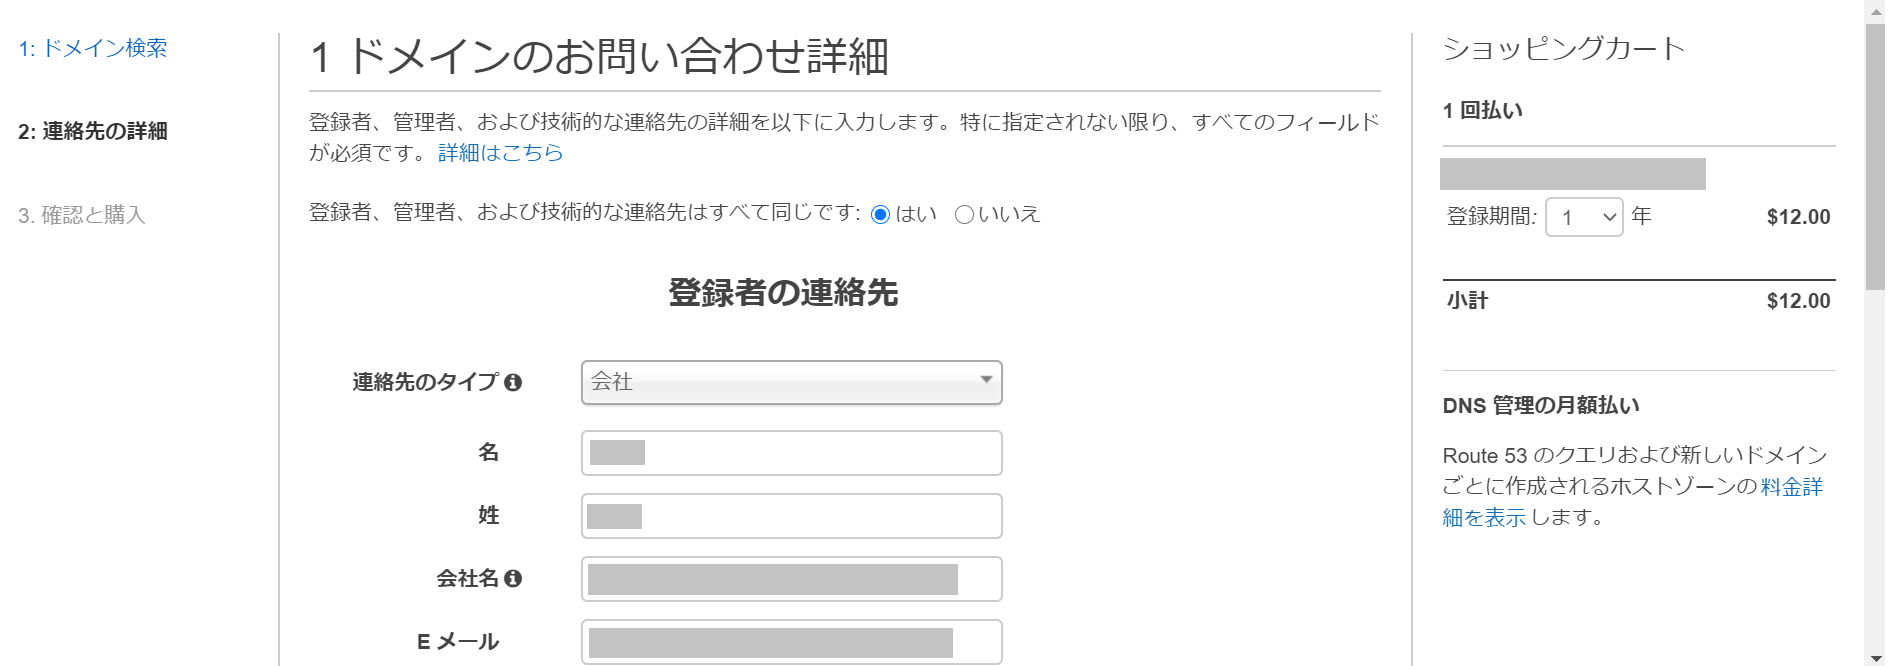
連絡先情報を入力します。メールアドレスの確認メールが来るので承認します。
CodeStarで作成したDjangoアプリケーションのEC2にこのドメインを紐づけます。EC2はElastic IPを関連付けています。
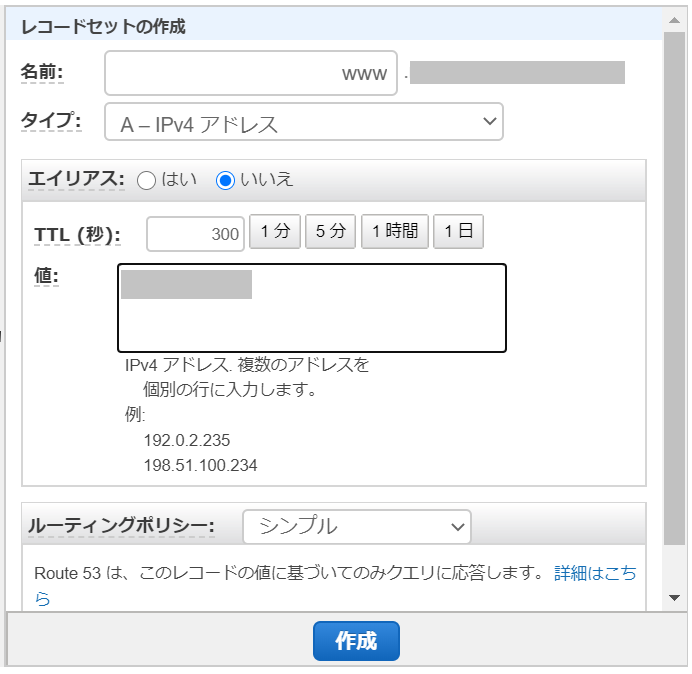
ホストゾーンからドメイン名を選択し、レコードセットの作成をクリックします。
下記を入力し、作成をクリックします。
- 名前:www
- タイプ:IPv4 アドレス
- 値:EC2で関連付けたElastic IPを入力
登録済みドメインでDjangoアプリにアクセスできれば完了です。
HTTPS化
CodeStarで作成したDjangoアプリをHTTPS化します。
PuTTYでEC2にSSH接続します。django-sslserverライブラリをインストールします。Djangoのrequirements/common.txtにも加えておきましょう。
$ sudo su
$ source /home/ec2-user/environment/bin/activate
$ pip install django-sslserver
ec2django/settings.pyを編集します。
$ cd ec2django/
$ vi settings.py
下記を追記します。
INSTALLED_APPS = [
  ...
    'sslserver',
]

SECURE_PROXY_SSL_HEADER = ('HTTP_X_FORWARDED_PROTO', 'https')
SECURE_SSL_REDIRECT = True
SESSION_COOKIE_SECURE = True
CSRF_COOKIE_SECURE = True
オレオレ証明書を作ります。
$ openssl genrsa 2048 > server.key
$ openssl req -new -key server.key > server.csr
$ openssl x509 -days 3650 -req -signkey server.key < server.csr > server.crt
supervisor.sonfを編集します。
command = /home/ec2-user/environment/bin/gunicorn -b 0.0.0.0:443 ec2django.wsgi --keyfile server.key --certfile server.crt
EC2のセキュリティーグループのインバウンドルールにHTTPSを追加します。

再起動すると、オレオレ証明書でDjangoアプリが見えると思います。
オレオレ証明書のserver.keyとserver.crtをLet's Encryptで作成したものに置き換えると良さそうです。certbotをインストールして、certbot-autoを実行し、証明書を取得しましょう。
しかし、いろいろエラーが出たので、試行錯誤しました。。
$ wget https://dl.eff.org/certbot-auto
$ chmod +x certbot-auto
$ ./certbot-auto --debug -v
$ sudo /opt/eff.org/certbot/venv/bin/pip install cryptography
$ sudo /opt/eff.org/certbot/venv/bin/pip install interface
$ sudo /opt/eff.org/certbot/venv/bin/pip install zope
$ sudo /opt/eff.org/certbot/venv/bin/pip install parsedatetime==2.5
再現性の低い記事になってしまい、すみません。試行錯誤してcertbot-autoは実行できるようになりました。certbot-autoを実行する際に、Djangoの静的ファイルの場所に認証局が認証ファイルを読みにいけるように設定する必要があるのですが、、
Djnagoが動いているサーバをletsencryptでHTTPS化
よくわからなかったので、apache(httpd)のみを入れ、certbot-autoを実行し証明書を取得しました。
AWSでDjangoのWEBサーバーを作る(Amazon Linux 2、HTTPS化)
sudo yum -y install httpd24
httpd2.2系依存のエラーが出ました。。アンインストールとかしてなんとかインストールできました。
/etc/httpd/conf/httpd.confのListen 80の下に追記します。
sudo vi /etc/httpd/conf/httpd.conf
<VirtualHost *:80>
    DocumentRoot "/var/www/html"
    ServerName "{ドメイン名}"
    ServerAlias "www.{ドメイン名}"
</VirtualHost>
apacheを起動します。
sudo service httpd start
./certbot-autoを実行し、できた.crtと.keyを置き換え、Djangoアプリを再起動で完了です。
$ sudo cp /etc/letsencrypt/live/www.ドメイン名/fullchain.pem /home/ec2-user/server.crt
$ sudo cp /etc/letsencrypt/live/www.ドメイン名/privkey.pem /home/ec2-user/server.key
$ service helloworld restart
お疲れ様でした。また最初からやったときにきれいにまとめたいと思います。
