5
0

Delete article

Deleted articles cannot be recovered.

Draft of this article would be also deleted.

Are you sure you want to delete this article?

More than 1 year has passed since last update.

はじめに

HaritoraX 使ってみたときのメモ

開発環境

  • Windows 10 PC
  • HaritoraX Configurator 0.3.4
  • バーチャルモーションキャプチャー 0.50f1
  • バーチャルモーションキャプチャー 0.50r1

1.HaritoraXの電源を入れ、装着する(充電約4時間半)

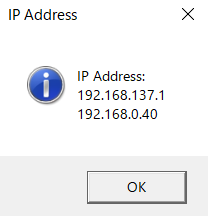
2.Quest2とPCをOculus Air Linkで繋ぐ
PCからOculusソフトウェアを起動、Air Linkをオンにしておく
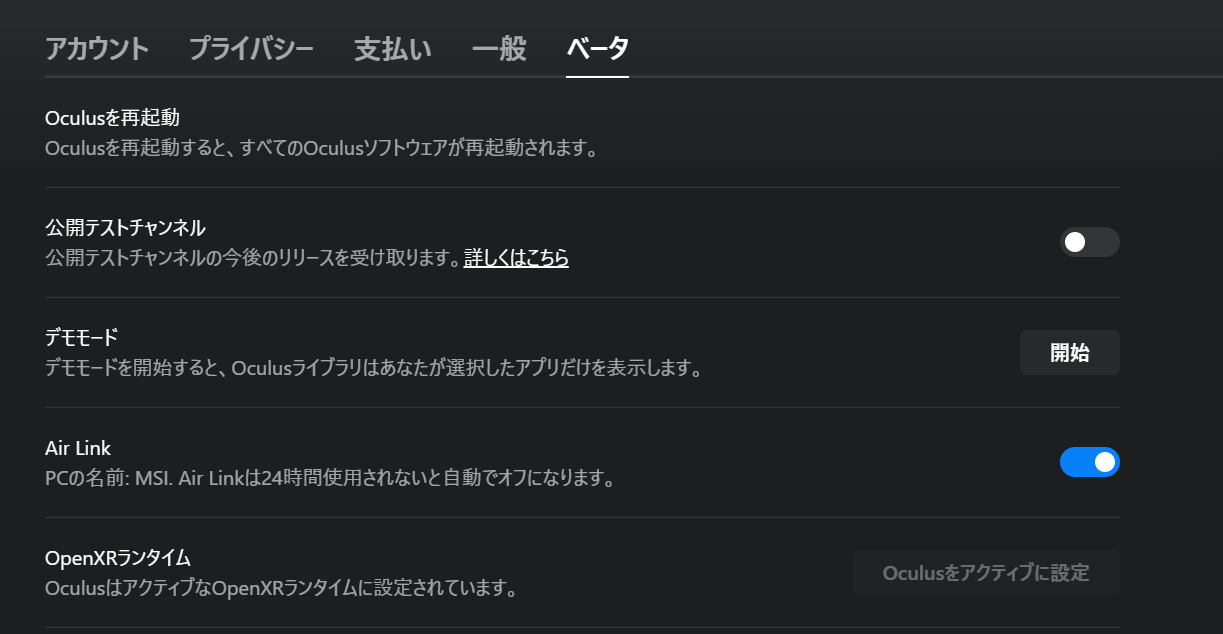
image.png

Quest2の設定、Oculus Air LinkからPCとペアリング

3.SteamVRを起動し、Quest2とコントローラーの接続を確認する
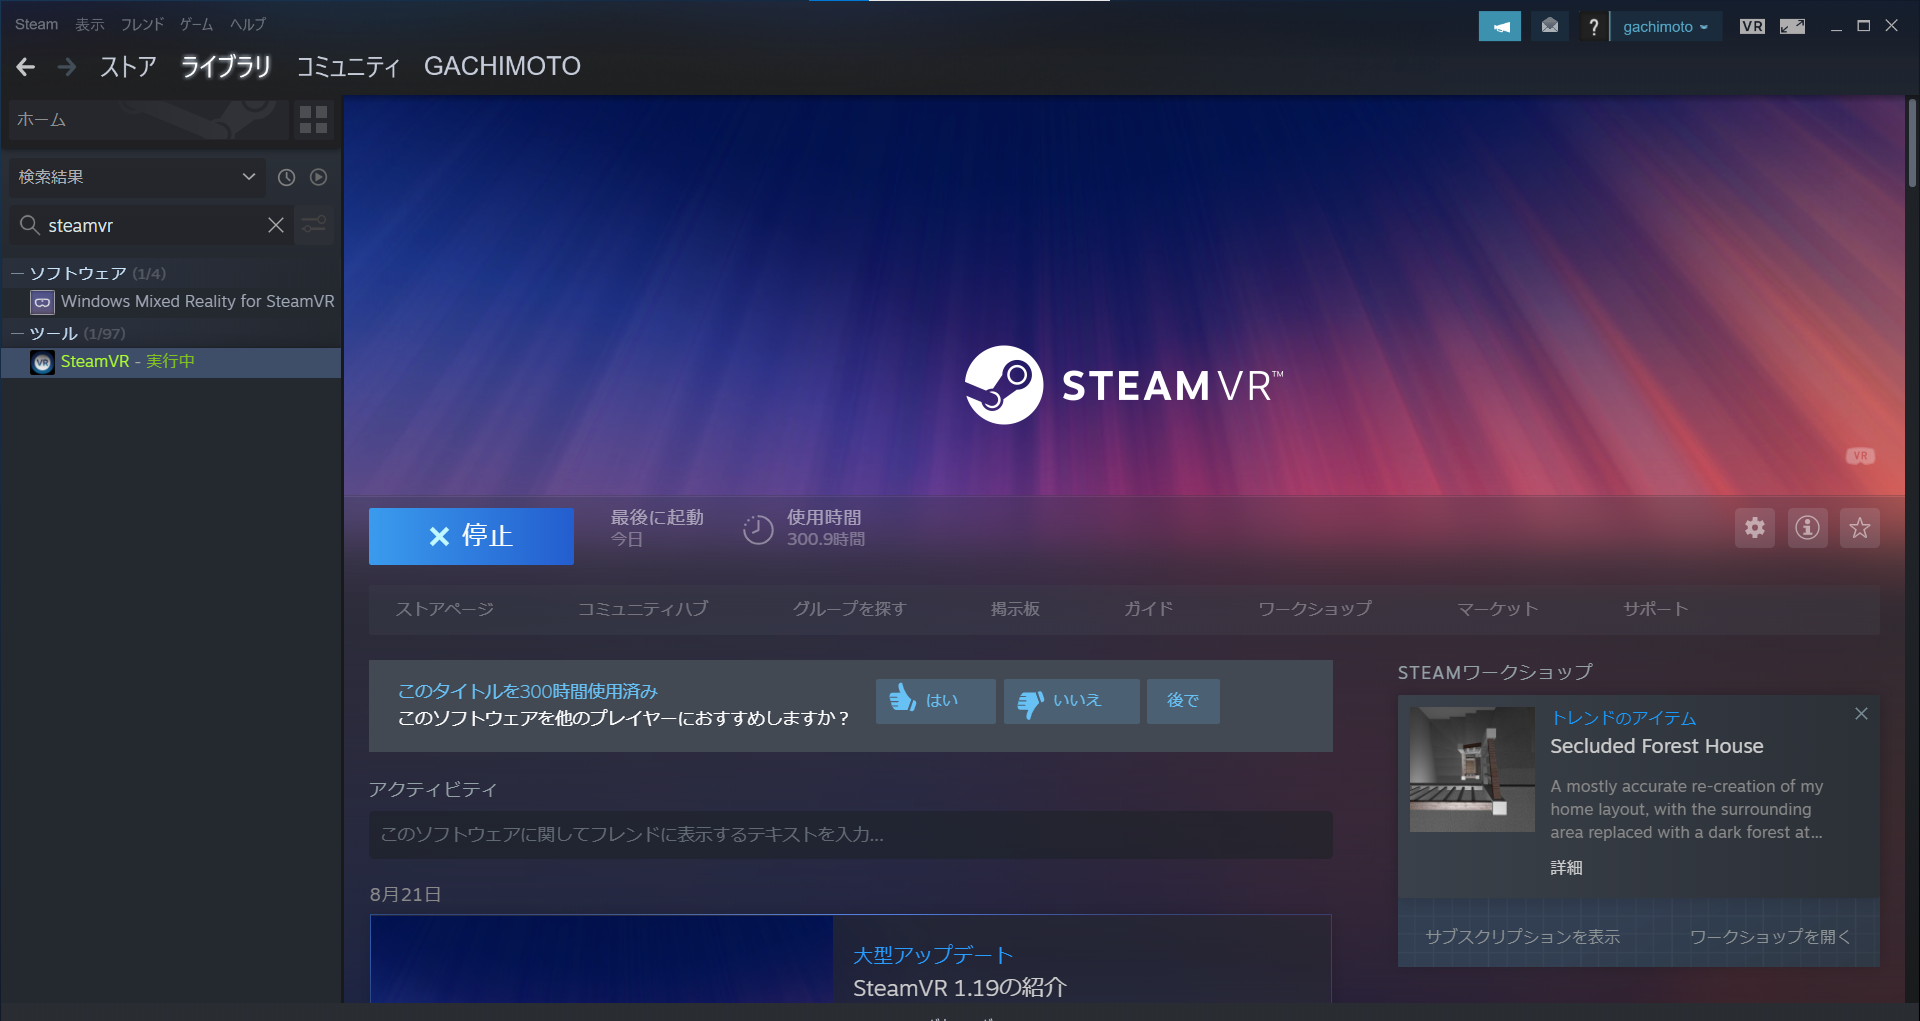
image.png

4.HaritoraX Configuratorを開き、接続の確認およびキャリブレーションを行う

はじめる
image.png

SteamVR接続確認
image.png

BluetoothでPCとペアリング
image.png

キャリブレーション、ヘッドセットしていると見えないので、SteamVRのデスクトップからPC画面を確認する
直立で10秒、膝を曲げて10秒じっとする

5.バーチャルモーションキャプチャーを起動する
https://sh-akira.booth.pm/items/999760

VRMファイル読み込み、VRoidHubからも連携して読み込める
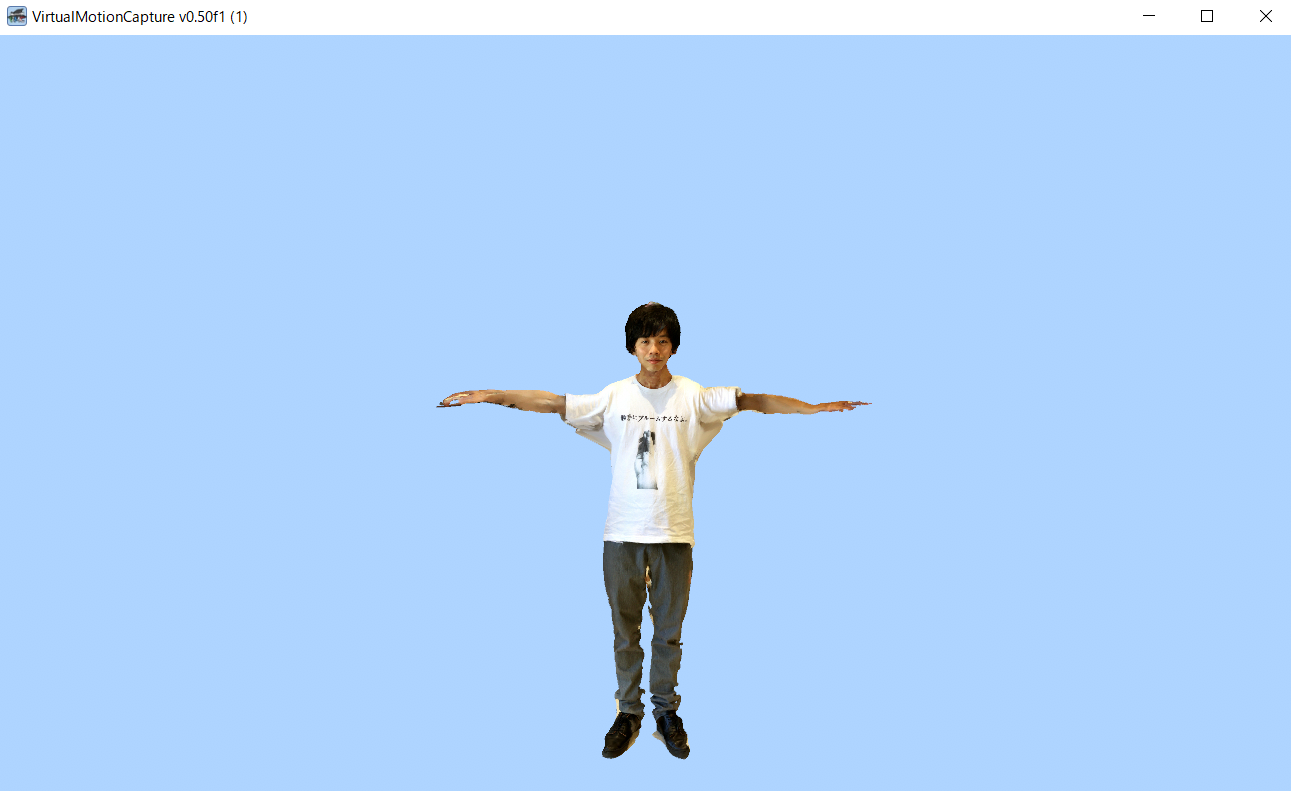
image.png

Tポーズしてキャリブレーションする

image.png

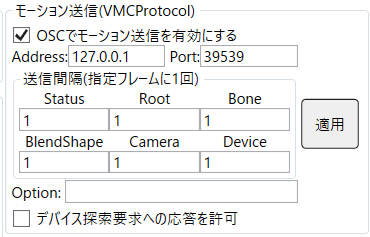
バーチャルモーションキャプチャー 0.50 先行リリース

OSCで送信できるようになる

image.png

https://keiki002.com/vr/vmc-emote/#i-3
Unityで受信し、アニメーションとして記録

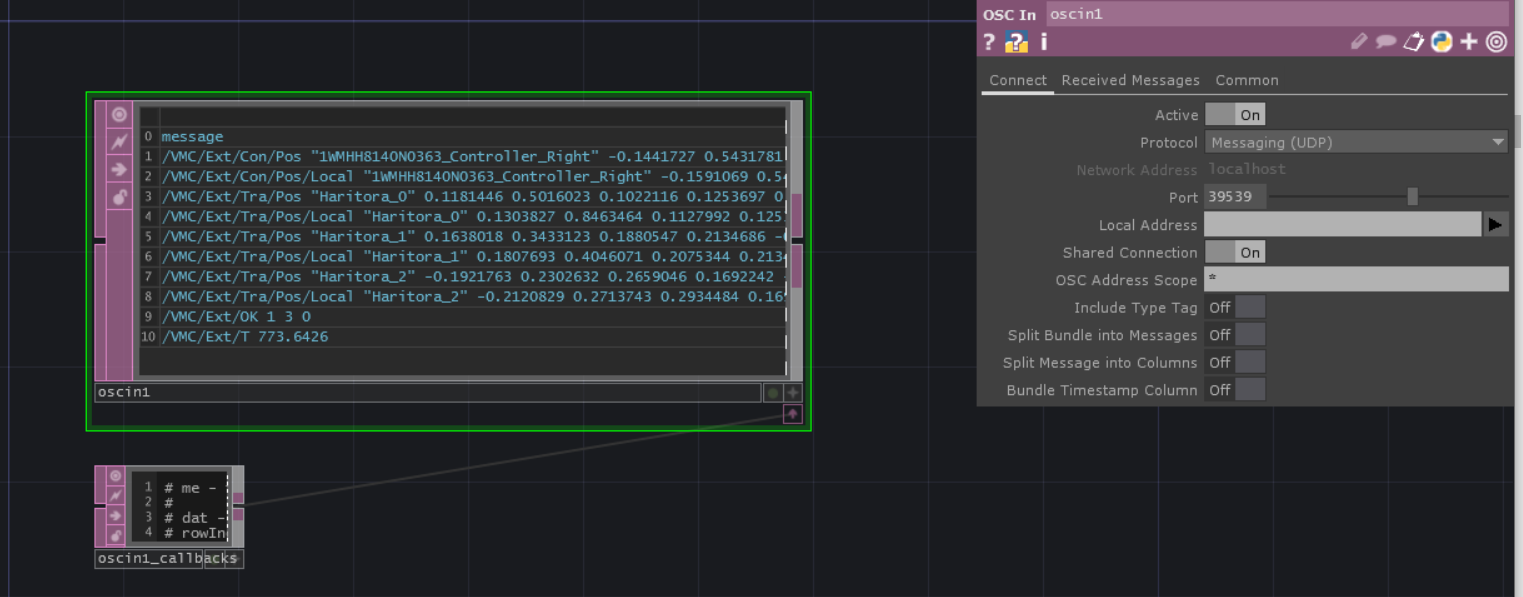
TouchDesignerのOSC Inでも受信できた
image.png

5
0
0

Register as a new user and use Qiita more conveniently

  1. You get articles that match your needs
  2. You can efficiently read back useful information
  3. You can use dark theme
What you can do with signing up
5
0

Delete article

Deleted articles cannot be recovered.

Draft of this article would be also deleted.

Are you sure you want to delete this article?