はじめに
BodyPixをやっていきます。
PiPyでBodyPixをインストールしてPythonで使えるようにしているツワモノがいるんやで。まぁ、今なら情報が出回ってるしあんまり苦労しなさそう。ResNet版ならめちゃキレイだし。https://t.co/WWxg9NQH93
— Super PINTO (@PINTO03091) May 23, 2021
開発環境
- Windows 10
- Python 3.6
- anaconda
導入
1.anacondaでPython3.6環境を作り、ライブラリをインストールします。
pip install tf-bodypix
pip install tensorflow
pip install tfjs-graph-converter
2.下記のコードを書いて、入力画像を用意します。
import tensorflow as tf
from tf_bodypix.api import download_model, load_model, BodyPixModelPaths

bodypix_model = load_model(download_model(
    BodyPixModelPaths.MOBILENET_FLOAT_50_STRIDE_16
))

root = "input-image"
ext = ".jpg"

image = tf.keras.preprocessing.image.load_img(
    f'./input/{root}{ext}'
)
image_array = tf.keras.preprocessing.image.img_to_array(image)
result = bodypix_model.predict_single(image_array)
mask = result.get_mask(threshold=0.75)
tf.keras.preprocessing.image.save_img(
    f'./output/{root}-mask{ext}',
    mask
)

colored_mask = result.get_colored_part_mask(mask)
tf.keras.preprocessing.image.save_img(
    f'./output/{root}-colored-mask{ext}',
    colored_mask
)
実行結果
| 入力 | マスク画像 | マスク画像(カラー) |
|---|---|---|
 |
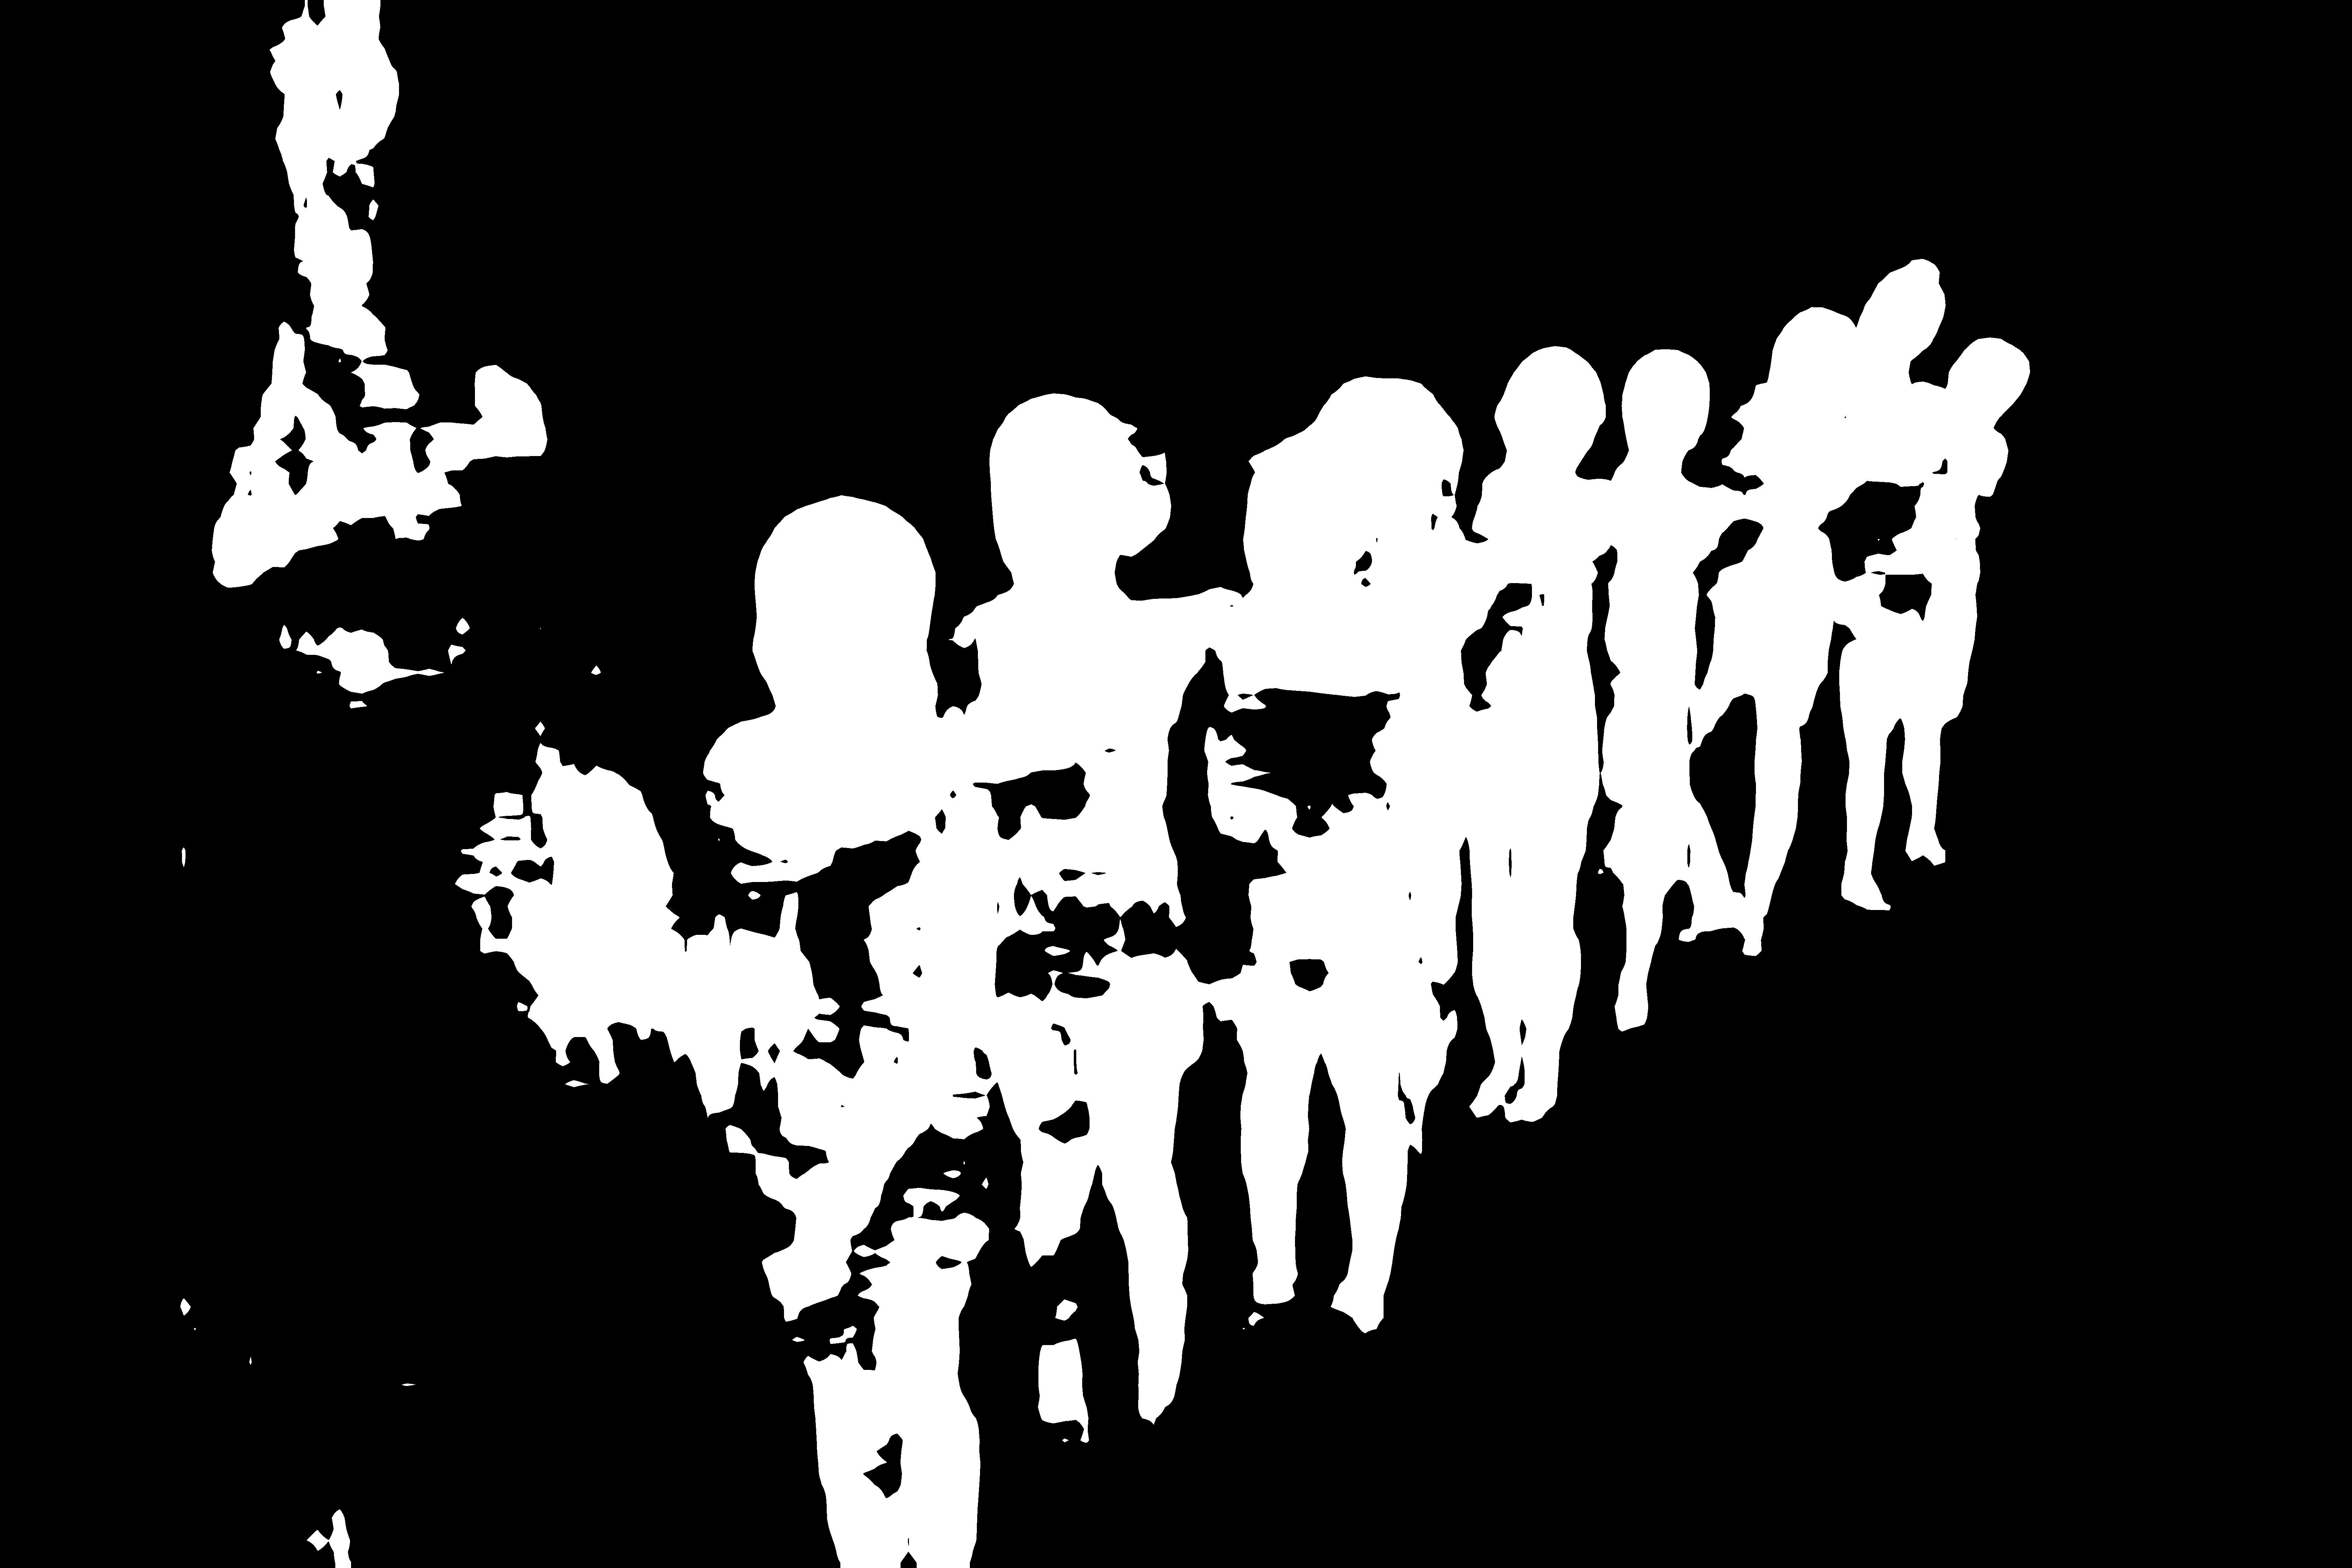 |
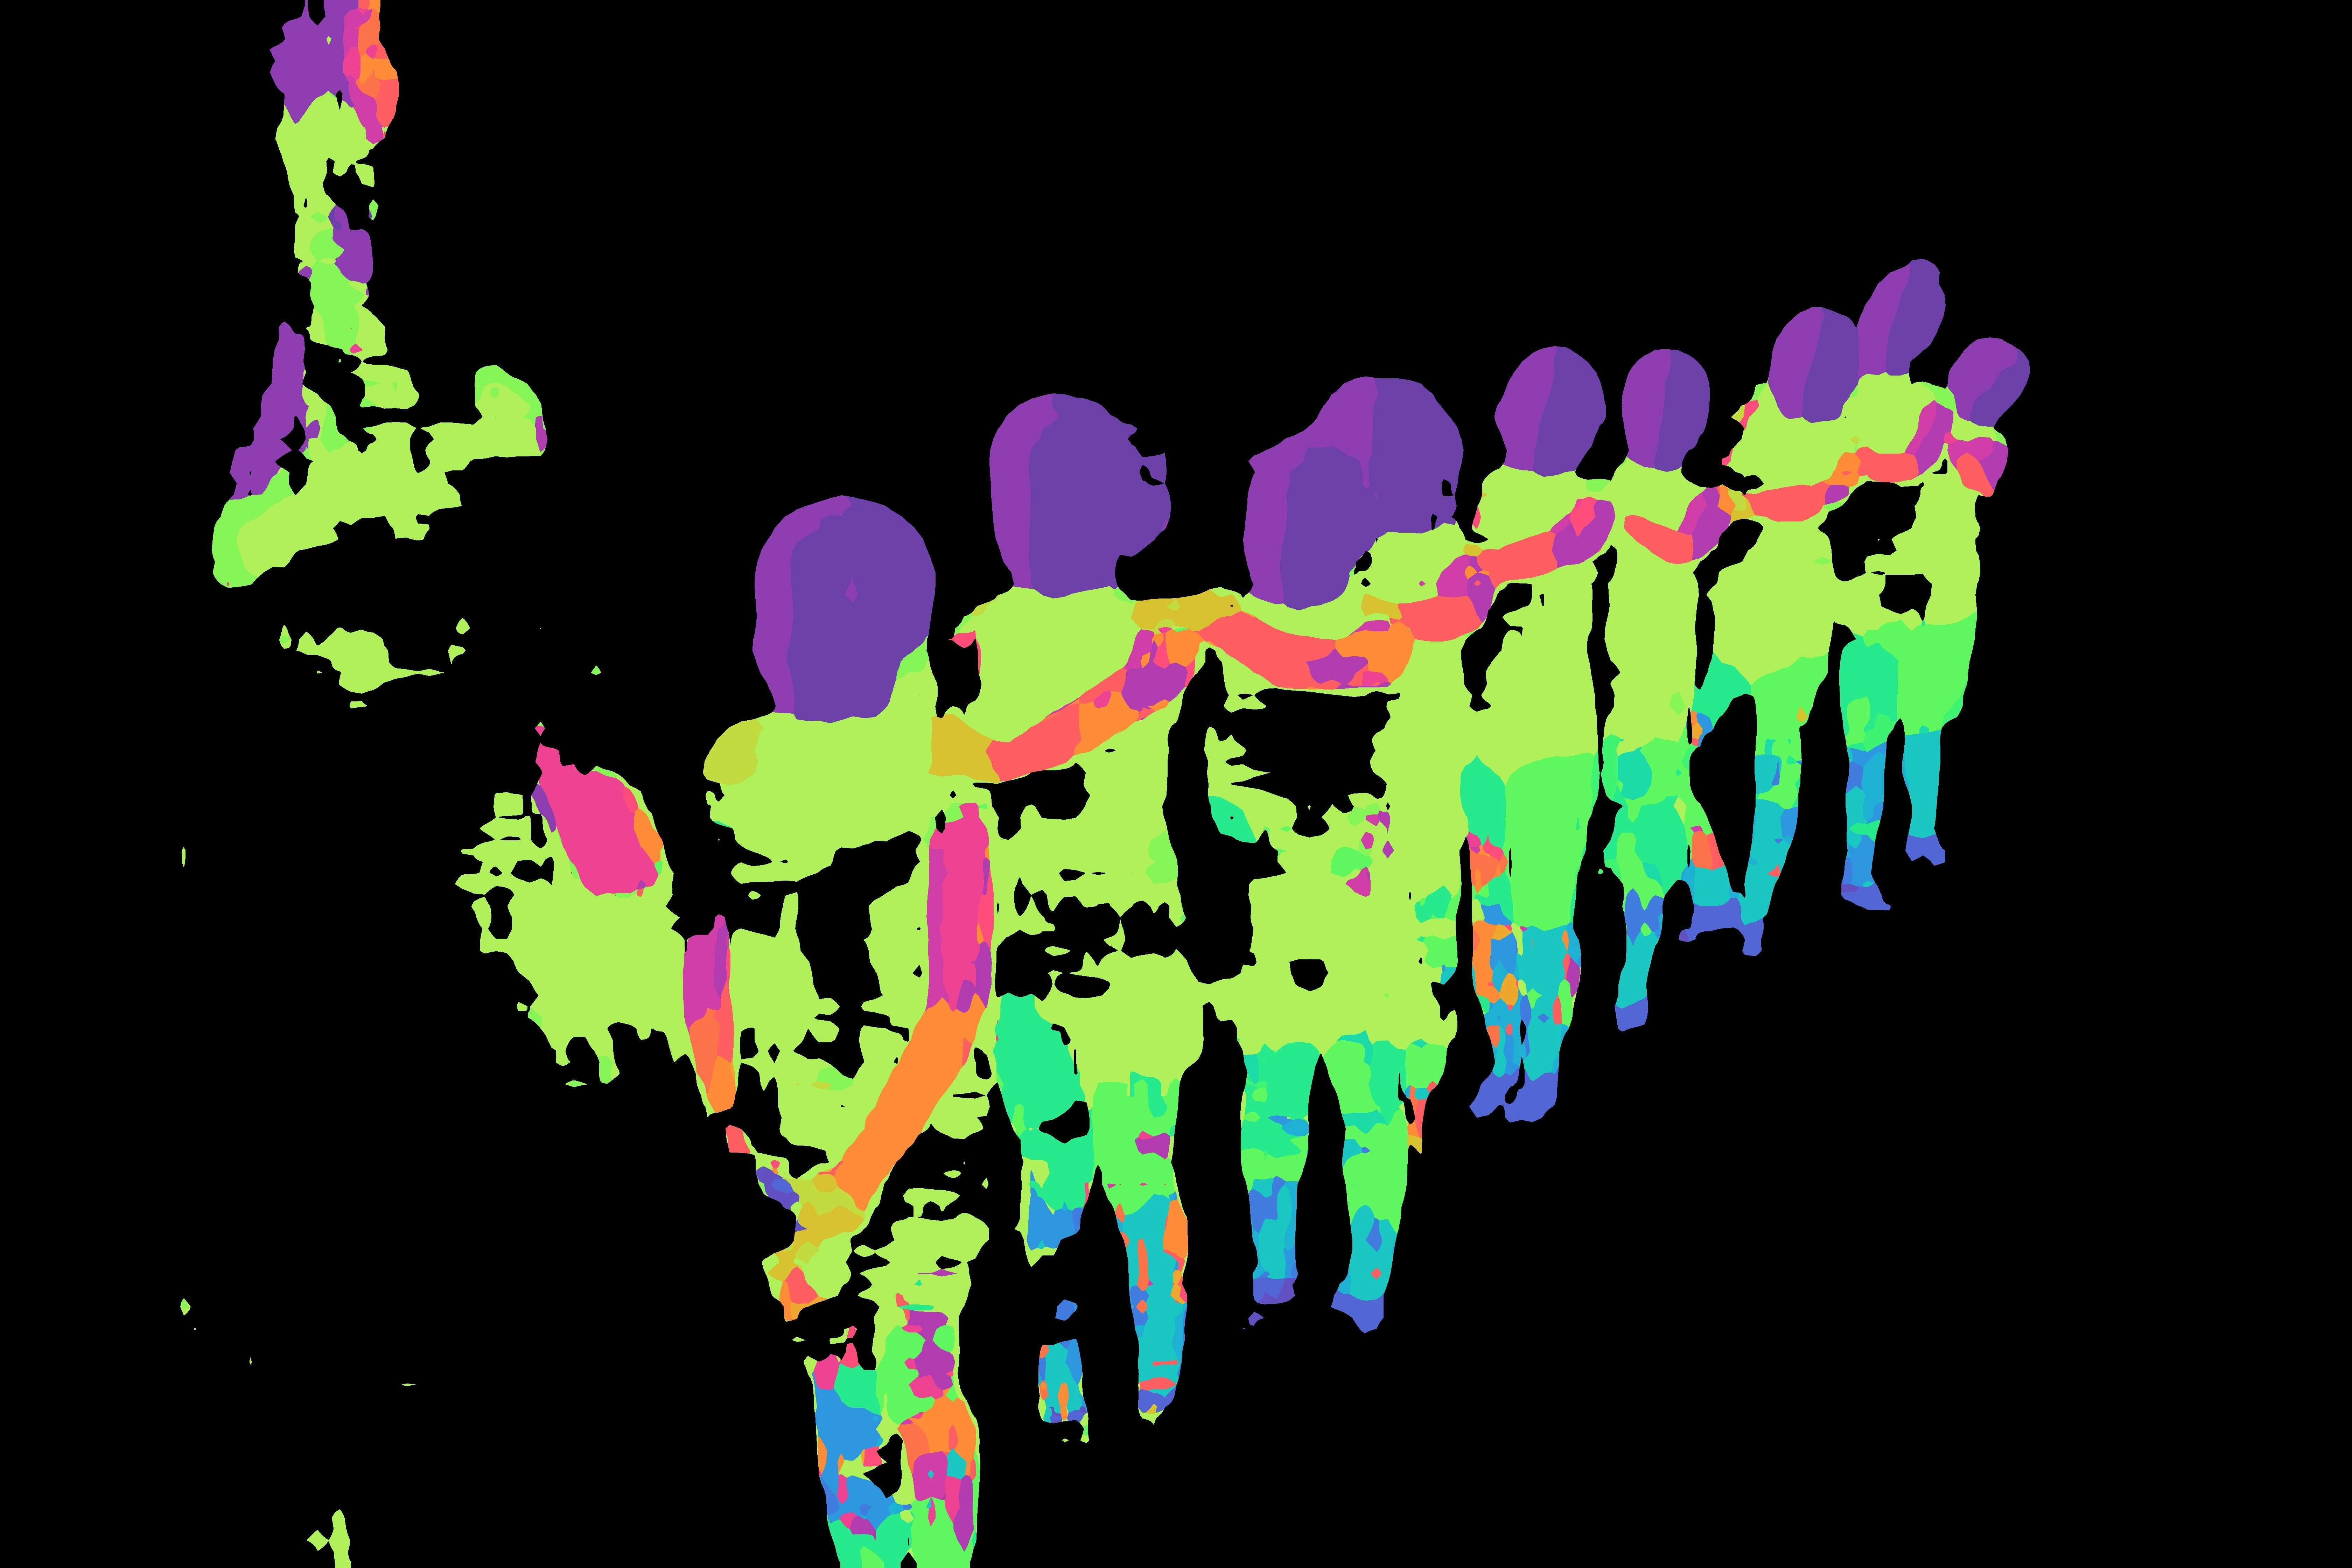 |
お疲れ様でした