前置き
自宅環境にて行った作業記録メモです。
仕事にて使用した事の無い言語やバージョンでの開発し、メモを残す事を目的として作成しております。
今更な事や非効率な事をやっている可能性もありますがご容赦下さい。
環境
Windows10
Python 3.7.4
Django 3.0.2
Eclipse 2019-12 Ultimate Full Version
Eclipseダウンロード、展開
ダウンロードして7zipでローカル直下に解凍、以上!!
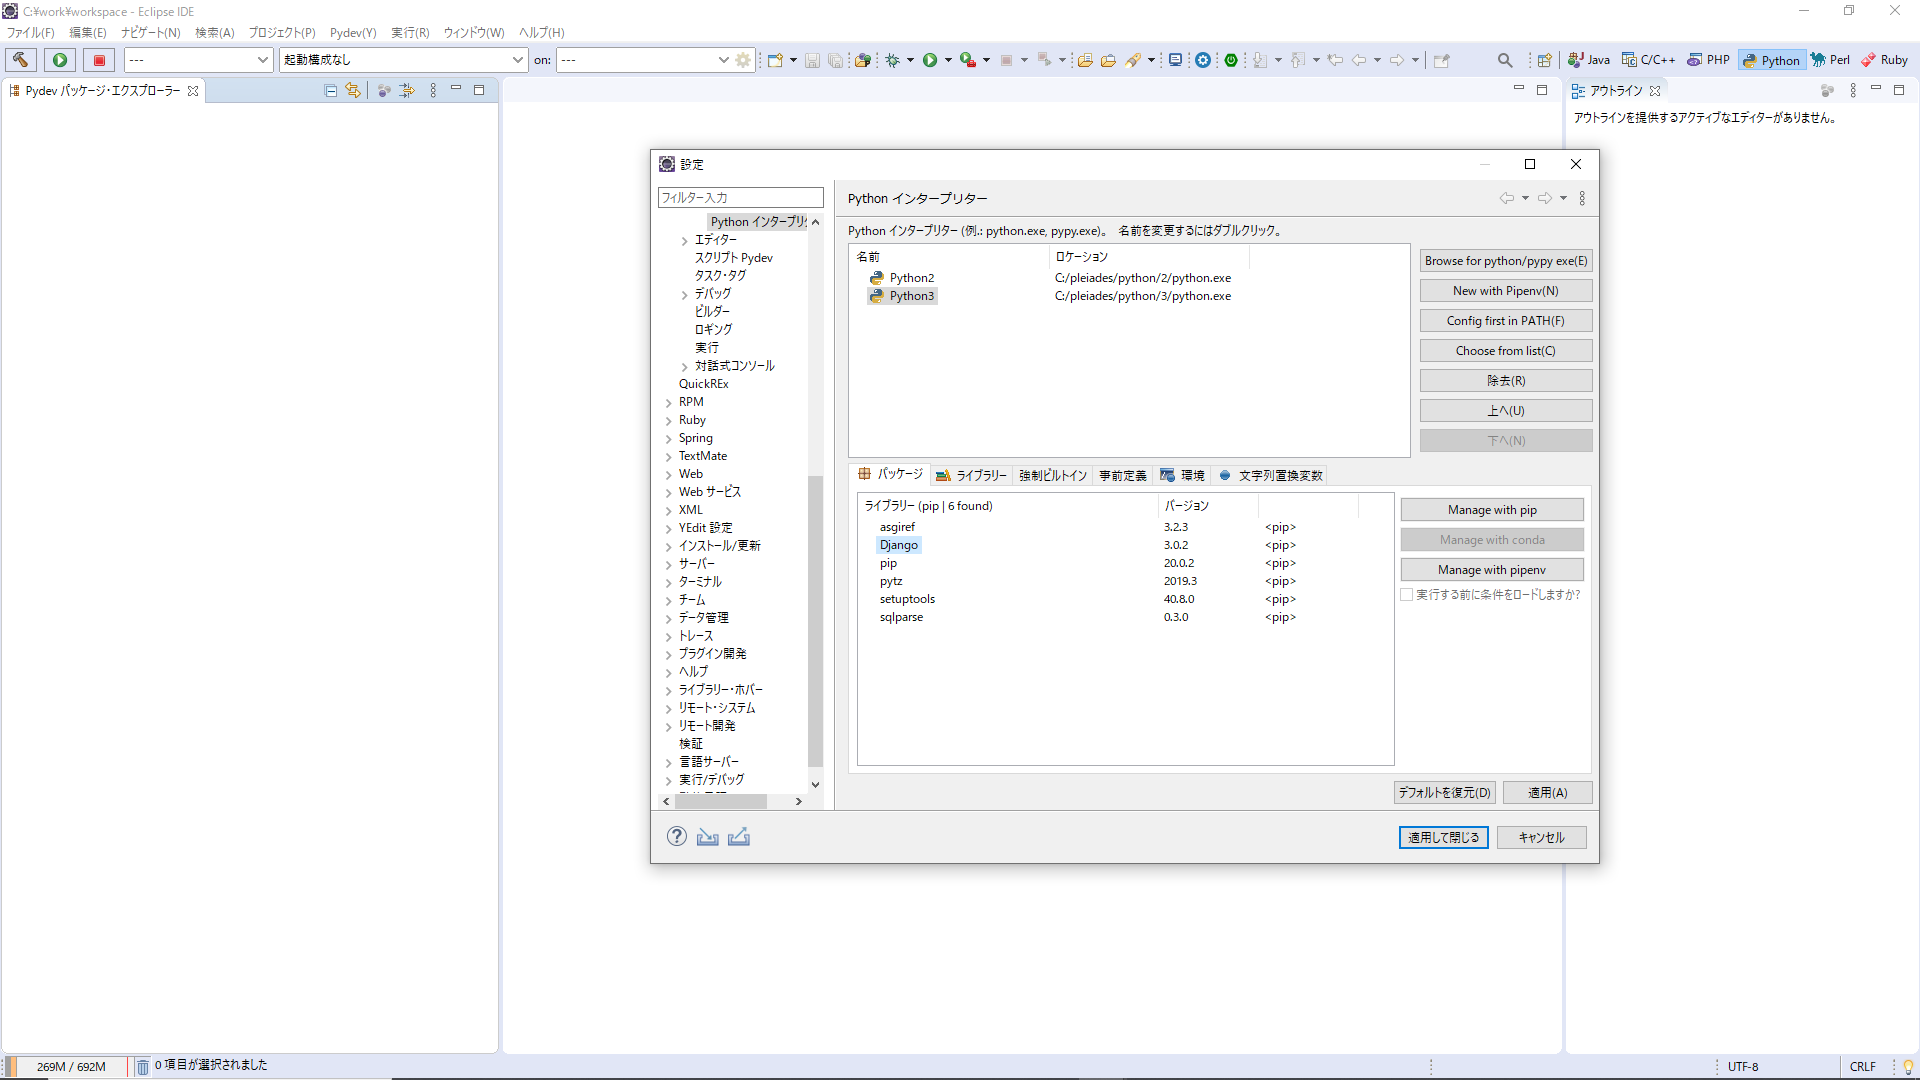
※Eclipseに備わっているpython3を環境変数に設定します。
python
C:\pleiades\python\3
pip
C:\pleiades\python\3\Scripts
pipのアップグレードついでに疎通確認を行います。
PS python -m pip install --upgrade pip
Djangoデバッグ環境構築
Djangoをインストールする
インストールを行い
PS python -m pip install django
インストール&バージョン確認
PS python -m pip freeze
asgiref==3.2.3
Django==3.0.2
pytz==2019.3
sqlparse==0.3.0
Django開発環境作成
[ファイル]→[新規]→[プロジェクト]より、新規プロジェクトウィンドウを開き、
[PyDev]→[PyDev Django プロジェクト]を選択します。
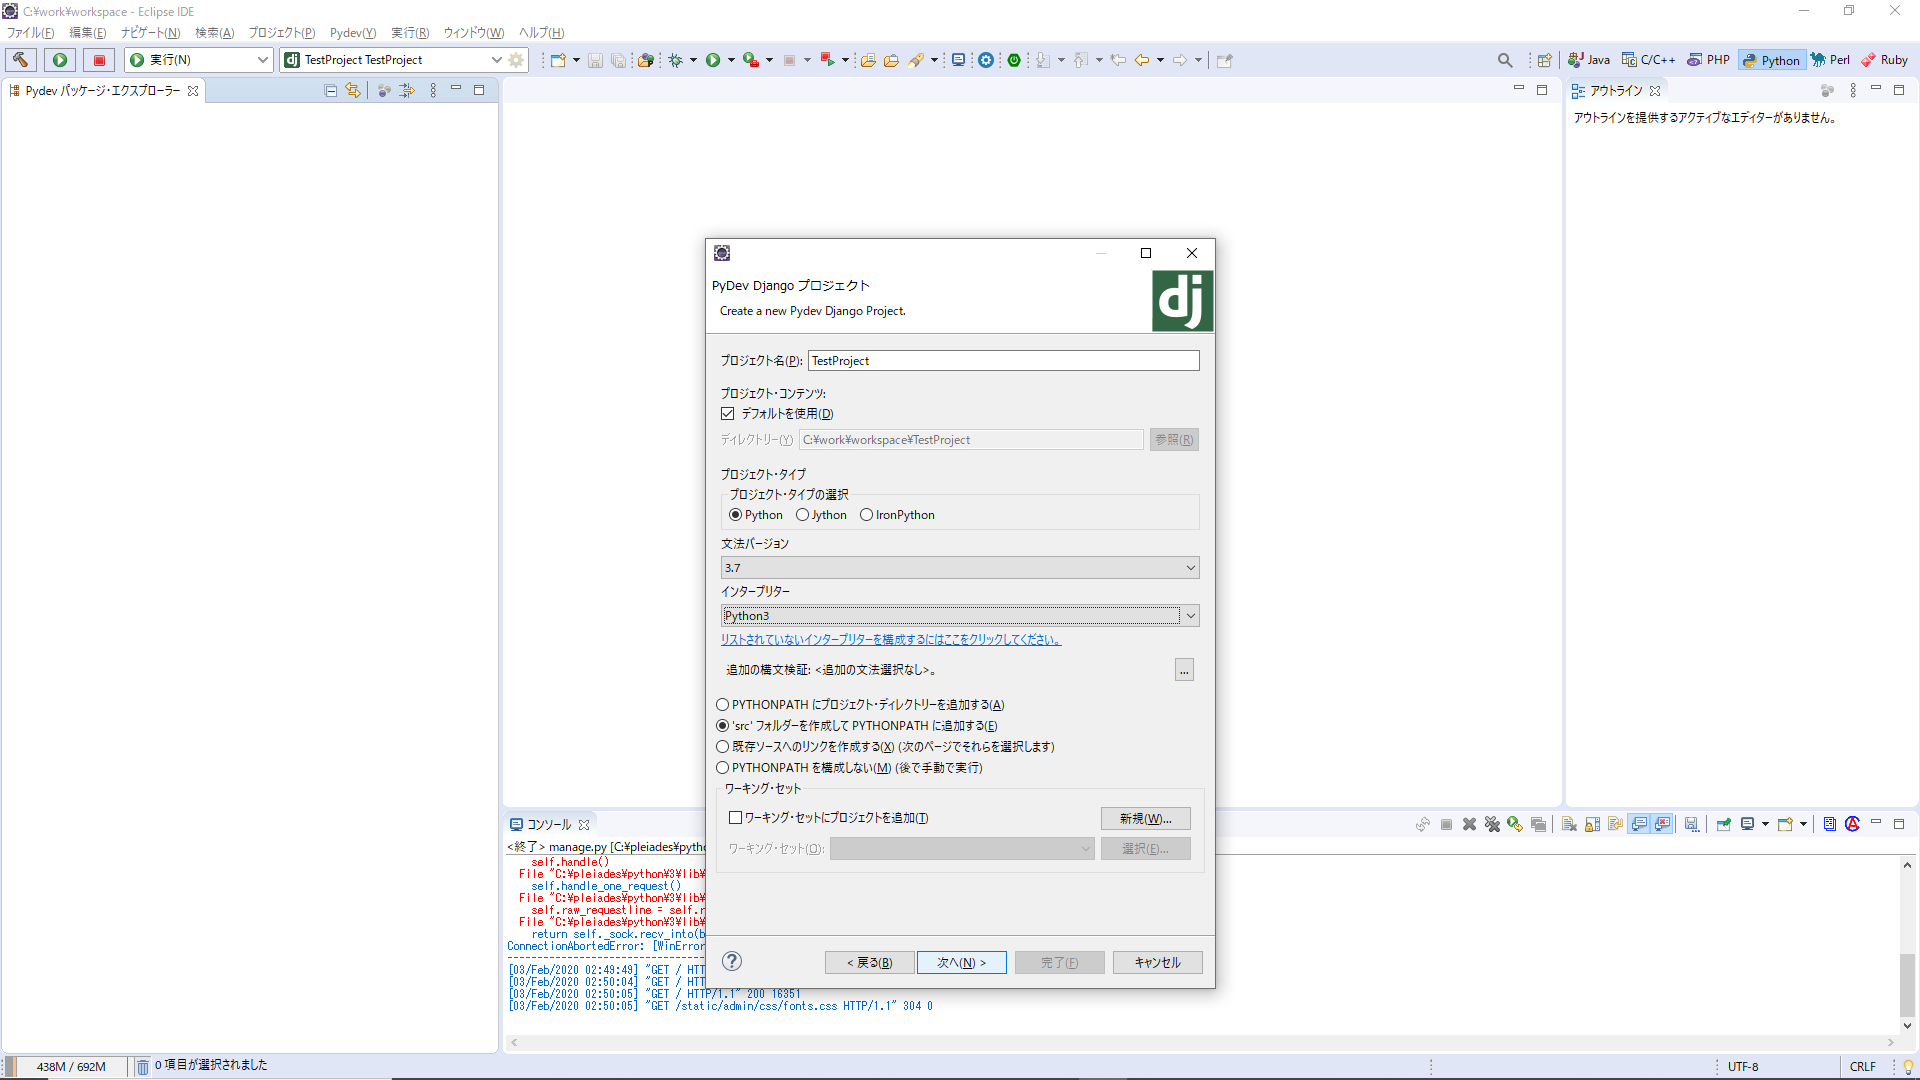
適当なプロジェクト名を入力し、文法バージョンを3.7、インタープリターをPython3、
『srcフォルダーを作成してPYTHONパスに追加する』にチェックを入れ、『次へ』を選択します。
参照するプロジェクトは無い場合は『次へ』を選択します。
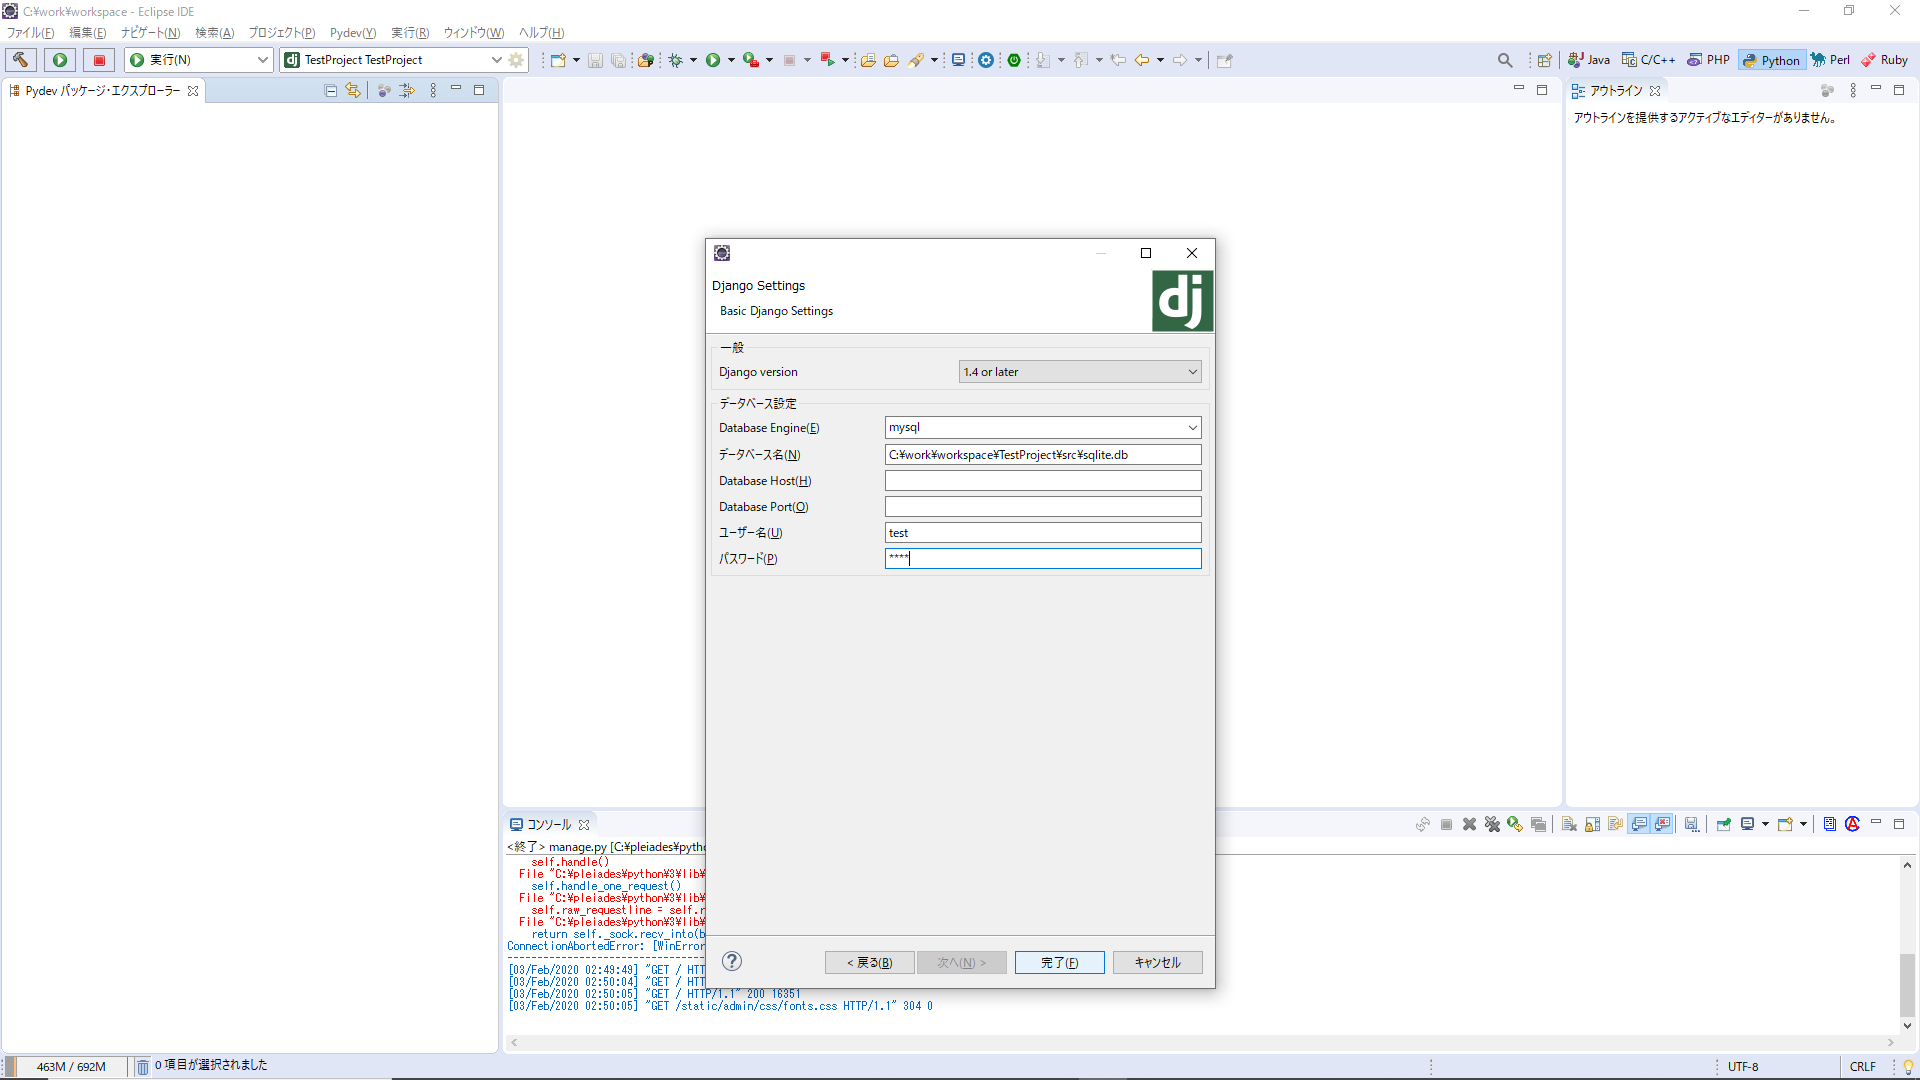
使用するDBを選択し、ユーザ名、パスワードを入力し、『完了』を選択します。
プロジェクトを右クリックし、『実行』→『PyDev Django』を選択し、実行出来たら完成です。
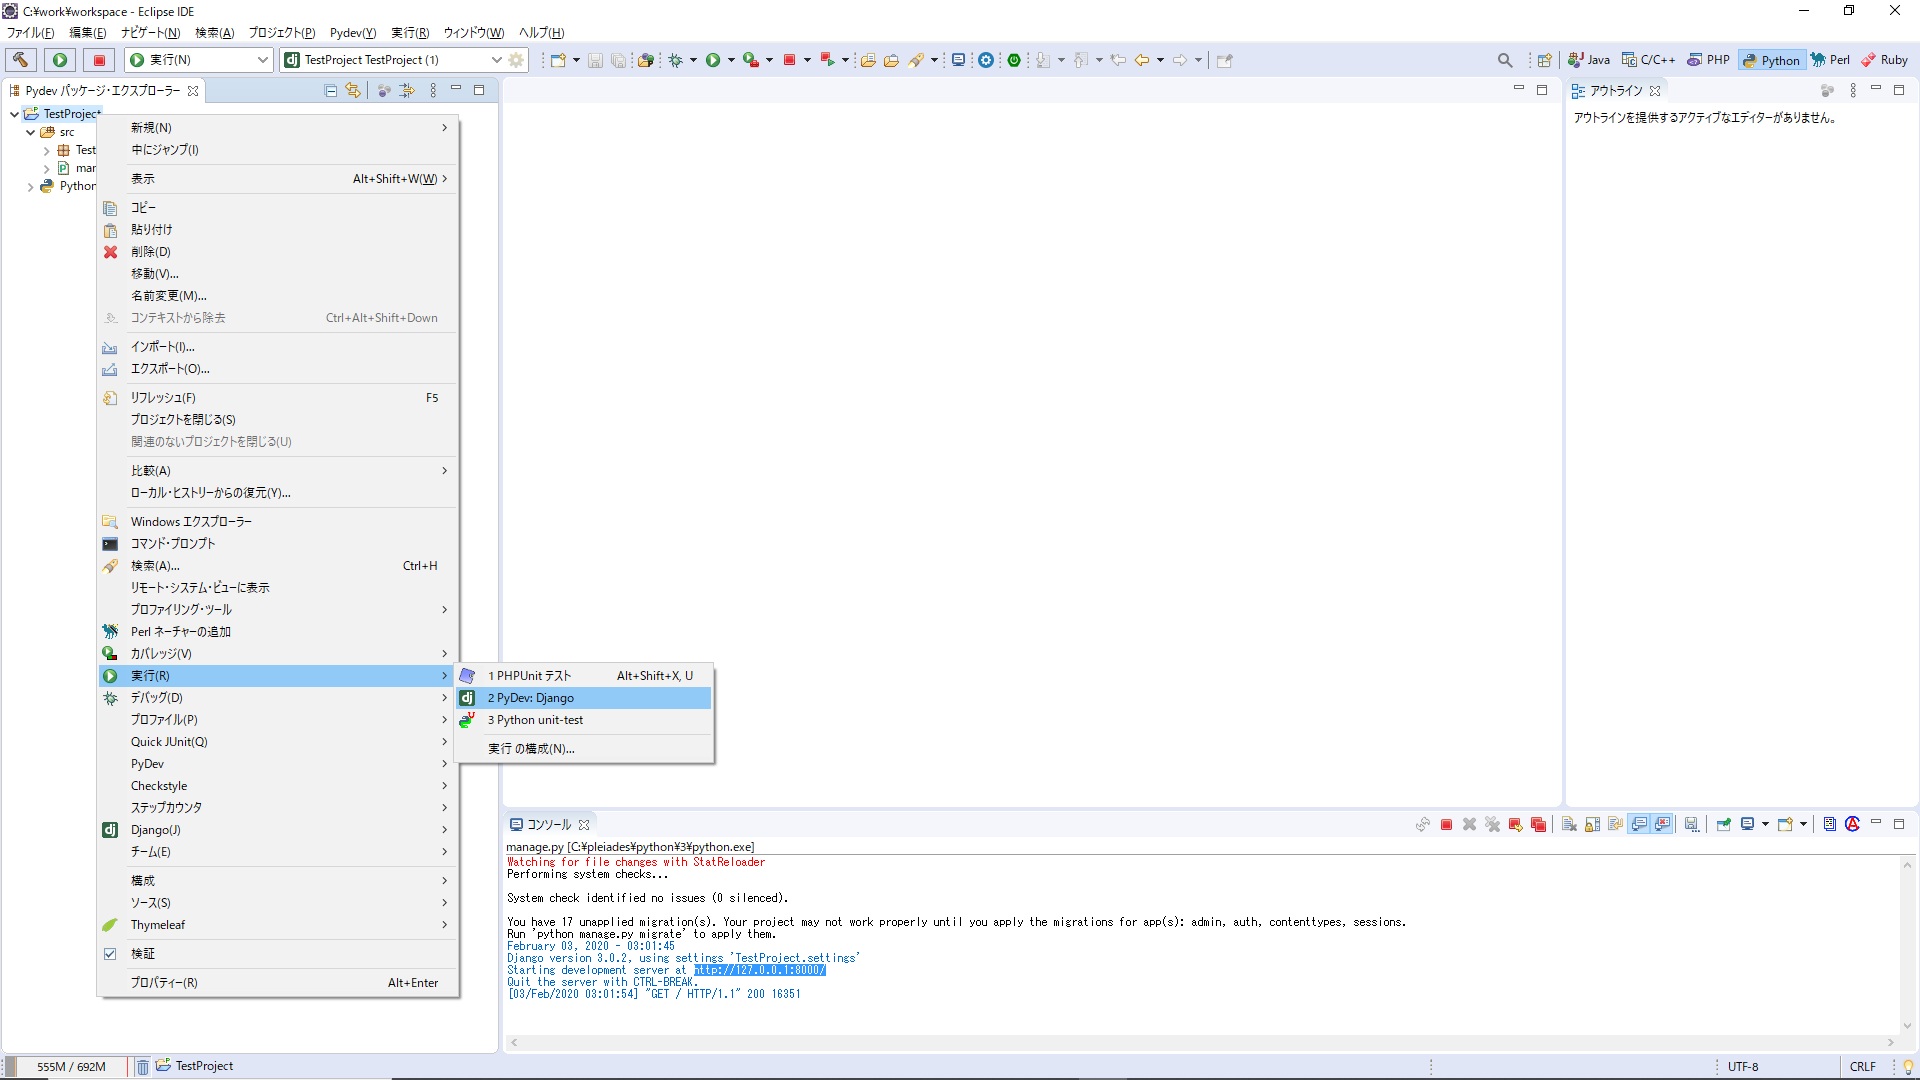
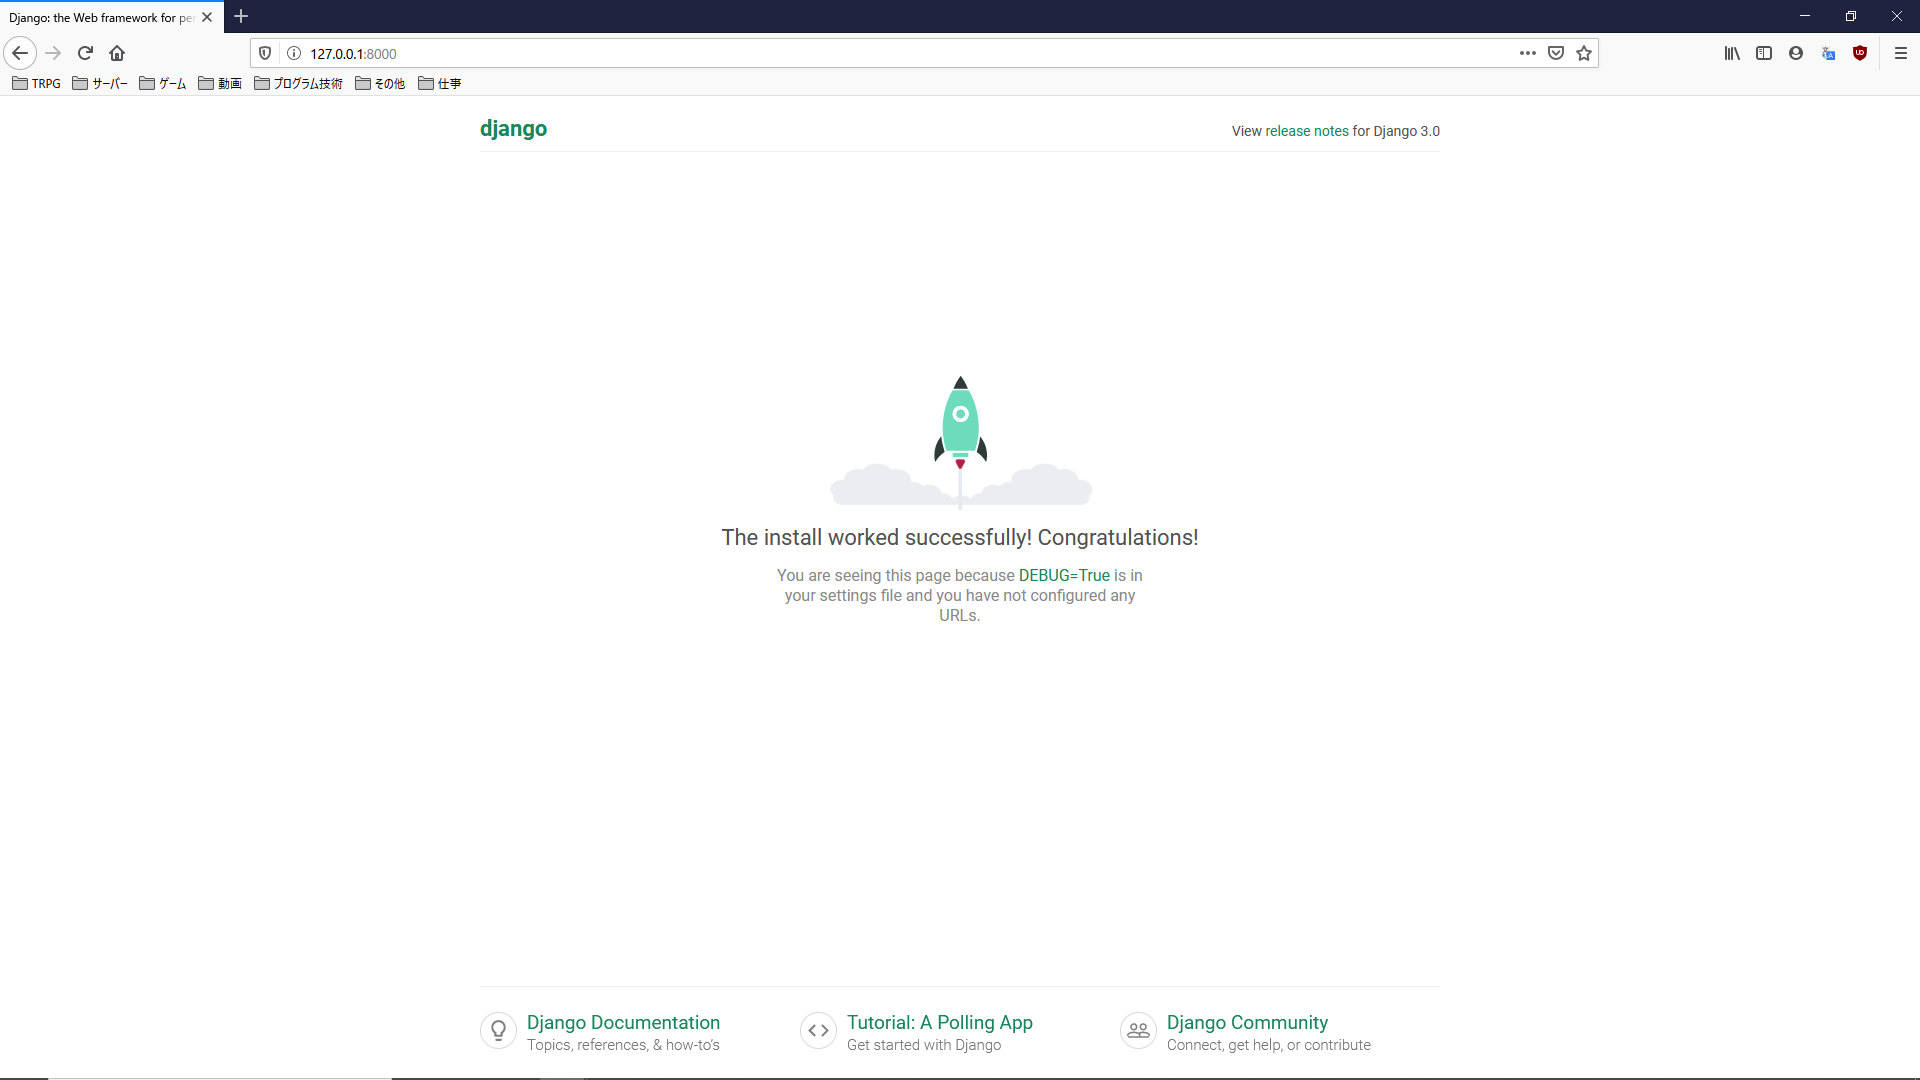
表示されたURLにアクセスして下記画面が無事表示出来る事を確認しましょう。
