やること
Blender上で道路ネットワークを定義しておいて、それをPythonでグラフとして読み込んで、グラフ上のランダムウォークのアニメーションを作成します。
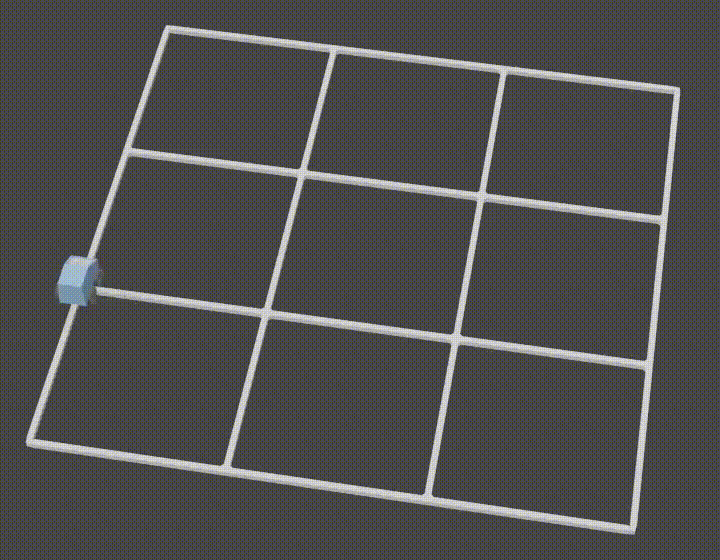
以下は、完成イメージです。
手順
以下のような手順です。
- Blenderで、道路ネットワークと移動用のオブジェクトを作成し、ファイル保存します。
- アニメーションを作成するPythonのコードを書いて実行します。
- アニメーションを確認します。
オブジェクトの作成
道路ネットワークは、メッシュの頂点と辺を使います(面は使いません)。
どのように作っても良いのですが、ここでは簡単に作りましょう。
-
Ctrl + A(追加)のメッシュのグリッド
移動用のオブジェクトも簡単にスザンヌ(モンキー)使いましょう。
-
Ctrl + A(追加)のメッシュのモンキー
スザンヌが大きすぎるので小さくします。
- (スザンヌを選択した状態で)
S.1、[Enter]
Pythonのコード
Scriptingワークスペースで新規を押し、下記をコピペして、実行してください。
import random

import bpy
from collections import defaultdict
from math import atan2


nstp = 42  # ステップ数
tmstp = 6  # 1ステップの時間

nt = bpy.data.objects["Grid"]  # ネットワーク
car = bpy.data.objects["Suzanne"]  # 移動用
vv = nt.data.vertices  # ネットワーク上の頂点

dc = defaultdict(list)  # 頂点の座標→接続する頂点の座標のリスト
for ed in nt.data.edges:
    nd1 = tuple(vv[ed.vertices[0]].co)
    nd2 = tuple(vv[ed.vertices[1]].co)
    dc[nd1].append(nd2)
    dc[nd2].append(nd1)

car.location = pre = vv[0].co  # 現在位置を最初の頂点
car.keyframe_insert(data_path="location", frame=1)
for stp in range(nstp):
    cur = tuple(car.location)
    while True:
        nxt = random.choice(list(dc[cur]))
        if nxt != pre:
            break
    pre, car.location = cur, nxt  # 現在位置を最初の頂点
    car.keyframe_insert(data_path="location", frame=stp * tmstp + 1)
    car.rotation_euler = 0, 0, atan2(nxt[0] - cur[0], -nxt[1] + cur[1])
    car.keyframe_insert(data_path='rotation_euler', frame=stp * tmstp - tmstp + 3)
    car.keyframe_insert(data_path='rotation_euler', frame=stp * tmstp + 1)
頂点の座標から接続する頂点の座標のリストをあらかじめ作成します。
そして、ネットワークの頂点についたら、接続する頂点をランダムに選び、locationを変更して移動します。
keyframe_insertを使って、アニメーション用にキーフレームを追加します。
アニメーション確認
layoutワークスペースに戻って、スペースキーを押してアニメーションを確認してみましょう。
以上