Blenderで移動できる窓をまとめて作る
前記事「Blenderで移動できる窓を作る」では、1つの移動できる窓の設定をPythonで行いました。
本記事では、複数の窓の設定をまとめて行う方法を紹介します。
ポイント
Pythonで作成したパネルのボタンは、別のプログラムからも実行できます。
たとえば、前記事のボタン「Set to frame」を実行するコードは、下記のようになります。
bpy.ops.object.set_frame_operator(
    frame="frame",
    glass="glass",
    wall="wall",
    hole="hole",
    doset=True
)
複数の窓の設定は、CSVファイルに書いてあるとしましょう。
行ごとに各窓のパラメータを読み込み、上記を実行すればOKです。
やってみよう
- Blenderを起動し、scriptingワークスペースにし、新規を押す。
- 前記事のコードをコピペしスクリプト実行する。
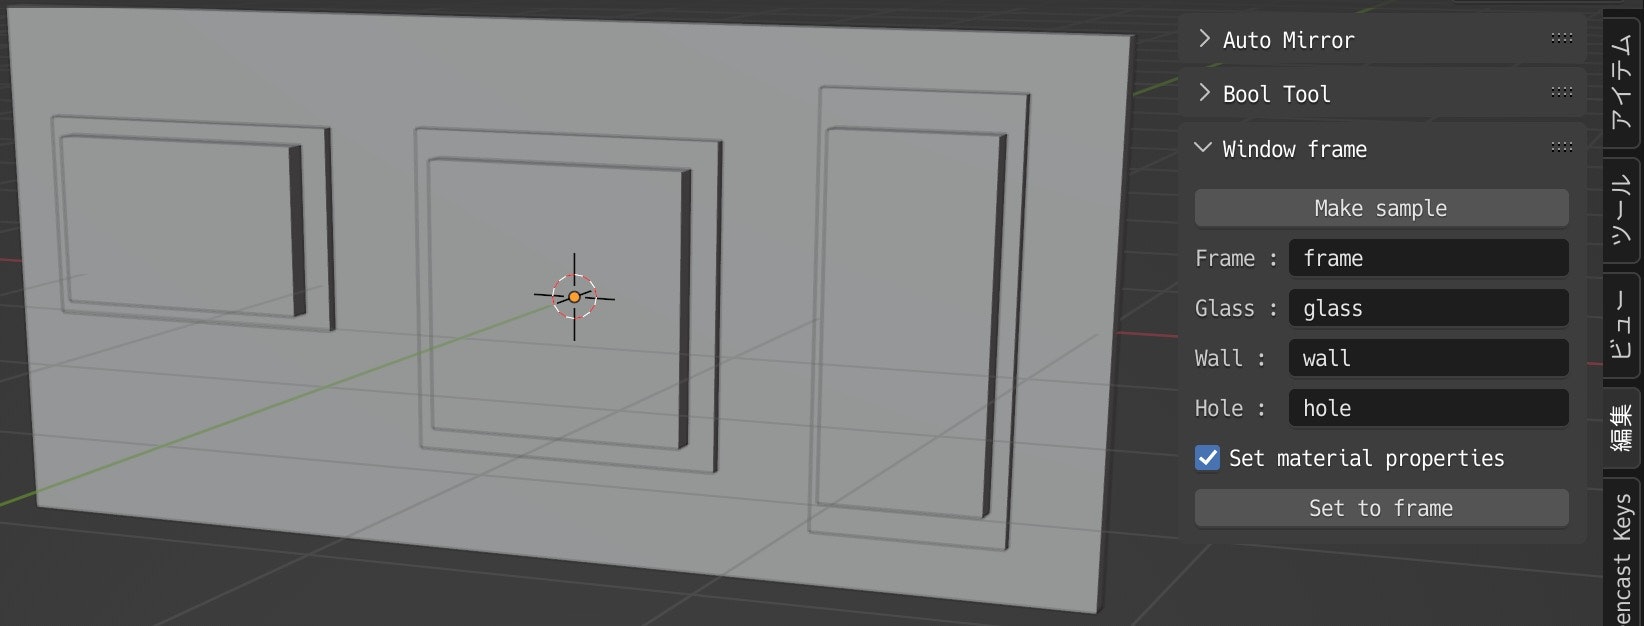
- Layoutワークスペースに戻り、「Make sample」ボタンを押す。
- frame, glass, wall, holeの立方体(Cube)が作成される(glassは内部にあり見えない)
-
1(視点の前)を押し、正面にする。 - wallをx軸方向に広げる。
- アウトライナーでframe, glass, holeを選択し、3Dビューポートで2回複製し、下記のように窓を3つにする(サイズは適当に変えても良い)。

- scriptingワークスペースにし、もう一度、テキストメニューの新規を選ぶ。
- 下記をコピペし、スクリプト実行する。
import bpy

data = """\
frame,glass,wall,hole
frame,glass,wall,hole
frame.001,glass.001,wall,hole.001
frame.002,glass.002,wall,hole.002
"""

lines = data.splitlines()
header = lines[0].split(",")
for line in lines[1:]:
    opt = dict(zip(header, line.split(",")))
    bpy.ops.object.set_frame_operator(doset=True, **opt)
※ CSVを用意するのは手間なので、CSV内のテキストの代わりにdataを使っています。
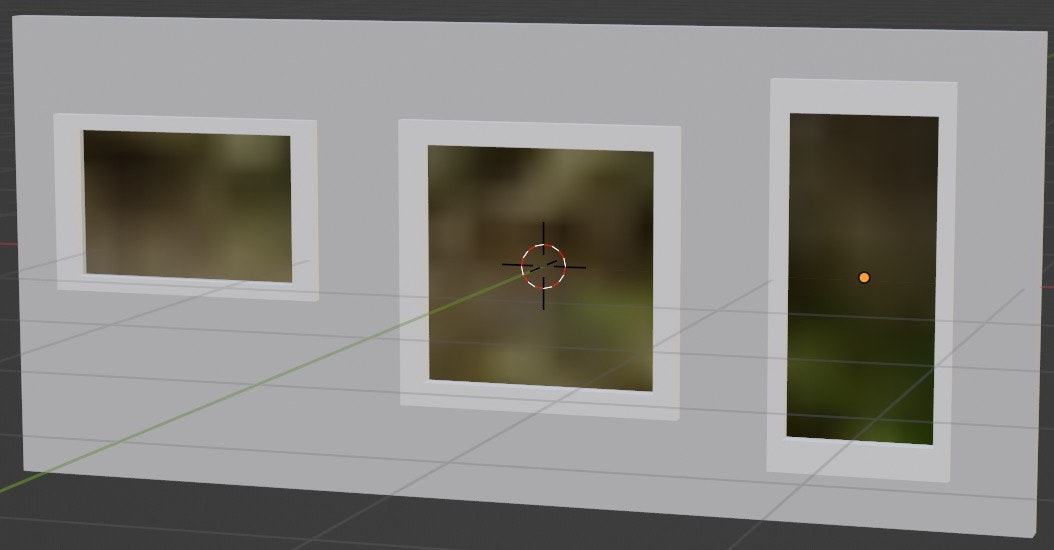
- Layoutワークスペースに戻り、3Dビューのシェーディングをマテリアルプレビューにして確認しましょう。

以上