React + Redux Toolkit + TypeScript + Vitest の組み合わせでフォーム(UserForm.tsx)をテストする方法を、セットアップから実際のテストコードまで分かりやすく解説します。
🧩 目次
1.Vitest のセットアップ
2.テスト環境構築(jsdom + RTL)
3.Redux Provider 付きでコンポーネントをレンダリングする
4.UserForm のテストコード例
5.実行方法
① Vitest のセットアップ
まず、必要なパッケージを追加します。
npm install -D vitest @testing-library/react @testing-library/jest-dom jsdom @testing-library/user-event
② テスト環境構築(jsdom + RTL)
1.vitest.config.ts の更新
vitest.config.ts を作成または更新します:
vite.config.ts におけるdefineConfig()の型は、デフォルトではviteのみの設定 (UserConfigExport) を想定しており、vitest の型情報が統合されていません。
Vitest の設定(test: { ... })を正しく認識させるためには、vitest/config から defineConfig をインポートする必要があります。
vitest.config.ts
import { defineConfig } from 'vitest/config'//←変更
//~(略)~

export default defineConfig({
  /* ~(略)~ */
  test:{
    globals:true,
    environment:"jsdom",
    setupFiles:"./src/setupTests.ts",
    css:false
  },
})
全体のコードはこちら⇩
vitest.config.ts
import { defineConfig } from 'vitest/config'//←変更
import react from '@vitejs/plugin-react'
import path from 'path';
import tailwindcss from  '@tailwindcss/vite';

// https://vite.dev/config/
export default defineConfig({
  plugins: [react(),tailwindcss()],
  resolve:{
    alias:{
      "@":path.resolve(__dirname,"./src")
    },
  },
  test:{
    globals:true,
    environment:"jsdom",
    setupFiles:"./src/setupTests.ts",
    css:false
  },
})
2.tsconfig.jsonの更新
vi は Vitest が提供するモック・スパイ用のグローバルオブジェクトです。これを使うため、
tsconfig.jsonを下記のように更新します。
tsconfig.json
{
  "compilerOptions": {
    "types": ["vitest/globals"]
  }
}
全体のコードはこちら⇩
tsconfig.json
{
  "files": [],
  "references": [
    { "path": "./tsconfig.app.json" },
    { "path": "./tsconfig.node.json" }
  ],
  "compilerOptions": {
    "baseUrl": ".",
    "paths": {
      "@/*":["./src/*"]
    },
    "types": ["vitest/globals"]
  }
}
3.tsconfig.app.jsonの更新
tsconfig.app.json
{
  "compilerOptions": {
    "tsBuildInfoFile": "./node_modules/.tmp/tsconfig.app.tsbuildinfo",
    "target": "ES2022",
    "useDefineForClassFields": true,
    "lib": ["ES2022", "DOM", "DOM.Iterable"],
    "module": "ESNext",
    "types": ["vite/client","vitest/globals"],//「"vitest/globals"」を追加
    "skipLibCheck": true,
    "baseUrl": ".",
    "paths": {
      "@/*":[
        "./src/*"
      ]
    },

    /* Bundler mode */
    "moduleResolution": "bundler",
    "allowImportingTsExtensions": true,
    "verbatimModuleSyntax": true,
    "moduleDetection": "force",
    "noEmit": true,
    "jsx": "react-jsx",

    /* Linting */
    "strict": true,
    "noUnusedLocals": true,
    "noUnusedParameters": true,
    "erasableSyntaxOnly": true,
    "noFallthroughCasesInSwitch": true,
    "noUncheckedSideEffectImports": true
  },
  "include": ["src"]
}
4.tsconfig.node.jsonの更新
tsconfig.node.json
{
  "compilerOptions": {
    "tsBuildInfoFile": "./node_modules/.tmp/tsconfig.node.tsbuildinfo",
    "target": "ES2023",
    "lib": ["ES2023"],
    "module": "ESNext",
    "types": ["node", "vitest/globals"],//追加
    "skipLibCheck": true,

    /* Bundler mode */
    "moduleResolution": "bundler",
    "allowImportingTsExtensions": true,
    "verbatimModuleSyntax": true,
    "moduleDetection": "force",
    "noEmit": true,

    /* Linting */
    "strict": true,
    "noUnusedLocals": true,
    "noUnusedParameters": true,
    "erasableSyntaxOnly": true,
    "noFallthroughCasesInSwitch": true,
    "noUncheckedSideEffectImports": true
  },
  "include": ["vite.config.ts"]
}
次に、src/setupTests.ts を作成:
setupTests.ts
import "@testing-library/jest-dom";
③ Redux Provider 付きでコンポーネントをレンダリングする
React Testing Library でRedux Storeを扱うには、Provider を包む必要があります。
🔧 src/test-utils.tsx を作成:
src/test-utils.tsx
import React from "react";
import type{ PropsWithChildren } from "react";
import { render } from "@testing-library/react";
import { Provider } from "react-redux";
import { store } from "./app/store";

export function renderWithProviders(ui:React.ReactElement){
    return render(<Provider store={store}>{ui}</Provider>);
}
④ UserForm のテストコード例
src/feature/user/UserForm.test.tsx
import React from "react";
import { describe, it, expect } from "vitest";
import { screen,fireEvent } from "@testing-library/react";
import userEvent from "@testing-library/user-event";
import { renderWithProviders } from "@/test-utils";
import { UserForm } from "./UserForm";

describe("UserForm",()=>{
    it("初期状態で入力フィールドが空であること",()=>{
        renderWithProviders(<UserForm />);
        const nameInput = screen.getByLabelText("名前:") as HTMLInputElement;
        const emailInput = screen.getByLabelText("メール:") as HTMLInputElement;

        expect(nameInput.value).toBe("");
        expect(emailInput.value).toBe("");
    });

    it("入力フィールドに文字を入力できること",async()=>{
        const user = userEvent.setup();
        renderWithProviders(<UserForm />);

        const nameInput = screen.getByLabelText("名前:") as HTMLInputElement;
        const emailInput = screen.getByLabelText("メール:") as HTMLInputElement;

        await user.type(nameInput,"太郎");
        await user.type(emailInput,"taro@example.com");

        expect(nameInput.value).toBe("太郎");
        expect(emailInput.value).toBe("taro@example.com");
    });

    it("送信ボタンを押すと alert が呼ばれること"),async()=>{
        const user = userEvent.setup();
        renderWithProviders(<UserForm />);
        const nameInput = screen.getByLabelText("名前:") as HTMLInputElement;
        const emailInput = screen.getByLabelText("メール:") as HTMLInputElement;
        const submitButton = screen.getByRole("button",{name:"送信"});

        await user.type(nameInput,"花子");
        await user.type(emailInput,"hanako@example.com");

        const alertMock = vi.spyOn(window,"alert").mockImplementation(()=>{});
        await user.click(submitButton);
        expect(alertMock).toHaveBeenCalledWith("送信しました:\n名前: 花子\nメール: hanako@example.com");
        alertMock.mockRestore();
    };

    it("リセットボタンを押すとフォームがクリアされること",async()=>{
        const user = userEvent.setup();
        renderWithProviders(<UserForm />);
        const nameInput = screen.getByLabelText("名前:") as HTMLInputElement;
        const emailInput = screen.getByLabelText("メール:") as HTMLInputElement;
        const resetButton = screen.getByRole("button", { name: "リセット" });

        await user.type(nameInput, "テスト太郎");
        await user.type(emailInput, "test@example.com");

        await user.click(resetButton);

        expect(nameInput.value).toBe("");
        expect(emailInput.value).toBe("");
    });

});
⑤ テストの実行
npx vitest
または、ウォッチモードで:
GUIでテスト結果を確認したい場合は、@vitest/uiパッケージをインストールしておきます。
npm i @vitest/ui
下記のCLIコマンドを実行します。
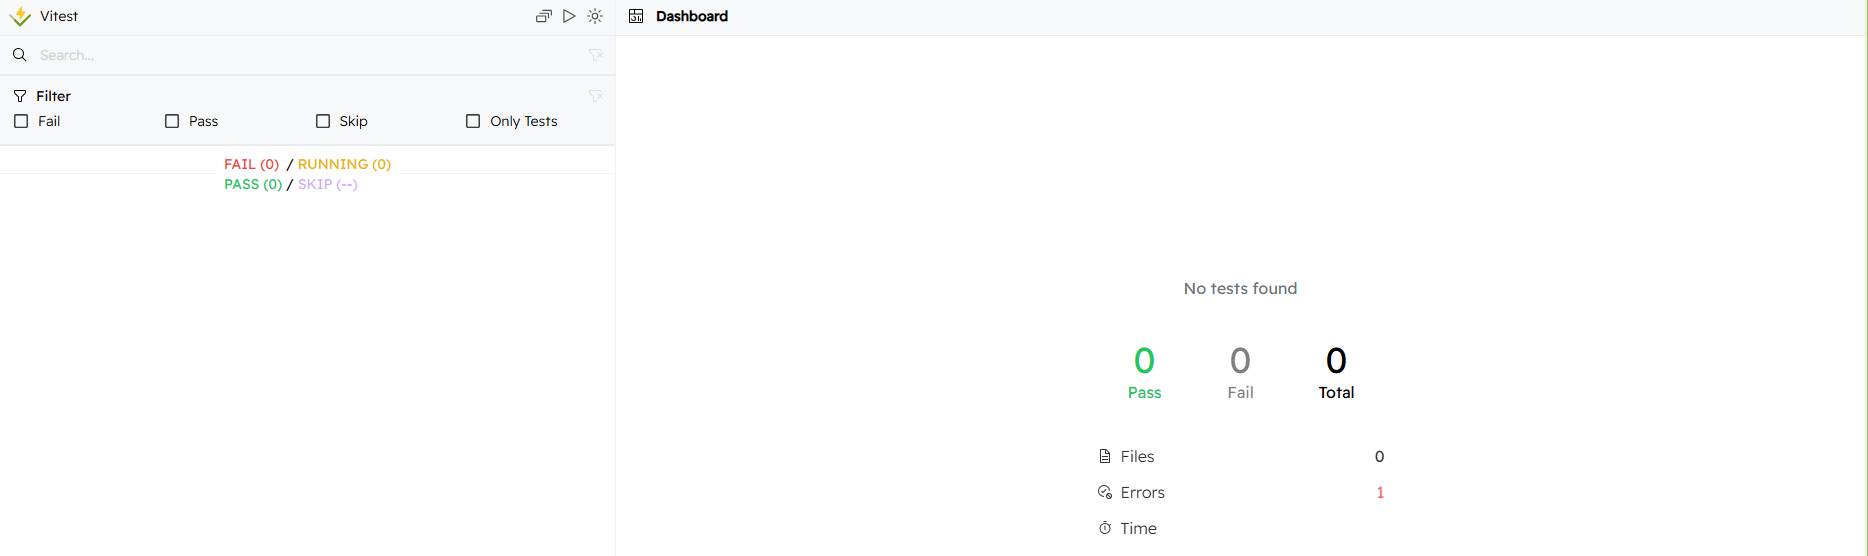
npx vitest --ui
下記のように表示されました。

サイト