テストフレームワークをインストール
下記のコマンドを使ってインストールします。
npm install -D jest jest-environment-jsdom @testing-library/react @testing-library/dom @testing-library/jest-dom ts-node @types/jest
参考となる公式サイトはこちら⇩
How to set up Jest with Next.js
その他、必要なソフトウェアをインストールします。
@testing-library/user-event
npm i @testing-library/user-event
@testing-library/jest-dom
npm i @testing-library/jest-dom
ts-jest
npm i ts-jest
1.tsconfig.jsonの更新
"types": ["jest", "@testing-library/jest-dom"]を追加します。
{
  "compilerOptions": {
    "target": "ESNext", //修正
    "lib": ["dom", "dom.iterable", "esnext"],
    "allowJs": true,
    "skipLibCheck": true,
    "strict": true,
    "noEmit": true,
    "esModuleInterop": true,
    "module": "ESNext", //修正
    "moduleResolution": "bundler",
    "resolveJsonModule": true,
    "isolatedModules": true,
    "jsx": "react-jsx",
    "incremental": true,
    "plugins": [
      {
        "name": "next"
      }
    ],
    "paths": {
      "@/*": ["./src/*"] //追加
    },
    "types": ["jest", "@testing-library/jest-dom"] //👈追加
  },
  //(略)
全体のtsconfig.jsonのコード
{
  "compilerOptions": {
    "target": "ESNext", //修正
    "lib": ["dom", "dom.iterable", "esnext"],
    "allowJs": true,
    "skipLibCheck": true,
    "strict": true,
    "noEmit": true,
    "esModuleInterop": true,
    "module": "ESNext", //修正
    "moduleResolution": "bundler",
    "resolveJsonModule": true,
    "isolatedModules": true,
    "jsx": "react-jsx",
    "incremental": true,
    "plugins": [
      {
        "name": "next"
      }
    ],
    "paths": {
      "@/*": ["./src/*"] //追加
    },
    "types": ["jest", "@testing-library/jest-dom"] //追加
  },
  "include": [
    "next-env.d.ts",
    "**/*.ts",
    "**/*.tsx",
    ".next/types/**/*.ts",
    ".next/dev/types/**/*.ts",
    "**/*.mts"
  ],
  "exclude": ["node_modules"]
}
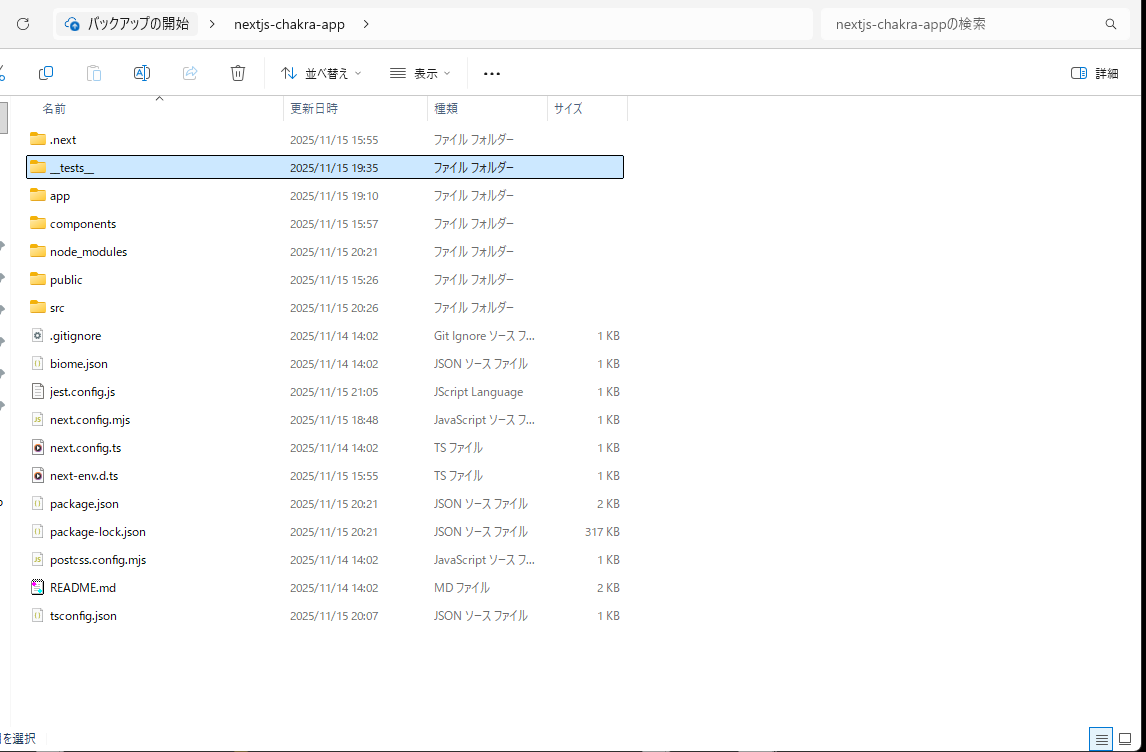
2.__tests__フォルダをプロジェクト直下に新規作成
下記のように__tests__フォルダを作成します。
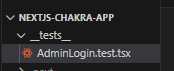
__tests__ フォルダ内に、各機能ごとのテストファイルを配置します。
例えば、AdminLogin のテストファイルは AdminLogin.test.tsx となります。
他のページやコンポーネントがあれば、それぞれに対応するテストファイルを作成します。
【イメージ】
my-next-app/
└── src/
    └── __tests__/
        ├── AdminLogin.test.tsx     # AdminLoginのテスト
        ├── Header.test.tsx         # Headerコンポーネントのテスト
        ├── Footer.test.tsx         # Footerコンポーネントのテスト
        ├── ...                     # その他のテストファイル
このフォルダにtest.tsxファイルを作成します。
今回のテストファイルはこちら⇩
// src/__tests__/AdminLogin.test.tsx
import { ChakraProvider, defaultSystem } from "@chakra-ui/react"; //追加
import { render, screen, fireEvent, waitFor } from "@testing-library/react";
import userEvent from "@testing-library/user-event";
import { Provider } from "react-redux";
import { store } from "../app/redux-function/admin/login/store/store";
import AdminLogin from "../app/admin/login/page"; // AdminLoginのパス

// Reduxのstateをモックするために使う
jest.mock("react-redux", () => ({
  ...jest.requireActual("react-redux"),
  useDispatch: jest.fn(),
  useSelector: jest.fn(),
}));

const setup = () =>
  render(
    <ChakraProvider value={defaultSystem}>
      <Provider store={store}>
        <AdminLogin />
      </Provider>
    </ChakraProvider>,
  );
describe("AdminLogin", () => {
  const mockDispatch = jest.fn();

  beforeEach(() => {
    jest.clearAllMocks();

    const redux = require("react-redux");
    redux.useDispatch.mockReturnValue(mockDispatch);
    redux.useSelector.mockImplementation((selector: any) =>
      selector({
        user: {
          email: "xxxxx@example.com",
          password: "password123",
        },
      }),
    );
  });

  test("フォームが正しく表示されること", () => {
    setup();

    expect(screen.getByLabelText(/メールアドレス/)).toBeInTheDocument();
    expect(screen.getByLabelText(/パスワード/)).toBeInTheDocument();
    //expect(screen.getByText(/ログイン/)).toBeInTheDocument();
    expect(screen.getByText(/リセット/)).toBeInTheDocument();
    const loginButton = screen.getByRole("button", { name: /ログイン/ });
    userEvent.click(loginButton);
  });

  test("送信ボタンをクリックするとalertが表示されること", async () => {
    const alertMock = jest.spyOn(window, "alert").mockImplementation(() => {});
    setup(); // ChakraProvider + Redux Provider でラップした render

    // 入力
    await userEvent.type(
      screen.getByLabelText(/メールアドレス/),
      "test@example.com",
    );
    await userEvent.type(screen.getByLabelText(/パスワード/), "password123");

    // 送信ボタンをクリック
    const loginButton = screen.getByRole("button", { name: /ログイン/ });
    await userEvent.click(loginButton);

    // alert が呼ばれたか確認
    await waitFor(() => {
      expect(alertMock).toHaveBeenCalledWith("送信しました。");
    });

    alertMock.mockRestore(); // モックを元に戻す
  });

  /*
  test("送信ボタンをクリックするとalertが表示されること", async () => {
    setup();
    window.alert = jest.fn();

    await userEvent.type(screen.getByLabelText(/メールアドレス/), "test@example.com");
    await userEvent.type(screen.getByLabelText(/パスワード/), "password123");
    const loginButton = screen.getByRole('button', { name: /ログイン/ });
    userEvent.click(loginButton);
    //await userEvent.click(screen.getByText(/ログイン/));

    expect(window.alert).toHaveBeenCalledWith("送信しました。");
    expect(mockDispatch).toHaveBeenCalledTimes(2); // setEmail と setPassword
  });
  */

  test("リセットボタンをクリックするとフォームがリセットされること", async () => {
    setup();

    await userEvent.type(
      screen.getByLabelText(/メールアドレス/),
      "test@example.com",
    );
    await userEvent.type(screen.getByLabelText(/パスワード/), "password123");

    await userEvent.click(screen.getByText(/リセット/));

    expect(
      (screen.getByLabelText(/メールアドレス/) as HTMLInputElement).value,
    ).toBe("");
    expect(
      (screen.getByLabelText(/パスワード/) as HTMLInputElement).value,
    ).toBe("");
  });
});
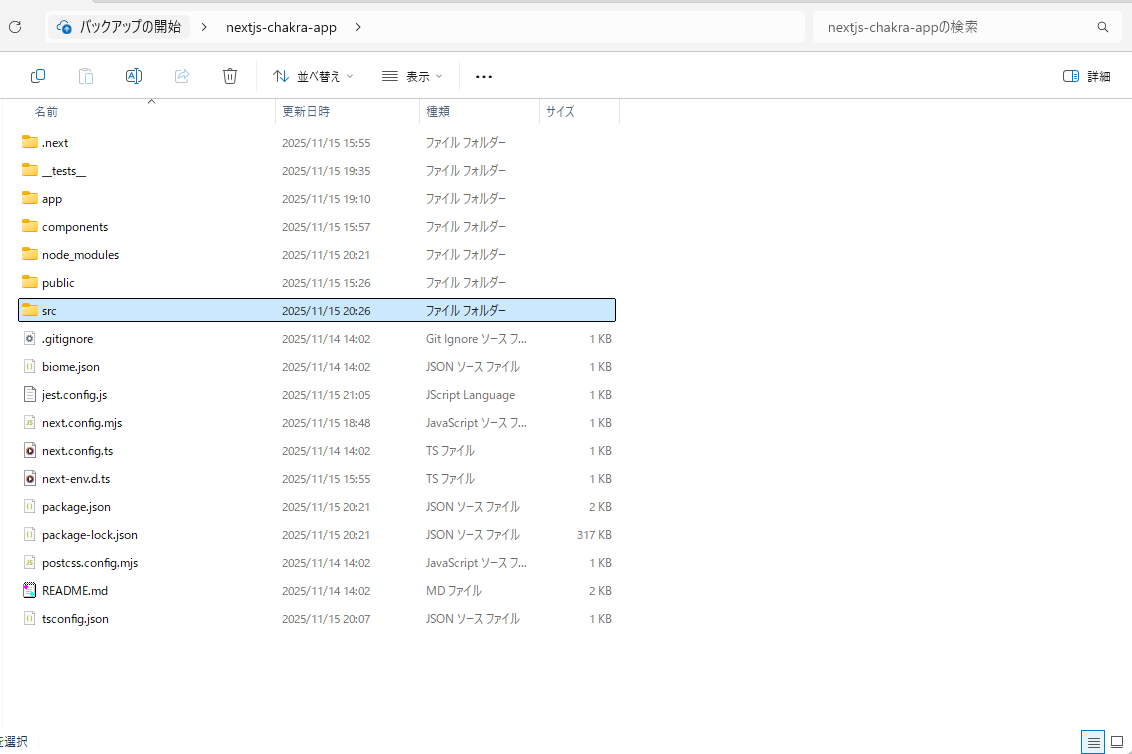
3.srcフォルダを新規作成
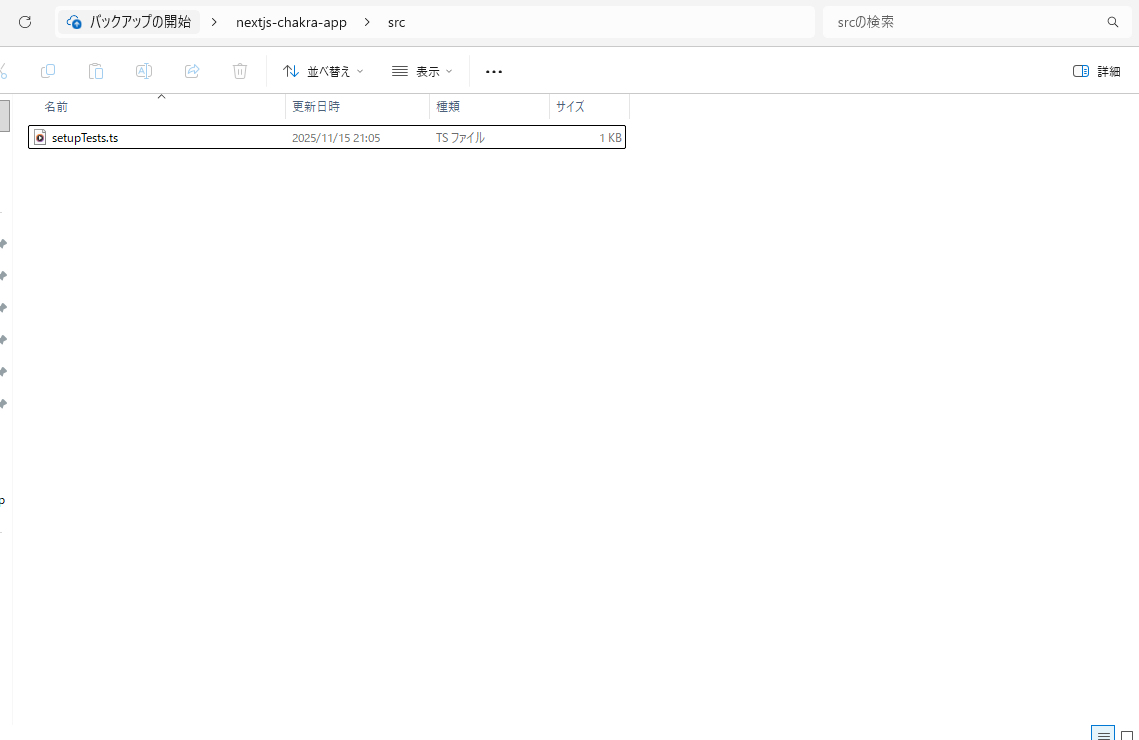
setupTests.tsファイルに下記の内容を記載します。
import "@testing-library/jest-dom";

// structuredClone Polyfill
if (typeof (global as any).structuredClone !== "function") {
  (global as any).structuredClone = (obj: any) =>
    JSON.parse(JSON.stringify(obj));
}
4.jest.config.jsの新規作成
トラブルシューティング
1.「Parameter 'selector' implicitly has an 'any' type.ts(7006) (parameter) selector: any」
(回答)
TS7006: Parameter 'selector' implicitly has an 'any' type
これはTypeScriptのnoImplicitAnyが有効なため、テスト内でselectorの型が推論できずエラーになるものです。
RootState を import して使う方法をがおすすめです。
import type { RootState } from "../../redux-function/admin/login/store/store";

require("react-redux").useSelector.mockImplementation(
  (selector: (state: RootState) => any) => {
    return selector({
      user: {
        email: "test@example.com",
        password: "password123",
      },
    } as RootState);
  }
);
2.「Property 'toBeInTheDocument' does not exist on type 'JestMatchers'.ts(2339)」
(回答)
そのエラーはtoBeInTheDocument()が Jest に認識されていない ために起きています。
toBeInTheDocument() は React Testing Library(@testing-library/jest-dom) の拡張マッチャーなので、
セットアップファイルでimport "@testing-library/jest-dom"を読み込む必要があります。
✅ 解決方法(必須)
✔ 1. setupTests.ts を作って jest-dom を読み込む
🔧 プロジェクトの構成例(Next.js)
project/
├── jest.config.js
└── src/
    └── setupTests.ts
src/setupTests.ts
import "@testing-library/jest-dom";
✔ 2. jest.config.js に setupFilesAfterEnv を登録
jest.config.js がない場合は作る。
ある場合は以下を追加してください。
module.exports = {
  testEnvironment: "jsdom",
  setupFilesAfterEnv: ["<rootDir>/src/setupTests.ts"],
};
🔧 TypeScript で型が効かない時(TS の追加設定)
TypeScript が jest-dom の型を認識しない場合は tsconfig.json に追加:
{
  "compilerOptions": {
    "types": ["jest", "@testing-library/jest-dom"],
    ...
  }
}
3.「Property 'value' does not exist on type 'HTMLElement'.ts」
そのエラーは TypeScript が getByLabelText() の戻り値を HTMLElement と推論し、value プロパティがないと判断している ために発生します。
value を持っているのは HTMLInputElement です。
✅ 解決方法(最もシンプルで実用的)
👉 1. 明示的に型アサーションを付ける
expect((screen.getByLabelText(/メールアドレス/) as HTMLInputElement).value).toBe("");
4.プロジェクトルートで「npm run test」を実行すると「Missing script: "test"」と表示された。
Missing script: "test" というエラーは、
package.json に"test"スクリプトが定義されていない ことが原因です。
いずれにしても package.json に test スクリプトがない と動きません。
//略
{
  "scripts": {
    "test": "jest --passWithNoTests"
  }
}
//略
5.SyntaxError: C:\Users\xxx\Desktop\nextjs-chakra-app_tests_\AdminLogin.test.tsx: Support for the experimental syntax 'jsx' isn't currently enabled (35:7):
(回答)
これは Jest が JSX(TSX)を変換できていない ために発生する典型的エラーです。
原因は次のいずれか:
■ts-jest の設定不足
■babel-jest の設定不足
■jest.config.js に transform が設定されていない
Next.js + TypeScript + Jest + React Testing Library の環境では
Babel ではなく ts-jest を使うのが最も簡単です。
🎯【最短で確実に直す方法】Jest を ts-jest で設定する
✅ ① ts-jest をインストール
npm install -D ts-jest @types/jest
✅ ② jest.config.js を正しく設定する
module.exports = {
  preset: "ts-jest",
  testEnvironment: "jsdom",
  setupFilesAfterEnv: ["<rootDir>/src/setupTests.ts"],
  moduleNameMapper: {
    "^@/(.*)$": "<rootDir>/src/$1",
  },
  transform: {
    "^.+\\.(ts|tsx)$": "ts-jest",
  },
};
✅ ③ setupTests.ts を用意(なければ作る)
import "@testing-library/jest-dom";

// structuredClone Polyfill
if (typeof (global as any).structuredClone !== "function") {
  (global as any).structuredClone = (obj: any) =>
    JSON.parse(JSON.stringify(obj));
}
Jest実行後に下記のエラーが表示された
FAIL __tests__/AdminLogin.test.tsx AdminLogin × フォームが正しく表示されること (68 ms) × フォームにデータを入力して送信ボタンをクリックすると、dispatchが呼ばれること (5 ms) × リセットボタンをクリックするとフォームがリセットされること (6 ms) × 送信ボタンをクリックするとalertが表示されること (5 ms) ● AdminLogin › フォームが正しく表示されること ReferenceError: structuredClone is not defined
(回答)
ReferenceError: structuredClone is not defined
➡ Jest(= JSDOM)には structuredClone が標準実装されていないため発生するエラーです。
Next.js + React Hook Form + Redux などで内部的に structuredClone() を使うことがあり、
Jest の実行環境で polyfill を入れないと動きません。
✅【最短で確実に直す方法】
👉 Jest のセットアップファイル (setupTests.ts) に polyfill を追加する
// jest-dom
import "@testing-library/jest-dom";

// structuredClone Polyfill
if (typeof (global as any).structuredClone !== "function") {
  (global as any).structuredClone = (obj: any) => JSON.parse(JSON.stringify(obj));
}
6.Jestを実行すると下記のエラーが表示
● AdminLogin › 送信ボタンをクリックするとalertが表示されること ContextError: useContext returned undefined. Seems you forgot to wrap component within <ChakraProvider />
(回答)
テストコードでは setup() 内で ChakraProvider でラップしているにも関わらず、各テスト内でさらに render(...) を実行している ため、ChakraProvider が正しく適用されていない状態になっています。
つまり 二重に render している のが原因です。
✅ 修正版のポイント
1.setup() で ChakraProvider + Redux Provider をまとめてラップ
2.各テスト内で再度 render しない
3.テスト内では setup() を呼ぶだけで良い
const setup = () =>
  render(
    <ChakraProvider>
      <Provider store={store}>
        <AdminLogin />
      </Provider>
    </ChakraProvider>
  );

describe("AdminLogin", () => {
  const mockDispatch = jest.fn();

  beforeEach(() => {
    jest.clearAllMocks();

    const redux = require("react-redux");
    redux.useDispatch.mockReturnValue(mockDispatch);
    redux.useSelector.mockImplementation((selector: any) =>
      selector({
        user: {
          email: "xxxxx@example.com",
          password: "password123",
        },
      })
    );
  });

  test("フォームが正しく表示されること", () => {
    setup();

    expect(screen.getByLabelText(/メールアドレス/)).toBeInTheDocument();
    expect(screen.getByLabelText(/パスワード/)).toBeInTheDocument();
    expect(screen.getByText(/ログイン/)).toBeInTheDocument();
    expect(screen.getByText(/リセット/)).toBeInTheDocument();
  });

  test("送信ボタンをクリックするとalertが表示されること", async () => {
    setup();
    window.alert = jest.fn();

    await userEvent.type(screen.getByLabelText(/メールアドレス/), "test@example.com");
    await userEvent.type(screen.getByLabelText(/パスワード/), "password123");
    await userEvent.click(screen.getByText(/ログイン/));

    expect(window.alert).toHaveBeenCalledWith("送信しました。");
    expect(mockDispatch).toHaveBeenCalledTimes(2); // setEmail と setPassword
  });

  test("リセットボタンをクリックするとフォームがリセットされること", async () => {
    setup();

    await userEvent.type(screen.getByLabelText(/メールアドレス/), "test@example.com");
    await userEvent.type(screen.getByLabelText(/パスワード/), "password123");

    await userEvent.click(screen.getByText(/リセット/));

    expect((screen.getByLabelText(/メールアドレス/) as HTMLInputElement).value).toBe("");
    expect((screen.getByLabelText(/パスワード/) as HTMLInputElement).value).toBe("");
  });
});
7.Jest実行後に下記のエラーが出た。
● AdminLogin › フォームが正しく表示されること TestingLibraryElementError: Found a label with the text of: /メールアドレス/, however no form control was found associated to that label. Make sure you're using the "for" attribute or "aria-labelledby" attribute correctly.
(回答)
これは Testing Library がラベルと入力要素の紐付けを見つけられない ことによるエラーです。
原因は Next.js + Chakra UI の と の組み合わせで htmlFor と id が正しく一致していない ことにあります。
page.tsx はこうなっています:
<FormLabel htmlFor="email" textAlign="start">
  メールアドレス
</FormLabel>
<Input {...register('email')} borderColor="blue.200" />
■ と の id 属性 が一致していない
■Chakra UI の は register('email') だけだと id が自動で付かない
■そのため Testing Library が getByLabelText(/メールアドレス/) で紐付けを見つけられずエラーになる
✔ 解決方法
1️⃣ Input に id を追加してラベルと一致させる
<FormControl>
  <FormLabel htmlFor="email" textAlign="start">
    メールアドレス
  </FormLabel>
  <Input
    id="email"            // ← ここを追加
    {...register('email')}
    borderColor="blue.200"
  />
</FormControl>

<FormControl>
  <FormLabel htmlFor="password">パスワード</FormLabel>
  <Input
    id="password"         // ← ここを追加
    {...register('password')}
    borderColor="blue.200"
  />
</FormControl>
2️⃣ 補足
■React Hook Form の register は id を自動でセットしない
■ に対して、対象の が id="X" を持っている必要があります
■これで Testing Library の getByLabelText() がラベルと入力を正しく紐付けられます
Jest実行後に下記のエラー
AdminLogin › 送信ボタンをクリックするとalertが表示されること TestingLibraryElementError: Found multiple elements with the text: /ログイン/ Here are the matching elements: Ignored nodes: comments, script, style
(回答)
今回のエラーは 「ログイン」というテキストが複数見つかった」 ためです。
page.tsx を見ると、 が複数あり、うち 1 つが「ログイン」というテキストを持っていますが、テストでは getByText(/ログイン/) が複数マッチしてしまっている のが原因です。
✅ 解決方法
1️⃣ 役割(role)と name を指定してボタンを特定する
Testing Library では getByRole('button', { name: /ログイン/ }) を使うのがベストです。
// 修正版
const loginButton = screen.getByRole('button', { name: /ログイン/ });
userEvent.click(loginButton);
9.Jest実行後に下記のエラー
AdminLogin › 送信ボタンをクリックするとalertが表示されること expect(jest.fn()).toHaveBeenCalledWith(...expected) Expected: "送信しました。" Number of calls: 0
(回答)
今回のエラーは alert が呼ばれていない ことが原因です。
前回の修正で window.alert = jest.fn() を設定しているのに、呼ばれないのは テスト内での render / userEvent の順番や非同期処理が正しく扱われていない 可能性が高いです。
✅ 原因
非同期で state が更新される React Hook Form の handleSubmit を呼ぶので、userEvent も非同期で扱う必要があります。
window.alert をテスト内で設定する前にコンポーネントが render されると、古い alert を参照してしまう。
test("送信ボタンをクリックするとalertが表示されること", async () => {
  const alertMock = jest.spyOn(window, "alert").mockImplementation(() => {});
  setup(); // ChakraProvider + Redux Provider でラップした render

  // 入力
  await userEvent.type(screen.getByLabelText(/メールアドレス/), "test@example.com");
  await userEvent.type(screen.getByLabelText(/パスワード/), "password123");

  // 送信ボタンをクリック
  const loginButton = screen.getByRole("button", { name: /ログイン/ });
  await userEvent.click(loginButton);

  // alert が呼ばれたか確認
  await waitFor(() => {
    expect(alertMock).toHaveBeenCalledWith("送信しました。");
  });

  alertMock.mockRestore(); // モックを元に戻す
});
🔑 ポイント
await をつけて非同期処理を待つ
→ React Hook Form の submit 内で state が更新されるため
jest.spyOn(window, "alert") を使う
→ 安全に alert をモックして呼び出し確認できる
waitFor() で確認
→ submit 内の非同期処理が完了してから assertion を実行
サイト
How to set up Jest with Next.js