Next.jsでデバッグモードを設定する方法を解説します。
1.プロジェクトのルートに.vscode/launch.jsonという名前のファイルを作成
プロジェクトのルートに.vscode/launch.jsonという名前のファイルを新規作成します。
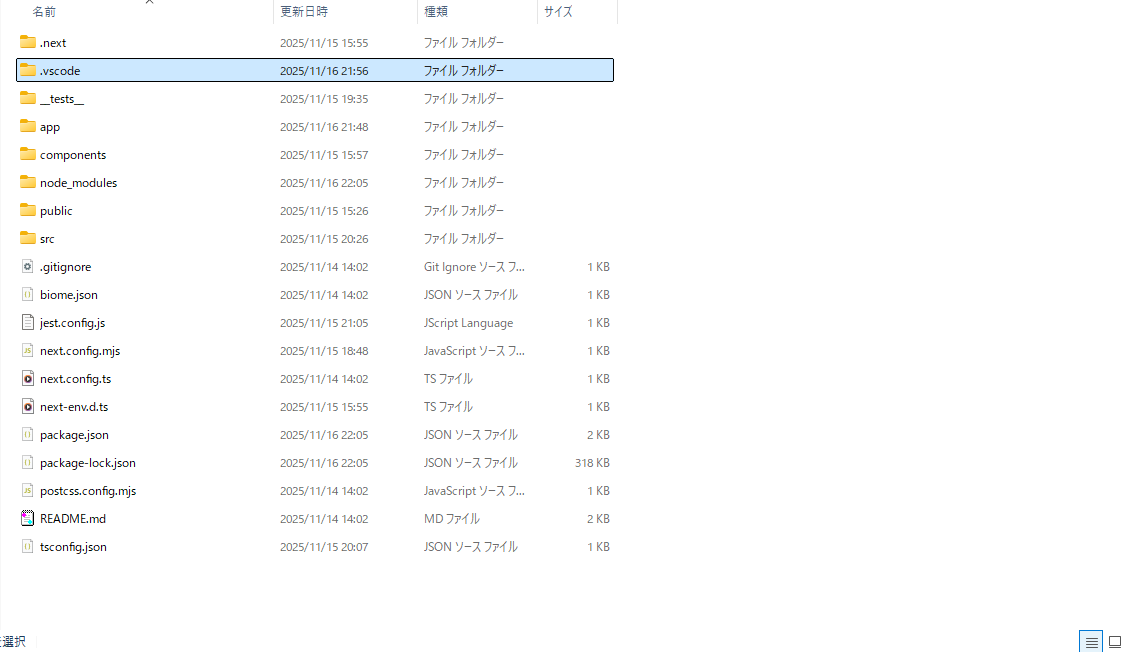
.vscodeフォルダの中にlaunch.jsonを作成します。

2.package.jsonを更新
scriptsの箇所を2点追加・修正します。
1点目:debugを追加
scriptsにdebugを追加します。
package.json
//(略)
"debug": "NODE_OPTIONS='--inspect' next dev"
//(略)
2点目:devを修正
scriptsにdevを修正します。
package.json
【修正前】
"dev": "next dev",

【修正後】
"dev": "NODE_OPTIONS='--inspect' next dev",
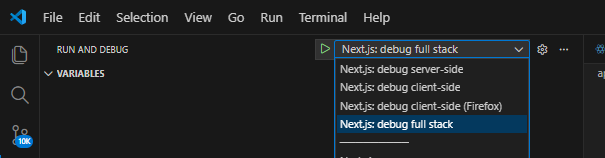
3.VSCodeのデバッグモードアイコン「 」をクリック
デバッグモードのアイコン「 」をクリックします。
4.デバッグモードを「 」に設定
」に設定
下記の箇所から「 」を選択します。
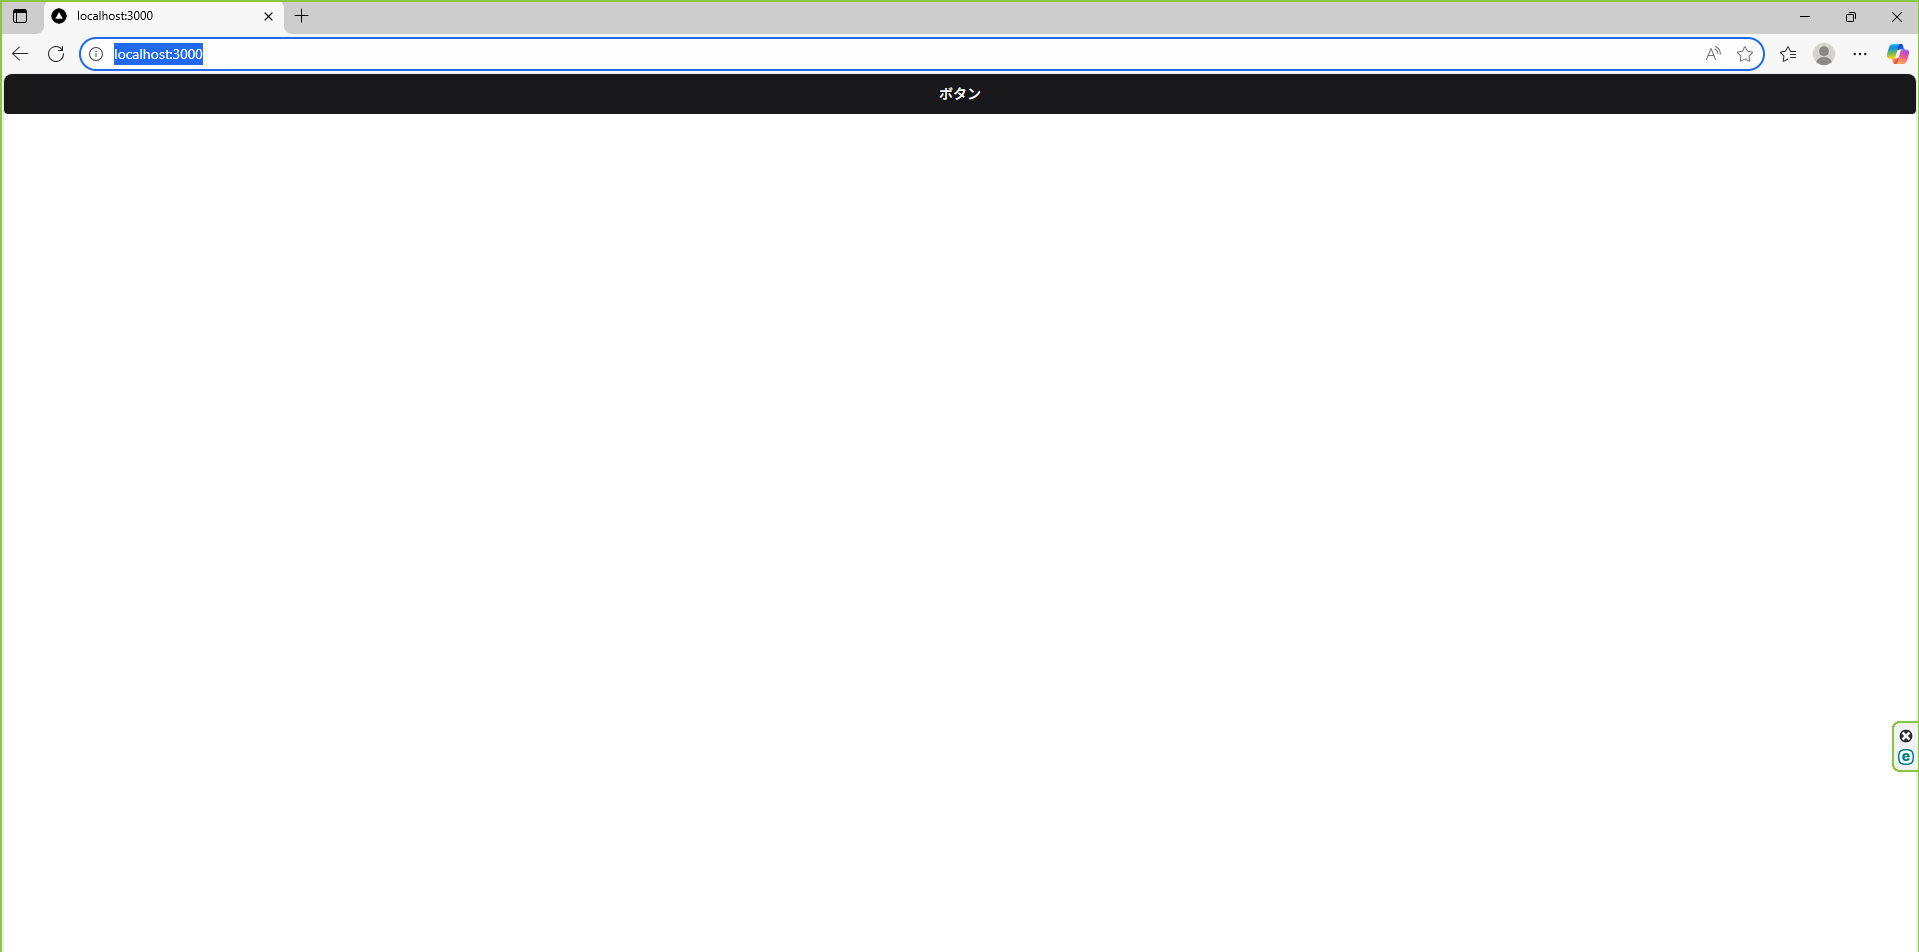
5.デバッグボタン「 」をクリックしてデバッグ開始
デバッグボタン「」をクリックすればデバッグが開始されます。
6.デバッグの停止は「Shift + F5」を押す
デバッグの停止は、「Shift + F5」で停止できます。
サイト
Next.jsでデバッグツールを使用する方法
win-node-env
WindowsでNext.jsの環境構築をするときのTips
Next.js を VisualStudioCode(VSCode)を使ってデバッグする方法
サーバサイドもクライアントも簡単デバッグ VS Codeでブレークポイント編