はじめに
- 複数のピンの立て方のおさらい
- 情報を付け加える方法1
- 情報を付け加える方法2
- 最後に
複数のピンの立て方のおさらい
私の一個前の記事に複数のピンの立て方が掲載されていますので、そちらを参照してください。
Google maps APIで複数のドラゴンボールの場所にピンを立てよう! - Qiita
今回は立てたピンに情報を付け加えていきたいと思います。前回同様、複数のピンを目標としますのでfor文をうまく活用していきたいと思います。
Htmlは前回のままです。
<html>
<head>
    <meta charset=“UTF-8”>
    <title>map</title>
    <link rel=“stylesheet” href=“css/style.css”>
</head>
<body>
    <div id=“map”></div>
    <script src=“js/map.js”></script>
    <script src=“data/place.json”></script>
    <script src=“https://maps.googleapis.com/maps/api/js?key=YOUR_API_KEYg&callback=initMap” async defer></scriptsrc>></script>
</body>
</html>
Cssも前回と同様です。
body {
    height: 100%;
    width: 100%;
}

# map {
    height: 100%;
    width: 100%;
}
情報を付け加える方法1
ここまでは前回と同じですが、JSONの方から改善していきたいと思います。JSONにその場所の紹介文を載せておきたいと思います。今回は全てtestとしておきます。
var place_data = [
    {
        “Loc”: “バンナ公園”,
        “lat”: 24.375031,
        “lng”: 124.160795,
        “balloon”: “test”
    },
      {
        “Loc”: “石垣島鍾乳洞”,
        “lat”: 24.361743,
        “lng”: 124.154466,
        “balloon”: “test”
    },
      {
        “Loc”: “石垣やいま村”,
        “lat”: 24.40489,
        “lng”: 124.144636,
        “balloon”: “test”
    }
]
情報を付け加える方法2
次にJavaScriptの変更です、前回とは異なりmarkerの情報を保存するリストとウィンドウの情報を保存するリスト二つを用意します。
var map;
var marker = [];
var infowindow = [];
var Center = {lat: 24.4064, lng: 124.1754};
function initMap() {
    map = new google.maps.Map(document.getElementById(‘map’), {
        center: Center,
        zoom: 11.5
    });
    markerset()
};

function markerset(){
    for(var i=0;i<place_data.length;i++) {
        marker[I] = new google.maps.Marker({
            position: {lat: place_data[I].lat, lng: place_data[I].lng},
            map: map,
            title: place_data[I].loc
        });

        infowindow[I] = new google.maps.InfoWindow({
            content: ‘<div class=“mapsballoon”><h2>’ + place_data[I].loc + ‘</h2>’ + place_data[I].balloon + ‘</div>’
        });
        markerEvents(i)
    }
}

function markerEvents(i) {
    marker[I].addListener(‘click’, function() {
        infowindow[I].open(map, marker[I]);
    });
}
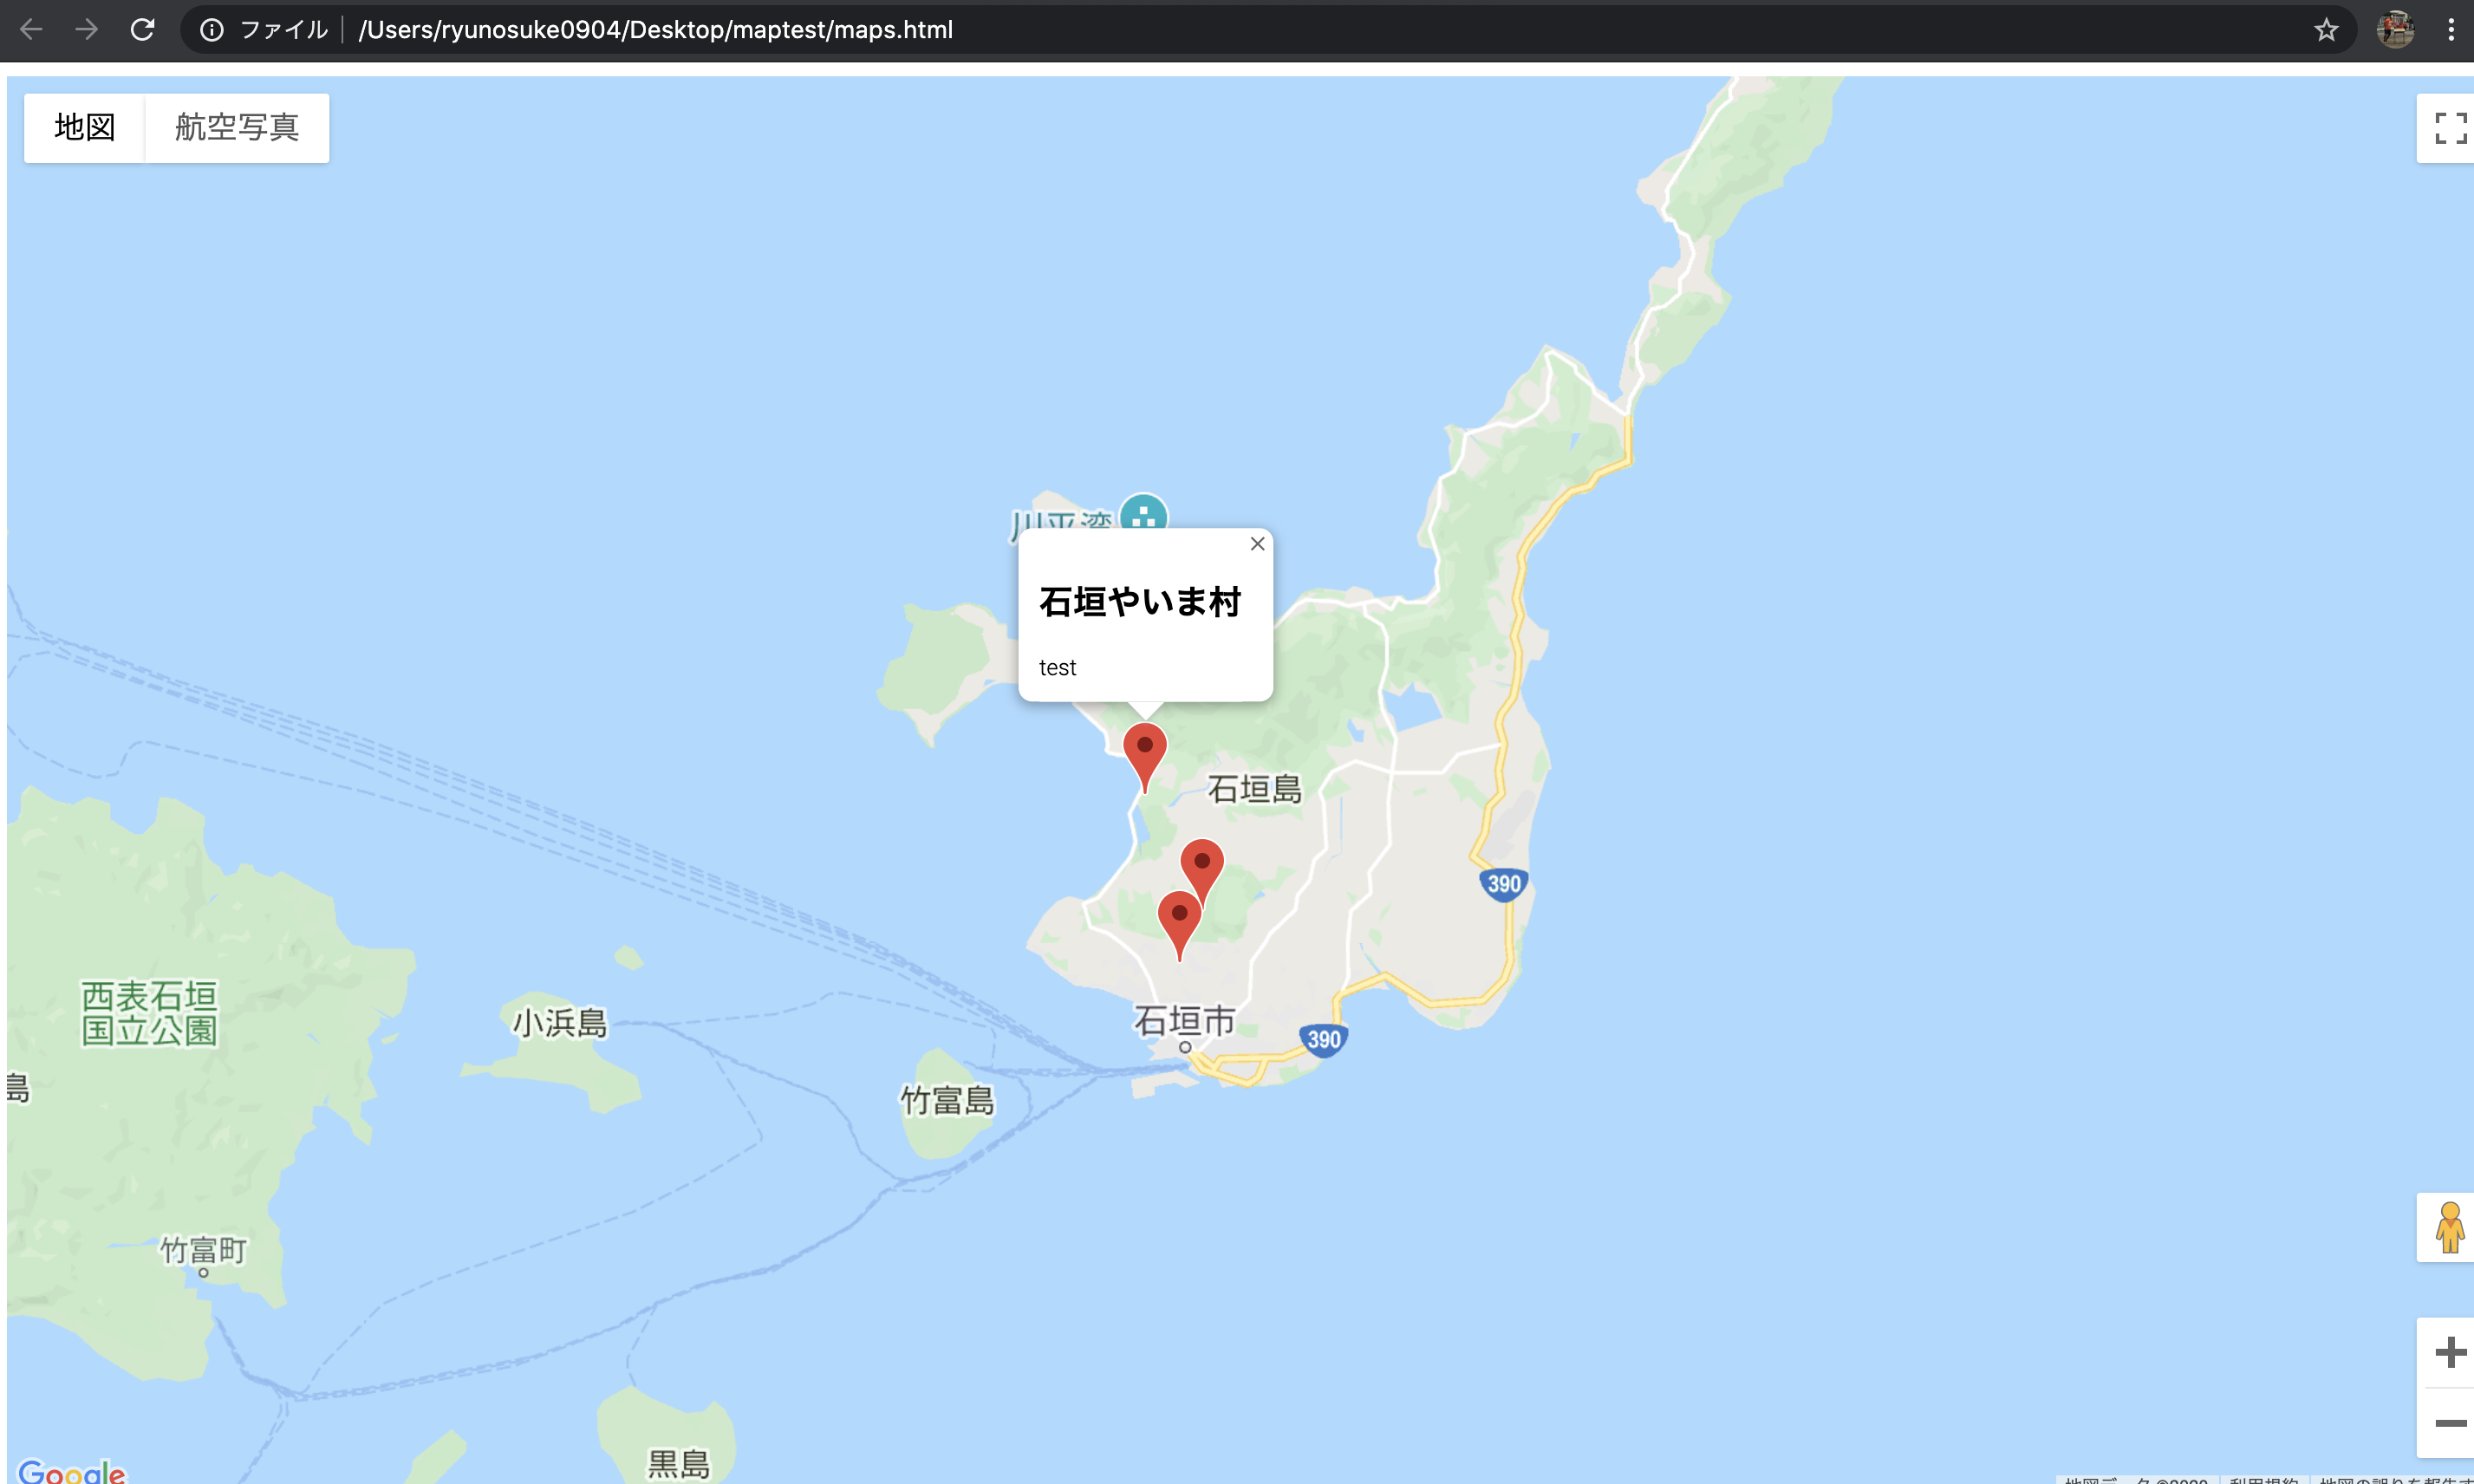
このように書くことで、for文でmarker・infowindowにそれぞれ値を格納していくことができます。addListenerメソッドをしようすることで、クリックしたときにinfowindowが表示されるようにすることができます。
最後に
いかがだったでしょうか?前回の予告通りピンに情報を付け加える方法を紹介しました。次回はピンを表示する際の工夫を施していこうと思います。
参考文献
https://developers.google.com/maps/documentation/javascript/examples/event-simple
