はじめに
今回はSpring Boot、Spring Securityを用いたGoogleでのログイン機能を実装してきます!
初めての実装でしたが、思っていたより手順はシンプルでした!
環境
・VSCode
・Java 21
・Spring Boot 3.4.12
・Gradle 8.14.3
事前準備
・Spring Bootでプロジェクトを作成しておく
・Googleアカウントを作成しておく(Google Cloudを利用する際に必要)
大まかな流れ
1.Google Cloudで設定を行う
2.コードを実装する
3.実際にログインを行う
※注意
本記事で添付しているGoogle Cloudの画面は2025/11時点のものになります。時期によって画面表示が異なる場合がございますのでご了承ください。
1.Google Cloudで設定を行う
1.Google Cloud Consoleにアクセス
https://console.cloud.google.com/
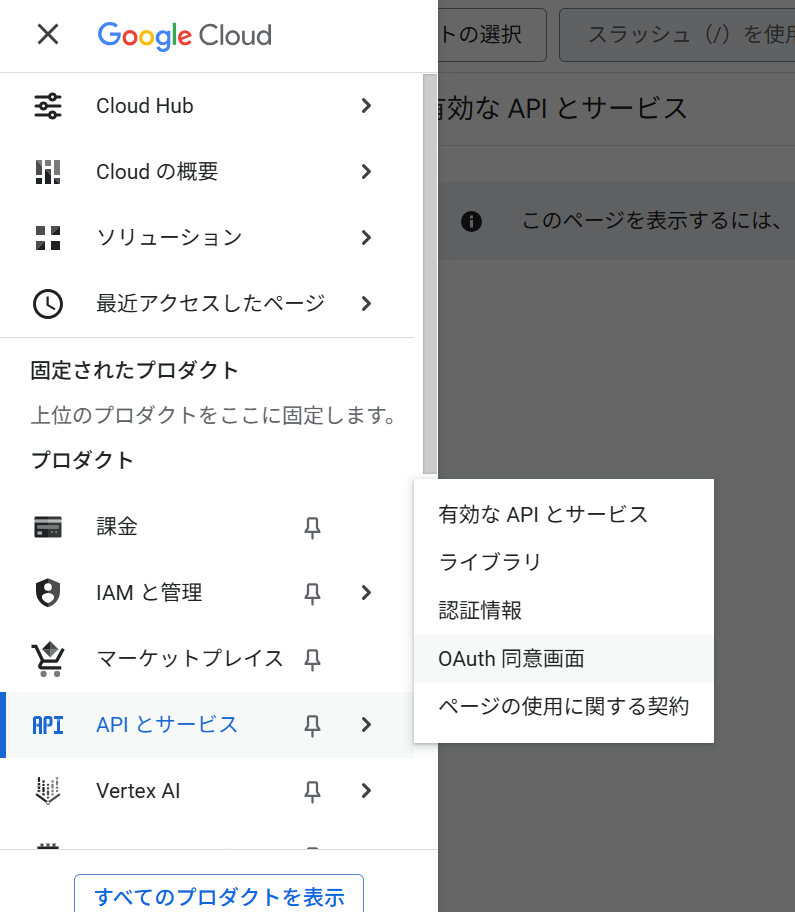
2.OAuth同意画面の設定を行う
左上のメニューから「APIとサービス→OAuth同意画面」と進みます。
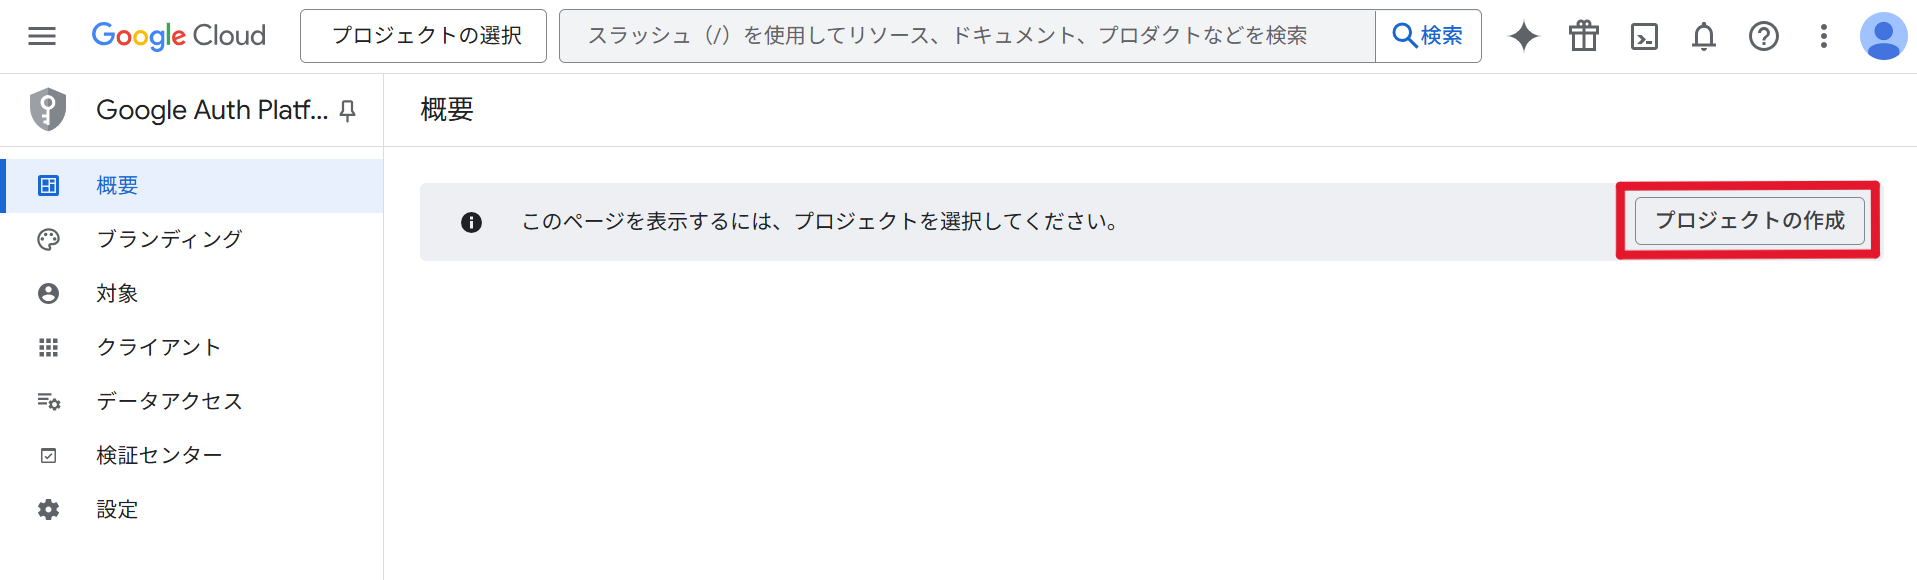
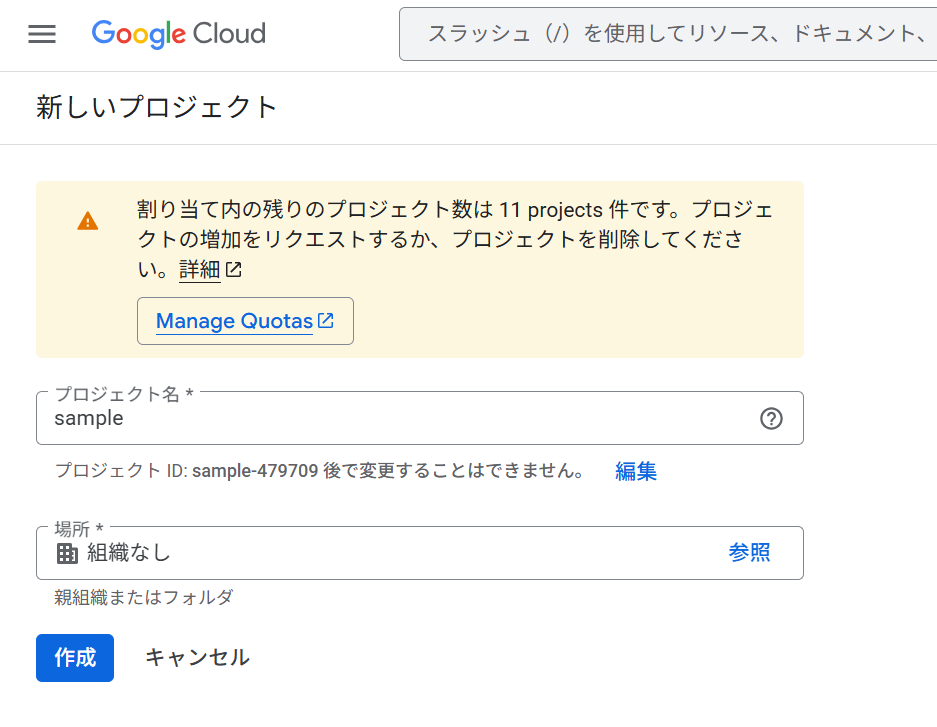
プロジェクトを新規作成します。
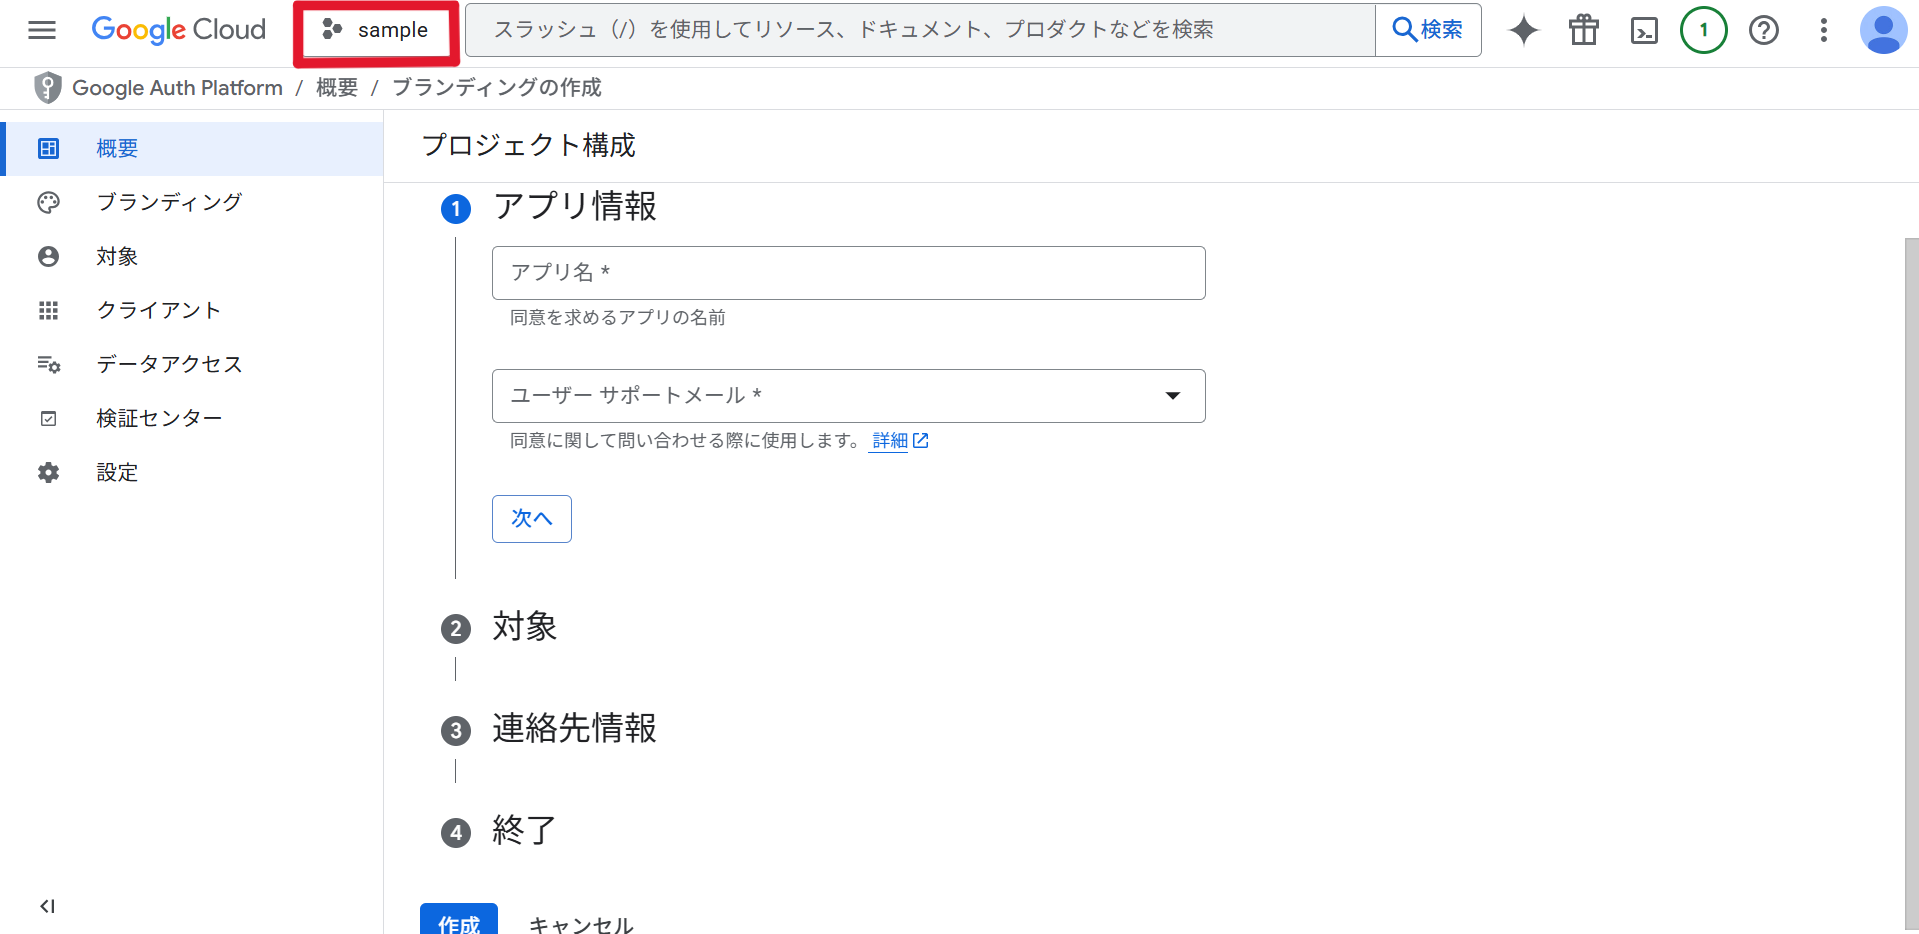
画面上部の赤枠部分が作成したプロジェクト名になっていることを確認し、「開始」を押下。必要情報を入力し、ブランディングの作成を行います。
【アプリ情報】
・アプリ名:任意
・ユーザーサポートメール:プルダウンから任意のものを選択
【対象】
「外部」を選択
(「内部」を選択した場合Google Workspaceアカウントでないとログインができないため、個人のGoogleアカウントでログインし検証する際は「外部」を選択)
【連絡先情報】
任意のメールアドレス
3.認証情報を作成
左上のメニューから「APIとサービス→認証情報」と進みます。
上部から「認証情報を作成→OAuthクライアントID」と進みます。
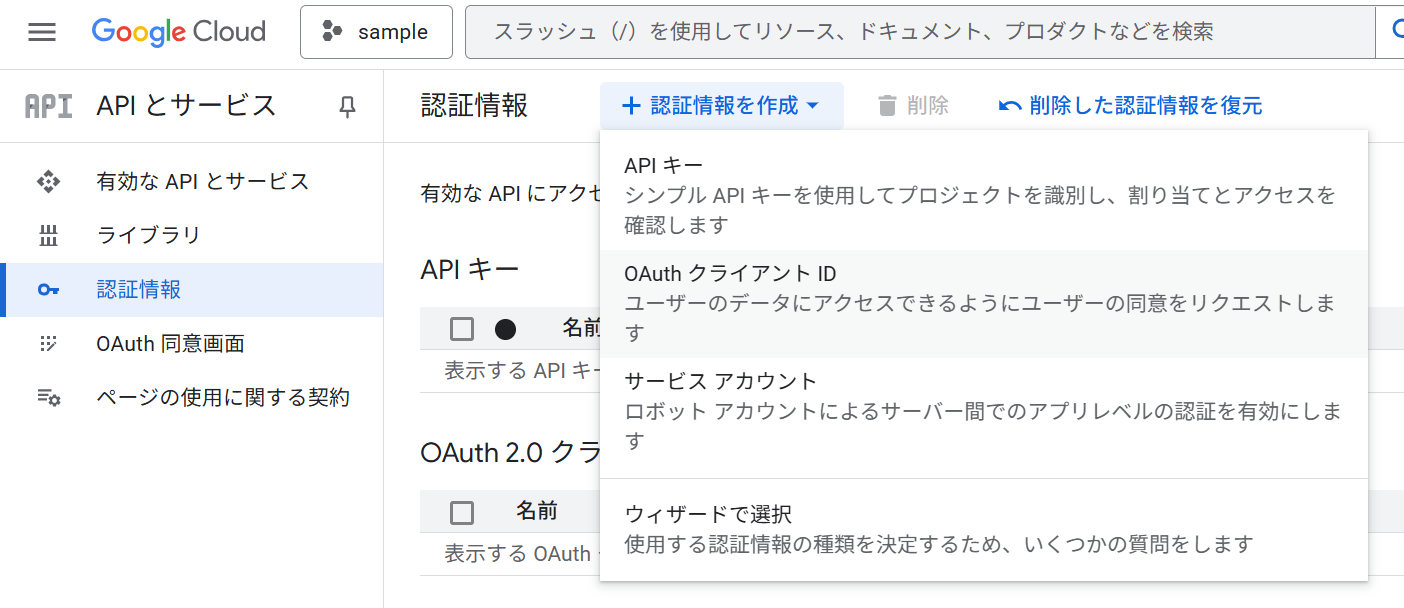
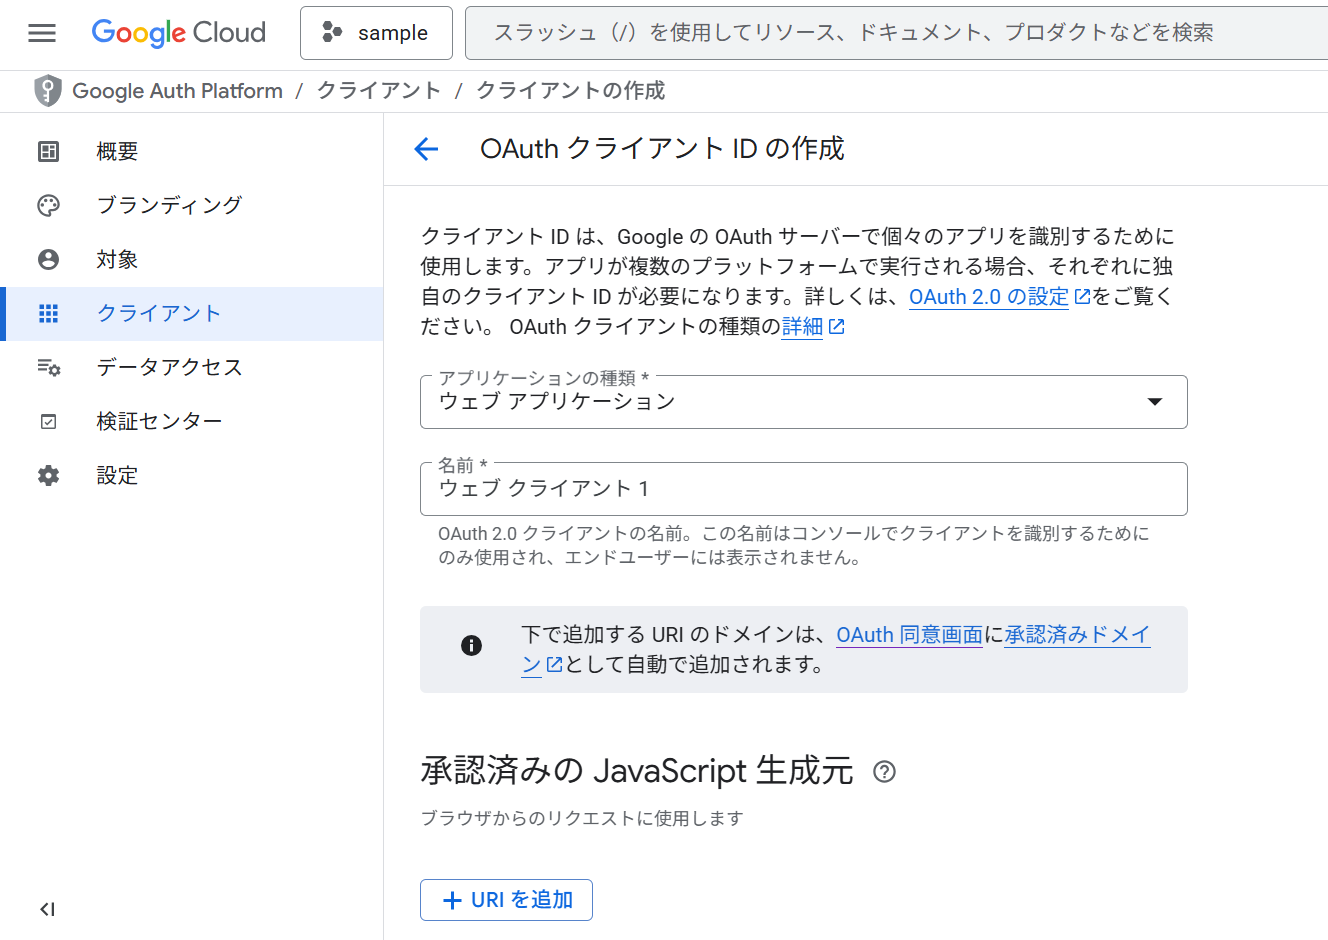
必要な情報を入力し、認証情報を作成します。
・アプリケーションの種類:ウェブアプリケーション
・名前:任意
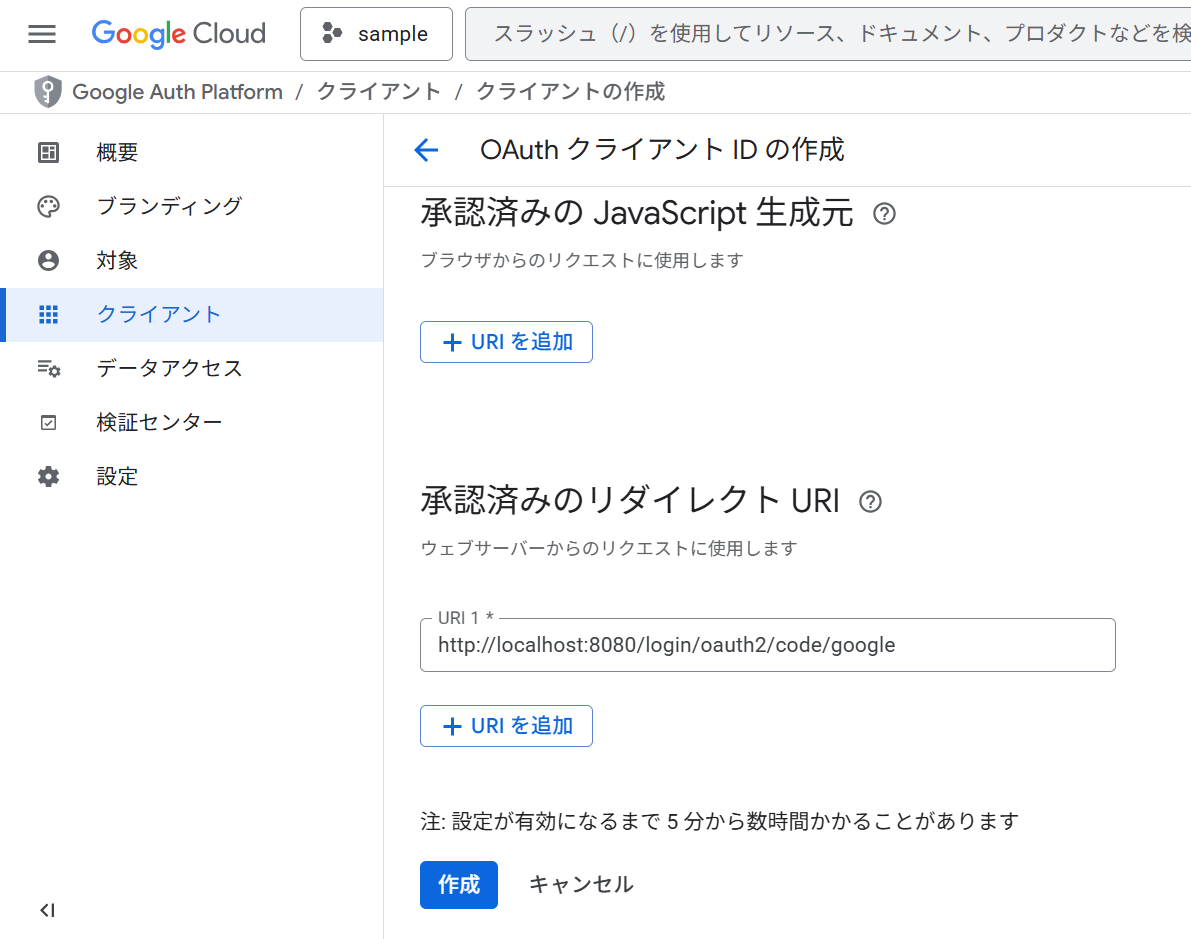
・認証済みのリダイレクトURI:http://localhost:8080/login/oauth2/code/google
完了後、表示されるクライアント IDとクライアント シークレットを控えます。
注意
クライアント ID、クライアント シークレットはGitHubなどで公開しないよう注意してください。
これでGoogle Cloudでの設定は完了です。
2.コードを実装する
依存関係を追加します。
dependencies {
    implementation 'org.springframework.boot:spring-boot-starter-web'
    implementation 'org.springframework.boot:spring-boot-starter-thymeleaf'
    implementation 'org.springframework.boot:spring-boot-starter-security'
    implementation 'org.springframework.boot:spring-boot-starter-oauth2-client'
}
Googleログインを可能にするために設定を追加します。
spring.security.oauth2.client.registration.google.client-id=先ほど控えたクライアント ID
spring.security.oauth2.client.registration.google.client-secret=先ほど控えたクライアント シークレット
spring.security.oauth2.client.registration.google.scope=openid,profile,email
spring.security.oauth2.client.provider.google.issuer-uri=https://accounts.google.com
SecurityConfigに認証の設定を記載します。
package com.example.demo.config;

import org.springframework.context.annotation.Bean;
import org.springframework.security.config.annotation.web.builders.HttpSecurity;
import org.springframework.security.web.SecurityFilterChain;
import org.springframework.context.annotation.Configuration;

@Configuration

public class SecurityConfig {
    @Bean
    public SecurityFilterChain securityFilterChain(HttpSecurity http) throws Exception {
        http
            // 未ログインでアクセス可能なページを指定
            .authorizeHttpRequests(auth -> auth
                .requestMatchers("/","/login").permitAll()
                .anyRequest().authenticated()
            )
            // Googleログインを有効化
            .oauth2Login(oauth2 -> oauth2
                .loginPage("/login")
                .defaultSuccessUrl("/mypage", true)
            );

        return http.build();
    }
}
コントローラーとhtmlを実装します。
package com.example.demo.controller;

import org.springframework.security.core.annotation.AuthenticationPrincipal;
import org.springframework.security.oauth2.core.oidc.user.OidcUser;
import org.springframework.stereotype.Controller;
import org.springframework.ui.Model;
import org.springframework.web.bind.annotation.GetMapping;

@Controller
public class TopController {

    @GetMapping("/")
    public String login() {
        return "login";
    }

    @GetMapping("/mypage")
    public String mypage(@AuthenticationPrincipal OidcUser user, Model model) {
        if (user == null) {
            return "redirect:/login";
        }

        model.addAttribute("user", user.getClaims());
        return "mypage";
    }
}
<!DOCTYPE html>
<html xmlns:th="http://www.thymeleaf.org">
<head>
    <meta charset="UTF-8">
    <title>Googleでログイン</title>
</head>
<body>
    <a href="/oauth2/authorization/google">
        <img src="https://developers.google.com/identity/images/btn_google_signin_light_normal_web.png">
    </a>
</body>
</html>
<!DOCTYPE html>
<html xmlns:th="http://www.thymeleaf.org">
<head>
    <title>マイページ</title>
</head>
<body>
    Googleログインが完了しました
</body>
</html>
mypage.htmlを下記のように変更するとログインしているGoogleアカウントの名前、メールアドレス、プロフィール画像も表示させることができます。
<!DOCTYPE html>
<html xmlns:th="http://www.thymeleaf.org">
<head>
    <title>マイページ</title>
</head>
<body>

    Googleログインが完了しました

    <div th:if="${user != null}">
        <p><strong>名前:</strong> <span th:text="${user['name']}"></span></p>
        <p><strong>Email:</strong> <span th:text="${user['email']}"></span></p>

        <img th:src="${user['picture']}" alt="profile" width="120">
    </div>

</body>
</html>
これでコードの実装は完了です。
3.実際にログインを行う
プロジェクトを実行し、http://localhost:8080 にアクセスするとlogin.htmlで作成したログイン画面が表示されます。
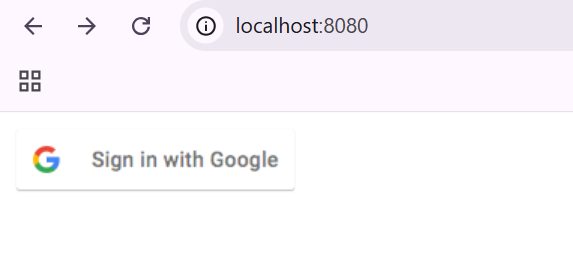
アイコンをクリックするとGooleログインでおなじみの画面が出るので、メールアドレス、パスワードを入力してログイン完了です!
簡単な手順でGooleのセキュリティ基準に準拠した認証を利用できる点は大きなメリットですね。
最後まで読んでいただきありがとうございました!