ダウンロード
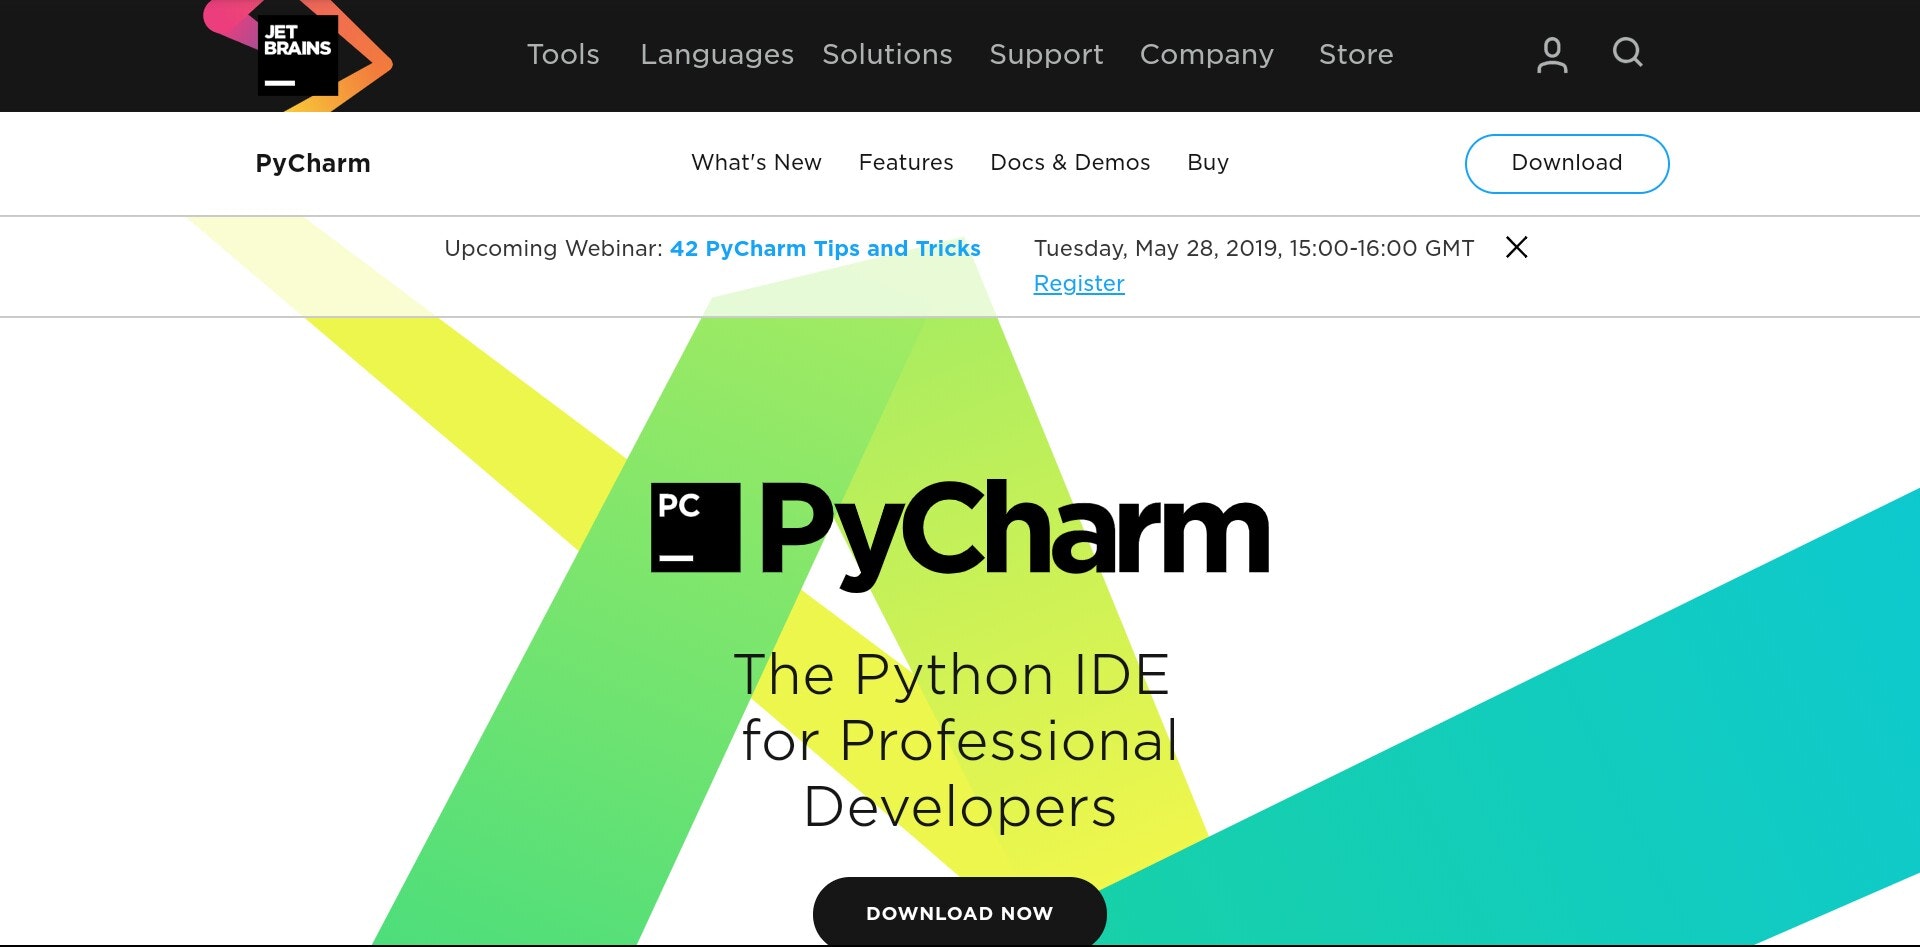
まずは公式ページに行き、画像下部中央にある黒い [DOWNLOAD NOW] をクリックします。
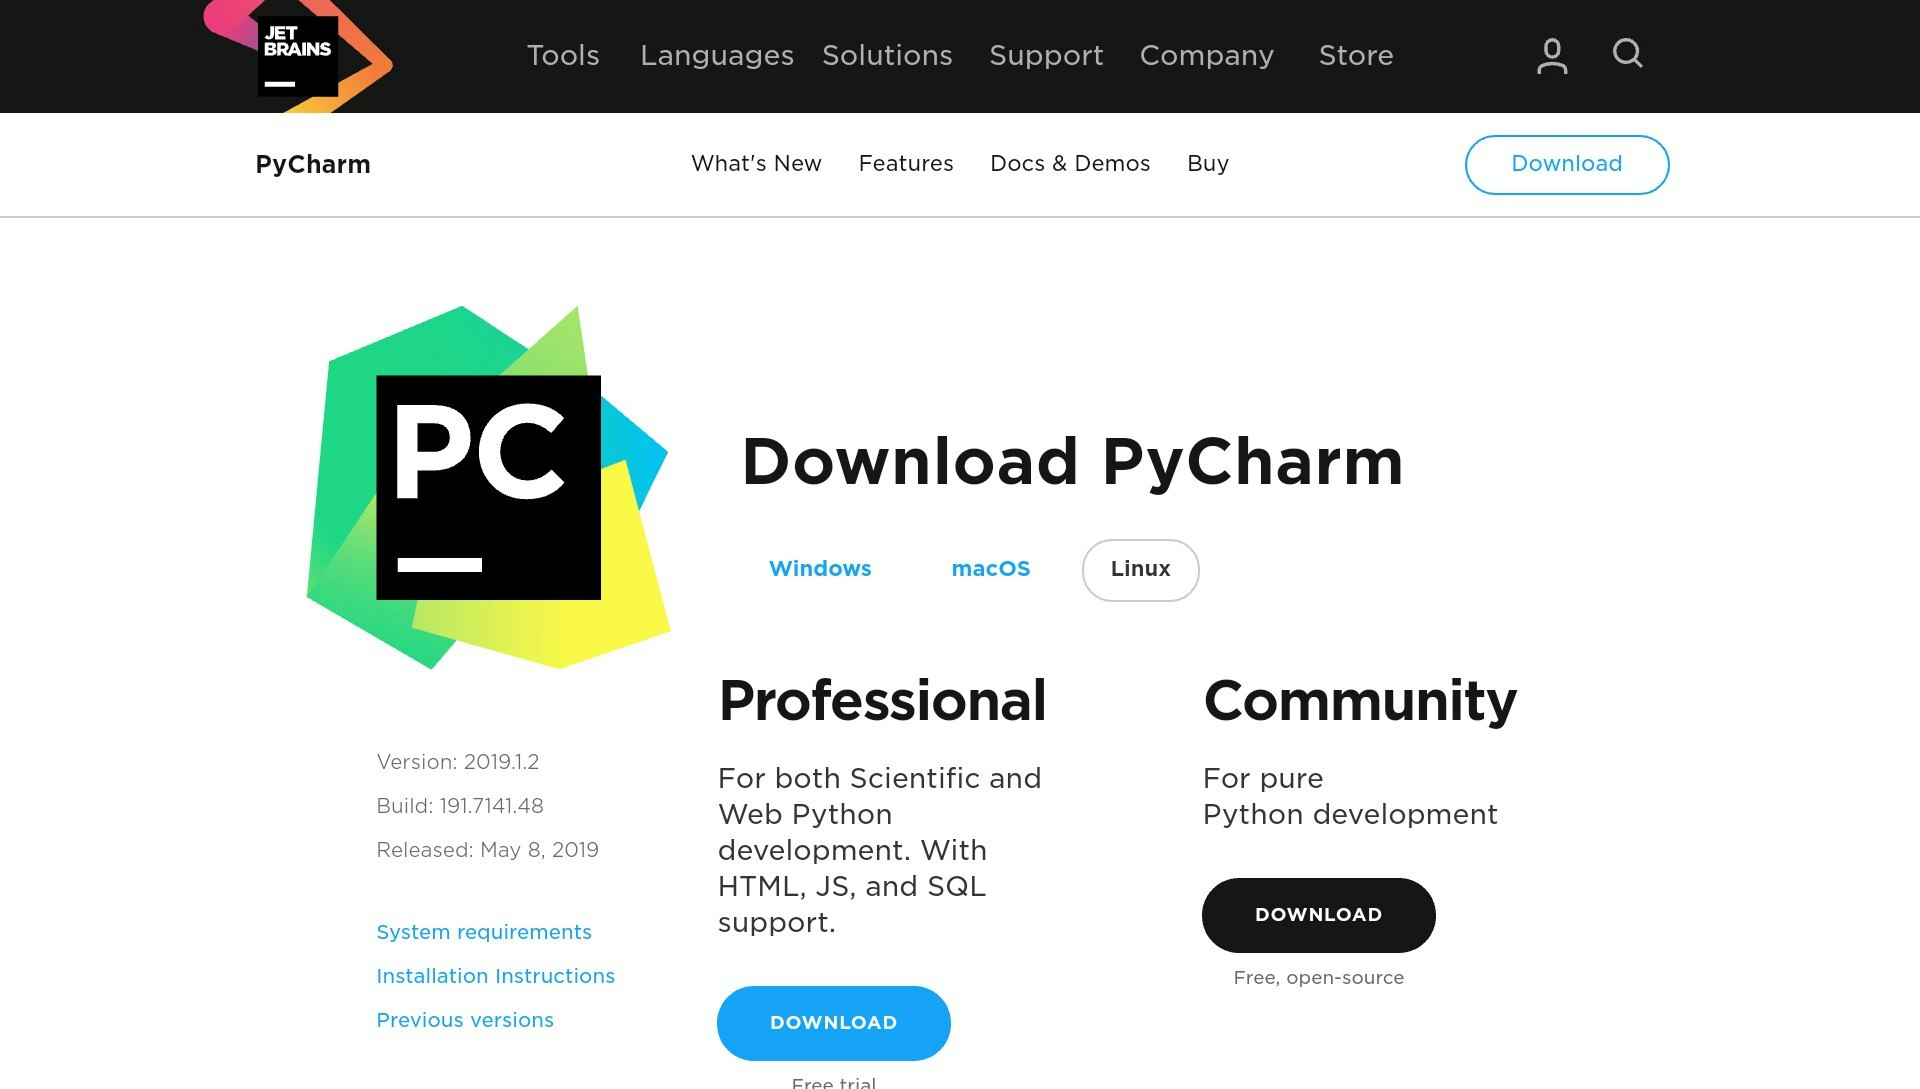
Linuxを選択して [Community] の [DOWNLOAD] からダウンロードします。
解凍
ダウンロードしたものを解凍し、フォルダーを移動させます。以降、2019.1.2の部分はダウンロードしたバージョンに置き換えてください。
tar zxvf ~/ダウンロード/pycharm-community-2019.1.2.tar.gz

mv ~/ダウンロード/pycharm-community-2019.1.2 ~/.pycharm-community-2019.1.2
起動
/home/pi/.pycharm-community-1.2/bin/pycharm.sh
で起動します。初期設定を済ませてください。
ショートカットの作成
シェルを実行するのも面倒なので、他のソフトと同じようにアイコンのクリックで使えるようにします。
ソフト一覧(Raspberry Piマークのボタン)→ [設定] → [Main Menu Editor] を開きます。
[New Item] を押し、 [Name] にPyCharmと入力します。他の名前で表示したければそれでも大丈夫です。 [command] 欄にはbash .pycharm-community-2019.1.2/bin/pycharm.shと入力してください。
[command] 欄に入力する代わりに [Browse] を押してファイルマネージャーで/home/pi/.pycharm-community-2019.1.2/bin/pycharm.shを選択でも大丈夫です。
次に、 [画像] をクリックするとファイルマネージャーが開くので/home/pi/.pycharm-community-2019.1.2/bin/pycharm.pngを選択します。
[Comment] は、ソフトのアイコン上にマウスポインターを置いたときに表示される説明で、入力しなくても大丈夫です。

