概要
nextjsの各レンダリング方法(CSR、SSG、ISR SSR)の実装方法、動きを確認します。
dynamic routingのような難しいことはしないで 初歩的な確認をします。
開発環境
フロントエンド:
IDE:VScode
├── @types/node@18.11.15
├── @types/react-dom@18.0.9
├── @types/react@18.0.26
├── axios@1.2.1
├── eslint-config-next@13.0.6
├── eslint@8.29.0
├── next-auth@4.18.7
├── next@13.0.6
├── react-bootstrap@2.7.0
├── react-dom@18.2.0
├── react@18.2.0
├── styled-components@5.3.6
├── styled-jsx@5.1.1
└── typescript@4.9.4
実装
CSR-Client Sever Rendering
Reactベースの手法です。nextjsの要素はないです。
ソースコード
import { useEffect, useState } from "react";

function Csr(){
	const[products, setProducts] = useState([]);
	useEffect(() => {
		fetch('/dummy-backend.json')
		.then((response) => {
			return response.json();
		})
		.then((data) => {
			setProducts(data.products);
		});
}, []);

return(
	<div>
		<h1>CSR例</h1>
		<ul>
			{products.map((product : any) =>(
				<li key={product.id}>{product.title}</li>
			))}
		</ul>
	</div>
)
}

export default Csr;
ダミーデータを作成。クライアントサイドからアクセスできるようにpublicフォルダーに置きます
{
	"products": [
	  { "id": "p1", "title": "Product 1", "description": "This is product 1" },
	  { "id": "p2", "title": "Product 2", "description": "This is product 2" },
	  { "id": "p3", "title": "Product 3", "description": "This is product 3" }
	]
  }
確認方法
以下コマンドを実行
npm run dev
ページを開きCtrl+Uを押してソースを表示する

データの取得はクライアントで行われるから、データの部分が入ってないですね。(赤線部分)
SSG-Static Side Rendering
ビルド時にデータを取得して、htmlに組み込む手法です。
ソースコード
import path from "path";
import fs from 'fs/promises';
import Link from "next/link";

function Ssg(props : any){
	const {products} = props;
	return(
		<div>
			<Link href="/ssg">SSG実装例</Link>

			<ul>
				{products.map((product : any) =>(
				<li key ={product.id}>{product.title}</li>))}
			</ul>
		</div>
	);
}

export async function getStaticProps(){
	console.log('Regenerating...')
	const filePath = path.join(process.cwd(),'data','dummy-backend.json');
	const jsonData = await fs.readFile(filePath);
	const data =JSON.parse(jsonData as any);
	return{
		props:{
			products: data.products
		},
	};
}
export default Ssg;
データ
{
	"products": [
	  { "id": "p1", "title": "Product 1", "description": "This is product 1" },
	  { "id": "p2", "title": "Product 2", "description": "This is product 2" },
	  { "id": "p3", "title": "Product 3", "description": "This is product 3" }
	]
  }
確認方法
buildコマンドを実行する
npm run build
ビルド結果 コンソールからSSGが作成されていることを確認。赤線部分注目

以下コマンドを実行してビルド結果を確認します。(一応npm run devでも確認はできます)
npm start
ページを開いてCtrl+Uを押してソースを表示する

赤線部分からhtmlにデータが入っています。サーバー側でデータを取得しhtmlに組み込んでいることを確認できます。
ISR-Incremental Static Regeneration
SSGの発展で一定間隔でデータの取得します。
ソースコード
SSGができれば簡単に実装できます。
revalidateを追加するだけです。
import path from "path";
import fs from 'fs/promises';
import Link from "next/link";

function Isr(props : any){
	const {products} = props;
	return(
		<div>
			<Link href="/ssg">ISR実装例</Link>

			<ul>
				{products.map((product : any) =>(
				<li key ={product.id}>{product.title}</li>))}
			</ul>
		</div>
	);
}

export async function getStaticProps(){
	console.log('Regenerating...')
	const filePath = path.join(process.cwd(),'data','dummy-backend.json');
	const jsonData = await fs.readFile(filePath);
	const data =JSON.parse(jsonData as any);
	if(!data){
		return{
	return{
		props:{
			products: data.products
		},
+		revalidate:10,
	};
}
export default ISR;
確認方法
ビルドしてログを確認
npm run build
ログの結果

赤線部分からISRになったことが確認できます。10秒おきにデータの再取得を行います。
以下コマンドを実行してサーバーを起動する
npm start
htmlソースコードの画像

赤線部からしてデータ入ってますね。
データ取得頻度の値を変えて比較
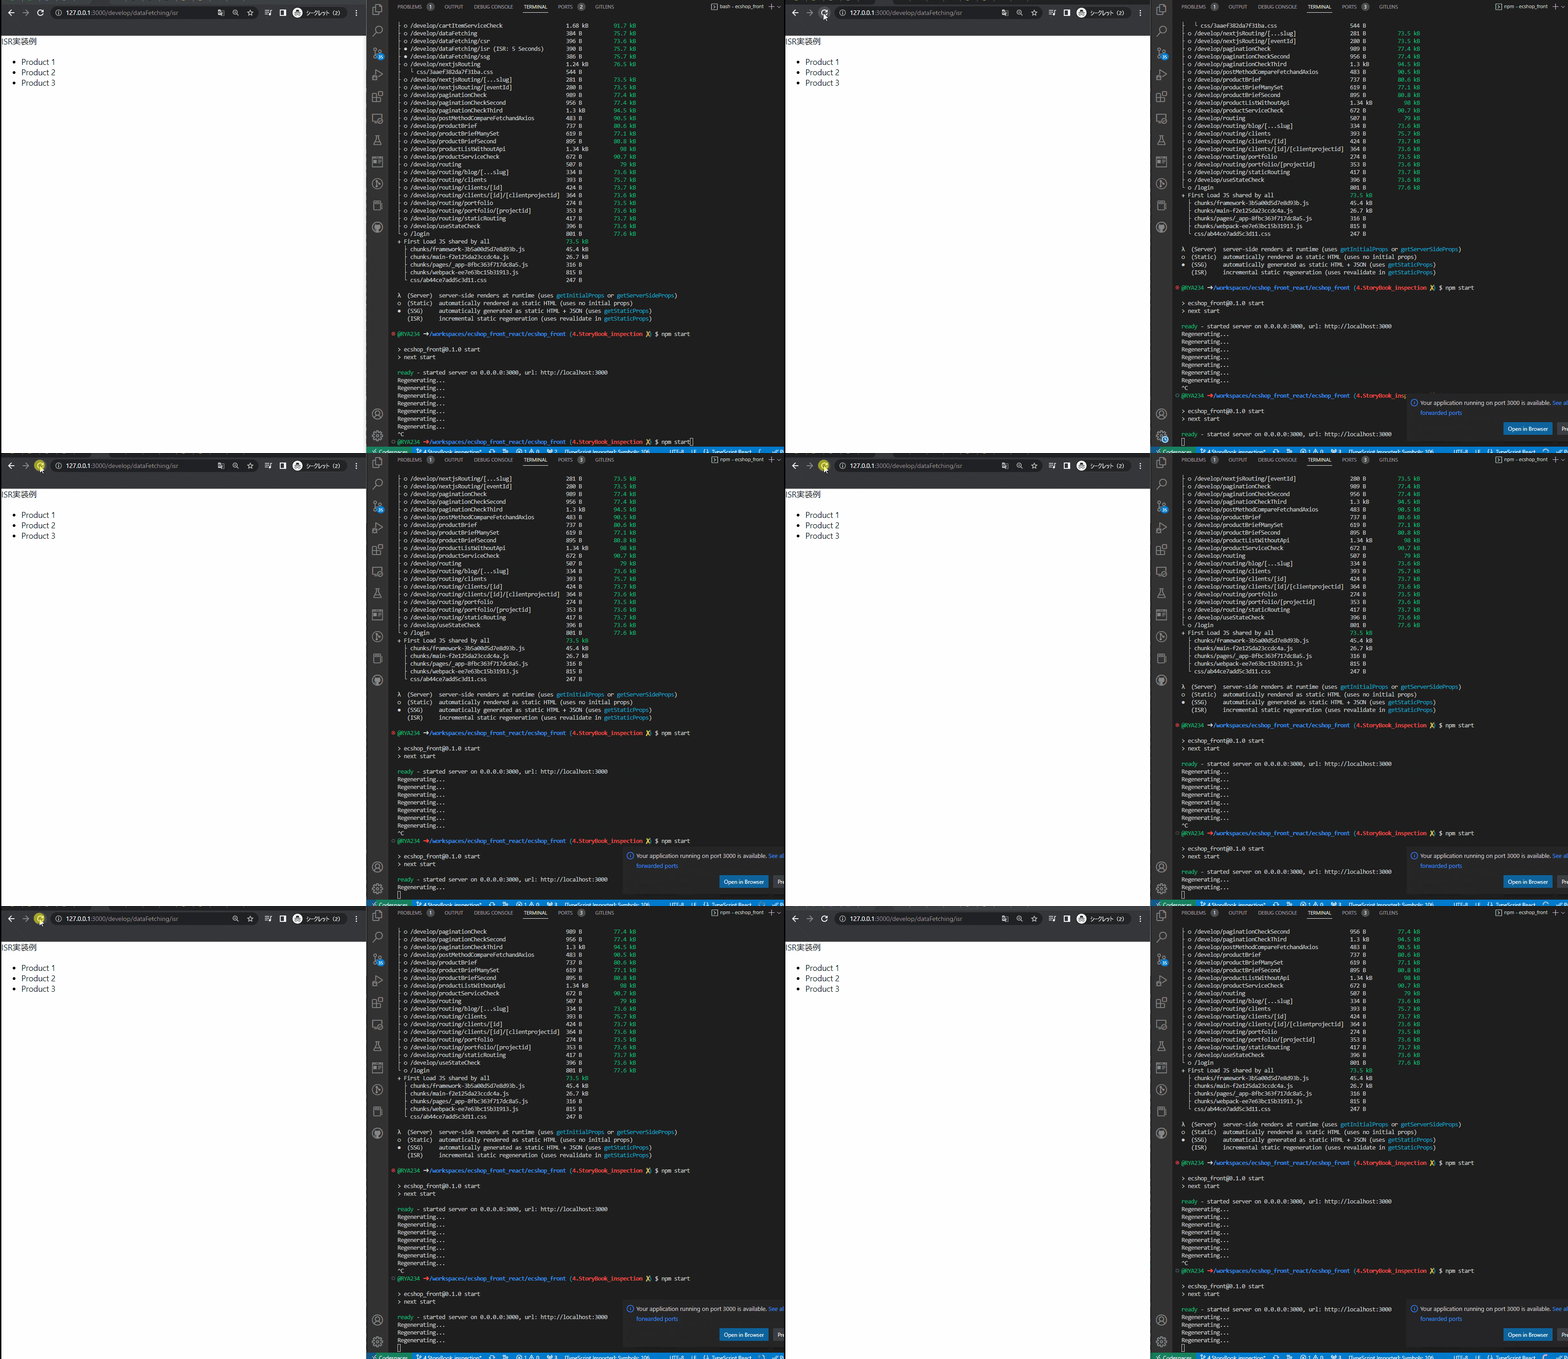
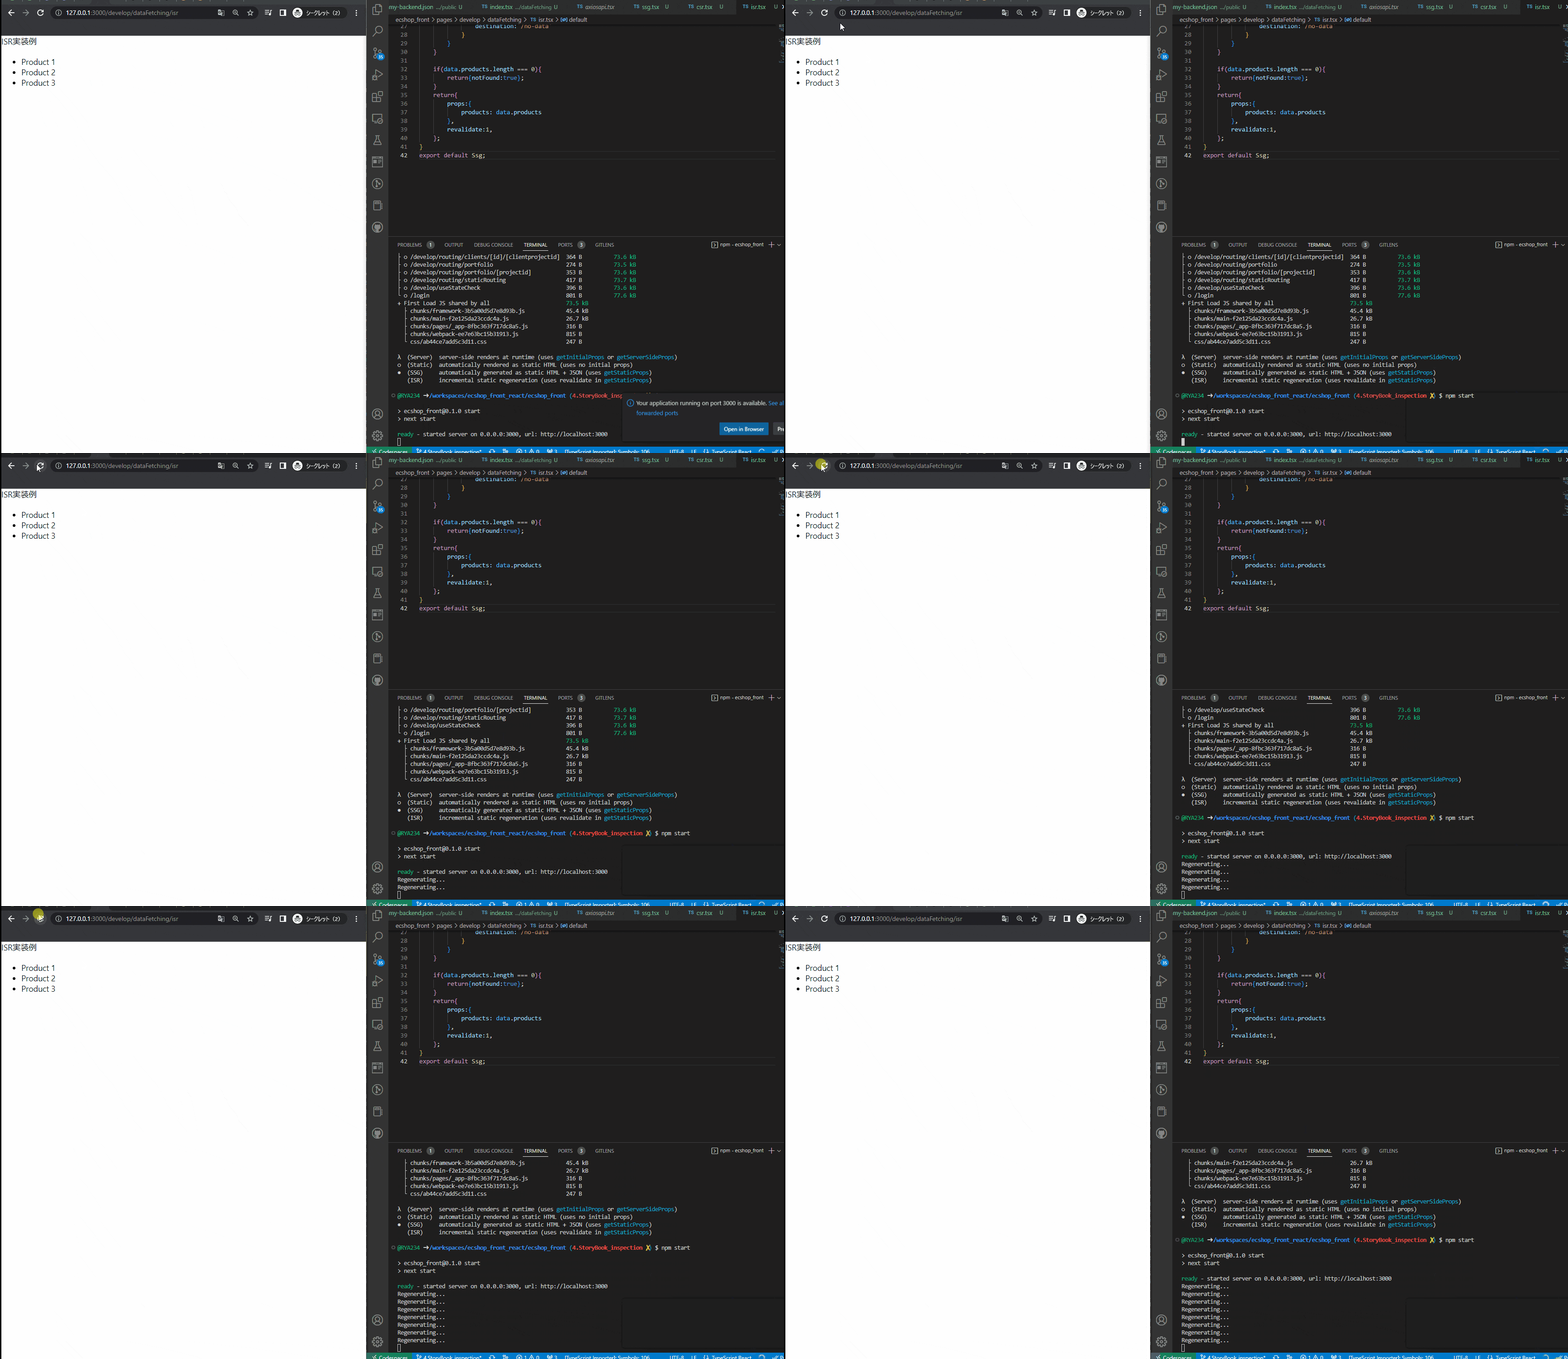
下gifアニメはISRのページに対して更新を連打している様子です。
データの取得が行われるとvscodeのコンソールに文字が出力されます。
1枚目は5秒 2枚目は1秒にしました。
SSGよりは使い勝手が良さそう
SSR Server Side Rendering
ソースコード
function UserProfilePage(props : any) {
	console.log("Page")
	return <h1>{props.username}</h1>
  }

  export default UserProfilePage;

  export async function getServerSideProps(context: any) {
	console.log("SSR")
	const { params, req, res } = context;

	return {
	  props: {
		username: 'Max'
	  }
	};
  }
動きの確認
以下コマンドを押してビルド
npm run build
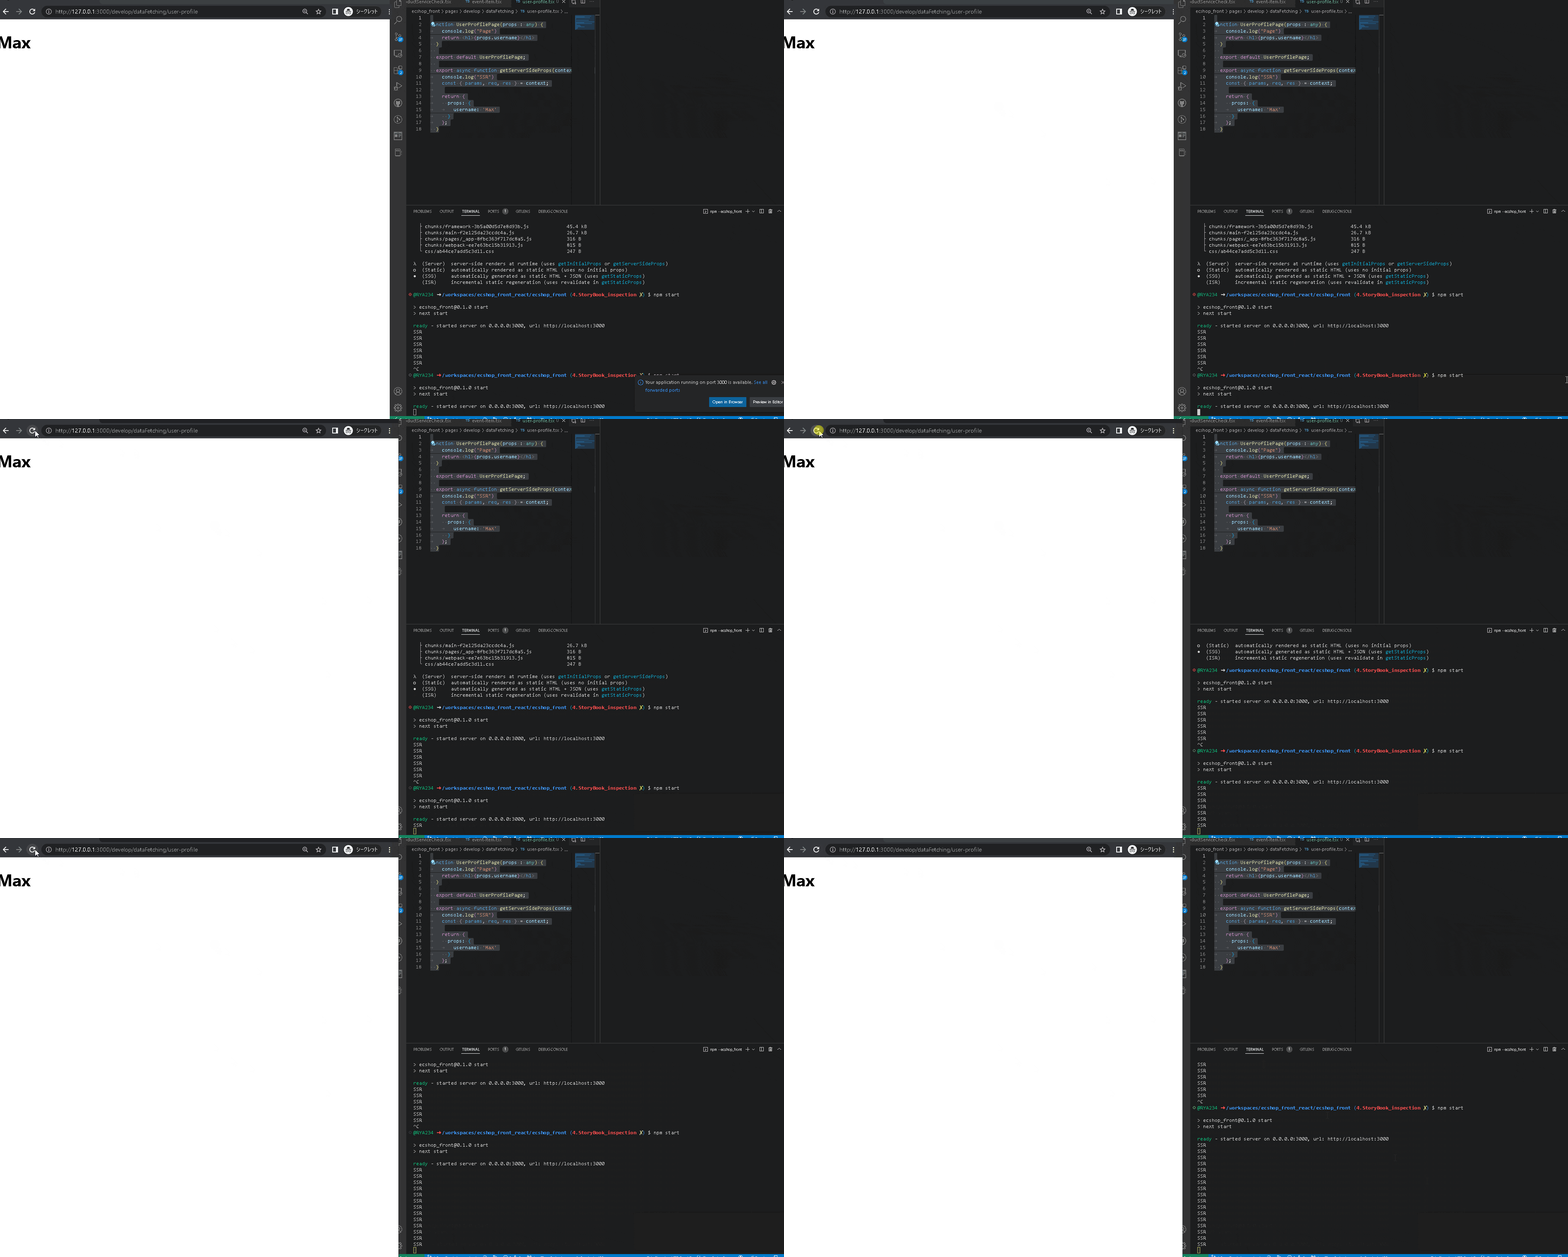
下gifアニメは更新ボタンを連打している時の様子です。
押すごとにconsole.log('SSR')が実行されデータを取得していることを確認できます。
参考
Section5


