はじめに
前回記事で作成したAWSの環境を利用し、Nginx+Unicornを使用してアプリをデプロイします。
次のアプリがローカル環境と同じように動作するようにデプロイします。

Railsアプリケーションの実行環境
DB: MySQL5.7
言語: ruby 2.6.3
フレームワーク: rails 5.2.4
バージョン管理: git
EC2接続
EC2を起動し、SSH接続を行います。
$ ssh -i aws-test.pem ec2-user@[パブリックIPアドレス]
The authenticity of host '[パブリックIPアドレス]' can't be established.
ECDSA key fingerprint is SHA256:/gw4yP+4cWnIB4GU4UATDndTtYg+BAX7XaYtL6Ic46Q.
Are you sure you want to continue connecting (yes/no)? yes
Warning: Permanently added '[パブリックIPアドレス]' (ECDSA) to the list of known hosts.
Last login: Sun Jan  5 09:04:35 2020 from softbank060135156151.bbtec.net

       __|  __|_  )
       _|  (     /   Amazon Linux 2 AMI
      ___|\___|___|

https://aws.amazon.com/amazon-linux-2/
6 package(s) needed for security, out of 31 available
Run "sudo yum update" to apply all updates.
yumアップデートの指示が出ているので実行しておきます。
$ sudo yum update -y
:
:
完了しました!
EC2インスタンスの環境構築
次に、Railsアプリケーションを動かすためにツールやライブラリのインストールを行います。
・Git
$ sudo yum install git -y
:
:
完了しました!
・nodejs-10.3.0
$ sudo rpm -Uvh https://rpm.nodesource.com//pub_10.x/el/6/x86_64/nodejs-10.3.0-1nodesource.x86_64.rpm
:
:
 1:nodejs-2:10.3.0-1nodesource      ################################# [100%]
・dependencies for rails
$ sudo yum install gcc gcc-c++ libyaml-devel libffi-devel libxml2 libxslt libxml2-devel libslt-devel -y
:
:
完了しました!
・yarn
$ sudo npm install yarn  -g
:
:
added 1 package in 0.499s
・yarnのcheck-files
$ sudo yarn install --check-files
:
:
success Saved lockfile.
Done in 0.10s.
・git-core
$ sudo yum install git-core
:
:
完了しました!
・rbenv
$ git clone https://github.com/rbenv/rbenv.git ~/.rbenv
:
:
Resolving deltas: 100% (1756/1756), done.
・rbenvのpath設定
$ echo 'export PATH="$HOME/.rbenv/bin:$PATH"' >> ~/.bash_profile
$ vi ~/.bash_profile
.bash_profile.
# .bash_profile

# Get the aliases and functions
if [ -f ~/.bashrc ]; then
        . ~/.bashrc
fi

# User specific environment and startup programs

PATH=$PATH:$HOME/.local/bin:$HOME/bin

export PATH
export PATH="$HOME/.rbenv/bin:$PATH"
eval "$(rbenv init -)"           ← #追加
$ source ~/.bash_profile
・Avoid to Install rb-docs
$ echo 'gem: --no-document' >> ~/.gemrc
・ruby-build
$ git clone https://github.com/rbenv/ruby-build.git ~/.rbenv/plugins/ruby-build
:
:
Resolving deltas: 100% (6879/6879), done.
・dependencies for ruby-build
$ sudo yum install bzip2 gdbm-devel openssl-devel libffi-devel libyaml-devel ncurses-devel readline-devel zlib-devel -y
:
:
完了しました!
・Ruby
$ RUBY_CONFIGURE_OPTS=--disable-install-doc ~/.rbenv/bin/rbenv install 2.6.3
:
:
Installed ruby-2.6.3 to /home/ec2-user/.rbenv/versions/2.6.3
・Set default Ruby version
$ rbenv global 2.6.3 && rbenv rehash
・bundle and so on
$ gem install bundler -v 2.1.0
Fetching bundler-2.1.0.gem
Successfully installed bundler-2.1.0
1 gem installed
・rbenv-rehash
$ gem install rbenv-rehash
Fetching rbenv-rehash-0.3.gem
Successfully installed rbenv-rehash-0.3
1 gem installed
・rails
$ gem install rails -v 5.2.4
:
:
Successfully installed rails-5.2.4
・インストール確認
$ ruby -v
ruby 2.6.3p62 (2019-04-16 revision 67580) [x86_64-linux]
$ rails -v
Rails 5.2.4
$ bundler -v
Bundler version 2.1.0
・nginx
利用するWEBサーバーとして今回nginxをインストールします。
$ sudo yum install http://nginx.org/packages/centos/7/noarch/RPMS/nginx-release-centos-7-0.el7.ngx.noarch.rpm -y
:
:
完了しました!
・nginx package
リポジトリがない状態だとインストールできないので、リポジトリをインストールしてからnginxをインストールします。
$ sudo yum install nginx -y
:
:
完了しました!
・nginxの接続確認
$ sudo systemctl status nginx.service #接続状況(Active: inactive (dead))
● nginx.service - nginx - high performance web server
   Loaded: loaded (/usr/lib/systemd/system/nginx.service; disabled; vendor preset: disabled)
   Active: inactive (dead)
     Docs: http://nginx.org/en/docs/
$ sudo systemctl start nginx.service #接続開始
$ sudo systemctl status nginx.service #接続状況(Active: active (running))
● nginx.service - nginx - high performance web server
   Loaded: loaded (/usr/lib/systemd/system/nginx.service; disabled; vendor preset: disabled)
   Active: active (running) since 日 2020-01-19 03:41:12 UTC; 1min 0s ago
     Docs: http://nginx.org/en/docs/
:
:
EC2パブリックIPでアクセスした際に次の画面が表示されれば接続確認OKです。

確認が済んだら一旦nginxは停止させておきます。
$ sudo systemctl stop nginx.service
・unicornとRailsアプリケーションの接続設定
$ sudo vi /etc/nginx/nginx.conf
nginx.conf
user nginx;
worker_processes 1;
error_log /var/log/nginx/error.log warn;
pid /var/run/nginx.pid;
events {
worker_connections 1024;
}
http {
include /etc/nginx/mime.types;
default_type application/octet-stream;
log_format main '$remote_addr - $remote_user [$time_local] "$request" '
'$status $body_bytes_sent "$http_referer" '
'"$http_user_agent" "$http_x_forwarded_for"';
access_log /var/log/nginx/access.log main;
sendfile on;
#tcp_nopush on;
keepalive_timeout 65;
#gzip on;
# include /etc/nginx/conf.d/*.conf;
upstream unicorn {
server unix:/var/www/[アプリケーション名]/tmp/sockets/unicorn.sock;
}
server {
listen 3000;
server_name [EC2パブリックIPアドレス];
access_log /var/log/nginx/app_access.log;
error_log /var/log/nginx/app_error.log;
try_files $uri/index.html @unicorn;
root home/ec2-user/var/www/[アプリケーション名]/public;
client_max_body_size 15M;
client_body_temp_path /tmp/client_body;
location @unicorn {
proxy_pass http://unicorn;
}
location ~ ^/assets/ {
root /var/www/[アプリケーション名]/public;
}
error_page 404 /404.html;
location = /40x.html {
}
error_page 500 502 503 504 /50x.html;
location = /50x.html {
}
}
}
・アプリケーション用のフォルダを作成しフォルダ移動
$ sudo mkdir -p /var/www/
$ cd /var/www/
・アプリケーションのGitClone実行
GitHubでClone with HTTPSのURLをコピーします。
$ sudo git clone [対象アプリケーションのリモートリポジトリのURL]
:
:
Resolving deltas: 100% (1193/1193), done.
・アプリケーションのディレクトリ内の権限変更
$ sudo chown ec2-user:ec2-user [アプリケーション名]
$ cd [アプリケーション名]
$ sudo chown ec2-user:ec2-user vendor/
$ sudo chown -R ec2-user .
$ bundle install --path vendor/bundle
:
:
Bundle complete! 23 Gemfile dependencies, 93 gems now installed.
Bundled gems are installed into `./vendor/bundle`
・railsアプリとRDSの接続設定
$ vi config/database.yml
datebase.yml
default: &default
  adapter: mysql2
  encoding: utf8mb4
  pool: <%= ENV.fetch("RAILS_MAX_THREADS") { 5 } %>
  host: [対象RDSのエンドポイント]
  username: [RDS作成時の名称]
  password: [RDS作成時のパスワード]
  socket: /tmp/mysql.sock

development:
  <<: *default
  database: [アプリケーション名]_development

# Warning: The database defined as "test" will be erased and
# re-generated from your development database when you run "rake".
# Do not set this db to the same as development or production.
test:
  <<: *default
  database: [アプリケーション名]_test
#
production:
  <<: *default
  database: [アプリケーション名]_production
  username: [アプリケーション名]
  password: <%= ENV['PROJECT_DATABASE_PASSWORD'] %>
・DBの作成
$ bundle exec rails db:create
Created database '[アプリケーション名]_development'
Created database '[アプリケーション名]_test'
$ bundle exec rails db:migrate
== 20200117122858 DeviseCreateUsers: migrating ================================
-- create_table(:users)
   -> 0.0163s
:
:
:
:
$ bundle exec rails db:seed
・unicornのインストール
$ vi Gemfile
  gem "unicorn"  #追加
$ bundle install --path vendor/bundle
:
:
Bundled gems are installed into `./vendor/bundle`
・unicornの設定
$ sudo mkdir -p config/unicorn
$ sudo vi config/unicorn/development.rb
development.rb
# paths
app_path = "/var/www/[アプリケーション名]"
pid_path = "#{app_path}/tmp/pids/unicorn.pid"
listen_path = "#{app_path}/tmp/sockets/unicorn.sock"
# unicorn paths
working_directory app_path
pid pid_path
# listen
listen listen_path, backlog: 64
# logging
stderr_path "#{app_path}/log/unicorn.stderr.log"
stdout_path "#{app_path}/log/unicorn.stdout.log"
# workers
worker_processes 2
# Time-out
timeout 30
# use correct Gemfile on restarts
before_exec do |_server|
ENV["BUNDLE_GEMFILE"] = "#{app_path}/current/Gemfile"
end
# preload
preload_app true
before_fork do |server, _worker|
# the following is highly recomended for Rails + "preload_app true"
# as there's no need for the master process to hold a connection
if defined?(ActiveRecord::Base)
ActiveRecord::Base.connection.disconnect!
end
# Before forking, kill the master process that belongs to the .oldbin PID.
# This enables 0 downtime deploys.
# rubocop: disable Lint/HandleExceptions
old_pid = "#{server.config[:pid]}.oldbin"
if File.exist?(old_pid) && server.pid != old_pid
begin
Process.kill("QUIT", File.read(old_pid).to_i)
rescue Errno::ENOENT, Errno::ESRCH
# someone else did our job for us
end
end
# rubocop: enable Lint/HandleExceptions
end
after_fork do |_server, _worker|
if defined?(ActiveRecord::Base)
ActiveRecord::Base.establish_connection
end
end
・アクセスログとエラーログのファイル作成
$ touch log/unicorn.stderr.log
$ touch log/unicorn.stdout.log
$ mkdir -p tmp/pids
$ mkdir -p tmp/sockets
・ unicornの起動
$ bundle exec unicorn_rails -E development -c config/unicorn/development.rb -D
$ ps -ef | grep unicorn | grep -v grep  #起動確認
ec2-user  3457     1  0 01:24 ?        00:00:00 unicorn_rails master -E development -c config/unicorn/development.rb -D
ec2-user  3464  3457  0 01:24 ?        00:00:00 unicorn_rails worker[0] -E development -c config/unicorn/development.rb -D
ec2-user  3465  3457  0 01:24 ?        00:00:00 unicorn_rails worker[1] -E development -c config/unicorn/development.rb -D
・nginxの起動
$ sudo systemctl start nginx.service
$ ps aux | grep nginx #起動確認
root      3476  0.0  0.1  46176  1008 ?        Ss   01:25   0:00 nginx: master process /usr/sbin/nginx -c /etc/nginx/nginx.conf
nginx     3477  0.0  0.2  46588  2892 ?        S    01:25   0:00 nginx: worker process
ec2-user  3486  0.0  0.0 119436   940 pts/0    S+   01:27   0:00 grep --color=auto nginx
最後、[パブリックIPアドレス]:3000でEC2インスタンスのIPアドレスにアクセスします。

そもそもアクセスができていない様子なのでセキュリティグループを確認します。

nginx.confで3000番ポートを指定しているためそれをルール編集で追加します。

再度、[パブリックIPアドレス]:3000でEC2インスタンスのIPアドレスにアクセスします。
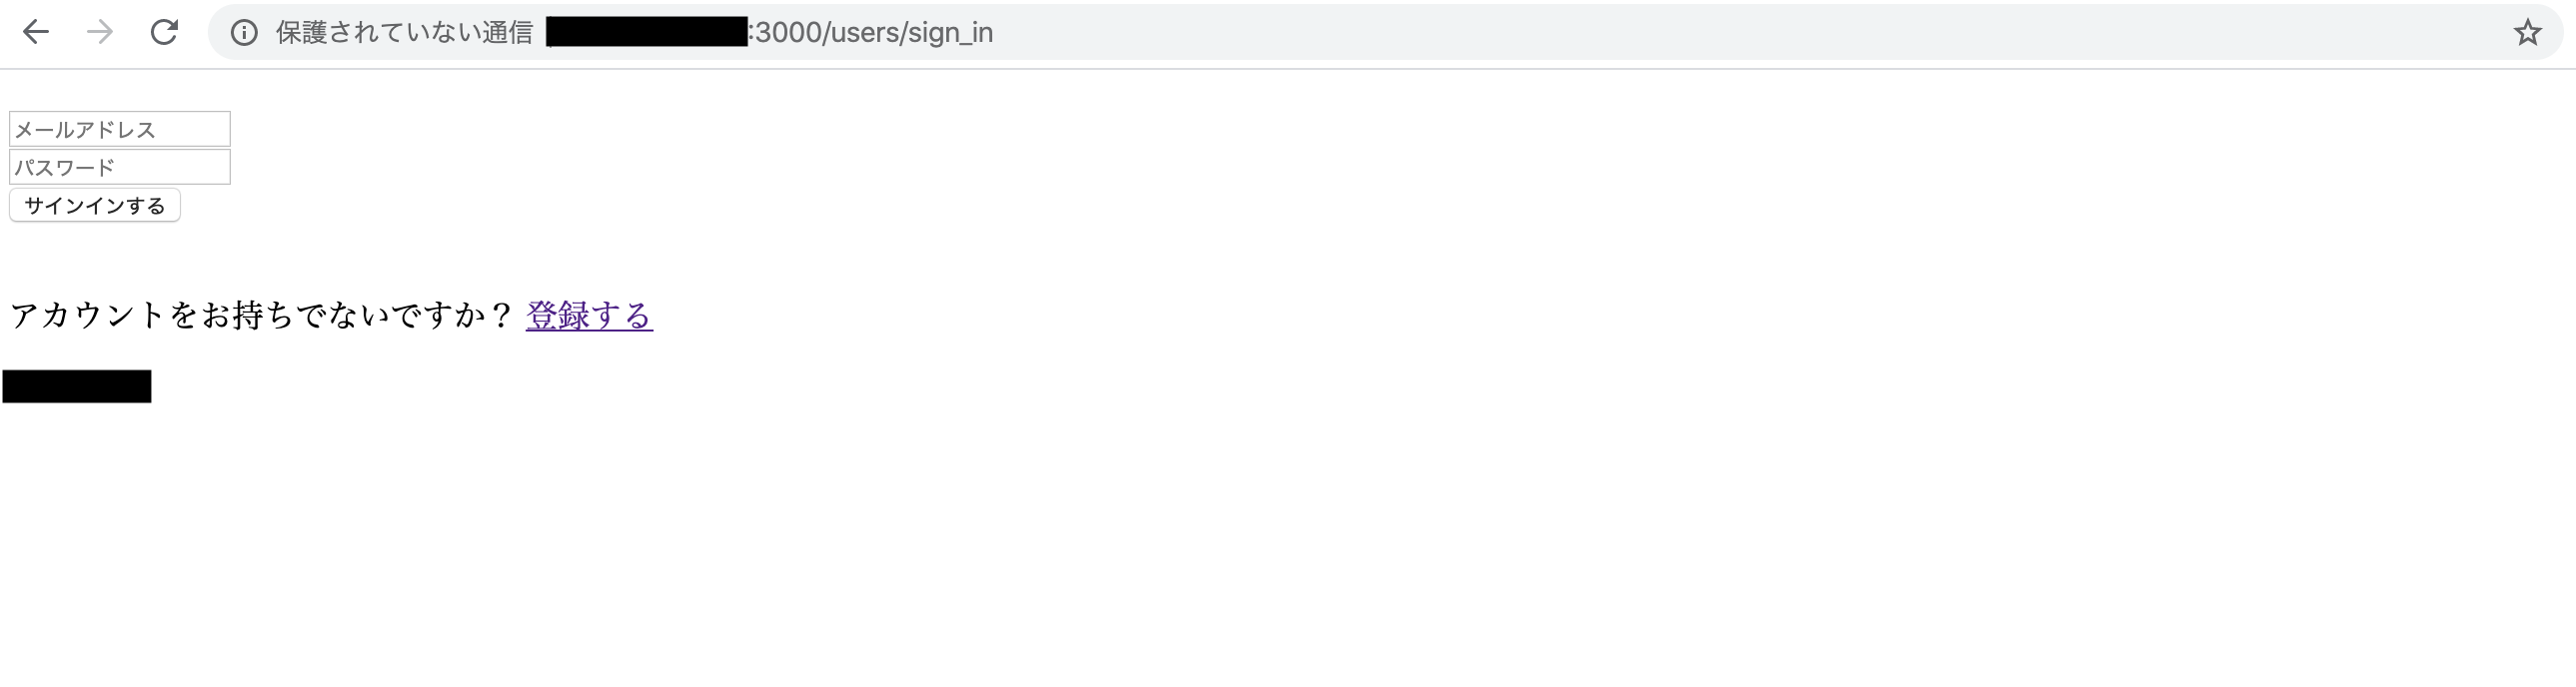
接続はされましたが、ローカル環境と比較して挙動が異なっています。それ以外にもサインインやアカウント登録を行うと、エラーが生じるため修正が必要なようです。
少し長くなりましたので次回の記事で修正を行います。