5
4

Delete article

Deleted articles cannot be recovered.

Draft of this article would be also deleted.

Are you sure you want to delete this article?

More than 5 years have passed since last update.

Raspberry Pi をMacでセットアップ忘備録 7 - GPIO液晶の取付

Last updated at Posted at 2016-03-04

Raspberry PiのiMacを利用したセットアップ忘備録です。

  1. 初期設定
  2. 無線LANと接続
  3. SFTPと接続
  4. USBスピーカーと接続
  5. USBマイクと接続
  6. VNCでリモートデスクトップ
  7. GPIO接続の小型モニタ取付 <<

環境

  • Raspberry Pi2 ModelB (raspbian-wheezy)
  • PLANEX 無線LAN子機 (USBアダプター型) GW-USNANO2A (FFP)
  • cocopar Raspberry Pi ラズベリーパイ に適応する 2.4インチ ディスプレイ タッチパネル+タッチペン

本体への取付

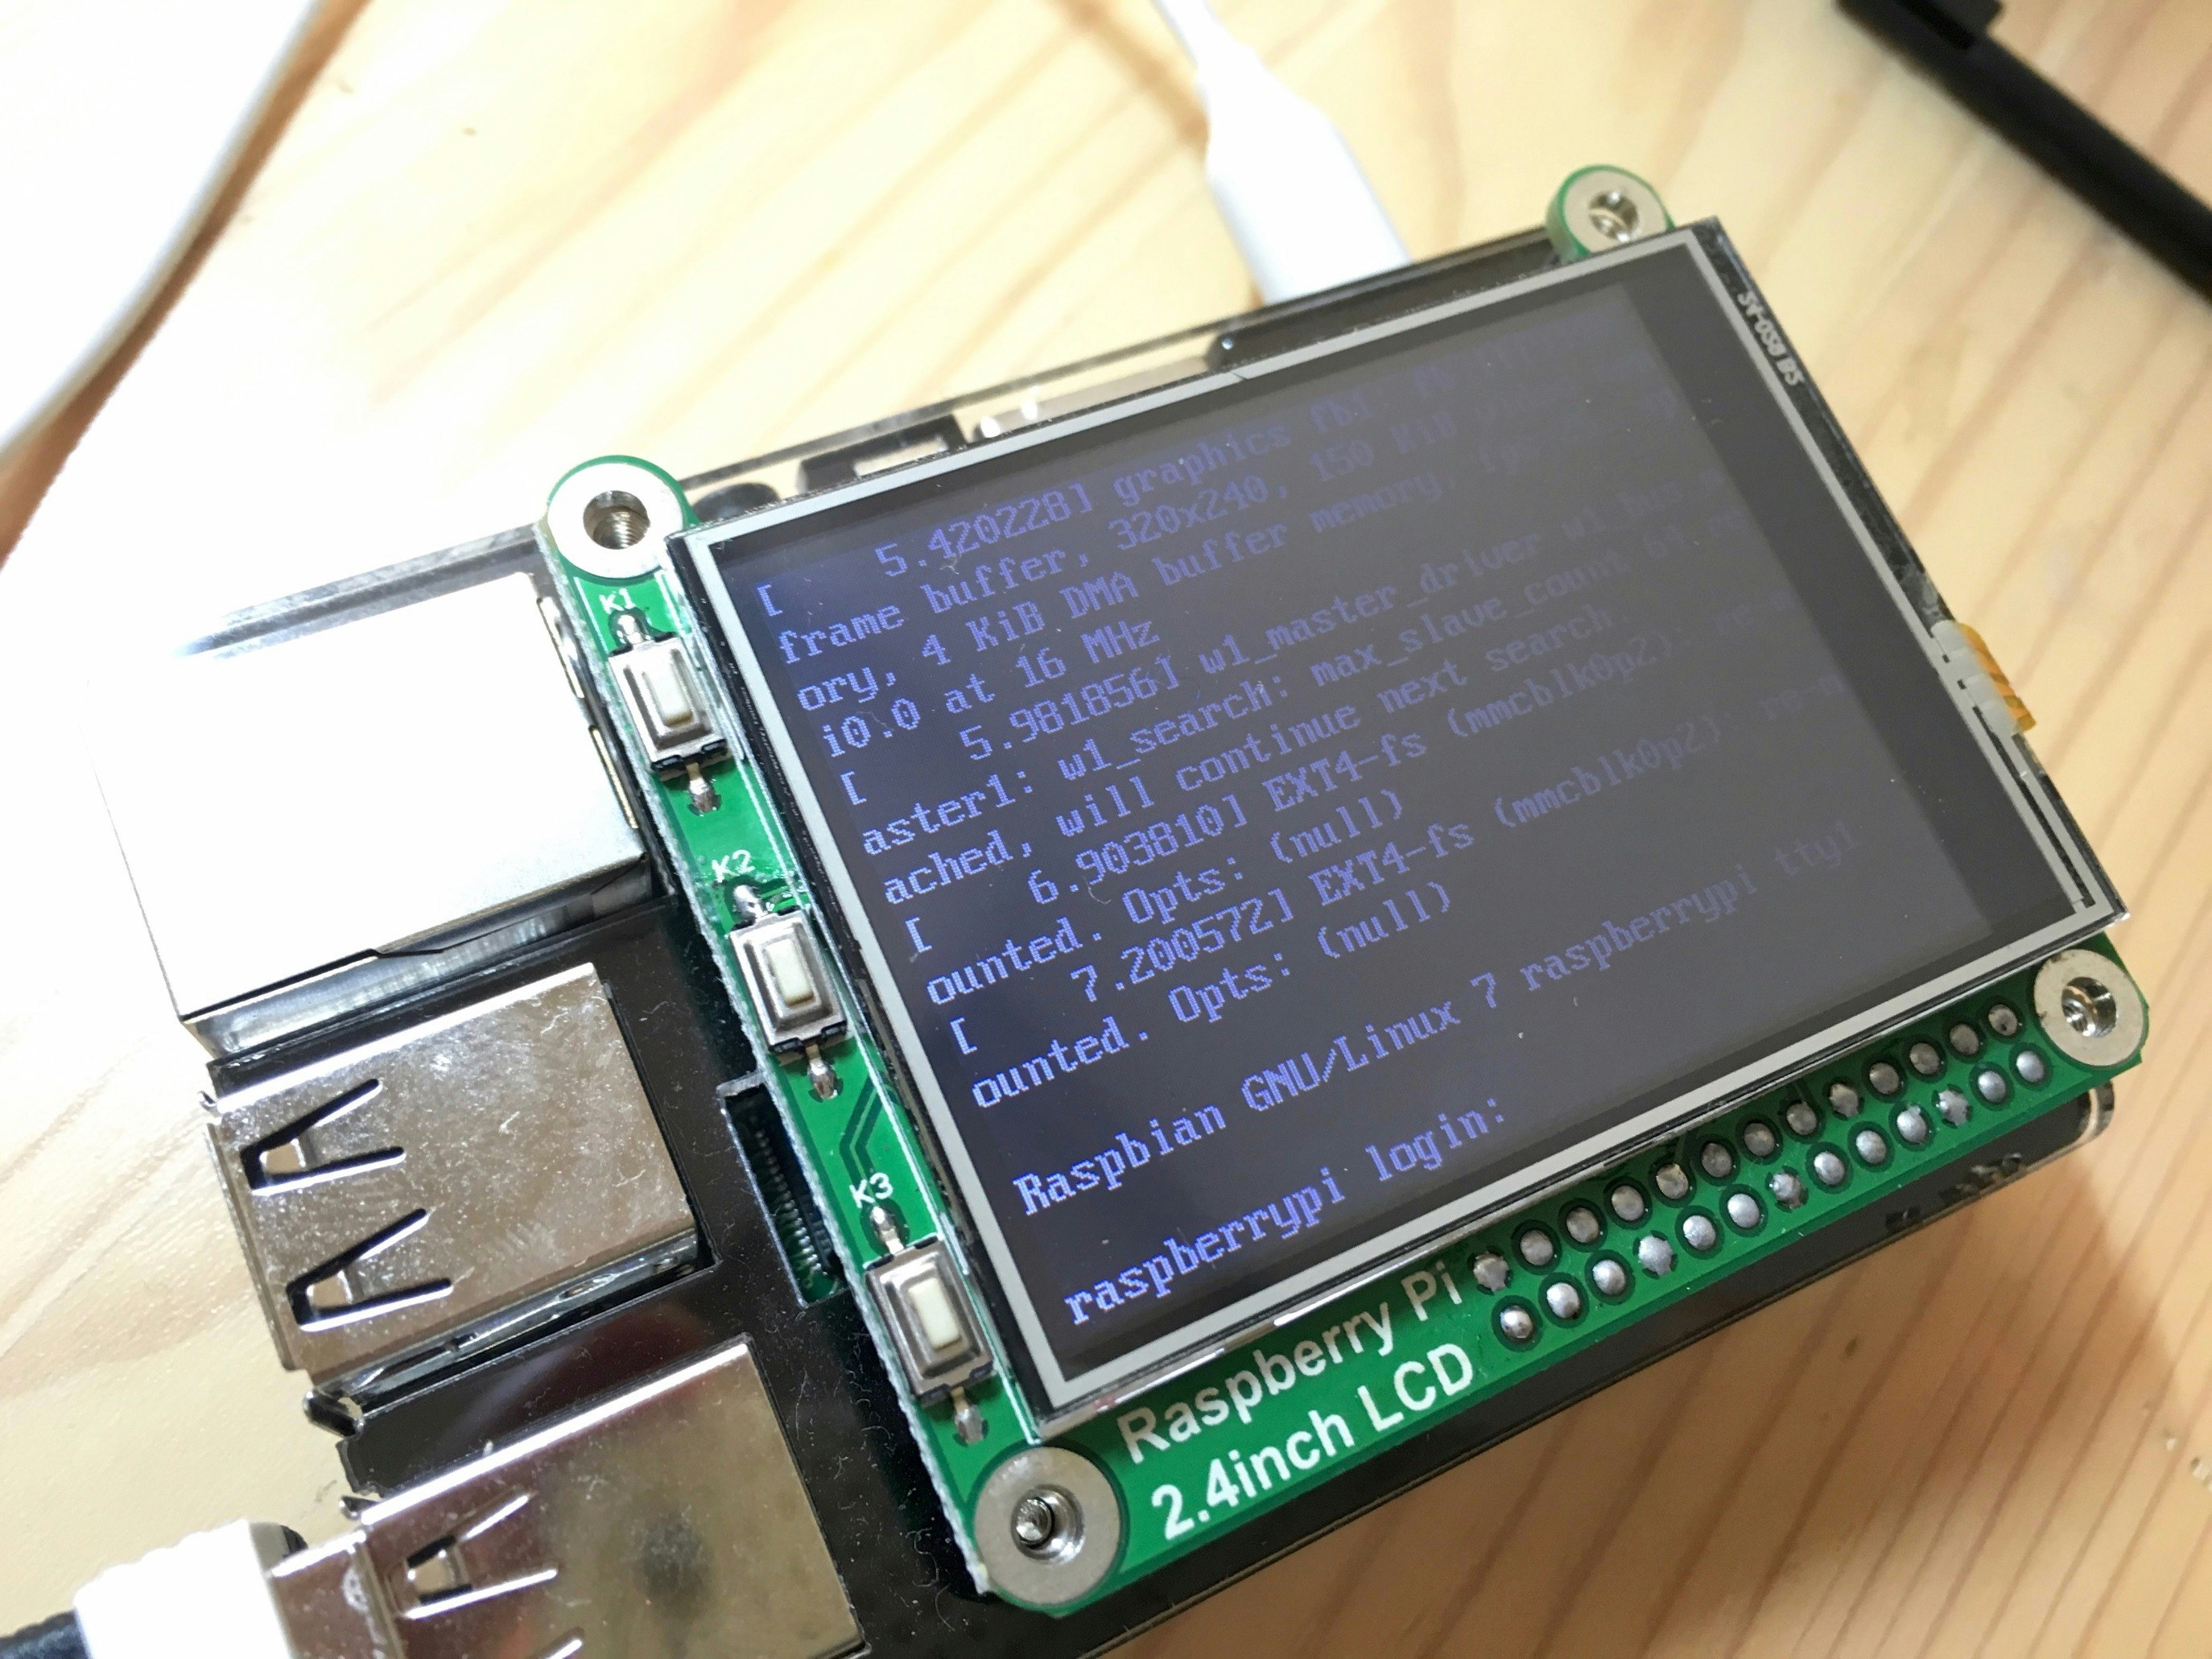
cocopar Raspberry Pi ラズベリーパイ に適応する 2.4インチ ディスプレイ タッチパネル+タッチペンRaspberry Pi ModelA+/B/B+ も適応 Designed for Raspberry Pi A+,Compatible with Raspberry Pi 2 module B/B+//B Support touch and camera

GPIO端子に差し込む。特にはんだ付けなどは必要ない。

ドライバのインストール

Drive the LCD

上記サイトの"LCD-show-151102.tar.gz"よりドライバをダウンロードする。

SFTPを利用してRaspberry Piにアップロードする。($ cd /home/pi/ 直下においた)

サイトの説明に沿って解凍実施。

ssh
$ tar xvf LCD-show-151102.tar.gz

ディレクトリに移動。

ssh
$ cd LCD-show/

今回は2.4インチのものなので以下コマンド実施。

ssh
$ sudo ./LCD32-show

あとは自動的に再起動される。
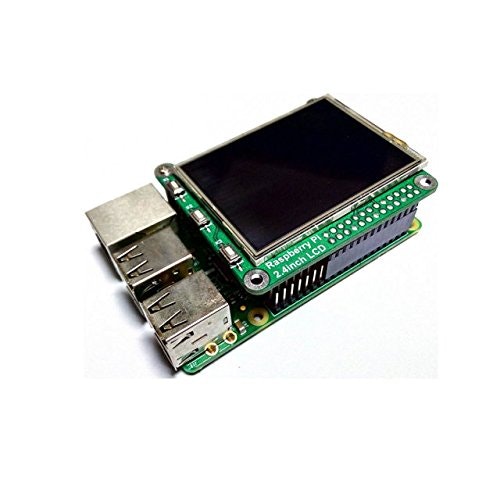
IMG_8186.jpg

参考にさせていただきました

Raspberry Pi B+用のGPIO液晶買ってみた - えとかみブログ

5
4
0

Register as a new user and use Qiita more conveniently

  1. You get articles that match your needs
  2. You can efficiently read back useful information
  3. You can use dark theme
What you can do with signing up
5
4

Delete article

Deleted articles cannot be recovered.

Draft of this article would be also deleted.

Are you sure you want to delete this article?