Firestoreの設定
前回でfirebaseの基本的な設定を終えたので,今回はfirestoreに関する設定を行っていきます。
まず,````~/plugins/firestore.js```に追加で書き込みをします。
firestore.js
import firebase from 'firebase';

// Your web app's Firebase configuration
var firebaseConfig = {
    apiKey: "自分のAPIキー",
    authDomain: "project1-aae93.firebaseapp.com",
    databaseURL: "https://project1-aae93.firebaseio.com",
    projectId: "project1-aae93",
    storageBucket: "project1-aae93.appspot.com",
    messagingSenderId: "598499664640",
    appId: "1:598499664640:web:fdeefdfb150f0d823009e5"
};
// Initialize Firebase
firebase.initializeApp(firebaseConfig);

export default firebase;
firestore.jsをあとで違うファイルから読み込みたかったので,最後にexport default firebaseを追加しました。
そして,次は~/pages/index.vueに移動してfirestoreに関する記述を書いていきます。
index.vue
<template>
  <div class="container">
    <div>
      <logo />
      <h1 class="title">
        shishow
      </h1>
      <h2 class="subtitle">
        My legendary Nuxt.js project
      </h2>
      <div class="links">
        <a
          href="https://nuxtjs.org/"
          target="_blank"
          class="button--green"
        >
          Documentation
        </a>
        <a
          href="https://github.com/nuxt/nuxt.js"
          target="_blank"
          class="button--grey"
        >
          GitHub
        </a>
      </div>
    </div>
  </div>
</template>

<script>
import Logo from '~/components/Logo.vue'

import firebase from '~/plugins/firestore';
import firestore from 'firebase/firestore';

export default {
  components: {
    Logo
  }
}
</script>

<style>
.container {
  margin: 0 auto;
  min-height: 100vh;
  display: flex;
  justify-content: center;
  align-items: center;
  text-align: center;
}

.title {
  font-family: 'Quicksand', 'Source Sans Pro', -apple-system, BlinkMacSystemFont,
    'Segoe UI', Roboto, 'Helvetica Neue', Arial, sans-serif;
  display: block;
  font-weight: 300;
  font-size: 100px;
  color: #35495e;
  letter-spacing: 1px;
}

.subtitle {
  font-weight: 300;
  font-size: 42px;
  color: #526488;
  word-spacing: 5px;
  padding-bottom: 15px;
}

.links {
  padding-top: 15px;
}
</style>
import firestore from 'firebase/firestore'
という記述を加えただけですが,これでfirestoreが使えるようになっているはずです。
実際に記述してみる
今のindex.vueの状態は

こんな感じですが,
このshishowという文字をクリックしたらfirestoreに"shishow"という文字列が"SHISHOW"コレクションの中の自動生成されるドキュメントの中に登録してみましょう。
まずは,クリックイベントを発生させます。
index.vue
<h1 class="title" @click="addSHISHOW()">
  shishow
</h1>
これで文字をクリックした時にaddSHISHOW()関数が呼び出されるようになりました。
次は,クリックイベントで呼び出されるaddSHISHOW関数を作成しましょう。
index.vue
<script>
import Logo from '~/components/Logo.vue'

import firebase from '~/plugins/firestore';
import firestore from "firebase/firestore";

export default {
  components: {
    Logo
  },

  methods: {
    addSHISHOW: function() {
      console.log('shishow');
    }
  }
}
</script>
これで,Webコンソールにshishowと表示されたらクリックイベントの呼び出しには成功しているので,次はfirestoreの記述を書いていきましょう。
index.vue
<script>
import Logo from '~/components/Logo.vue'

import firebase from '~/plugins/firestore';
import firestore from "firebase/firestore";

const db = firebase.firestore();

export default {
  components: {
    Logo
  },

  methods: {
    addSHISHOW: function() {
      db.collection('SHISHOW')
        .doc()
        .set({
          key: 'shishow',
        })
    }
  }
}
</script>
これで,shishowの文字のところをクリックすると
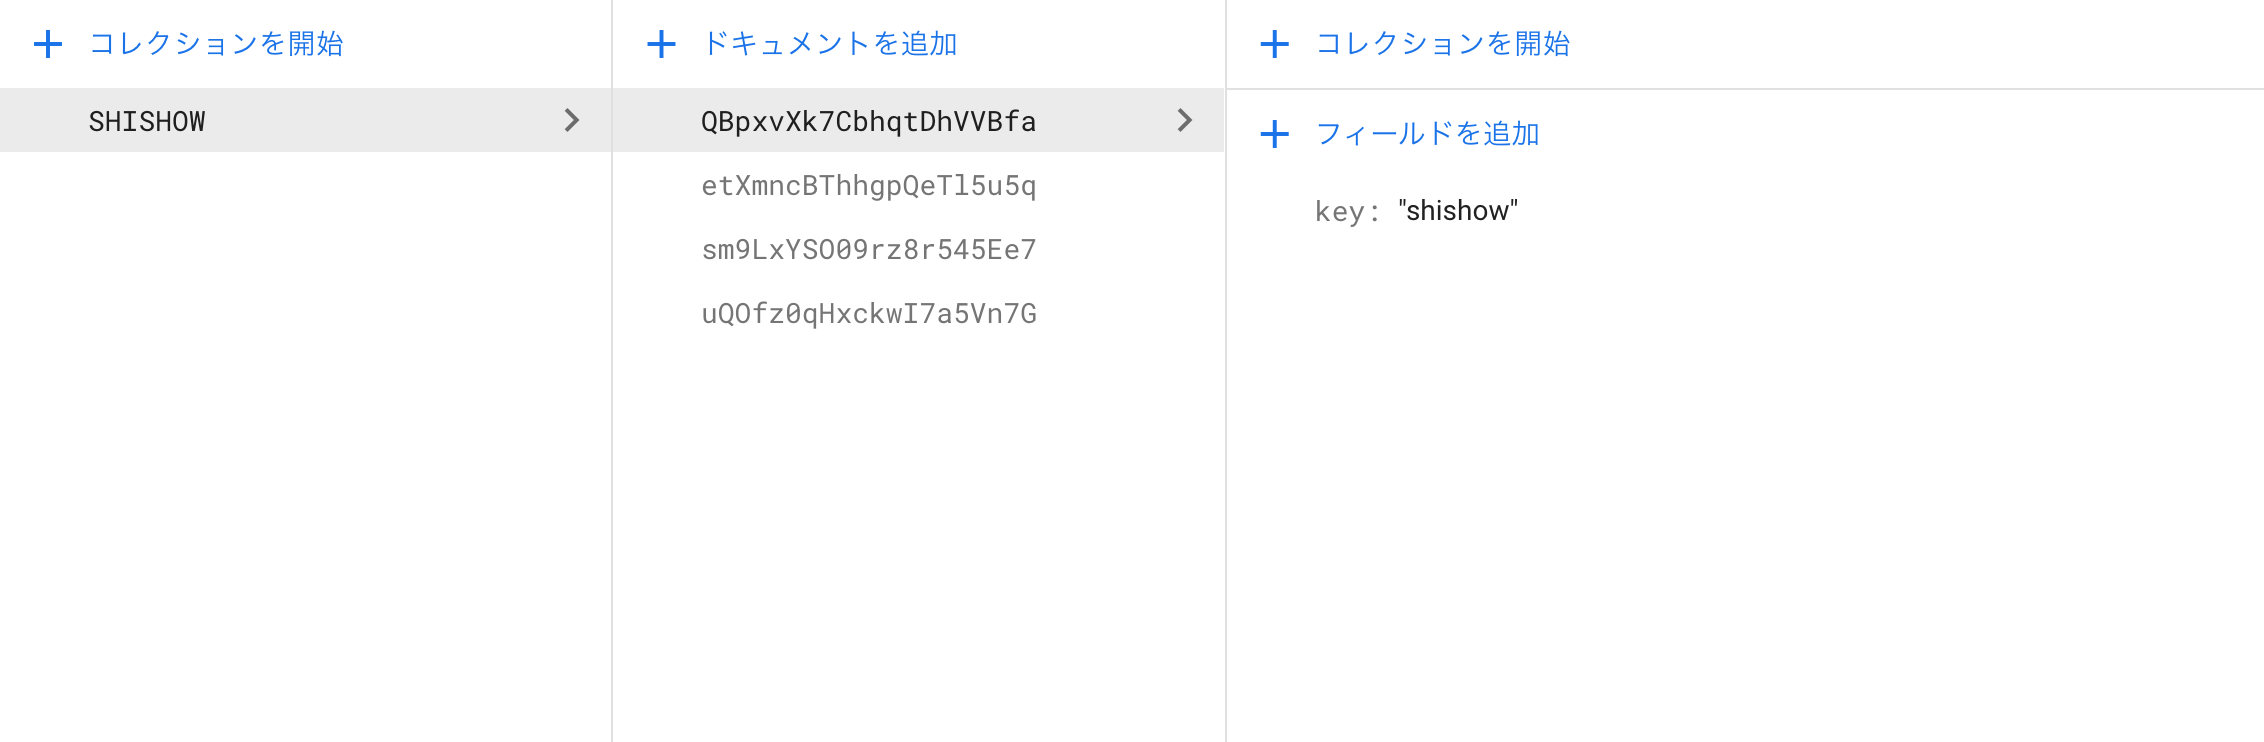
このような感じでデータが追加されていると思います。
これでfirestoreが利用できるようになったかと思います。