1.Introduction
たぶん、私が過去に記事にしたどの環境よりもスマートで高速なエミュレーション環境だと思います。 今回の仮想環境で起動するOSは、 Raspbian Buster lite armhf です。 なお、Ubuntu 16.04 から Ubuntu 19.04 のOSでは、 普通には qemu-user-static の最新バージョン 4.0.0 を使用できません。 この手順では、無理やり apt-get install でビルド済みバイナリの qemu-user-static 4.0.0 をインストールします。 何故そこまでして最新の qemu-user-static にこだわるかというと、 3.x.x 以前のバージョンには I/O 周りのバグがあるためです。 今回は、面倒なQEMUのビルドもDockerの利用も、QEMUのハードウェアエミュレーションも行いません。
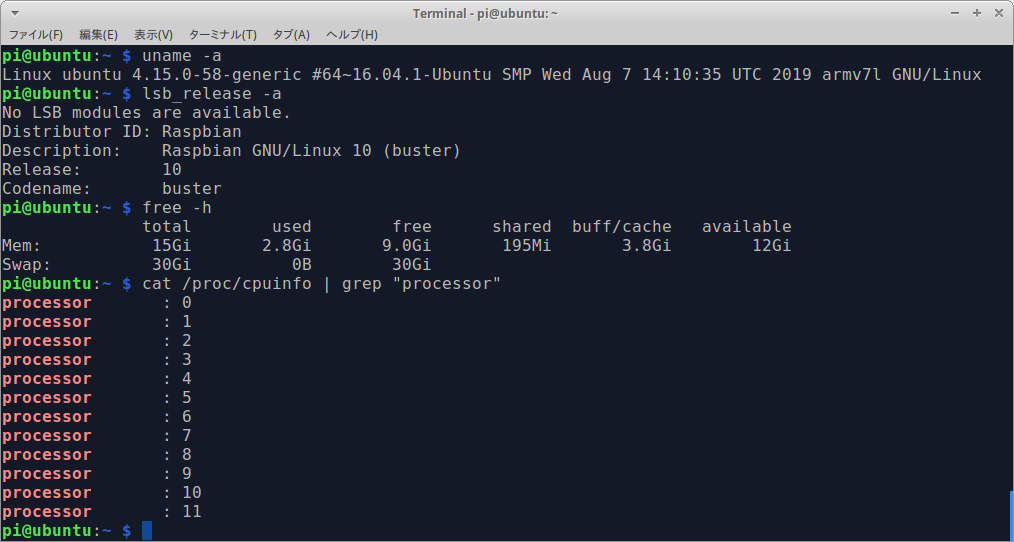
手順を実施すると、 Corei7 6core 12threads, RAM 4GB (32bitOSの制約), SSD 32GB のラズベリーパイの出来上がりです。
記事が長くなると読むのが煩わしいと思いましたので極めて概要的に記載しています。 ただ、特に読み込んだりしなくても、ほぼコピペで同じ環境が再現できると思います。
なお、この記事は Raspberry Pi のセルフビルド環境を QEMU で作る - Qiita - autchさん を全面的に参考にさせていただきました。 誠にありがとうございます。
2.Past RaspberryPi virtual environment construction articles
3.Environment
- Ubuntu 16.04 x86_64 (Host PC, Core i7, 6 Core, 12 threads, RAM 16GB)
- qemu-user-static 4.0.0
- chroot
4.Procedure
$ cd ~
$ mkdir raspbian-buster-lite;cd raspbian-buster-lite
$ curl -sc /tmp/cookie "https://drive.google.com/uc?export=download&id=104jhVcHqfWPvHu5tFVNvRqtbCFt32Tgv" > /dev/null
$ CODE="$(awk '/_warning_/ {print $NF}' /tmp/cookie)"
$ curl -Lb /tmp/cookie "https://drive.google.com/uc?export=download&confirm=${CODE}&id=104jhVcHqfWPvHu5tFVNvRqtbCFt32Tgv" -o 2019-07-10-raspbian-buster-lite.zip
$ unzip 2019-07-10-raspbian-buster-lite.zip
$ rm 2019-07-10-raspbian-buster-lite.zip
$ file 2019-07-10-raspbian-buster-lite.img

2019-07-10-raspbian-buster-lite.img: DOS/MBR boot sector;
partition 1 : ID=0xc, start-CHS (0x0,130,3), end-CHS (0x21,37,5), startsector 8192, 524289 sectors;
partition 2 : ID=0x83, start-CHS (0x21,167,7), end-CHS (0x1b,51,40), startsector 540672, 3751936 sectors
$ sudo losetup -frP 2019-07-10-raspbian-buster-lite.img
$ sudo fdisk -l /dev/loop*

Disk /dev/loop8: 2 GiB, 2197815296 bytes, 4292608 sectors
Units: sectors of 1 * 512 = 512 bytes
Sector size (logical/physical): 512 bytes / 512 bytes
I/O size (minimum/optimal): 512 bytes / 512 bytes
Disklabel type: dos
Disk identifier: 0x17869b7d

デバイス     起動  Start 最後から セクタ  Size Id タイプ
/dev/loop8p1        8192   532480  524289  256M  c W95 FAT32 (LBA)
/dev/loop8p2      540672  4292607 3751936  1.8G 83 Linux
Disk /dev/loop8p1: 256 MiB, 268435968 bytes, 524289 sectors
Units: sectors of 1 * 512 = 512 bytes
Sector size (logical/physical): 512 bytes / 512 bytes
I/O size (minimum/optimal): 512 bytes / 512 bytes
Disklabel type: dos
Disk identifier: 0x00000000
Disk /dev/loop8p2: 1.8 GiB, 1920991232 bytes, 3751936 sectors
Units: sectors of 1 * 512 = 512 bytes
Sector size (logical/physical): 512 bytes / 512 bytes
I/O size (minimum/optimal): 512 bytes / 512 bytes
$ sudo mount -o ro /dev/loop8p2 /mnt
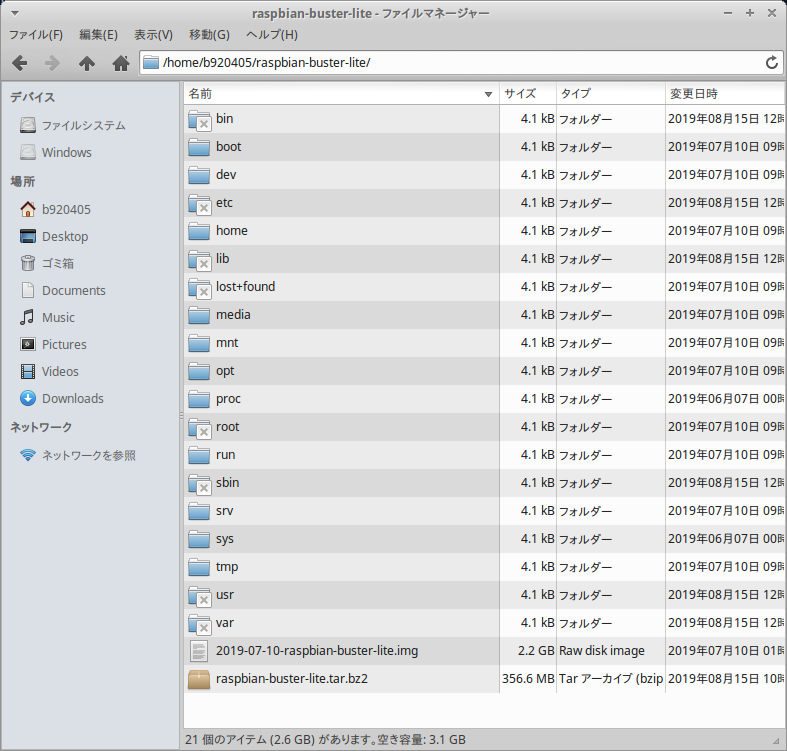
$ sudo tar cvjf ./raspbian-buster-lite.tar.bz2 -C /mnt .
$ ls -l
合計 2494564
-rw-r--r-- 1 b920405 b920405 2197815296  7月 10 01:21 2019-07-10-raspbian-buster-lite.img
-rw-r--r-- 1 root    root     356608948  8月 15 10:48 raspbian-buster-lite.tar.bz2
$ sudo umount /mnt
$ sudo losetup --detach /dev/loop8 /dev/loop8p1 /dev/loop8p2
$ sudo tar xjf ./raspbian-buster-lite.tar.bz2
<qemu-user-static 4.0.0 package>
Ubuntu 19.10 eoan package
https://packages.ubuntu.com/search?keywords=qemu-user-static&searchon=names&suite=eoan§ion=all
$ sudo nano /etc/apt/sources.list
Add the following deb http://... to the bottom line.
deb http://jp.archive.ubuntu.com/ubuntu/ eoan universe
Quit Nano editor.
Ctrl+O
Enter
Ctrl+X
Enter
$ sudo apt-get update
$ sudo apt-get install -y qemu-user-static
$ sudo nano /etc/apt/sources.list
Delete the following deb http://... to the bottom line.
deb http://jp.archive.ubuntu.com/ubuntu/ eoan universe
Quit Nano editor.
Ctrl+O
Enter
Ctrl+X
Enter
$ sudo update-binfmts --display | grep arm

qemu-arm (enabled):
 interpreter = /usr/bin/qemu-arm-static
qemu-armeb (enabled):
 interpreter = /usr/bin/qemu-armeb-static
$ sudo cp /usr/bin/qemu-arm-static ./usr/bin/
$ sudo mount -t sysfs sysfs ${PWD}/sys; \
sudo mount -t proc proc ${PWD}/proc; \
sudo mount -t devtmpfs udev ${PWD}/dev; \
sudo mount -t devpts devpts ${PWD}/dev/pts
$ sudo chroot . /bin/bash
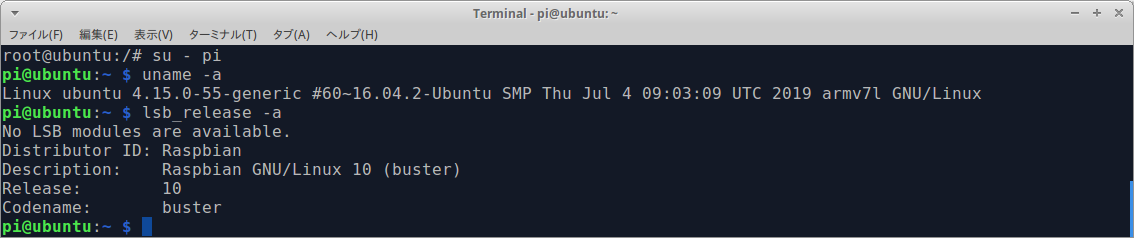
# su - pi
$ uname -a
$ lsb_release -a
$ sudo sh -c 'echo 127.0.1.1 $(hostname) >> /etc/hosts'
$ sudo apt-get update
$ sudo apt-get upgrade
5.Reference articles
Raspberry Pi のセルフビルド環境を QEMU で作る - Qiita - autchさん
【公式】Raspbian_liteのディスクイメージ