Tensorflow-bin 
Bazel_bin 

1.Introduction
私はいつも、RaspberryPi3 で Tensorflow をビルドしています。 ただ、Tensorflow はビルドをするために大量のリソースを消費するため、RaspberryPi3 の RAM 1GB では SWAP が大量に発生して micorSDカード を破壊してしまいます。 そこで、Raspbian Buster とほぼ同じ環境を QEMU 4.0.0 の仮想環境上に構築し、さらに、 RAM 4GB + CPU 4core を実現したうえで、 Tensorflow をビルドしようとしました。 OSをイチからインストールする手順ですのでとても時間が掛かりますが、確実に起動に成功する手順をココに残します。 Tensorflow を自力でビルドする理由は、公式のパッケージがバグっているということと、Tensorflow Lite がデフォルトで無効になっているのを自力で解消しているということだけです。
なお、巷には QEMU の STATICモード による環境構築手順の記事があちこちにありますが、 対象OSが Jessie/Stretch であったり、RAM が 256MB かつ CPU が シングルコア だったり、QEMU のI/O周りにバグがあってまともに動作しなかったり、ネットワークが使えなかったりと、どれもとても使用に耐える環境ではありませんでした。 また、STATICモードは爆速なのですが、規模の大きめなパッケージをビルドしようとすると、途端に QEMU STATICモジュール のバグに遭遇してうまくビルドできません。 ちなみに、Dockerベースのクロスコンパイルを提案している多くの記事は、Dockerのバックグラウンドで QEMU の STATICモジュール を使用していますので、ビルド対象によっては失敗します。 私はビルドスピードを向上することを目的としているわけではなく、ビルドを完走させることが本質と考えていますので、あえて低速なハードウェアエミュレーションモードを採用しています。
今回も、必要なリソース一式を全て公式サイトからダンロードすると遅すぎて日が暮れてしまいますので、私の Google Drive に必要なものをアップロードしました。 QEMUを除く大容量のリソースは私の Google Drive から高速にダウンロードできるようにしてあります。
今回の手順を実施済みのイメージはこの記事の こちらのリンク からダウンロード可能です。
2.Environment
- Ubuntu 16.04 x86_64 (Host PC)
- QEMU 4.0.0
- Debian Buster armhf/armv7l (Python 3.7.3)
3.Procedure
3−1.Build and install QEMU 4.0.0.
$ sudo apt-get update

$ cd ~
$ wget https://download.qemu.org/qemu-4.0.0.tar.xz
$ tar xvJf qemu-4.0.0.tar.xz
$ cd qemu-4.0.0
$ ./configure
$ make -j8
$ sudo make install
$ qemu-system-arm --version

QEMU emulator version 4.0.0
Copyright (c) 2003-2019 Fabrice Bellard and the QEMU Project developers
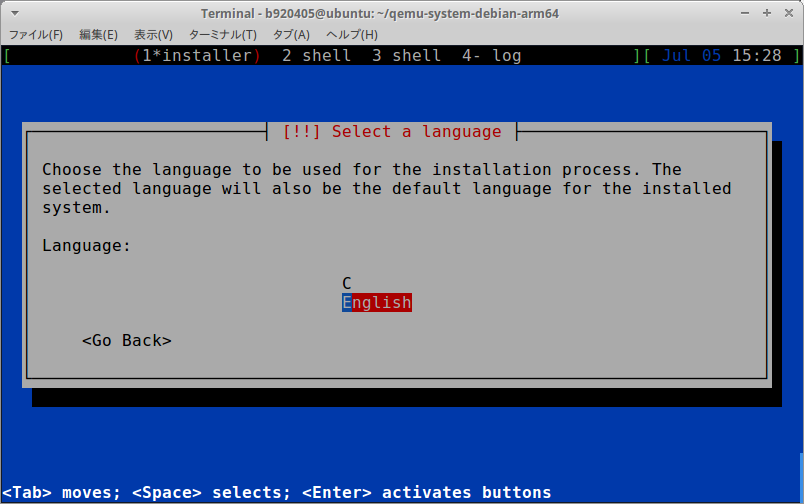
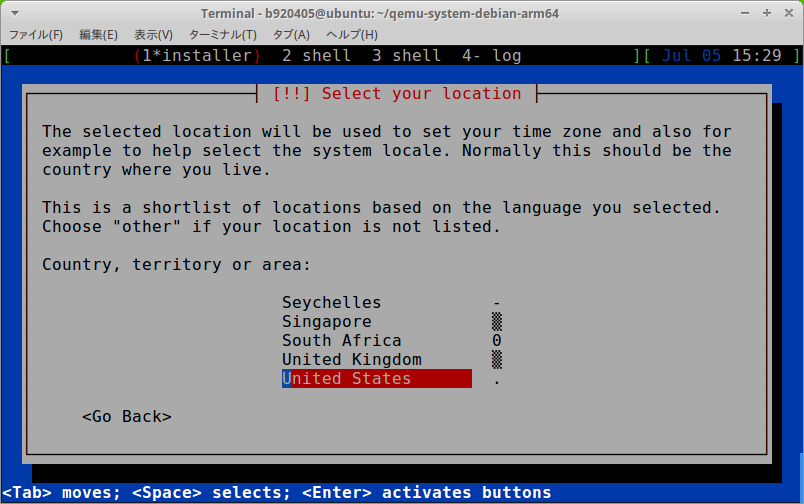
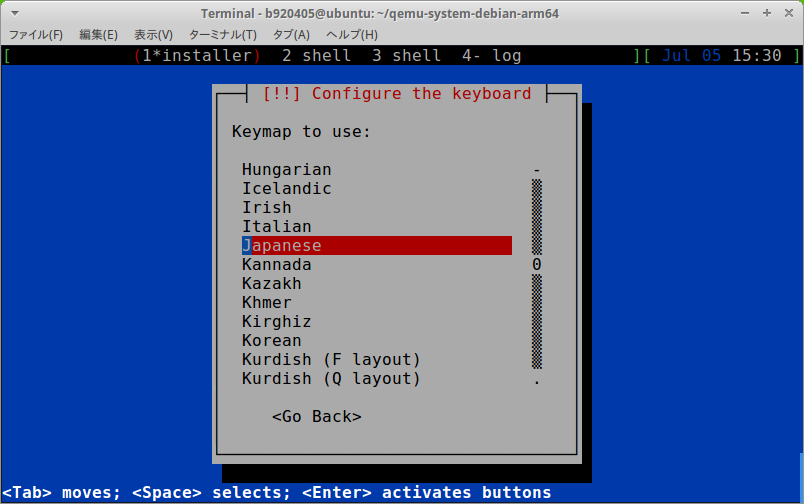
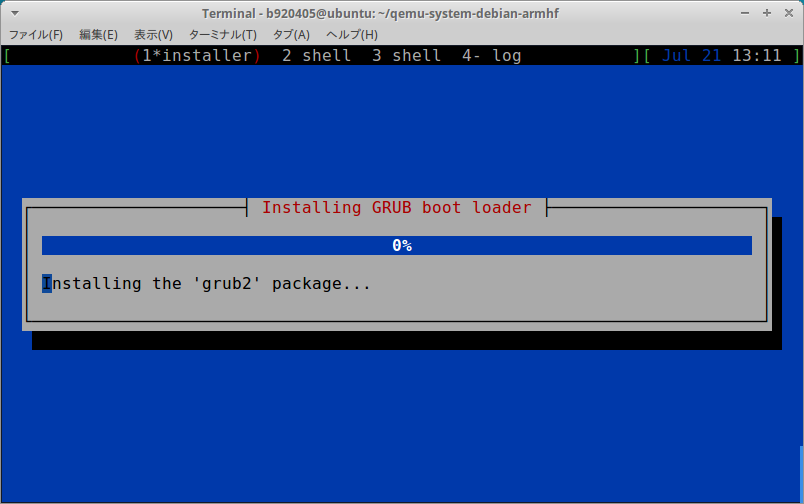
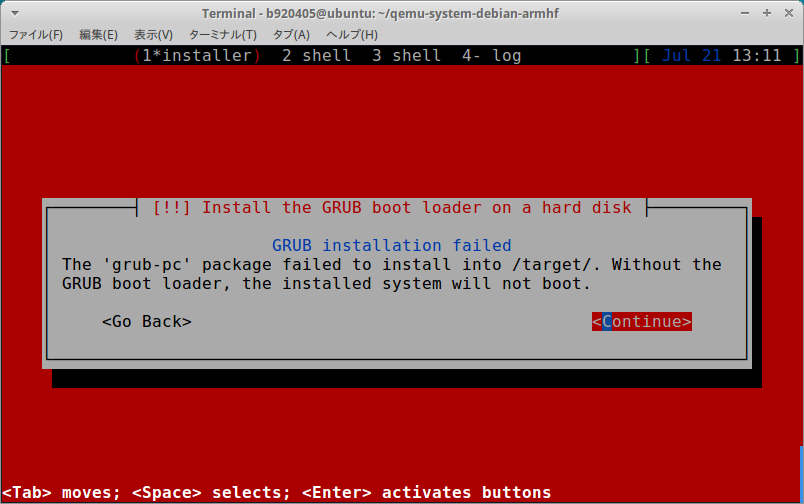
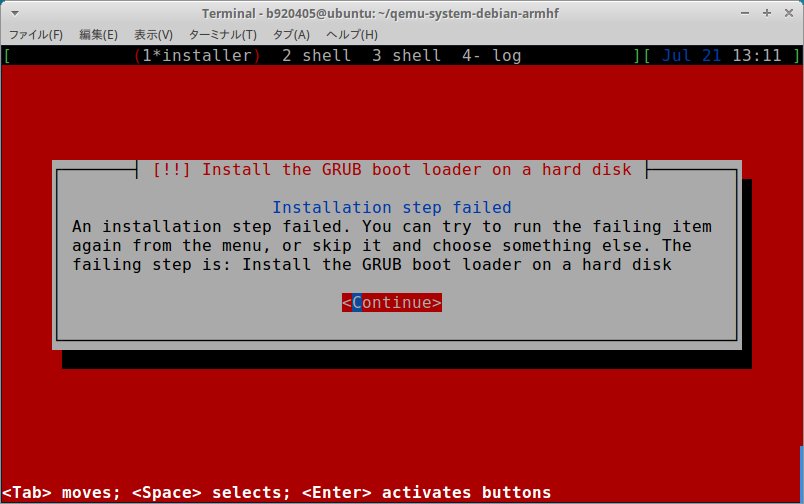
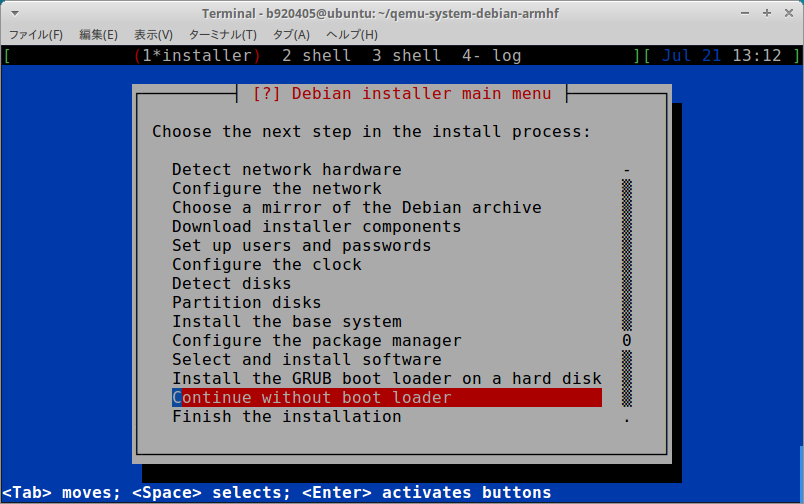
3−2.Installing Debian Buster armhf
$ cd ~
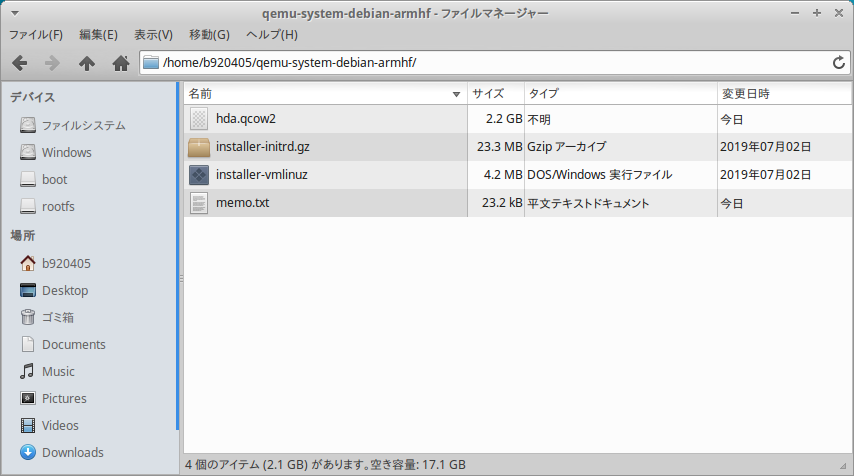
$ mkdir qemu-system-debian-armhf;cd qemu-system-debian-armhf/
# vmlinuz download
$ curl -sc /tmp/cookie "https://drive.google.com/uc?export=download&id=15cwDe68vMRoPmz2z789C0_LDElDVHDIx" > /dev/null
$ CODE="$(awk '/_warning_/ {print $NF}' /tmp/cookie)"
$ curl -Lb /tmp/cookie "https://drive.google.com/uc?export=download&confirm=${CODE}&id=15cwDe68vMRoPmz2z789C0_LDElDVHDIx" -o installer-vmlinuz
# initrd.gz download
$ curl -sc /tmp/cookie "https://drive.google.com/uc?export=download&id=1bTMiZ9Nmi1pjguf4wHRkaYaNb_Jb9Pe7" > /dev/null
$ CODE="$(awk '/_warning_/ {print $NF}' /tmp/cookie)"
$ curl -Lb /tmp/cookie "https://drive.google.com/uc?export=download&confirm=${CODE}&id=1bTMiZ9Nmi1pjguf4wHRkaYaNb_Jb9Pe7" -o installer-initrd.gz
# Create disk image
$ qemu-img create -f qcow2 hda.qcow2 20G
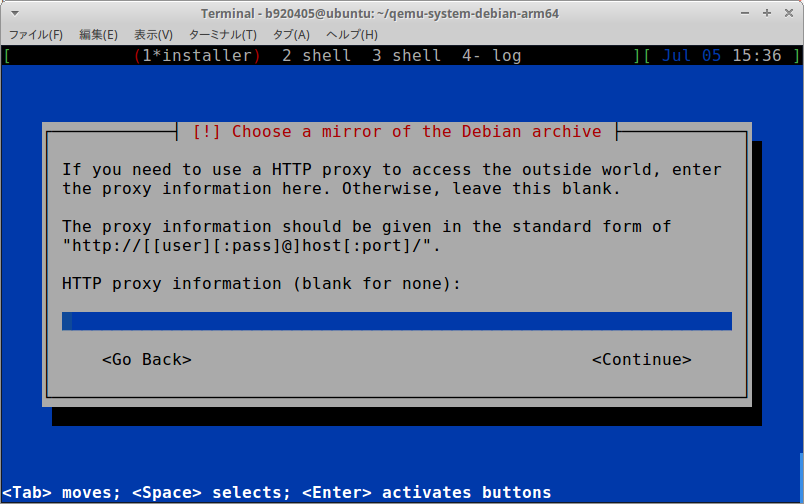
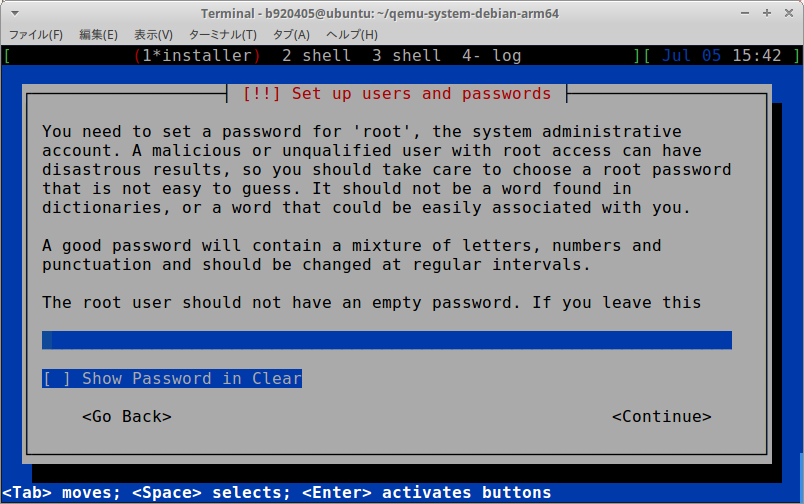
# Launch Installer
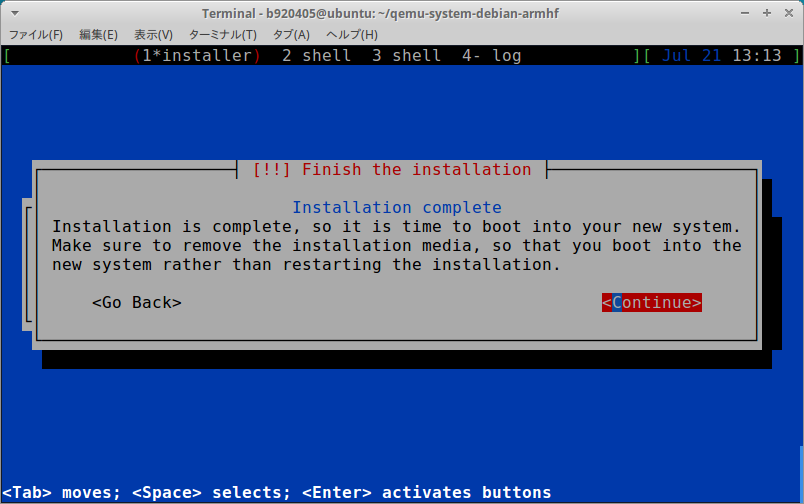
$ qemu-system-arm -M virt -m 1024 \
-kernel installer-vmlinuz \
-initrd installer-initrd.gz \
-drive if=none,file=hda.qcow2,format=qcow2,id=hd \
-device virtio-blk-device,drive=hd \
-netdev user,id=mynet \
-device virtio-net-device,netdev=mynet \
-nographic -no-reboot


3−3.Extract kernel for running Debian Buster armhf
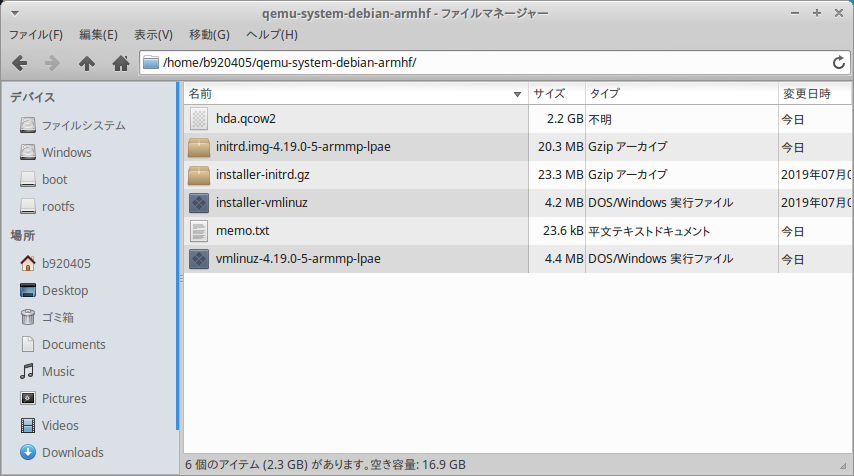
$ sudo apt-get install -y libguestfs-tools

$ cd ~/qemu-system-debian-armhf
$ sudo virt-ls -a hda.qcow2 /boot/

System.map-4.19.0-5-armmp-lpae
config-4.19.0-5-armmp-lpae
initrd.img
initrd.img-4.19.0-5-armmp-lpae
initrd.img.old
lost+found
vmlinuz
vmlinuz-4.19.0-5-armmp-lpae
vmlinuz.old

$ sudo virt-copy-out -a hda.qcow2 /boot/vmlinuz-4.19.0-5-armmp-lpae /boot/initrd.img-4.19.0-5-armmp-lpae .
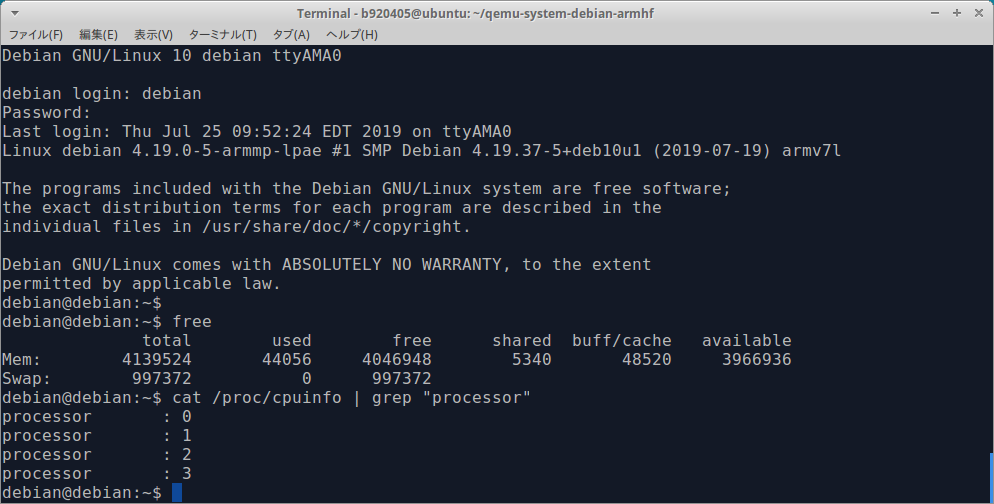
3−4.Start Debian Buster armhf (CPU 4core, RAM 4GB)
$ qemu-system-arm -M virt -m 4096 -smp 4 \
  -kernel vmlinuz-4.19.0-5-armmp-lpae \
  -initrd initrd.img-4.19.0-5-armmp-lpae \
  -append 'root=/dev/vda2' \
  -drive if=none,file=hda.qcow2,format=qcow2,id=hd \
  -device virtio-blk-device,drive=hd \
  -netdev user,id=mynet \
  -device virtio-net-device,netdev=mynet \
  -nographic
3−5.Install sudo command
$ su -
# apt-get update
# apt-get install sudo
# visudo

====================================
# User privilege specification
root    ALL=(ALL:ALL) ALL
debian  ALL=(ALL) ALL
====================================

# exit
4.Finally
CPU 4core かつ RAM 4GB の環境、最高!!
RaspberryPi4、早く技適通して日本で販売して欲しい。。。
5.Resources
Installation kernel
https://drive.google.com/open?id=15cwDe68vMRoPmz2z789C0_LDElDVHDIx
https://drive.google.com/open?id=1bTMiZ9Nmi1pjguf4wHRkaYaNb_Jb9Pe7
Boot kernel
https://drive.google.com/open?id=1VYQLbATeLxBM30mfGllqvC5tldjAaAxr
https://drive.google.com/open?id=1-i6-bsv8ZNIc4a3wtM1pVnz8B9nVXCn4
Debian Buster installed qcow2 file
【caution】 Change your password to something strong.
debian / p[ssw0rd
英語キーボード設定になっていますので [ は、日本語キーボードの @ に読み替える必要があります。
https://drive.google.com/open?id=1Q6TQ0sDGjucdiUfvmn6ZqXHoSQoMWL6E
6.Appendix (Build Tensorflow for RaspberryPi3/4)
Tensorflow build procedure.
6−1.Expansion of SWAP area (100MB -> 3GB)
$ sudo apt-get install dphys-swapfile
$ free -m
              total        used        free      shared  buff/cache   available
Mem:           4042          53        3780           5         208        3822
Swap:          3021           0        3021
6−2.pip command installation
$ sudo apt-get install -y python3-pip
$ sudo pip3 install pip --upgrade
6−3.Installation of various tools
$ sudo apt-get install -y cmake make zip unzip git wget curl
6−4.Tensorflow build
$ sudo apt-get install -y libhdf5-dev libc-ares-dev libeigen3-dev openjdk-11-jdk
$ sudo pip3 install keras_applications==1.0.7 --no-deps
$ sudo pip3 install keras_preprocessing==1.0.9 --no-deps
$ wget https://github.com/PINTO0309/Tensorflow-bin/raw/master/packages/numpy-1.16.4-cp37-cp37m-linux_armv7l.whl
$ wget https://github.com/PINTO0309/Tensorflow-bin/raw/master/packages/h5py-2.9.0-cp37-cp37m-linux_armv7l.whl
$ sudo pip3 install numpy-1.16.4-cp37-cp37m-linux_armv7l.whl
$ sudo pip3 install h5py-2.9.0-cp37-cp37m-linux_armv7l.whl
$ sudo apt-get install -y openmpi-bin libopenmpi-dev
$ sudo -H pip3 install -U --user six numpy wheel mock
$ sudo apt update;sudo apt upgrade

$ cd ~
$ git clone https://github.com/PINTO0309/Bazel_bin.git
$ Bazel_bin/0.24.1/Raspbian_Buster_armhf/install.sh

$ cd ~
$ git clone -b v1.14.0 https://github.com/tensorflow/tensorflow.git
$ cd tensorflow
$ git checkout -b v1.14.0
The following problem was solved.
#15062, #21574, #21855, #23082, #25120, #25748, #29617, #30359
# Add the following two lines to the last line
  def set_num_threads(self, i):
    return self._interpreter.SetNumThreads(i)
// Corrected the vicinity of the last line as follows
PyObject* InterpreterWrapper::ResetVariableTensors() {
  TFLITE_PY_ENSURE_VALID_INTERPRETER();
  TFLITE_PY_CHECK(interpreter_->ResetVariableTensors());
  Py_RETURN_NONE;
}

PyObject* InterpreterWrapper::SetNumThreads(int i) {
  interpreter_->SetNumThreads(i);
  Py_RETURN_NONE;
}

}  // namespace interpreter_wrapper
}  // namespace tflite
  // should be the interpreter object providing the memory.
  PyObject* tensor(PyObject* base_object, int i);

  PyObject* SetNumThreads(int i);

 private:
  // Helper function to construct an `InterpreterWrapper` object.
  // It only returns InterpreterWrapper if it can construct an `Interpreter`.
BUILD_WITH_NNAPI=false
from tensorflow.contrib import checkpoint
# if os.name != "nt" and platform.machine() != "s390x":
#  from tensorflow.contrib import cloud
from tensorflow.contrib import cluster_resolver
from tensorflow.contrib.summary import summary

if os.name != "nt" and platform.machine() != "s390x":
  try:
    from tensorflow.contrib import cloud
  except ImportError:
    pass

from tensorflow.python.util.lazy_loader import LazyLoader
ffmpeg = LazyLoader("ffmpeg", globals(),
                    "tensorflow.contrib.ffmpeg")
$ ./configure
WARNING: An illegal reflective access operation has occurred
WARNING: Illegal reflective access by com.google.protobuf.UnsafeUtil (file:/home/debian/.cache/bazel/_bazel_debian/install/f61ff4d38c27bd5cacd410a0fc62f7e0/_embedded_binaries/A-server.jar) to field java.nio.Buffer.address
WARNING: Please consider reporting this to the maintainers of com.google.protobuf.UnsafeUtil
WARNING: Use --illegal-access=warn to enable warnings of further illegal reflective access operations
WARNING: All illegal access operations will be denied in a future release
WARNING: --batch mode is deprecated. Please instead explicitly shut down your Bazel server using the command "bazel shutdown".
You have bazel 0.24.1- (@non-git) installed.


Please specify the location of python. [Default is /usr/bin/python]: /usr/bin/python3

Found possible Python library paths:
  /usr/local/lib/python3.7/dist-packages
  /usr/lib/python3/dist-packages
Please input the desired Python library path to use.  Default is [/usr/local/lib/python3.7/dist-packages]

Do you wish to build TensorFlow with XLA JIT support? [Y/n]: n
No XLA JIT support will be enabled for TensorFlow.

Do you wish to build TensorFlow with OpenCL SYCL support? [y/N]: n
No OpenCL SYCL support will be enabled for TensorFlow.

Do you wish to build TensorFlow with ROCm support? [y/N]: n
No ROCm support will be enabled for TensorFlow.

Do you wish to build TensorFlow with CUDA support? [y/N]: n
No CUDA support will be enabled for TensorFlow.

Do you wish to download a fresh release of clang? (Experimental) [y/N]: n
Clang will not be downloaded.

Do you wish to build TensorFlow with MPI support? [y/N]: n
No MPI support will be enabled for TensorFlow.

Please specify optimization flags to use during compilation when bazel option "--config=opt" is specified [Default is -march=native -Wno-sign-compare]:


Would you like to interactively configure ./WORKSPACE for Android builds? [y/N]: n
Not configuring the WORKSPACE for Android builds.

Preconfigured Bazel build configs. You can use any of the below by adding "--config=<>" to your build command. See .bazelrc for more details.
	--config=mkl         	# Build with MKL support.
	--config=monolithic  	# Config for mostly static monolithic build.
	--config=gdr         	# Build with GDR support.
	--config=verbs       	# Build with libverbs support.
	--config=ngraph      	# Build with Intel nGraph support.
	--config=numa        	# Build with NUMA support.
	--config=dynamic_kernels	# (Experimental) Build kernels into separate shared objects.
Preconfigured Bazel build configs to DISABLE default on features:
	--config=noaws       	# Disable AWS S3 filesystem support.
	--config=nogcp       	# Disable GCP support.
	--config=nohdfs      	# Disable HDFS support.
	--config=noignite    	# Disable Apache Ignite support.
	--config=nokafka     	# Disable Apache Kafka support.
	--config=nonccl      	# Disable NVIDIA NCCL support.
Configuration finished
High speed build with 4GB of RAM and 2core CPU.
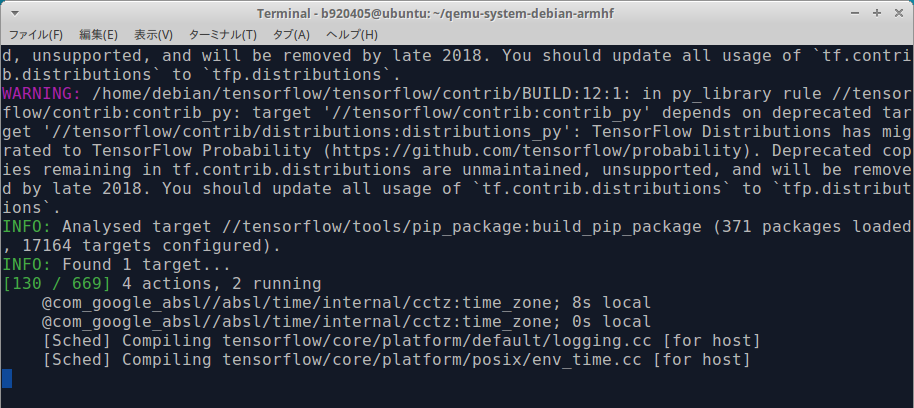
$ sudo bazel build \
--config=opt \
--config=noaws \
--config=nogcp \
--config=nohdfs \
--config=noignite \
--config=nokafka \
--config=nonccl \
--local_resources=4096.0,2.0,1.0 \
--copt=-mfpu=neon-vfpv4 \
--copt=-ftree-vectorize \
--copt=-funsafe-math-optimizations \
--copt=-ftree-loop-vectorize \
--copt=-fomit-frame-pointer \
--copt=-DRASPBERRY_PI \
--host_copt=-DRASPBERRY_PI \
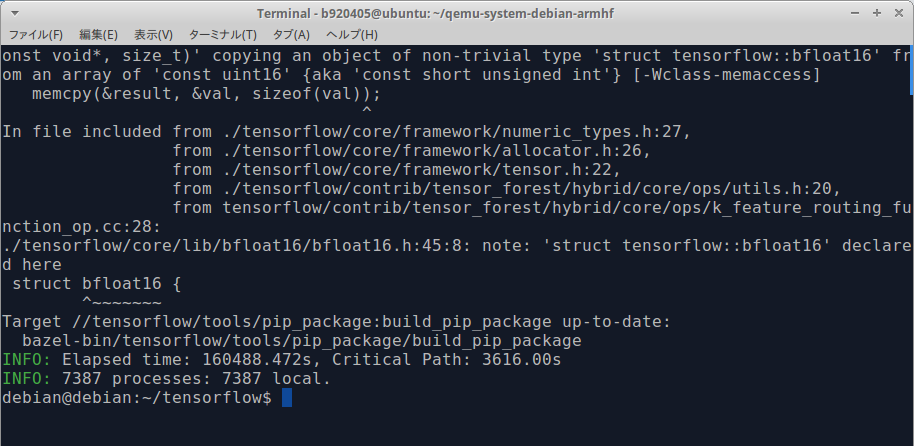
//tensorflow/tools/pip_package:build_pip_package
6−5.Generation of Wheel and Installation of Tensorflow
$ su --preserve-environment
# ./bazel-bin/tensorflow/tools/pip_package/build_pip_package /tmp/tensorflow_pkg
# exit
$ sudo cp /tmp/tensorflow_pkg/tensorflow-1.14.0-cp37-cp37m-linux_arm7l.whl ~
$ cd ~
$ sudo pip3 uninstall tensorflow
$ sudo -H pip3 install tensorflow-1.14.0-cp37-cp37m-linux_armv7l.whl

$ sudo poweroff
6−6.Extract Tensorflow Wheel File from QEMU Virtual Environment
$ sudo virt-ls -a hda.qcow2 /home/debian
.bash_history
.bash_logout
.bashrc
.cache
.gnupg
.local
.profile
Bazel_bin
h5py-2.9.0-cp37-cp37m-linux_armv7l.whl
numpy-1.16.4-cp37-cp37m-linux_armv7l.whl
tensorflow
tensorflow-1.14.0-cp37-cp37m-linux_armv7l.whl

$ sudo virt-copy-out -a hda.qcow2 /home/debian/tensorflow-1.14.0-cp37-cp37m-linux_armv7l.whl .
6−7.Tensorflow Wheel file for RaspberryPi built with QEMU 4.0.0 + Debian Buster armhf
Tensorflow v1.14.0 Wheel file built with QEMU 4.0.0 + Debian Buster armhf
https://drive.google.com/open?id=1mUP6t4o7xBXhXDTTkS91uluZstqcnQj5
7.Appendix (QEMU4.0.0 STATIC module build procedure)
$ wget https://download.qemu.org/qemu-4.0.0.tar.xz
$ tar xvJf qemu-4.0.0.tar.xz
$ rm qemu-4.0.0.tar.xz
$ cd qemu-4.0.0
$ mkdir build;cd build
$ ../configure \
  --prefix=$(cd ..; pwd)/qemu-user-static \
  --disable-bsd-user \
  --disable-guest-agent \
  --disable-strip \
  --disable-werror \
  --disable-gcrypt \
  --disable-debug-info \
  --disable-debug-tcg \
  --disable-docs \
  --disable-tcg-interpreter \
  --enable-attr \
  --disable-brlapi \
  --disable-linux-aio \
  --disable-bzip2 \
  --disable-bluez \
  --disable-cap-ng \
  --disable-curl \
  --disable-fdt \
  --disable-glusterfs \
  --disable-gnutls \
  --disable-nettle \
  --disable-gtk \
  --disable-rdma \
  --disable-libiscsi \
  --disable-vnc-jpeg \
  --disable-kvm \
  --disable-lzo \
  --disable-curses \
  --disable-libnfs \
  --disable-numa \
  --disable-opengl \
  --disable-vnc-png \
  --disable-rbd \
  --disable-vnc-sasl \
  --disable-sdl \
  --disable-seccomp \
  --disable-smartcard \
  --disable-snappy \
  --disable-spice \
  --disable-libssh2 \
  --disable-libusb \
  --disable-usb-redir \
  --disable-vde \
  --disable-vhost-net \
  --disable-virglrenderer \
  --disable-virtfs \
  --disable-vnc \
  --disable-vte \
  --disable-xen \
  --disable-xen-pci-passthrough \
  --disable-xfsctl \
  --enable-linux-user \
  --disable-system \
  --disable-blobs \
  --disable-tools \
  --static \
  --disable-pie
$ make -j8
$ sudo make install
$ cd ../qemu-user-static/bin
$ for i in *; do mv $i $i-static; done