Keras-OneClassAnomalyDetection

Bazel_bin

Tensorflow-bin

1.前回記事
Tensorflow Lite v1.11.0 を自力でカスタマイズしてPython API にMultiThread機能を追加→オフィシャルの2.5倍にパフォーマンスアップ
2.はじめに
@shinmura0 さんの 「がんばる人のための画像検査機」 を RaspberryPi3 の CPUのみ で、約3倍高速にチューニングしました。
前回は、Intel製のCPUやGPUやOpenVINOを使用して30倍に超絶ブーストしたため、チューニングとしては半ば反則的な手法を採用していました。
今回は、モデル構造はshinmura0さんのモノそのままに、ラズパイCPU単独で3倍にパフォーマンスアップします。 GPU も Neural Compute Stick も使用しません。
なお、私とは別の切り口で、 @koshian2 さん により、モデルそのもののチューニングによってパフォーマンスを爆上げする手法が提案されていますので、誠に勝手ながらこの場を借りてご紹介させていただきます。 かなり素晴らしいです。
「Triplet lossを使った高速な異常検知」
koshian2さん の実装と私の今回の実装と組み合わせると、10,000円弱の出費だけでも異次元のスピード推論ができるかもしれません。
なお、PF◯社さん や、Idei◯社さん のような超突き抜けたガチ技術は不要で、お手軽・超安価に実装、というところがポイントです。 比較対象としては全く成り立ちませんのであしからず。
注)Tensorflow は Android と iOS 向けには GPU 対応化が成されています。 こちらとも比較になりませんのであしからず。
では、誰にも見向きもされなかった 直前の記事 の破壊力を見てみましょう。 イニシャルコストを1円でも削りたい超ケチンボなそこのあなた。 CPUだけでもボチボチ良いパフォーマンスが出せますよ。
-
デバイス
- 【前】 LattePanda Alpha (Core m3) ---> 【後】 RaspberryPi3 (armv7l)
-
推論用フレームワーク
- 【前】 OpenVINO ---> 【後】 Tensorflow Lite v1.11.0 (独自のマルチスレッド化カスタマイズ実施済み)
3.環境
- RaspberryPi3 + Raspbian Stretch
- USB Camera (Playstationeye)
- Tensorflow Lite v1.11.0 (マルチスレッド化の独自チューニング済み)
- Numpy 1.15.4
- scikit-learn 0.19.2+
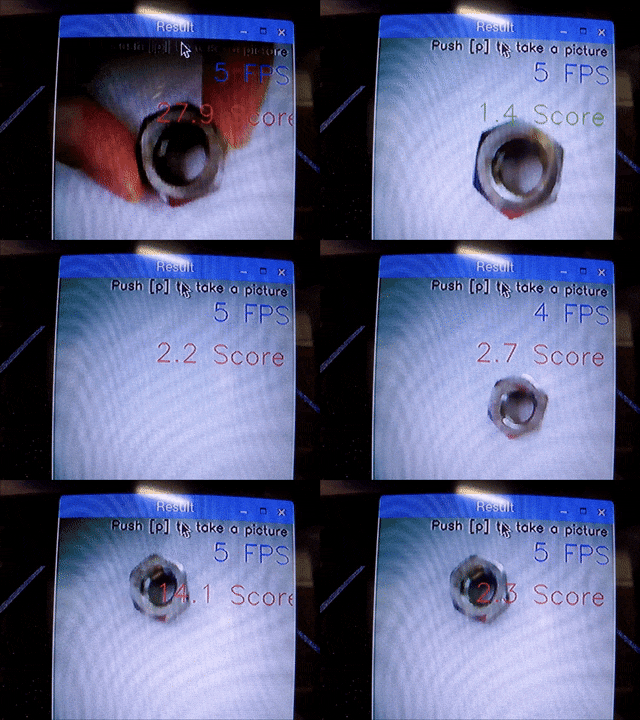
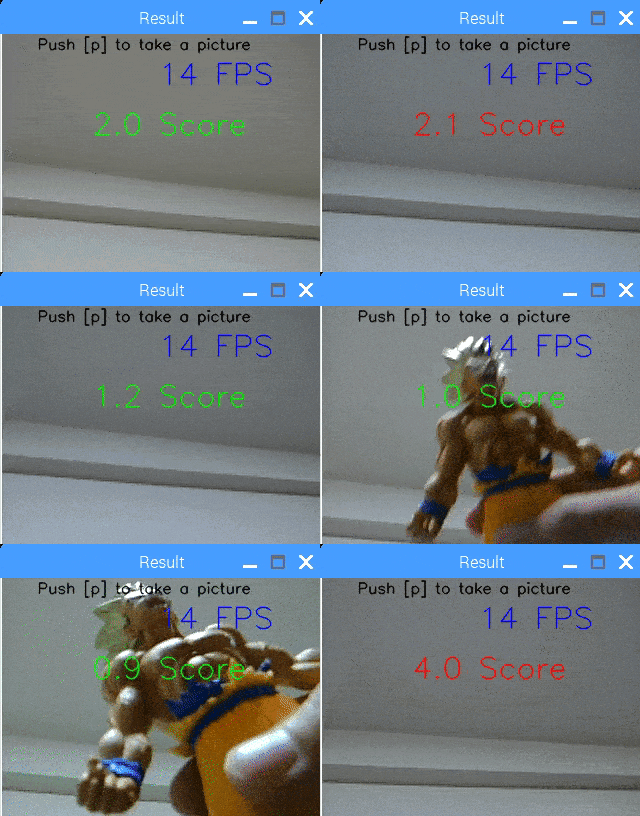
4.いきなり結果
うん、見た目の差は全く分かりませんね。。。
なに、遅い? 貴様の血は何色だ!!
5.技術的な話
Kerasモデル (.h5) → Tensorflowモデル (.pb) → Tensorflow Liteモデル (.tflite) の流れでコンバージョンしています。
また、Tensorflow Liteモデルへのコンバージョンの際に読み込みのフットプリントの小さい Flatbuffer化 と 演算の軽量化を目的とした 8bit量子化 を行っています。 ※8bit量子化により、モデルのサイズは元のサイズの4分の1に縮小されます。
Tensorflow Lite は独自カスタマイズで内部処理のマルチスレッド化を行い、高速化チューニングを施しています。
6.環境構築手順
6−1.Tensorflow Lite v1.11.0 の導入
$ sudo apt-get install -y libhdf5-dev libc-ares-dev libeigen3-dev
$ sudo pip3 install keras_applications==1.0.7 --no-deps
$ sudo pip3 install keras_preprocessing==1.0.9 --no-deps
$ sudo pip3 install h5py==2.9.0
$ sudo apt-get install -y openmpi-bin libopenmpi-dev
$ sudo pip3 uninstall tensorflow
$ wget -O tensorflow-1.11.0-cp35-cp35m-linux_armv7l.whl https://github.com/PINTO0309/Tensorflow-bin/raw/master/tensorflow-1.11.0-cp35-cp35m-linux_armv7l_jemalloc_multithread.whl
$ sudo pip3 install tensorflow-1.11.0-cp35-cp35m-linux_armv7l.whl

【Required】 Restart the terminal.
6−2.異常検知検証用リポジトリのクローン
$ cd ~
$ git clone https://github.com/PINTO0309/Keras-OneClassAnomalyDetection.git
6−3.Tensorflow (.pb) から Tensorflow Lite (.tflite) への変換
クローンしたリポジトリ内には、すでに最終変換まで終わった .tflite ファイルが models フォルダに配備済みですが、念の為変換手順を簡単に記載します。 Keras (.h5) から Tensorflow (.pb) への変換方法は 前回記事 をご覧ください。
$ wget https://github.com/PINTO0309/Bazel_bin/blob/master/0.17.2/Raspbian_armhf/install.sh
$ sudo chmod +x install.sh
$ ./install.sh
$ cd ~
$ git clone -b v1.11.0 https://github.com/tensorflow/tensorflow.git
$ cd tensorflow
$ git checkout v1.11.0
$ ./tensorflow/contrib/lite/tools/make/download_dependencies.sh
$ sudo bazel build tensorflow/contrib/lite/toco:toco
$ cd ~/tensorflow
$ mkdir output
$ cp ~/Keras-OneClassAnomalyDetection/models/tensorflow/weights.pb . #<--- 最後の.は必須
$ sudo bazel-bin/tensorflow/contrib/lite/toco/toco \
--input_file=weights.pb  \
--input_format=TENSORFLOW_GRAPHDEF \
--output_format=TFLITE \
--output_file=output/weights.tflite \
--input_shapes=1,96,96,3 \
--inference_type=FLOAT \
--input_type=FLOAT \
--input_arrays=input_1 \
--output_arrays=global_average_pooling2d_1/Mean \
--post_training_quantize
6−4.Pythonプログラムの作成
こちらも、すでにCloneしたリポジトリの中に配備済みですので、イチから作成する必要はありません。
import cv2
import time
import os
import sys
import numpy as np
import argparse
from sklearn.neighbors import LocalOutlierFactor
from sklearn.preprocessing import MinMaxScaler
from sklearn.externals import joblib
from tensorflow.contrib.lite.python import interpreter as interpreter_wrapper

def main(camera_FPS, camera_width, camera_height, inference_scale, threshold, num_threads):

    interpreter = None
    input_details = None
    output_details = None

    path = "pictures/"
    if not os.path.exists(path):
        os.mkdir(path)

    model_path = "OneClassAnomalyDetection-RaspberryPi3/DOC/model/"
    if os.path.exists(model_path):
        # LOF
        print("LOF model building...")
        x_train = np.loadtxt(model_path + "train.csv",delimiter=",")

        ms = MinMaxScaler()
        x_train = ms.fit_transform(x_train)

        # fit the LOF model
        clf = LocalOutlierFactor(n_neighbors=5)
        clf.fit(x_train)

        # DOC
        print("DOC Model loading...")
        interpreter = interpreter_wrapper.Interpreter(model_path="models/tensorflow/weights.tflite")
        interpreter.allocate_tensors()
        interpreter.set_num_threads(num_threads)
        input_details = interpreter.get_input_details()
        output_details = interpreter.get_output_details()
        print("loading finish")
    else:
        print("Nothing model folder")
        sys.exit(0)

    base_range = min(camera_width, camera_height)
    stretch_ratio = inference_scale / base_range
    resize_image_width = int(camera_width * stretch_ratio)
    resize_image_height = int(camera_height * stretch_ratio)

    if base_range == camera_height:
        crop_start_x = (resize_image_width - inference_scale) // 2
        crop_start_y = 0
    else:
        crop_start_x = 0
        crop_start_y = (resize_image_height - inference_scale) // 2
    crop_end_x = crop_start_x + inference_scale
    crop_end_y = crop_start_y + inference_scale

    fps = ""
    message = "Push [p] to take a picture"
    result = "Push [s] to start anomaly detection"
    flag_score = False
    picture_num = 1
    elapsedTime = 0
    score = 0
    score_mean = np.zeros(10)
    mean_NO = 0

    cap = cv2.VideoCapture(0)
    cap.set(cv2.CAP_PROP_FPS, camera_FPS)
    cap.set(cv2.CAP_PROP_FRAME_WIDTH, camera_width)
    cap.set(cv2.CAP_PROP_FRAME_HEIGHT, camera_height)

    time.sleep(1)

    while cap.isOpened():
        t1 = time.time()

        ret, image = cap.read()

        if not ret:
            break

        image_copy = image.copy()

        # prediction
        if flag_score == True:
            prepimg = cv2.resize(image, (resize_image_width, resize_image_height))
            prepimg = prepimg[crop_start_y:crop_end_y, crop_start_x:crop_end_x]
            prepimg = np.array(prepimg).reshape((1, inference_scale, inference_scale, 3))
            prepimg = prepimg / 255

            interpreter.set_tensor(input_details[0]['index'], np.array(prepimg, dtype=np.float32))
            interpreter.invoke()
            outputs = interpreter.get_tensor(output_details[0]['index'])

            outputs = outputs.reshape((len(outputs), -1))
            outputs = ms.transform(outputs)
            score = -clf._decision_function(outputs)

        # output score
        if flag_score == False:
            cv2.putText(image, result, (camera_width - 350, 100), cv2.FONT_HERSHEY_SIMPLEX, 0.5, (0, 0, 255), 1, cv2.LINE_AA)
        else:
            score_mean[mean_NO] = score[0]
            mean_NO += 1
            if mean_NO == len(score_mean):
                mean_NO = 0

            if np.mean(score_mean) > threshold: #red if score is big
                cv2.putText(image, "{:.1f} Score".format(np.mean(score_mean)),(camera_width - 230, 100), cv2.FONT_HERSHEY_SIMPLEX, 1, (0, 0, 255), 1, cv2.LINE_AA)
            else: # blue if score is small
                cv2.putText(image, "{:.1f} Score".format(np.mean(score_mean)),(camera_width - 230, 100), cv2.FONT_HERSHEY_SIMPLEX, 1, (0, 255, 0), 1, cv2.LINE_AA)

        # message
        cv2.putText(image, message, (camera_width - 285, 15), cv2.FONT_HERSHEY_SIMPLEX, 0.5, (0, 0, 0), 1, cv2.LINE_AA)
        cv2.putText(image, fps, (camera_width - 164, 50), cv2.FONT_HERSHEY_SIMPLEX, 1, (255, 0 ,0), 1, cv2.LINE_AA)

        cv2.imshow("Result", image)

        # FPS
        elapsedTime = time.time() - t1
        fps = "{:.0f} FPS".format(1/elapsedTime)

        # quit or calculate score or take a picture
        key = cv2.waitKey(1)&0xFF
        if key == ord("q"):
            break
        if key == ord("p"):
            cv2.imwrite(path + str(picture_num) + ".jpg", image_copy)
            picture_num += 1
        if key == ord("s"):
            flag_score = True

    cv2.destroyAllWindows()

if __name__ == '__main__':
    parser = argparse.ArgumentParser()
    parser.add_argument("-cfps","--camera_FPS",dest="camera_FPS",type=int,default=30,help="USB Camera FPS. (Default=30)")
    parser.add_argument("-cwd","--camera_width",dest="camera_width",type=int,default=320,help="USB Camera Width. (Default=320)")
    parser.add_argument("-cht","--camera_height",dest="camera_height",type=int,default=240,help="USB Camera Height. (Default=240)")
    parser.add_argument("-sc","--inference_scale",dest="inference_scale",type=int,default=96,help="Inference scale. (Default=96)")
    parser.add_argument("-th","--threshold",dest="threshold",type=int,default=2.0,help="Threshold. (Default=2.0)")
    parser.add_argument("-nt","--num_threads",dest="num_threads",type=int,default=4,help="Number of inference threads. (Default=4)")
    args = parser.parse_args()
    camera_FPS = args.camera_FPS
    camera_width = args.camera_width
    camera_height = args.camera_height
    inference_scale = args.inference_scale
    threshold = args.threshold
    num_threads = args.num_threads

    main(camera_FPS, camera_width, camera_height, inference_scale, threshold, num_threads)
7.おわりに
毎度のことならがら、地味ね。
なお、全てのリソースは Github にコミットされています。
次回はコレ PocketFlow is an open-source framework for compressing and accelerating deep learning models with minimal human effort. に取り組もうと思います。


