やること
conda環境でchatGPTのAPIをインストールして使います。
自分用メモ。
環境
- conda環境(M1 mac, miniforge, python 3.9.5)
参考
わかりやすくてすばらしい記事をありがとうございます。
ステップ1 : 無料登録する
はじめてChatGPTを使う場合や↑から[Try ChatGPT]を押して[Sign up]でメアドを登録する。
指示に従うとChatGPTをブラウザで使えるようになる。
ステップ2 : APIキーを得る
APIは無料で少し使えるらしい。
https://platform.openai.com/account/api-keys
↑のリンクに入る。
[+ Create new secret key] をクリックしてAPIキーを生成
ポップアップ画面の文字列をどこかにコピペで保存しておく(再表示不可なので注意)
ステップ3 : conda環境でライブラリを導入する
ターミナルでconda環境をアクティベートする。
以下のコマンドでライブラリを導入する
conda install openai
ステップ4 : 試す
https://qiita.com/N4RU/items/0dc2317cc28193162661
↑ の「実装」の項目のコードを実行します。
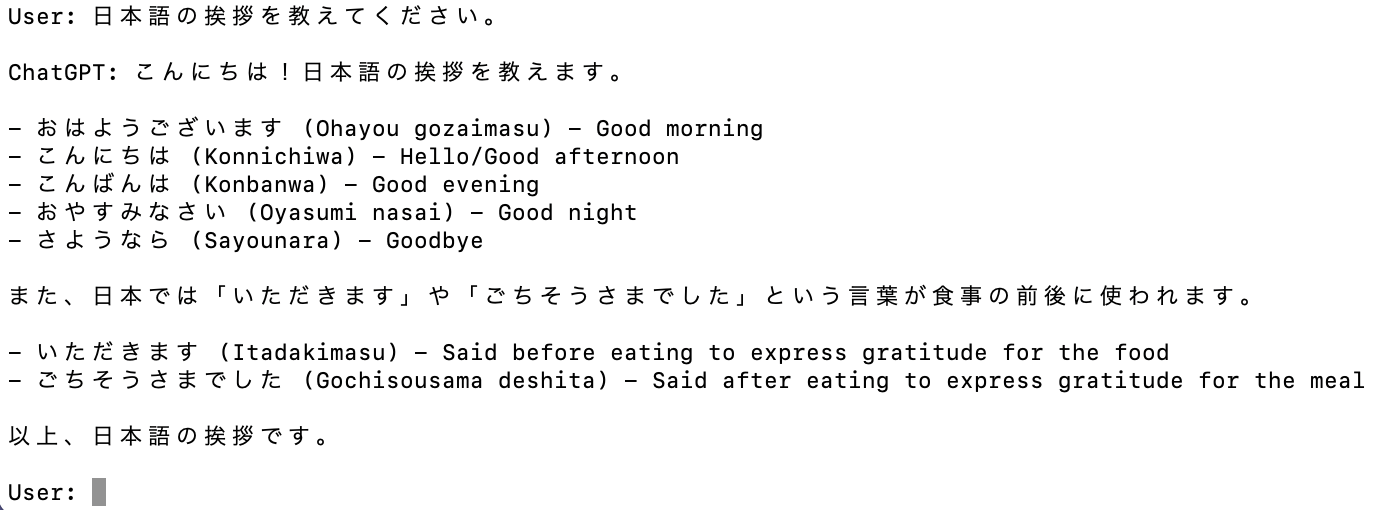
上記の記事の対話形式バージョンを実行し、
User: の後に会話文を入力します。すると、下記のような結果になります。

ステップ5 :有料にアップグレードする
有料にアップグレードする場合は、さきほどのChatGPTのブラウザのどこかでアップデートできたはず。
おわりに
あとでもうすこし意味のある記事にするつもりですがとりいそぎ。
