Firebase Authenticationとは
https://firebase.google.com/products/auth/?authuser=0
アプリを作るにあたって、ログイン機能が必要な場合に1から構築するのはとっても大変そう。
Firebase Authenticationのサービスを利用すればお手軽に構築できちゃうんだから使わない手はないよね。
準備
こちらの手順でローカルで作ってるアプリとFirebaseを接続しよう。
https://qiita.com/Natsuki_on_Rails/items/38cfcf6829e282b6f63e
ログイン機能を作る
ログイン方法を決める
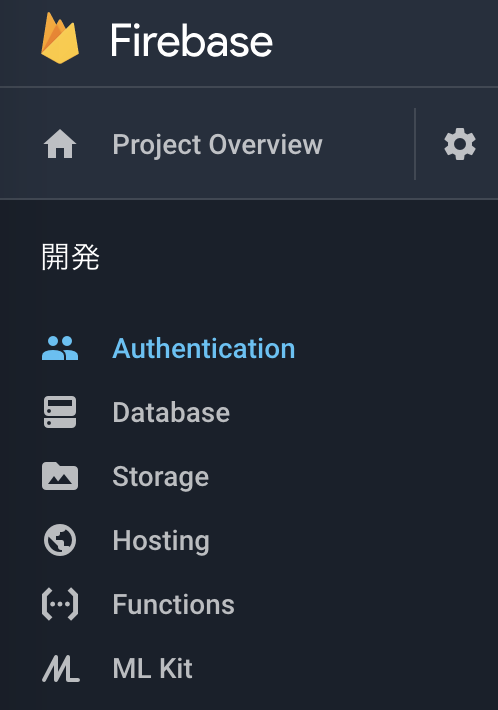
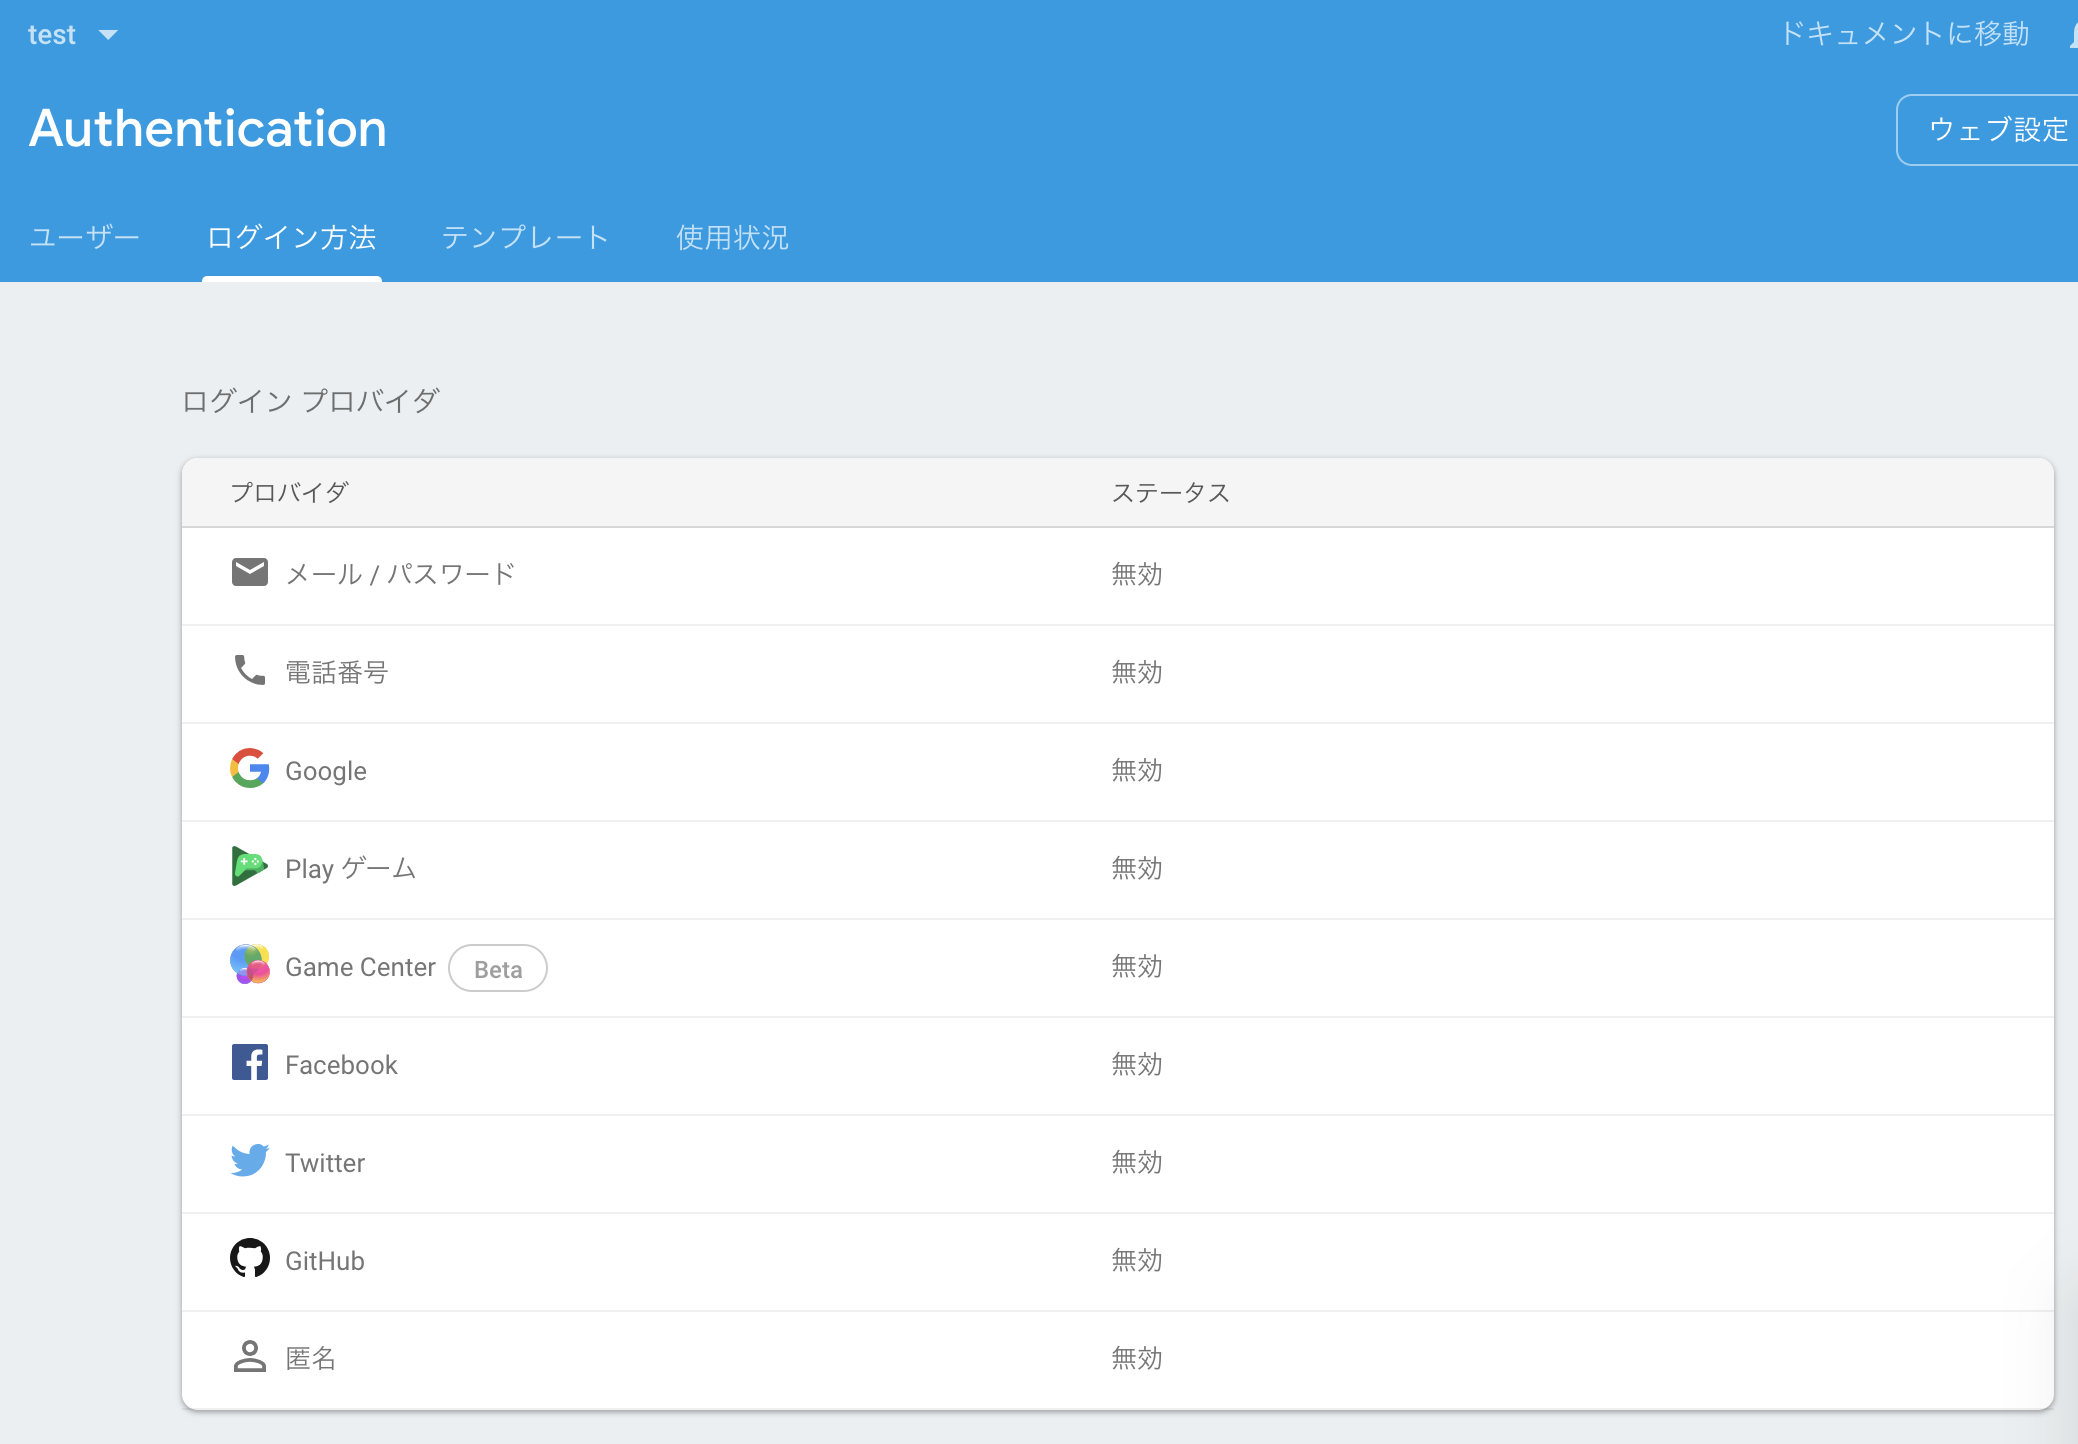
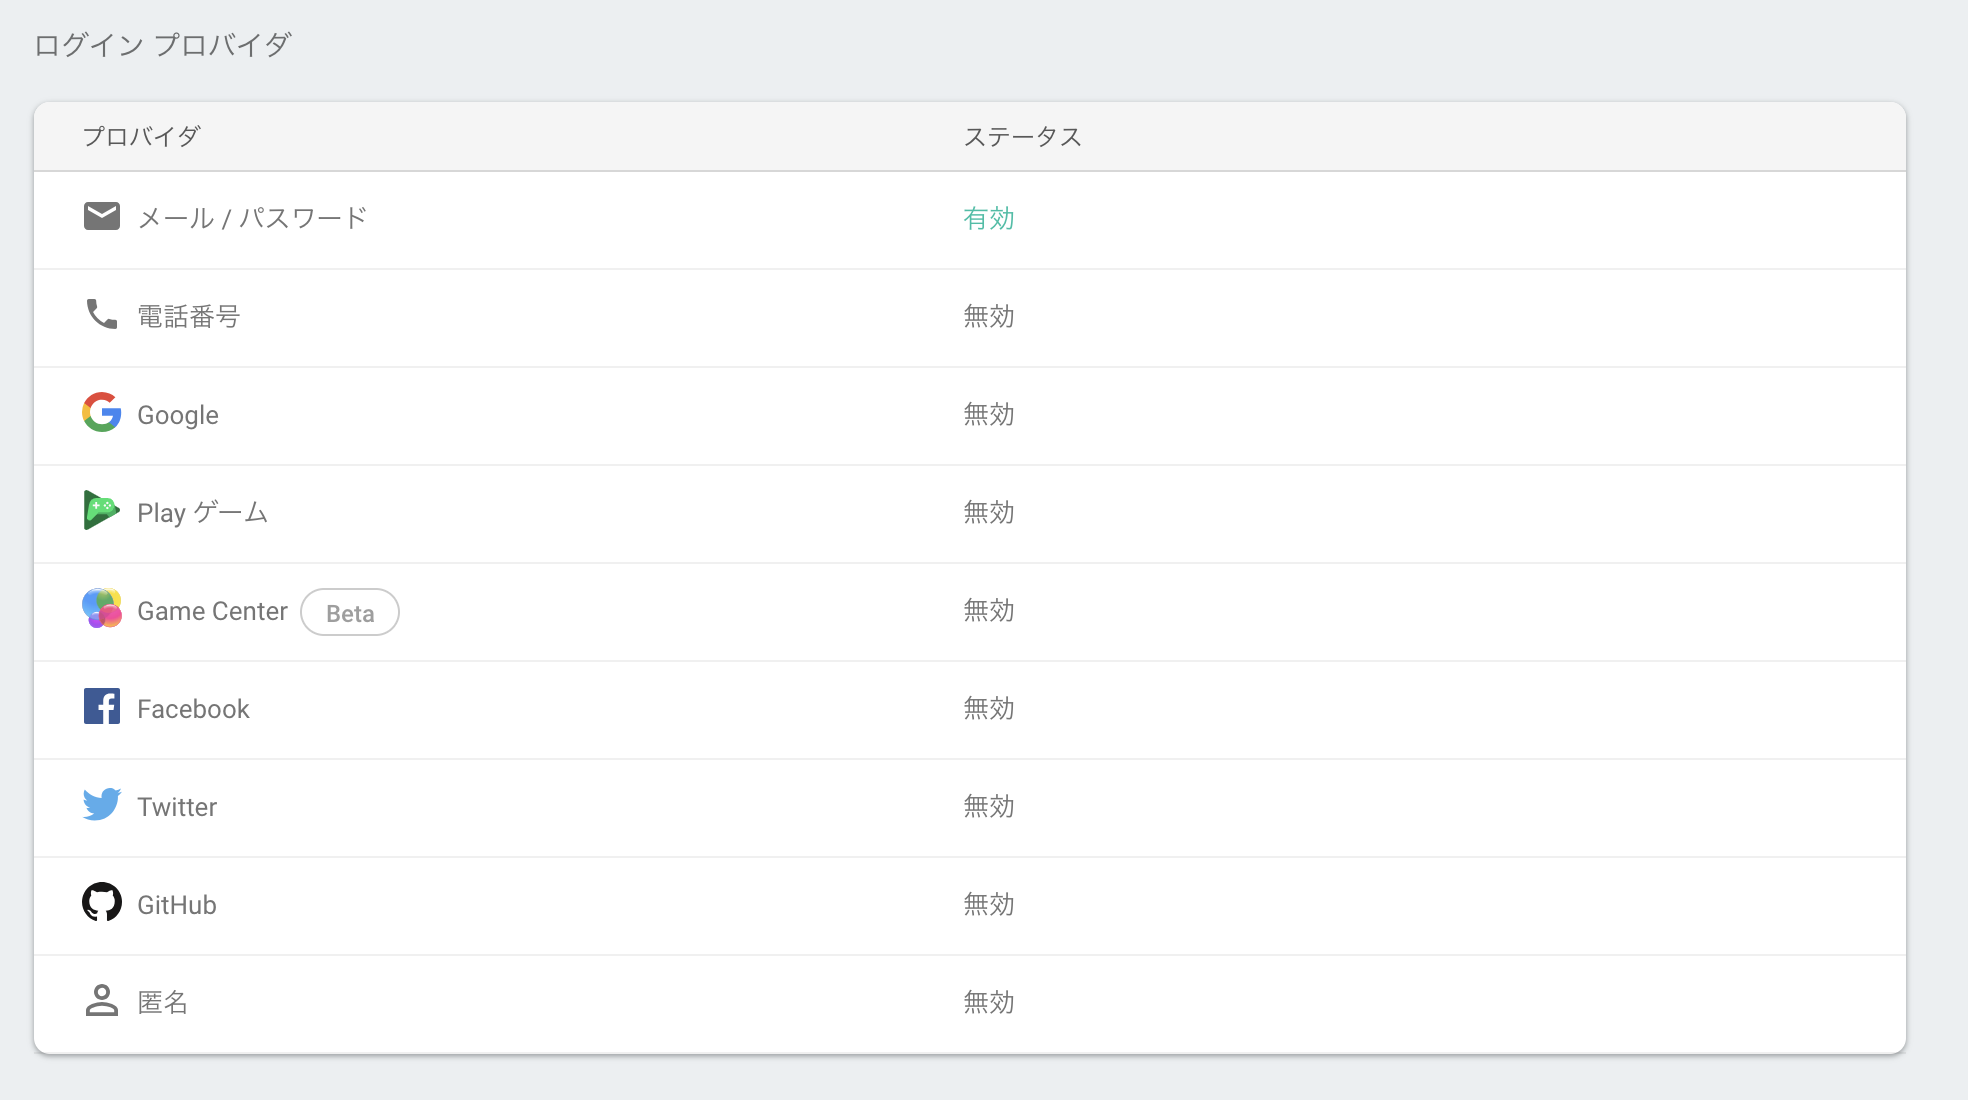
Authentication -> ログイン方法にてやりたいログインの仕方を有効にする
今回はとりあえずメール/パスワード方式でのログインをやってみるよ。
依存関係をアプリレベルの build.gradle ファイルに追加
implementation 'com.google.firebase:firebase-auth:XX.X.X'
↑を
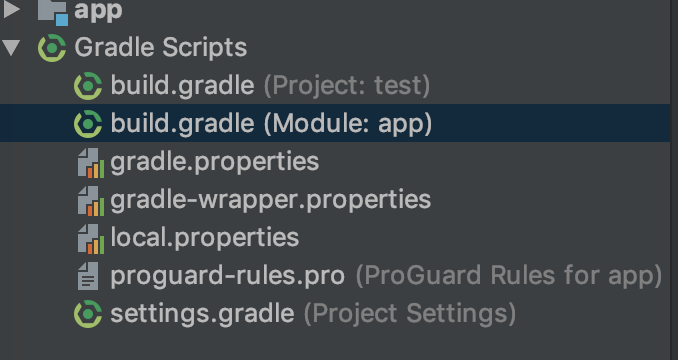
アプリレベルのbuild.gradleの
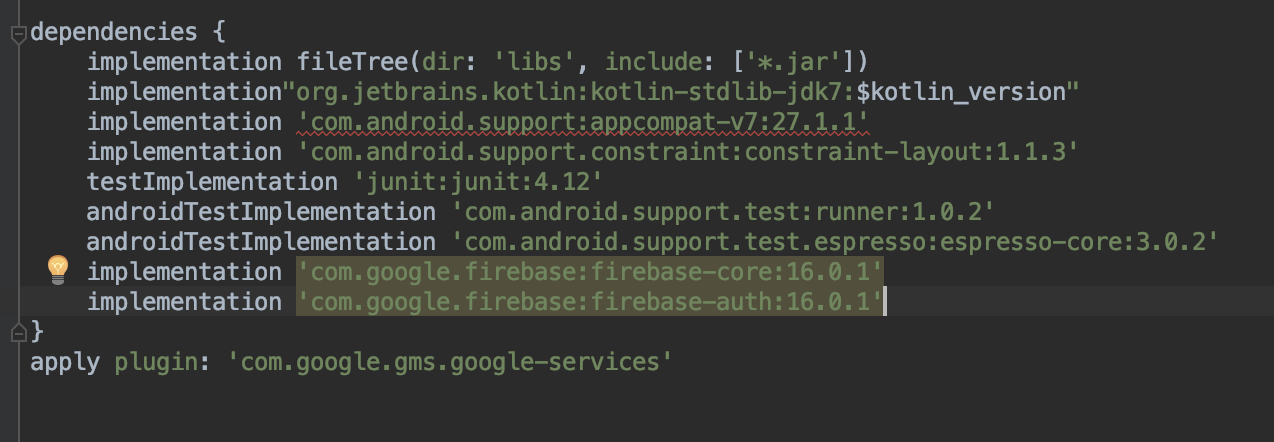
ここに追加!
バージョンはfirebase-coreのやつに合わせた方がいい感じ
(firebase-coreは準備のとこで追加したやつだよ)
これでAuthenticationのもろもろが使えるようになった。
実装する
Firebaseのドキュメントに結構丁寧に書いてあるんだけどひととおり
https://firebase.google.com/docs/auth/android/password-auth?authuser=0
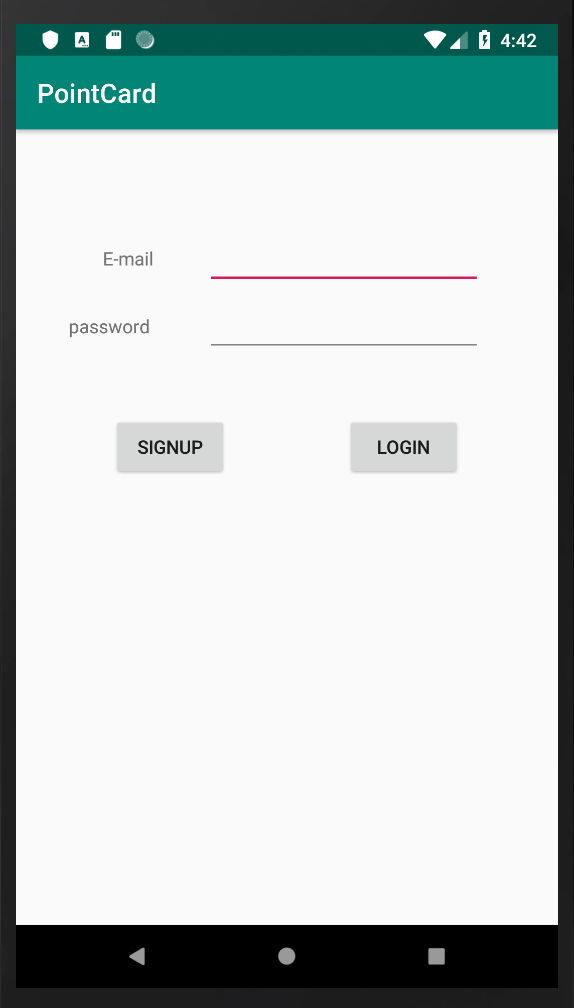
レイアウトファイルの実装
<?xml version="1.0" encoding="utf-8"?>
<android.support.constraint.ConstraintLayout
        xmlns:android="http://schemas.android.com/apk/res/android"
        xmlns:tools="http://schemas.android.com/tools"
        xmlns:app="http://schemas.android.com/apk/res-auto"
        android:layout_width="match_parent"
        android:layout_height="match_parent"
        tools:context=".MainActivity">

    <Button
            android:text="@string/signup"
            android:layout_width="wrap_content"
            android:layout_height="wrap_content"
            android:id="@+id/SignUpButton" android:layout_marginTop="13dp"
            app:layout_constraintTop_toBottomOf="@+id/guideline" app:layout_constraintStart_toStartOf="parent"
            android:layout_marginStart="73dp"/>
    <Button
            android:text="@string/login"
            android:layout_width="wrap_content"
            android:layout_height="wrap_content"
            android:id="@+id/LoginButton" android:layout_marginTop="13dp"
            app:layout_constraintTop_toBottomOf="@+id/guideline" app:layout_constraintEnd_toEndOf="parent"
            android:layout_marginEnd="73dp"/>
    <TextView
            android:text="@string/e_mail"
            android:layout_width="wrap_content"
            android:layout_height="wrap_content"
            android:id="@+id/emailLabel" app:layout_constraintTop_toTopOf="parent"
            android:layout_marginTop="88dp" app:layout_constraintEnd_toStartOf="@+id/emailEditText"
            android:layout_marginEnd="14dp" app:layout_constraintStart_toStartOf="parent"
            android:layout_marginStart="40dp" android:labelFor="@+id/emailEditText"/>
    <TextView
            android:text="@string/password"
            android:layout_width="wrap_content"
            android:layout_height="wrap_content"
            android:id="@+id/passLabel" android:layout_marginTop="32dp"
            app:layout_constraintTop_toBottomOf="@+id/emailLabel" app:layout_constraintStart_toStartOf="parent"
            android:layout_marginStart="40dp" android:labelFor="@+id/passEditText"/>
    <EditText
            android:layout_width="wrap_content"
            android:layout_height="wrap_content"
            android:inputType="textEmailAddress"
            android:ems="10"
            android:id="@+id/emailEditText"
            app:layout_constraintBottom_toBottomOf="@+id/emailLabel"
            app:layout_constraintTop_toTopOf="@+id/emailLabel" app:layout_constraintEnd_toEndOf="parent"
            android:layout_marginEnd="58dp" android:autofillHints=""/>
    <EditText
            android:layout_width="wrap_content"
            android:layout_height="wrap_content"
            android:inputType="textPassword"
            android:ems="10"
            android:id="@+id/passEditText"
            app:layout_constraintTop_toTopOf="@+id/passLabel" app:layout_constraintBottom_toBottomOf="@+id/passLabel"
            app:layout_constraintEnd_toEndOf="parent" android:layout_marginEnd="58dp" android:autofillHints=""/>
    <android.support.constraint.Guideline android:layout_width="wrap_content" android:layout_height="wrap_content"
                                          android:id="@+id/guideline" app:layout_constraintGuide_begin="204dp"
                                          android:orientation="horizontal"/>
</android.support.constraint.ConstraintLayout>
適当です<(_ _)>
Activityファイルの実装
import android.support.v7.app.AppCompatActivity
import android.os.Bundle
import android.widget.Button
import android.widget.EditText
import android.widget.Toast
import com.google.firebase.auth.FirebaseAuth


class MainActivity : AppCompatActivity() {

    private lateinit var auth: FirebaseAuth

    override fun onCreate(savedInstanceState: Bundle?) {
        super.onCreate(savedInstanceState)
        setContentView(R.layout.activity_main)

        auth = FirebaseAuth.getInstance()

        val buttonSignUp = findViewById<Button>(R.id.SignUpButton)
        val buttonLogin = findViewById<Button>(R.id.LoginButton)


        buttonSignUp.setOnClickListener {

            val emailEditText = findViewById<EditText>(R.id.emailEditText)
            val emailText = emailEditText.text.toString()

            val passEditText = findViewById<EditText>(R.id.passEditText)
            val passText = passEditText.text.toString()


            auth.createUserWithEmailAndPassword(emailText, passText)
                .addOnCompleteListener(this) { task ->
                    if (task.isSuccessful) {
                        Toast.makeText(
                            baseContext, "SignUp 成功",
                            Toast.LENGTH_SHORT
                        ).show()
                    } else {
                        Toast.makeText(
                            baseContext, "SignUp 失敗",
                            Toast.LENGTH_SHORT
                        ).show()
                    }
                }
        }

        buttonLogin.setOnClickListener {

            val emailEditText = findViewById<EditText>(R.id.emailEditText)
            val emailText = emailEditText.text.toString()

            val passEditText = findViewById<EditText>(R.id.passEditText)
            val passText = passEditText.text.toString()

            auth.signInWithEmailAndPassword(emailText, passText)
                .addOnCompleteListener(this) { task ->
                    if (task.isSuccessful) {
                        Toast.makeText(
                            baseContext, "Login 成功",
                            Toast.LENGTH_SHORT
                        ).show()
                    } else {
                        Toast.makeText(
                            baseContext, "Login 失敗",
                            Toast.LENGTH_SHORT
                        ).show()
                    }

                }

        }
    }
}
とりあえずログインできることを確かめるだけのものです。
①FirebaseAuthをインポート
import com.google.firebase.auth.FirebaseAuth
②FirebaseAuthオブジェクトの共有インスタンスを取得
private lateinit var auth: FirebaseAuth
// ...
auth = FirebaseAuth.getInstance()
③SignUpボタン押下時の処理
入力したEmailやパスワードを元にユーザを登録してる。
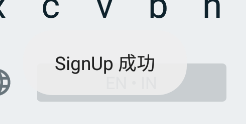
登録に成功したかどうかはトーストで出してる(しょぼい)
            auth.createUserWithEmailAndPassword(emailText, passText)
                .addOnCompleteListener(this) { task ->
                    if (task.isSuccessful) {
                        Toast.makeText(
                            baseContext, "SignUp 成功",
                            Toast.LENGTH_SHORT
                        ).show()
                    } else {
                        Toast.makeText(
                            baseContext, "SignUp 失敗",
                            Toast.LENGTH_SHORT
                        ).show()
                    }
                }
④Loginボタン押下時の処理
こっちもおんなじ感じ。
ユーザが登録されてれば成功、いなければ失敗する。
            auth.signInWithEmailAndPassword(emailText, passText)
                .addOnCompleteListener(this) { task ->
                    if (task.isSuccessful) {
                        Toast.makeText(
                            baseContext, "Login 成功",
                            Toast.LENGTH_SHORT
                        ).show()
                    } else {
                        Toast.makeText(
                            baseContext, "Login 失敗",
                            Toast.LENGTH_SHORT
                        ).show()
                    }

                }
動きをみてみよう
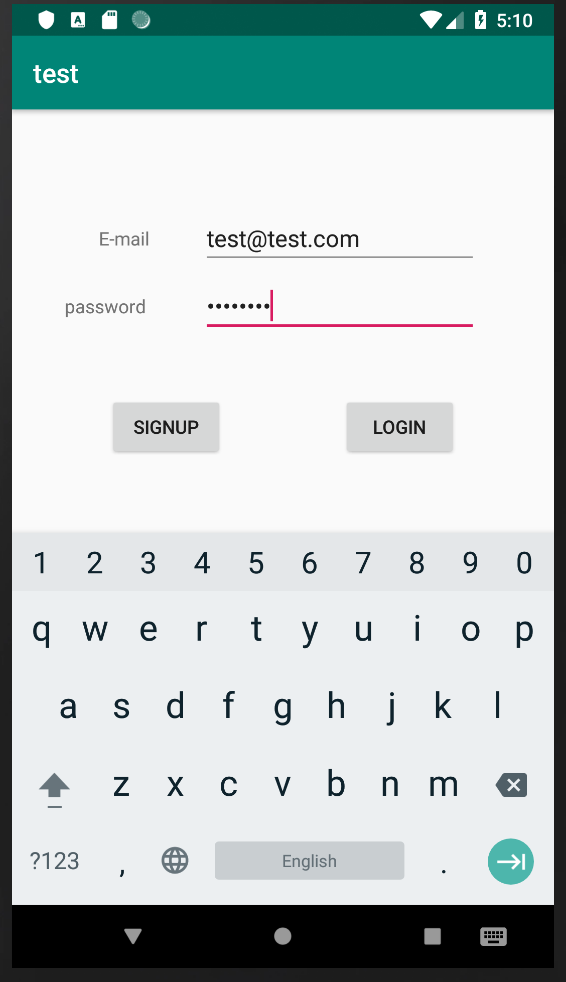
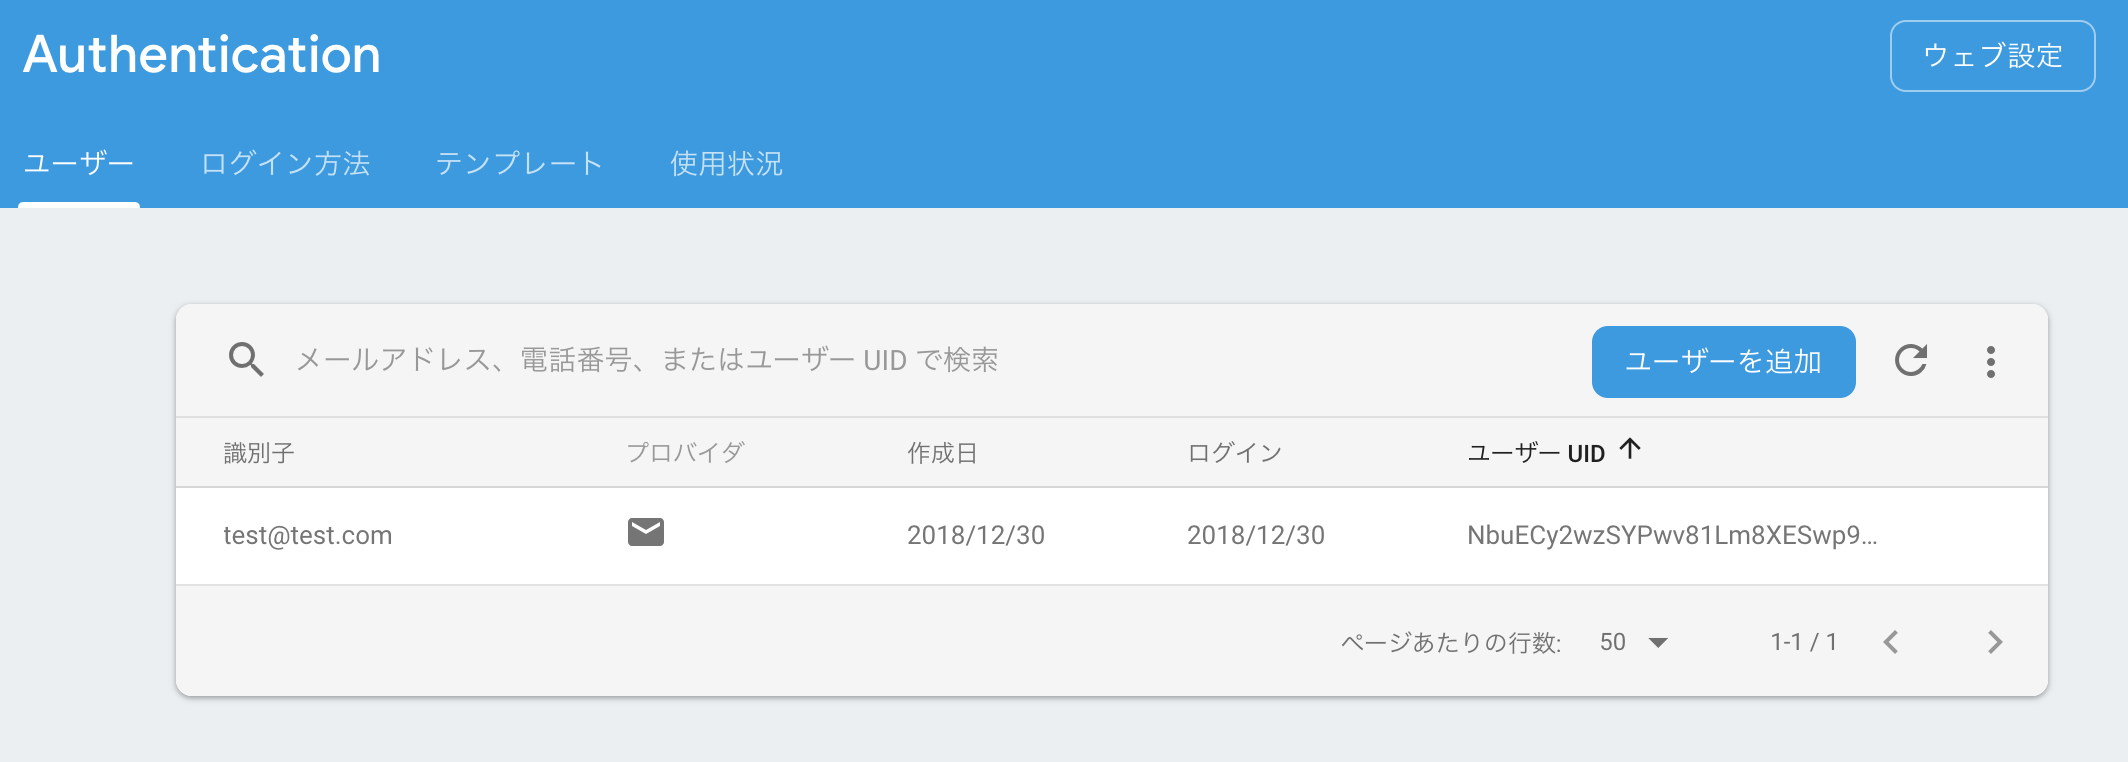
ユーザが登録されてる!
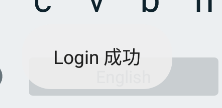
いえーい
(ちょーしょぼい)
これで別な画面に遷移したりすればいい感じのアプリになるのではないでしょうか。
