前回までのあらすじ
PythonのオープンソースフレームワークであるStreamlitを使って、爆速でwebアプリを作りました。
今回の流れ
Streamlitで作ったwebアプリのディレクトリに必要なファイルを追加して、herokuにデブロイしていこうと思います。
必要なものは
- requrements.txt
- setup.sh
- Procfile
- runtime.txt
requrements.txt
サーバーがコードを実行するためには、何をダウンロードするか必要があるかを認識させるものです。
streamlitや必要に応じてnumpyやpandasを入れてあげましょう。
下は一例です。
streamlit==0.60.0
matplotlib==2.2.3
numpy==1.15.1
App not compatible with buildpack
エラー出る
requirement.txt
runtime.txt作る
Procfile
setup.sh
setup.shもrequirements.txtと同様にアプリがサーバー上で動作する環境を作るものです。emailは各々で変更してください。
mkdir -p ~/.streamlit/

echo "\
[general]\n\
email = \"your-email@domain.com\"\n\
" > ~/.streamlit/credentials.toml

echo "\
[server]\n\
headless = true\n\
enableCORS=false\n\
port = $PORT\n\
" > ~/.streamlit/config.toml
Procfile
サーバーがどういったコマンドで実行すればいいかを記述するものです。
web: sh setup.sh && streamlit run {name_of_app}.py
デプロイしていく
まずはログイン
$ heroku login
herokuはGitを使用してるので、いつもGitレポジトリの初期化を行います。
$ git init
$ git add .
$ git commit -m "first commit"
そしてherokuに新しいインスタンスを作成します。
$ heroku create
あとはpushして開くだけです。
$ git push heroku master
$ heroku open
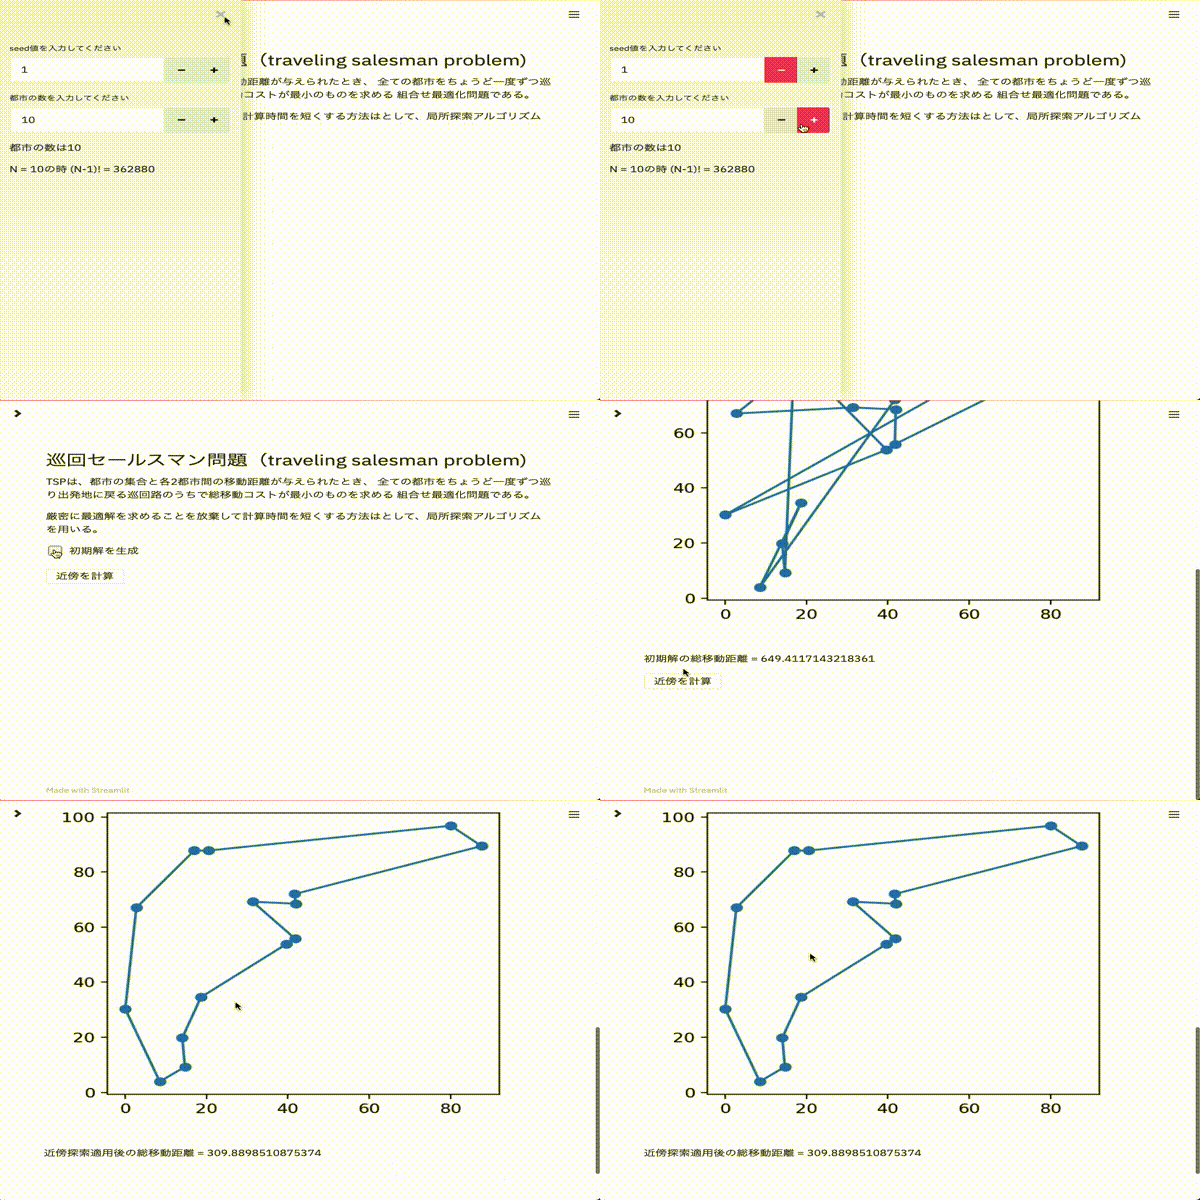
私も試しにTSPを2-opt法で解けるアプリケーションをデプロイしました。
最後に
Pythonだけで気軽に成果物をそれっぽい形にできるStreamlitを、今回はデプロイしてみました。
デプロイまで非常に爆速でしたね。
Streamlit自体の便利さや爆速加減を知りたい方は、ぜひ前回の記事をご覧ください!!
