やりたいこと
API Connectでは、Developer Toolkitに含まれるCLIを使って、コマンドラインからAPI定義や製品定義を作成する方法が提供されています。
コマンドラインからAPI定義や製品定義を作成する際には、テンプレートから作成できるようになっています。
API Connectでは、API定義や製品定義の情報はすべてOpen APIのyaml形式で管理されます。APIのインターフェース仕様の情報だけでなく、Gateway上での変換処理やログ出力など、GUIで実装するGateway上での処理についても、すべてyamlファイルで管理されます。
したがって、API仕様の定義をコマンドから実行できるだけでなく、Gateway上での処理内容についても、同時にテンプレートを用いてコマンドから実行できるというわけです。
このテンプレートとCLIを利用することで、API開発を自動化したり、GUIによる定義のミスを減らすことができたり、企業で共通のテンプレートを作成しておけば迅速なAPI開発が実現できるなど、活用の幅が広がりそうです。
今回は、API定義のテンプレートを使って、Developer ToolkitのCLIからAPIを作成してみたいと思います。
参考マニュアル
事前準備
Developer Toolkitをインストールする
もしインストールしていない場合はインストールします。
こちらの記事(IBM API Connect のデベロッパーズ・ツールキットをインストール・バージョンアップする方法)を参考にしてください。
テンプレートの準備
テンプレートは.hbsという拡張子のファイルを用意します。マニュアルにテンプレートの例(IBM API Connect v5.0 Knowledge Center : API 定義と製品定義のテンプレートの例)が用意されているので、それを利用できます。
マニュアルに用意されているデフォルトの API 定義テンプレートをコピーしてファイルに保存します。
私は、デフォルトのAPI定義テンプレートに1箇所以下の行を追加しました。
x-ibm-configuration:に以下を追加します。
gateway: datapower-gateway
これは、利用するGatewayとしてDataPower Gatewayを指定するものです。
以下のようなテンプレートになりますが、必要に応じて編集してください。
拡張子を.hbsとして保存します。
このテンプレートはJavaScriptのテンプレートエンジンであるHandlebarsがベースになっています。
テンプレート変数は、例えば {{name}} のように二重中括弧で囲まれています。
テンプレート変数はマニュアル(IBM API Connect v5.0 Knowledge Center : API 定義と製品定義のテンプレート変数)で確認できます。
swagger: '2.0'

info:
  x-ibm-name: {{name}}
  title: {{title}}
  version: {{version}}

schemes:
{{#if schemes}}
  {{#each schemes}}
    - {{this}}
  {{/each}}
{{else}}
    - https
{{/if}}
host: {{hostname}}
basePath: {{basepath}}

consumes:
  - application/json
produces:
  - application/json

securityDefinitions:
 clientIdHeader:
   type: apiKey
   in: header
   name: X-IBM-Client-Id
 clientSecretHeader:
   in: "header"
   name: "X-IBM-Client-Secret"
   type: "apiKey"

security:
 -
   clientIdHeader: []
   clientSecretHeader: []

x-ibm-configuration:
  testable: true
  enforced: true
  cors:
    enabled: true
  catalogs:
    apic-dev:
      properties:
        runtime-url: $(TARGET_URL)
    sb:
      properties:
        runtime-url: 'http://localhost:4001'
  assembly:
    execute:
      - invoke:
        {{#if targeturl}}
          target-url: {{targeturl}}
        {{else}}
          target-url: $(runtime-url)$(request.path)
        {{/if}}
  gateway: datapower-gateway
paths:

  /users:

    post:
      summary: Create a user
      description: Create a new user
      operationId: userCreate
      externalDocs:
        description: Blah
        url: http://host/docs-about-routes-post
      tags:
        - Users
      responses:
        '201':
          description: 'Success'
          schema:
            $ref: '#/definitions/User'
        default:
          description: 'Unexpected error'
          schema:
            $ref: '#/definitions/Error'

    get:
      summary: User list
      description: Get a list of users
      operationId: userList
      externalDocs:
        description: Blah
        url: http://host/docs-about-routes-post
      tags:
        - Users
      responses:
        '200':
          description: 'Success'
          schema:
            $ref: '#/definitions/UserList'
        default:
          description: 'Unexpected error'
          schema:
            $ref: '#/definitions/Error'

  /users/{user}:

    get:
      summary: Retrieve the User
      description: Retrieve the User
      operationId: userGet
      tags:
        - Users
      parameters:
        - name: user
          in: path
          description: User id or name
          required: true
          type: string
      responses:
        '200':
          description: 'Success'
          schema:
            $ref: '#/definitions/User'
        default:
          description: 'Unexpected error'
          schema:
            $ref: '#/definitions/Error'

    patch:
      summary: Update User
      description: Update User
      operationId: userUpdate
      tags:
        - Users
      parameters:
        - name: user
          in: path
          description: User id or name
          required: true
          type: string
        - name: payload
          in: body
          description: User to update
          required: true
          schema:
            $ref: '#/definitions/UserUpdate'
      responses:
        '200':
          description: 'Success'
          schema:
            $ref: '#/definitions/User'
        default:
          description: 'Unexpected error'
          schema:
            $ref: '#/definitions/Error'

    delete:
      summary: Delete the User
      description: Delete the User
      operationId: userDelete
      tags:
        - Users
      parameters:
        - name: user
          in: path
          description: User id or name
          required: true
          type: string
      responses:
        '204':
          description: 'Successful delete'
        default:
          description: 'Unexpected error'
          schema:
            $ref: '#/definitions/Error'

definitions:

  User:
    type: object
    additionalProperties: false

  UserUpdate:
    type: object
    additionalProperties: false

  UserList:
    type: object
    additionalProperties: false

  Error:
    type: object
    additionalProperties: false
    properties:
      status:
        type: integer
      message:
        type:
          - string
          - array

tags:
  - name: Users
    description: Tags on all the user operations
    externalDocs:
      description: External information about Users
      url: http://host/url-of-my-entire-set-of-tag-docs-for-this-tag
  - name: Routes
    description: Tags on all the route operations
    externalDocs:
      description: External information about Routes
      url: http://host/url-of-my-entire-set-of-tag-docs-for-this-tag
API定義の作成(1)
テンプレートが用意できたら、CLIからyaml形式のAPI定義が作成できます。
以下のコマンドでAPI定義を作成します。
$ apic create --type api --template <template_file> --title <product_title>
以下は実行例です。titleに指定する名前がAPIの名前、基本パスの名前に指定されます。実行すると、指定した名前でyamlファイルが生成されました。
$ apic create --type api --template api_template.hbs --title api_01
api_01.yaml API 定義 [api_01:1.0.0] が作成されました
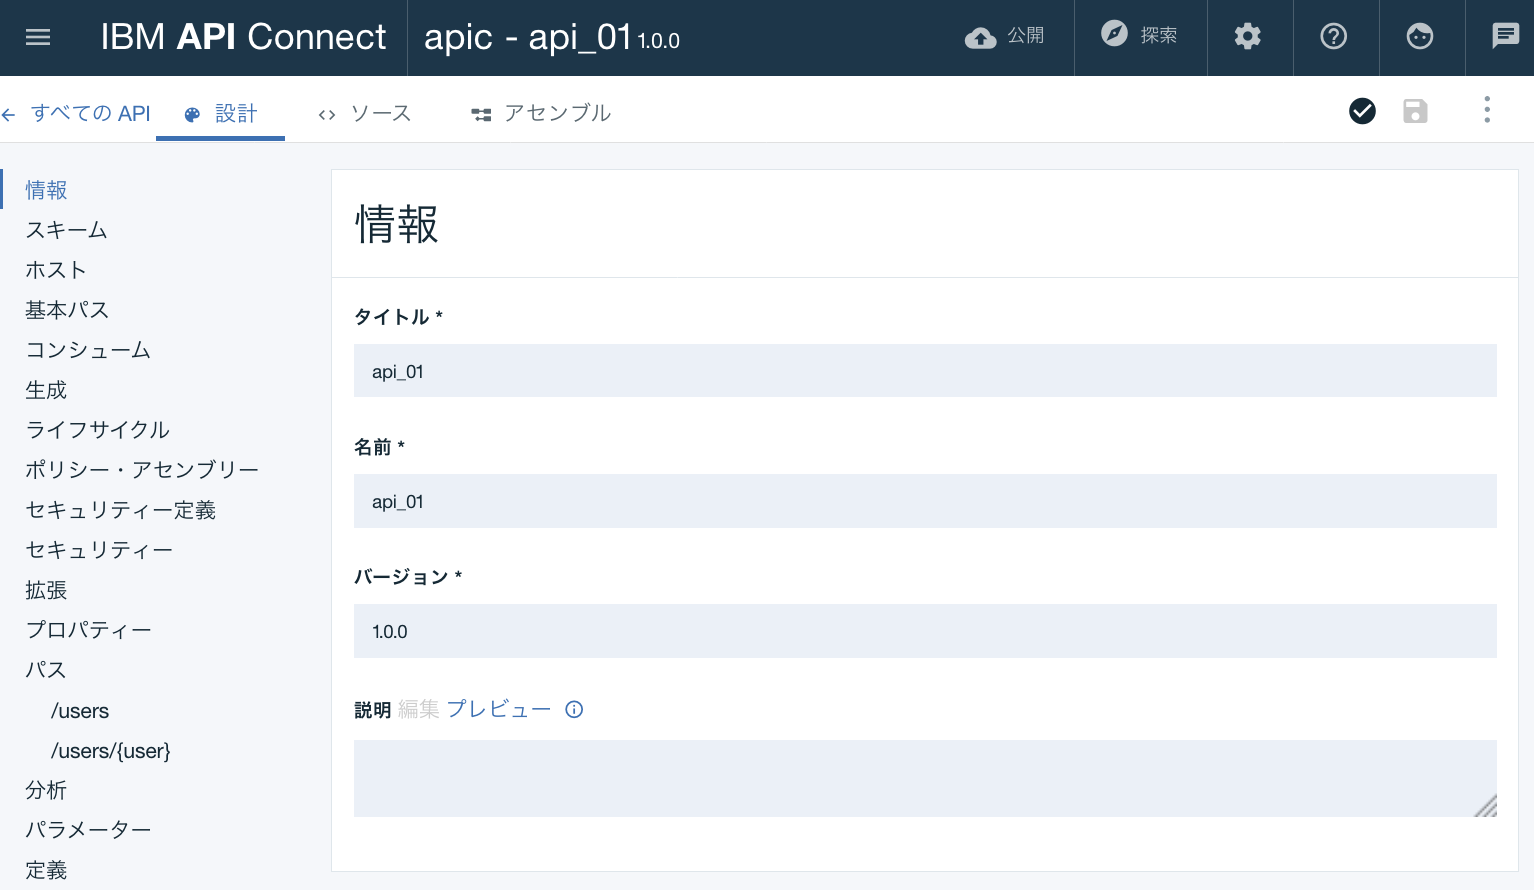
作成されたyamlファイルのある場所で、apic editコマンドでAPIデザイナーを起動すると、作成したAPIの中身がGUIで確認できます。

API定義の作成(2)
今度はオプションを追加して実行します。
例えば、基本パスを指定してAPIを作成します。
テンプレートの中で基本パスは、以下のようにbasepathテンプレート変数になっているので、コマンド実行時にこの変数を指定します。
basePath: {{basepath}}
以下のように実行します。
$ apic create --type api --template api_template.hbs --title api_02 --basepath /base02
api_02.yaml API 定義 [api_02:1.0.0] が作成されました
以上、API定義のテンプレートを使ってコマンドラインからAPIを作成する方法でした。
今回はほとんどカスタマイズしませんでしたが、ここから、テンプレートをカスタマイズしたり、アセンブルの実装もテンプレート化することで、活用の幅が広がりそうです。
