概要
Ubuntu22.04でros2-for-unityを用いてRos 2メッセージのやり取りを行う。マシン間通信もできた
これを行うモチベーションとしては、カスタムメッセージをros2-for-unityで使用するにはメッセージを仕込んだ上でビルドをする必要があるが、Windowsではros2のビルド環境を整えるのが面倒なのでUbuntuでやりたいというところ。
動作環境・バージョン
動作環境
Ubuntu : 22.04
VScode : 1.95.3
記事作成者の個人的好みでVSではなくVScodeを用いた。VSでも同じことが実現可能なはず(未検証)
バージョン
ros 2 : humble
Unity : 6000.0.28f1
前提条件
- ros2がインストールされていること
コンテンツ
Unityのインストール
Unity Hubのインストール
- パブリックキーの追加
wget -qO - https://hub.unity3d.com/linux/keys/public | gpg --dearmor | sudo tee /usr/share/keyrings/Unity_Technologies_ApS.gpg > /dev/null - リポジトリを追加
sudo sh -c 'echo "deb [signed-by=/usr/share/keyrings/Unity_Technologies_ApS.gpg] https://hub.unity3d.com/linux/repos/deb stable main" > /etc/apt/sources.list.d/unityhub.list' - インストール
sudo apt update
sudo apt-get install unityhub
Unityのインストール
- 上記でインストールしたUnity Hubを起動
- Unity Hubへのログインを求められるので、ログイン(アカウントが無ければ作成する)
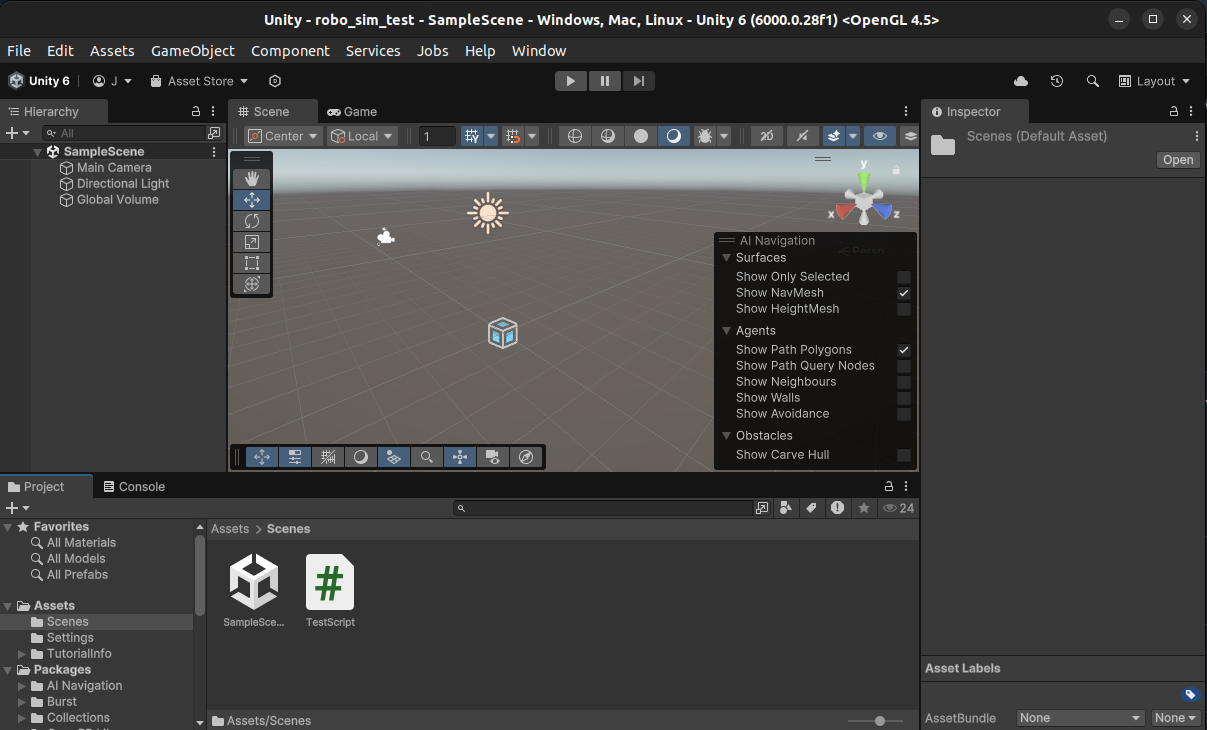
- InstallsからInstall Editorを選択し、Unity 6をインストール(或いはインストールするようポップアップが出る)

.NET開発環境の構築
- .NET SDKのインストール
sudo apt update sudo apt install dotnet-sdk-6.0 - VScode拡張機能のインストール
unityの動作確認
-
Window > Package Manager を選択して、 Package Manager を起動し、Visual Studio Editorを選択する
- バージョンが2.0.20以上であることを確認
- UnlockされていなければUnlockする

-
Edit > Preferences を選択して Preferences を開く
- External Script Editor が Visual Studio Codeになっているか確認
- バージョンがVisual Studio Editor v2.X.X enabledになっているか確認

-
ダブルクリックした際にVScodeが立ち上がり、下のようになっていれば成功
- サインインを求められたらマイクロソフトアカウントでサインインする

ros2-for-unityのインストール
ros2csのインストール
-
依存パッケージのインストール
# Install rmw and tests-msgs for your ROS2 distribution apt install -y ros-${ROS_DISTRO}-test-msgs apt install -y ros-${ROS_DISTRO}-fastrtps ros-${ROS_DISTRO}-rmw-fastrtps-cpp apt install -y ros-${ROS_DISTRO}-cyclonedds ros-${ROS_DISTRO}-rmw-cyclonedds-cpp # Install vcstool package curl -s https://packagecloud.io/install/repositories/dirk-thomas/vcstool/script.deb.sh | sudo bash sudo apt-get update sudo apt-get install -y python3-vcstool # install .NET core 6.0 SDK sudo apt-get update; \ sudo apt-get install -y apt-transport-https && \ sudo apt-get update && \ sudo apt-get install -y dotnet-sdk-6.0 # install patchelf for standalone build sudo apt install patchelf -
ros2csのhumbleバージョンをcloneする
git clone https://github.com/RobotecAI/ros2cs.git -
ビルド
source /opt/ros/humble/setup.bash
cd ros2cs
./get_repos.sh
./build.sh --standalone
ros2-for-unityのインストール
-
ビルド
git clone git@github.com:RobotecAI/ros2-for-unity.git ~/ros2-for-unity . /opt/ros/humble/setup.bash cd ros2-for-unity ./pull_repositories.sh ./build.sh --standalone -
unity_packageの作成
create_unity_package.sh -u <your-path-to-unity-editor-executable>
unity-editorのパスは/Unity/Hub/Editor/<version>/Editor/Unity
上記スクリプトにより、install/unity_package/以下にRos2ForUnity.unitypackageが作成される -
インポート
Assets -> Import Package -> Custom Packageからさきほど作成したunity_packageを選択
ros2-for-unityの動作確認
-
スクリプトを作成し、適当なGameObjectにアタッチ
Ros2MsgTest.csusing UnityEngine; using ROS2; public class Ros2MsgTest : MonoBehaviour { private ROS2UnityComponent ros2Unity; private ROS2Node ros2Node; private IPublisher<std_msgs.msg.String> chatter_pub; private int i = 0; // Start is called once before the first execution of Update after the MonoBehaviour is created void Start() { TryGetComponent(out ros2Unity); } // Update is called once per frame void Update() { if (ros2Unity.Ok()) { if (ros2Node == null) { // Nodeの名前を指定する ros2Node = ros2Unity.CreateNode("ROS2UnityTalkerNode"); //トピックの名前と型を指定する chatter_pub = ros2Node.CreatePublisher<std_msgs.msg.String>("hello_from_Unity"); } } // スペースキーが押されたら if (Input.GetKeyDown(KeyCode.Space)) { Debug.Log("Space key was pressed."); i++; std_msgs.msg.String msg = new std_msgs.msg.String(); msg.Data = "Hello world from Unity" + i; chatter_pub.Publish(msg); } } } -
/Ros2ForUnity/Scripts/Ros2UnityComponent.csも同じオブジェクトにアタッチ
左右のHierarchyウィンドウとInspectorウィンドウが以下のようになっていれば概ねOK

-
ターミナルを開き、
ros2 topic echo hello_from_Unityを実行後、Unityのゲームを開始し、スペースキーの入力でトピックがパブリッシュされていることが確認できれば成功
終わりに
謎にUbuntuではUnityが動かないと勘違いしていたが、そんなことはなかった
参考文献
unityのインストール
unity公式
VScodeの設定
ros2-for-unityのインストール
ros2cs公式
ros2-for-unity公式

