概要
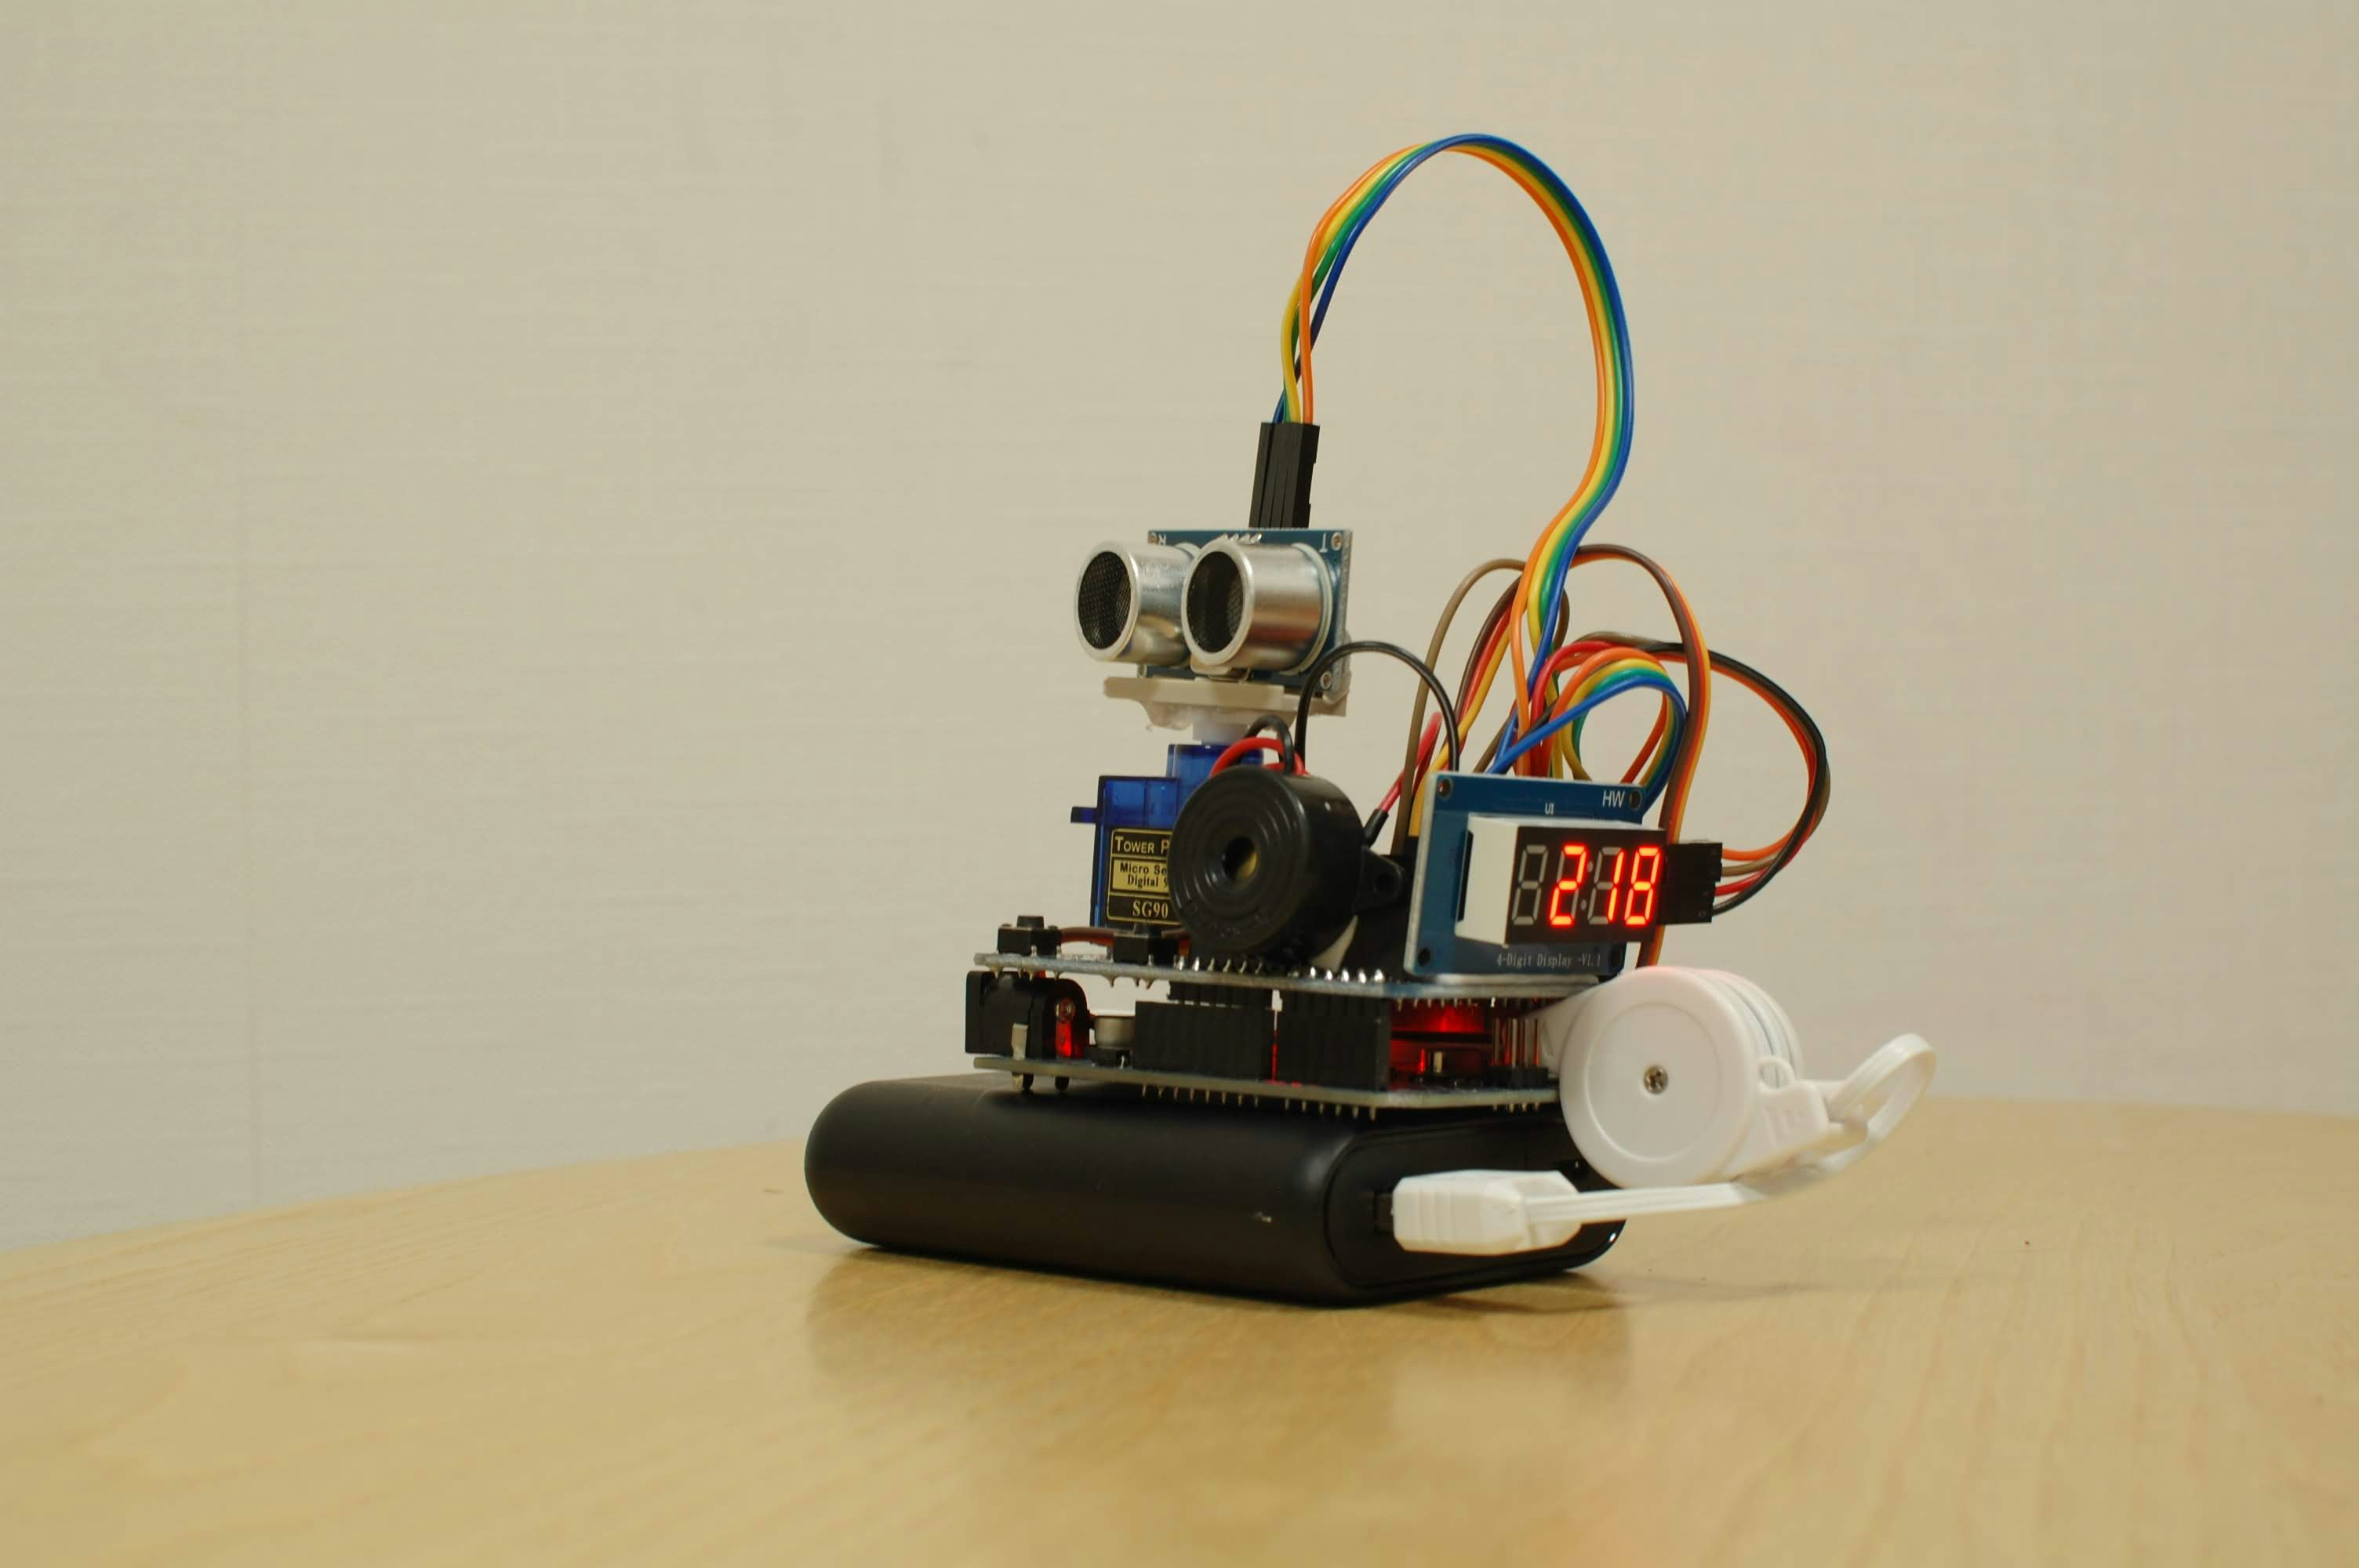
Arduinoでソナーを作成してみました。(超音波なのでレーダーではないです。)
本体側でも距離がわかるように、7セグメントLEDに距離を表示し、距離に応じてブザーを鳴らすようにしてみました。
必要なもの
- Arduino Uno(USBがMicroBのものを使用しました。)
- HC-SR04
- サーボ(SG92R)
- 7セグメントLED (TM1637)
- 圧電ブザー
- HC-06 Bluetooth Module
- プロトタイプシールド
- 2.54mmピンヘッダ(色付きが便利です)
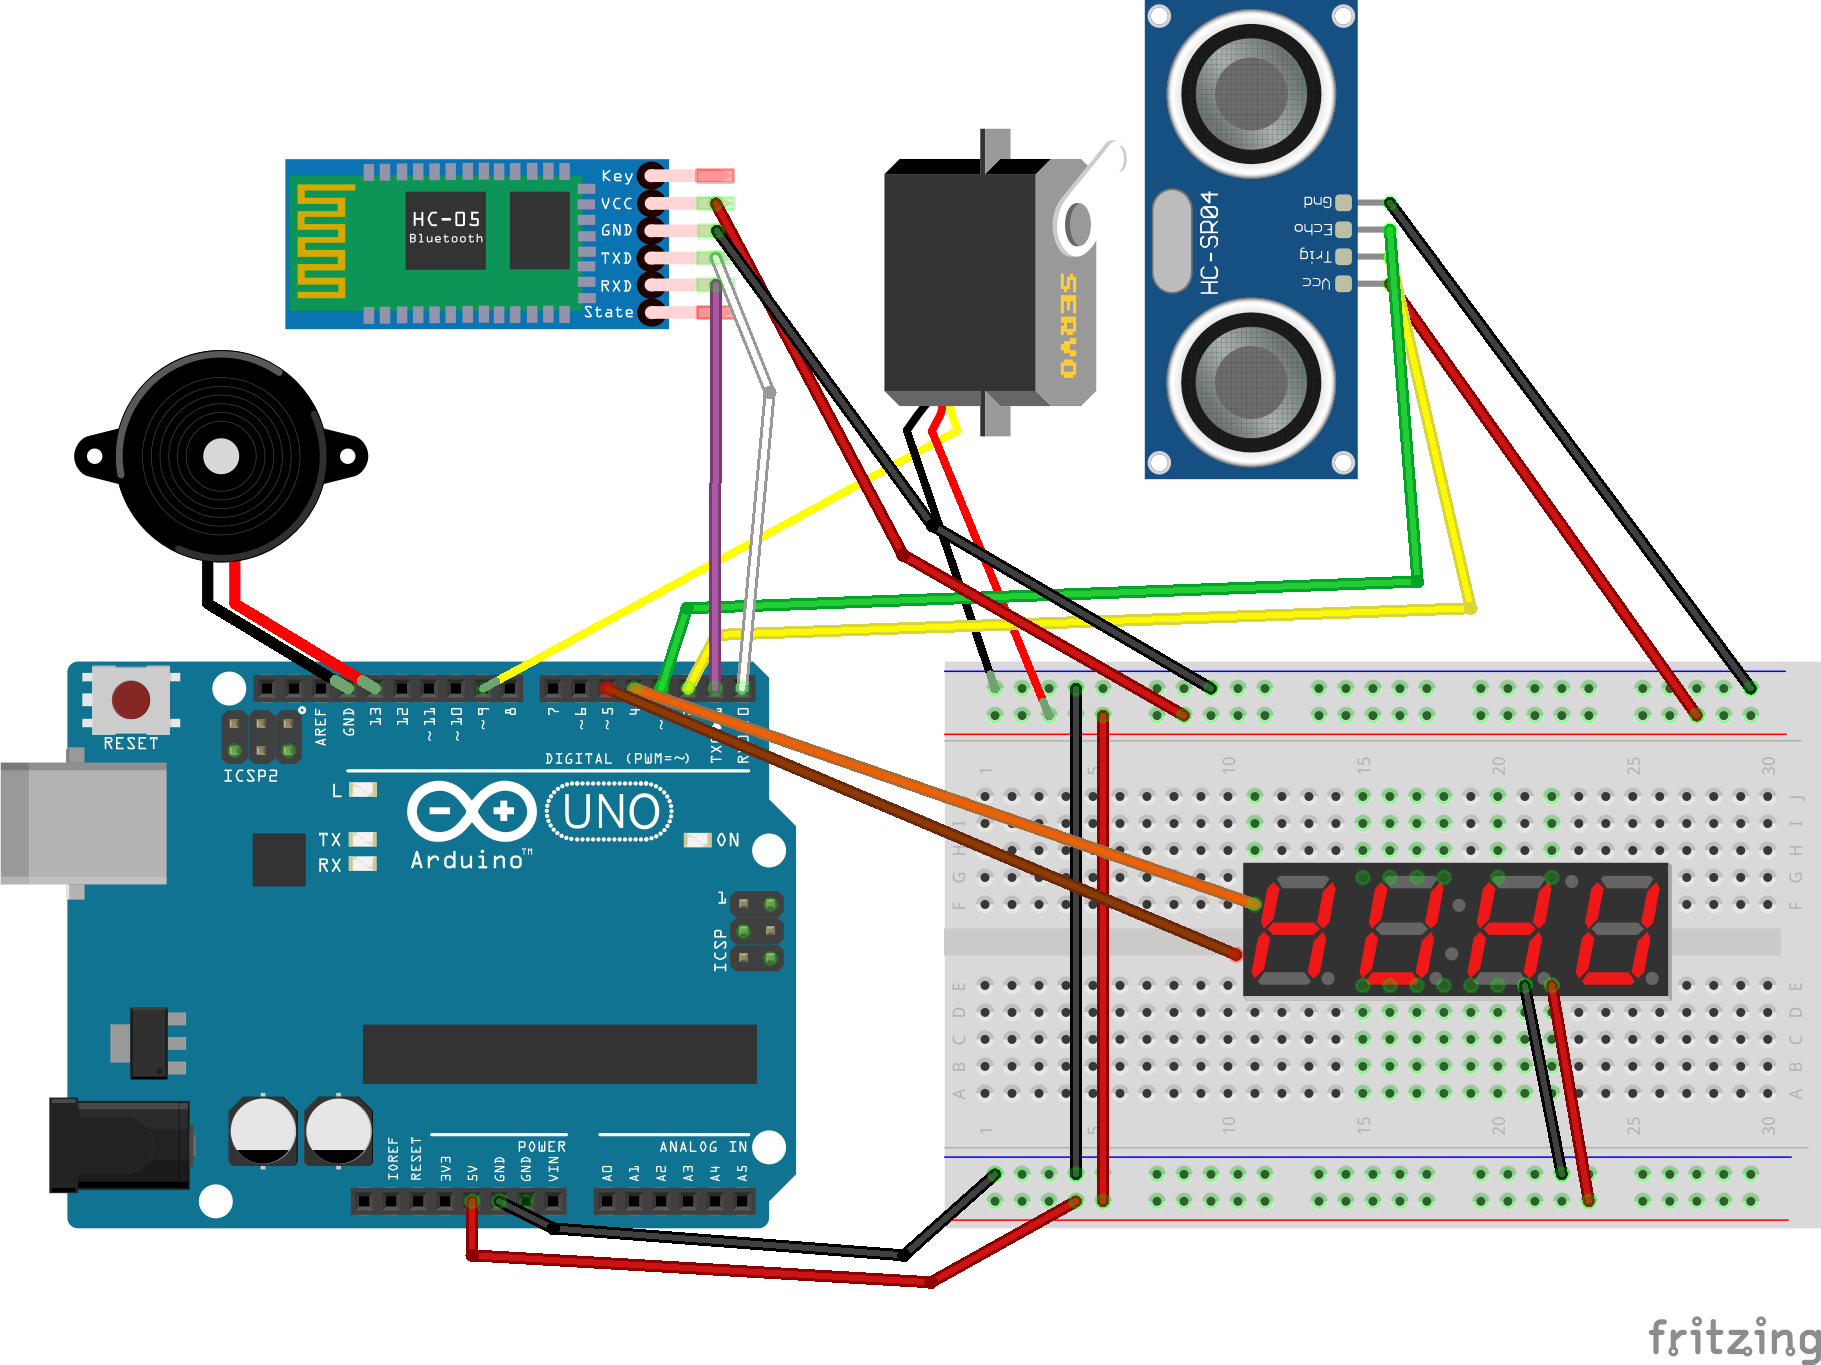
接続
ソースコード
Arduinoスケッチ
超音波センサによる距離測定、サーボの駆動、7セグLEDの表示などを行っています。
ブザーの音程を、測定した距離の引き算で変化させています。
sonar.ino
# include<Servo.h>
# include <TM1637Display.h>
const int trigPin = 2;
const int echoPin = 3;
const int buzzer = 12;
const int BEATTIME = 100;
const int CLK = 4; //Orange
const int DIO = 5; //Brown

long duration;
int distance;
Servo servo;
TM1637Display display(CLK, DIO); //set up the 4-Digit Display.

void setup()
{
  pinMode(trigPin, OUTPUT);
  pinMode(echoPin, INPUT);
  Serial.begin(9600);
  servo.attach(9);
  display.setBrightness(0x0a); //set the diplay to maximum brightness
}

void loop()
{
  for(int i=15;i<=165;i++)
  {
    servo.write(i);
    delay(250);
    distance=calculateDistance();
    if(distance > 450){
      distance = 450;
    }
    display.showNumberDec(distance); //Display the distance value;
    if(distance < 200){
      tone(buzzer,(400-distance),BEATTIME);
    }
    Serial.println(String(i) + "," + String(distance));
  }
  for(int i=165;i>15;i--)
  {
    servo.write(i);
    delay(250);
    distance=calculateDistance();
    if(distance > 450){
      distance = 450;
    }
    display.showNumberDec(distance); //Display the distance value;
    if(distance < 200){
      tone(buzzer,(400-distance),BEATTIME);
    }
    Serial.println(String(i) + "," + String(distance));
  }
}

int calculateDistance()
{
  digitalWrite(trigPin,LOW);
  delayMicroseconds(2);
  digitalWrite(trigPin,HIGH);
  delayMicroseconds(10);
  digitalWrite(trigPin,LOW);

  duration=pulseIn(echoPin,HIGH);
  distance=duration*0.034/2;
  return distance;
}
Pythonプログラム(ソナーの画面表示)
「技術雑記」に記載のソースを参考にさせていただきました。画面を半円にする、画面上の表示角度をサーボの角度に対応させる等の修正を行っています。
sonar.py
# -*- coding: utf-8 -*-
import sys
import pygame
import numpy as np
from pygame.locals import *
import serial

def main():
    (w,h) = (400,300)   # 画面サイズ
    hight = 200
    deg = 0             # 初期角度
    x = [0]*700          # 障害物のx座標
    y = [0]*700         # 障害物のy座標
    pygame.init()       # pygame初期化
    pygame.display.set_mode((w, h), 0, 32)  # 画面設定
    pygame.display.set_caption("Python Sonar Type22")
    screen = pygame.display.get_surface()
    ser = serial.Serial('/dev/rfcomm4',9600,timeout=0.1)
    font1 = pygame.font.SysFont(None, 20)
    text1 = font1.render("Python Sonar type21", True, (255,0,0))
    text2 = font1.render('', True, (255,0,0))
    text3 = font1.render('', True, (255,0,0))
    msg1=''
    msg2=''
    old_deg = 0
    while (1):
        data = ser.readline()
        data = data.decode('utf-8')
        data = data.replace('\n','')
        try:
            (deg, L) = data.split(",")
            (deg, L) = (358-int(deg), int(L)) #センサーの角度のズレにあわせて調整
            angle = 358 - deg
            msg1 = "Angle = " + str(angle) +'°'
            msg2 = 'Distance = ' + str(L) + 'cm'
            print(msg1 + '  ' + msg2)
            old_deg = deg
        except ValueError:
            (deg, L) = (old_deg, 500)

        # レーダービームの軌跡描画
        for i in range(1, 45):
            dx = w/2 * np.cos(np.radians(deg-i)) + w/2
            dy = (hight) * np.sin(np.radians(deg-i)) + (hight+30)
            pygame.draw.aaline(screen, (0, 235/i+20, 0), (w/2, (hight+30)), (dx, dy),0)
        # レーダー画面の目盛描画
        pygame.draw.circle(screen, (0, 200, 0), (int(w/2), int(hight+30)), int(w/2), 1)
        pygame.draw.circle(screen, (0, 200, 0), (int(w/2), int(hight+30)), int(w/4), 1)
        pygame.draw.line(screen, (0, 200, 0), (int(w/2), 30), (int(w/2), int(hight+30)))
        screen.fill((0,20,0), (0,230,400,100))
        pygame.draw.line(screen, (0, 200, 0), (0, int(hight+30)), (w, int(hight+30)))
        text2 = font1.render(str(msg1), True, (255,0,0))
        text3 = font1.render(str(msg2), True, (255,0,0))
        # 障害物の描画
        x0 = int(L*np.cos(np.radians(deg))) + w/2
        y0 = int(L*np.sin(np.radians(deg))) + (hight+30)
        x.pop(699)
        y.pop(699)
        x.insert(0,x0)
        y.insert(0,y0)
        for i in range(1, len(x)):
            pygame.draw.circle(screen, (0, 255, 0), (int(x[i]), int(y[i])), 3)
        screen.blit(text2, (20,260))
        screen.blit(text3, (110,260))
        pygame.display.update()         # 画面更新
        screen.fill((0, 20, 0, 0))      # 画面の背景色

        # イベント
        for event in pygame.event.get():
            if event.type == QUIT:      # 閉じるボタンが押されたら終了
                pygame.quit()           # Pygameの終了(画面閉じられる)
                sys.exit()

if __name__ == "__main__":
        main()
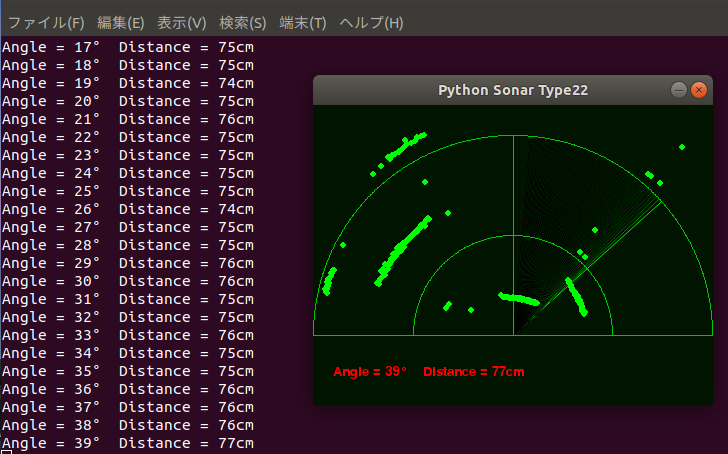
スクリーンショット
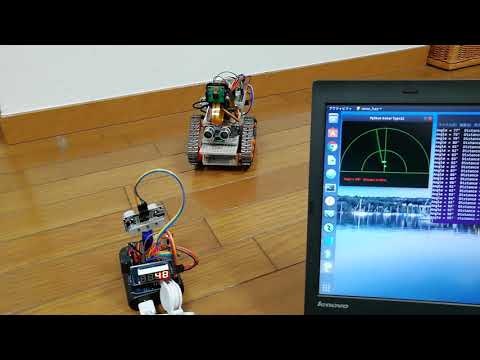
動作デモ
感想
- 三角関数がわかっていなかったので、この本で勉強しました。。。
- Bluetoothモジュールを使うと、プログラムの修正なしで無線接続できるのが楽です。
- 精度向上のために温度センサーを追加の予定です。
- 当初はブレッドボード上に組んでいましたが、プロトタイプシールドを使用することでコンパクトにできました。


