はじめに
Complication を SwiftUI で作れるようになったと聞いて,
WWDC のころは一人で歓喜していたのだが,結局触らずじまい😩
どうしたら SwiftUI 使って Complication 設定できるんだーと
少し困ったので調べてサンプル実装してみました。
Watch 周りの情報本当に少ない・・・
Complications とは
Apple Watch 持っている方はご存知の通り,
タイムリーな情報が Watch Face に表示され,Watch を見るだけで幸せになるものです。
純正では,Activity や 天気情報,バッテリ残量など色々ありますね。
すでに watchOS 7,Series 6 が出ていることもあり,かなり種類も増えてきました。
どんな種類があるかなどは過去に記事書いてるのでご覧ください。
といいつつ古くなってるし Human Interface Guideline(以下 HIG)や
公式の情報を確認した方が良いかもです。
Apple Watch Series 4 の新しい Complication Families の実装を試してみる
https://qiita.com/MilanistaDev/items/6a09bb787d9eee509c0d
Complications を SwiftUI 使う方法
色々(無駄に)調べた結果,
ComplicationController に SwiftUI を import するだけでした💡
CLKTextProvider や CLKGaugeProvider を
それぞれの Template に設定して表示するのですが,
いくつかの Template で SwiftUI の単一の View だけを使えるものがあります。
- CLKComplicationTemplateGraphicCornerCircularView
- CLKComplicationTemplateGraphicCircularView
- CLKComplicationTemplateGraphicRectangularFullView
- CLKComplicationTemplateGraphicExtraLargeCircularView
今回は CLKComplicationTemplateGraphicRectangularFullView を使ってみたいと思います。
CLKTextProvider や CLKGaugeProvider,Template については,
Xcode から CLKComplicationTemplate.h や HIG の Complications の項目をご覧ください。
https://developer.apple.com/design/human-interface-guidelines/watchos/overview/complications/
今回やること
今回は,GraphicRectangular 部分を
SwiftUI で View を作って表示させてみます。
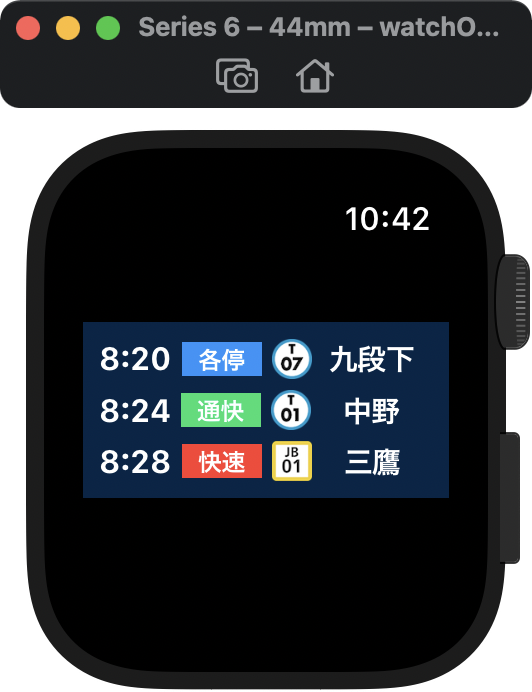
題材は,東京メトロ東西線の行き先表示器 風にしました。
データの更新は今回は扱いません。(運行はフィクション,妄想です)
朝の 8時台に九段下ゆきの運行が平日一本あるのは事実です(レア)。

今回のコードは,Github に Push したので気になる方はご覧ください。
https://github.com/MilanistaDev/WatchComplicationsForSwiftUI
実装環境
- Xcode 12.2
- watchOS 7.0 and later
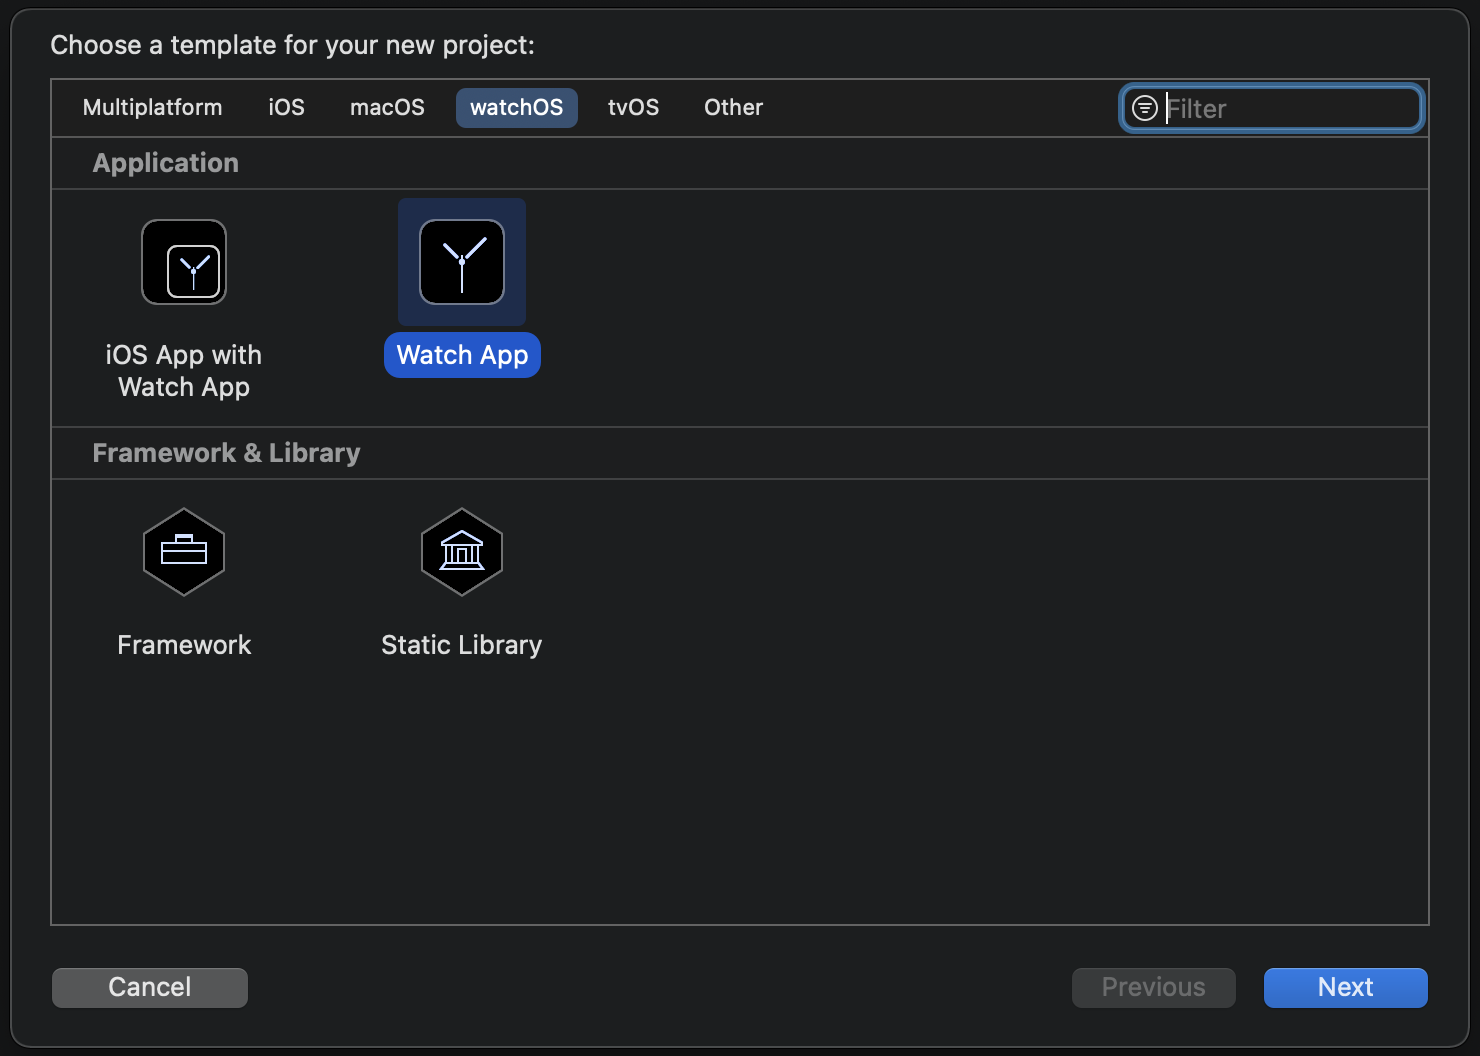
iOS アプリは不要のため,Watch App 単体にしています。
実装
Complication に表示させる View の実装
Watch App のファーストビューを SwiftUI で実装し,
その画面を Complication にも表示させてみます。
コードについては VStack と HStack を使っていくだけなので説明は省略します。
コード
import SwiftUI

struct ContentView: View {
    var body: some View {
        VStack {
            ForEach(0..<sampleData.count) { index in
                TimeTableView(operationSchedule: sampleData[index])
            }
        }
        .padding()
        .background(Color.noticeBg)
    }
}

struct TimeTableView: View {

    let operationSchedule: OperationSchedule!

    var body: some View {
        HStack {
            Text(operationSchedule.arrivalTime)
                .font(.subheadline)
                .bold()
            Text(operationSchedule.trainType.kind.name)
                .font(.footnote)
                .bold()
                .frame(width: 40.0)
                .foregroundColor(.white)
                .background(operationSchedule.trainType.kind.color)
            Image(operationSchedule.finalStaIcon)
                .resizable()
                .frame(width: 20.0, height: 20.0)
            Spacer()
            Text(operationSchedule.finalStaName)
                .font(.subheadline)
                .bold()
            Spacer()
        }
    }
}

struct OperationSchedule {
    var arrivalTime: String
    var trainType: TrainType
    var finalStaIcon: String
    var finalStaName: String
}

enum TrainType {
    case rapid
    case rapidCommuting    // 通勤快速
    case local             // 各駅停車

    struct Kind {
        var name: String
        var color: Color
    }

    var kind: Kind {
        switch self {
        case .rapid:
            return Kind(name: "快速", color: .red)
        case .rapidCommuting:
            return Kind(name: "通快", color: .green)
        case .local:
            return Kind(name: "各停", color: .blue)
        }
    }
}

let sampleData: [OperationSchedule] = [
    OperationSchedule(arrivalTime: "8:20", trainType: .local,
                      finalStaIcon: "T07", finalStaName: "九段下"),
    OperationSchedule(arrivalTime: "8:24", trainType: .rapidCommuting,
                      finalStaIcon: "T01", finalStaName: "中野"),
    OperationSchedule(arrivalTime: "8:28", trainType: .rapid,
                      finalStaIcon: "JB01", finalStaName: "三鷹")
]

extension Color {
    static let noticeBg = Color(UIColor(named: "noticeBg")!)
}
Complication 表示に向けての実装
Xcode 12 で新規に Watch App のプロジェクトを作ると,すでに
ComplicationController.swift があるのでこのクラスで設定を行います。
既存のアプリで設定をする場合は,CLKComplicationDataSource に
準拠させたクラスを作ることになります。
今回は,CLKComplicationTemplateGraphicRectangularFullView を使ってみたいので Complication の Family の GraphicRectangular を使えるようにします。
初期値は全ての Family が設定されている(enum の allCases)ので書き換えます。
func getComplicationDescriptors(handler: @escaping ([CLKComplicationDescriptor]) -> Void) {
    let descriptors = [
        CLKComplicationDescriptor(identifier: "complication", displayName: "WatchComplicationsForSwiftUI", supportedFamilies: [CLKComplicationFamily.graphicRectangular])
        // Multiple complication support can be added here with more descriptors
    ]
    // Call the handler with the currently supported complication descriptors
    handler(descriptors)
}
次に,Complication 表示のために getCurrentTimelineEntry 関数部分に
CLKComplicationTimelineEntry の設定をします。
date は表示する時間,complicationTemplate は表示させるテンプレートです。
func getCurrentTimelineEntry(for complication: CLKComplication, withHandler handler: @escaping (CLKComplicationTimelineEntry?) -> Void) {
    // Call the handler with the current timeline entry
    if let template = getComplicationTemplate(for: complication, using: Date()) {
        let entry = CLKComplicationTimelineEntry(date: Date(), complicationTemplate: template)
        handler(entry)
    } else {
        handler(nil)
    }
}
テンプレートの作成は別関数で行うことが多いので関数を分けています。
SwiftUI を import することで CLKComplicationTemplateGraphicRectangularFullView を使えるようになります。
これだけでなく,SwiftUI が利用可能な Template は全て使えるようになります。
import ClockKit
import SwiftUI // 追加

// 省略

func getComplicationTemplate(for complication: CLKComplication, using date: Date) -> CLKComplicationTemplate? {
    switch complication.family {
    case .graphicRectangular:
        return CLKComplicationTemplateGraphicRectangularFullView(ContentView())
    default:
        return nil
    }
}
これで表示させる準備が整いました。
Apple Watch 本体で Complication を設定
プロジェクトを Run してアプリを一旦起動して,
Watch Face 画面に戻ります。
画面をロングタップして GraphicRectangularFullView が利用可能な
Infograph Modular や Modular Compact の Face にします。
| Infograph Modular | Modular Compact |
|---|---|
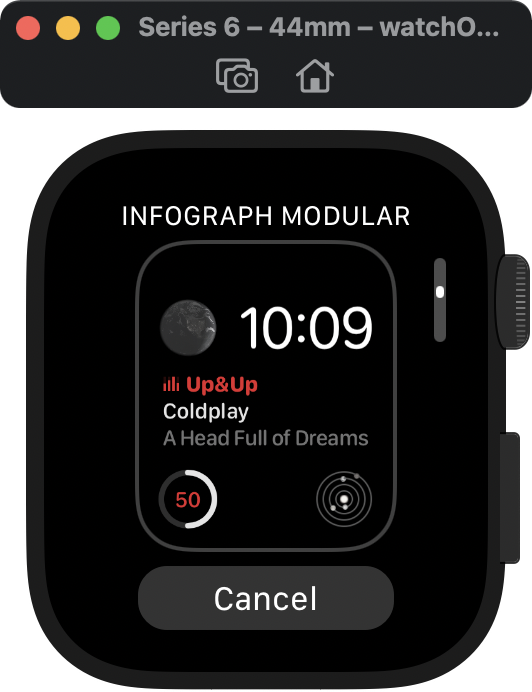 |
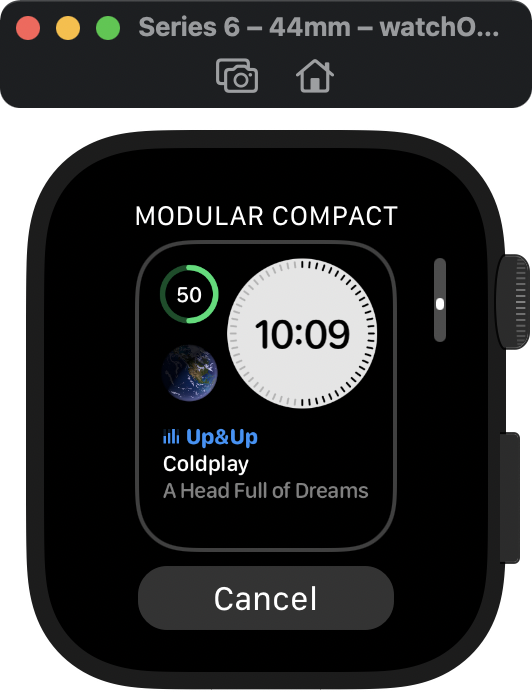 |
Complication を設定する画面から選択します。
| 左右にスワイプ | 選択してセット |
|---|---|
 |
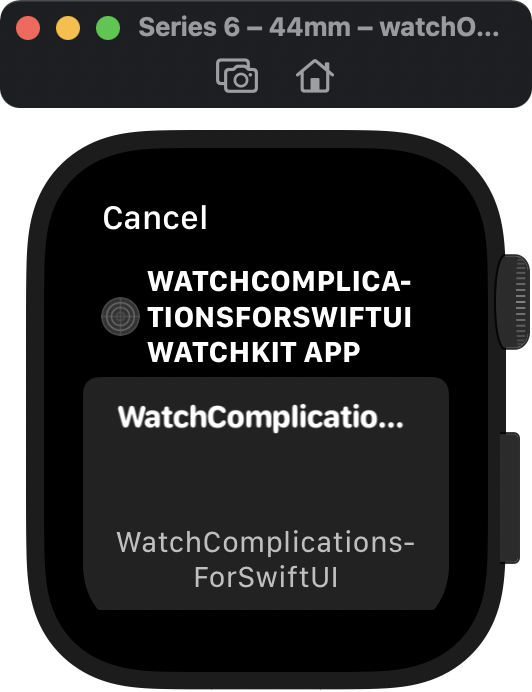 |
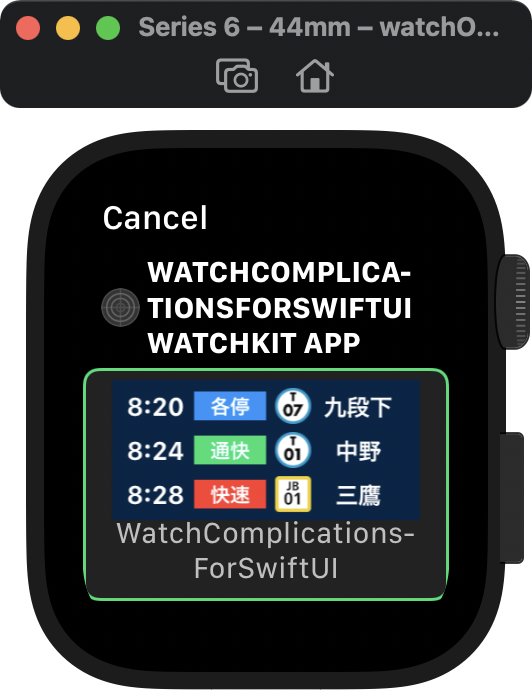
ComplicationController の getLocalizableSampleTemplate 関数で
Template を設定することで選択時にサンプルが見えるようになります。
実際にアプリをリリースした際はぜひ実装しておきたい部分です。
func getLocalizableSampleTemplate(for complication: CLKComplication, withHandler handler: @escaping (CLKComplicationTemplate?) -> Void) {
    // This method will be called once per supported complication, and the results will be cached
    let template = getComplicationTemplate(for: complication, using: Date())
    handler(template)
}
実装すると,選択時にサンプルビューが表示されています。
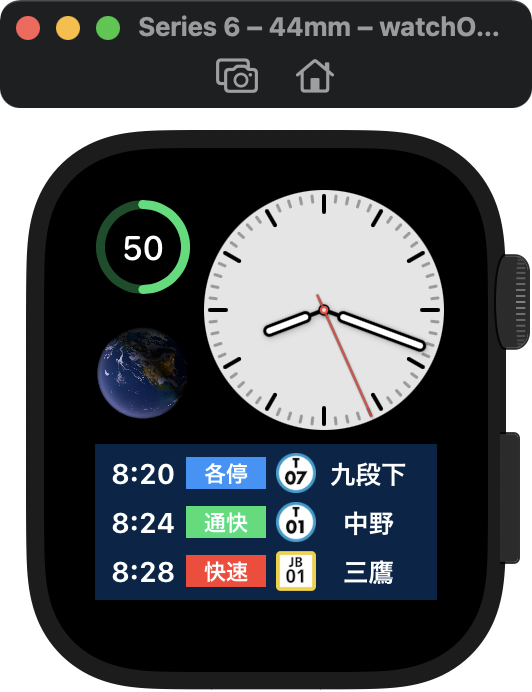
設定後に Watch Face に戻ってくると・・・
表示されました🎉
Complication のプレビュー
SwiftUI で View を実装する際にすごく役立つのが,
Canvas にプレビューされる機能です。
Complication もどう表示されるか確認したいのですが・・・
できます👍
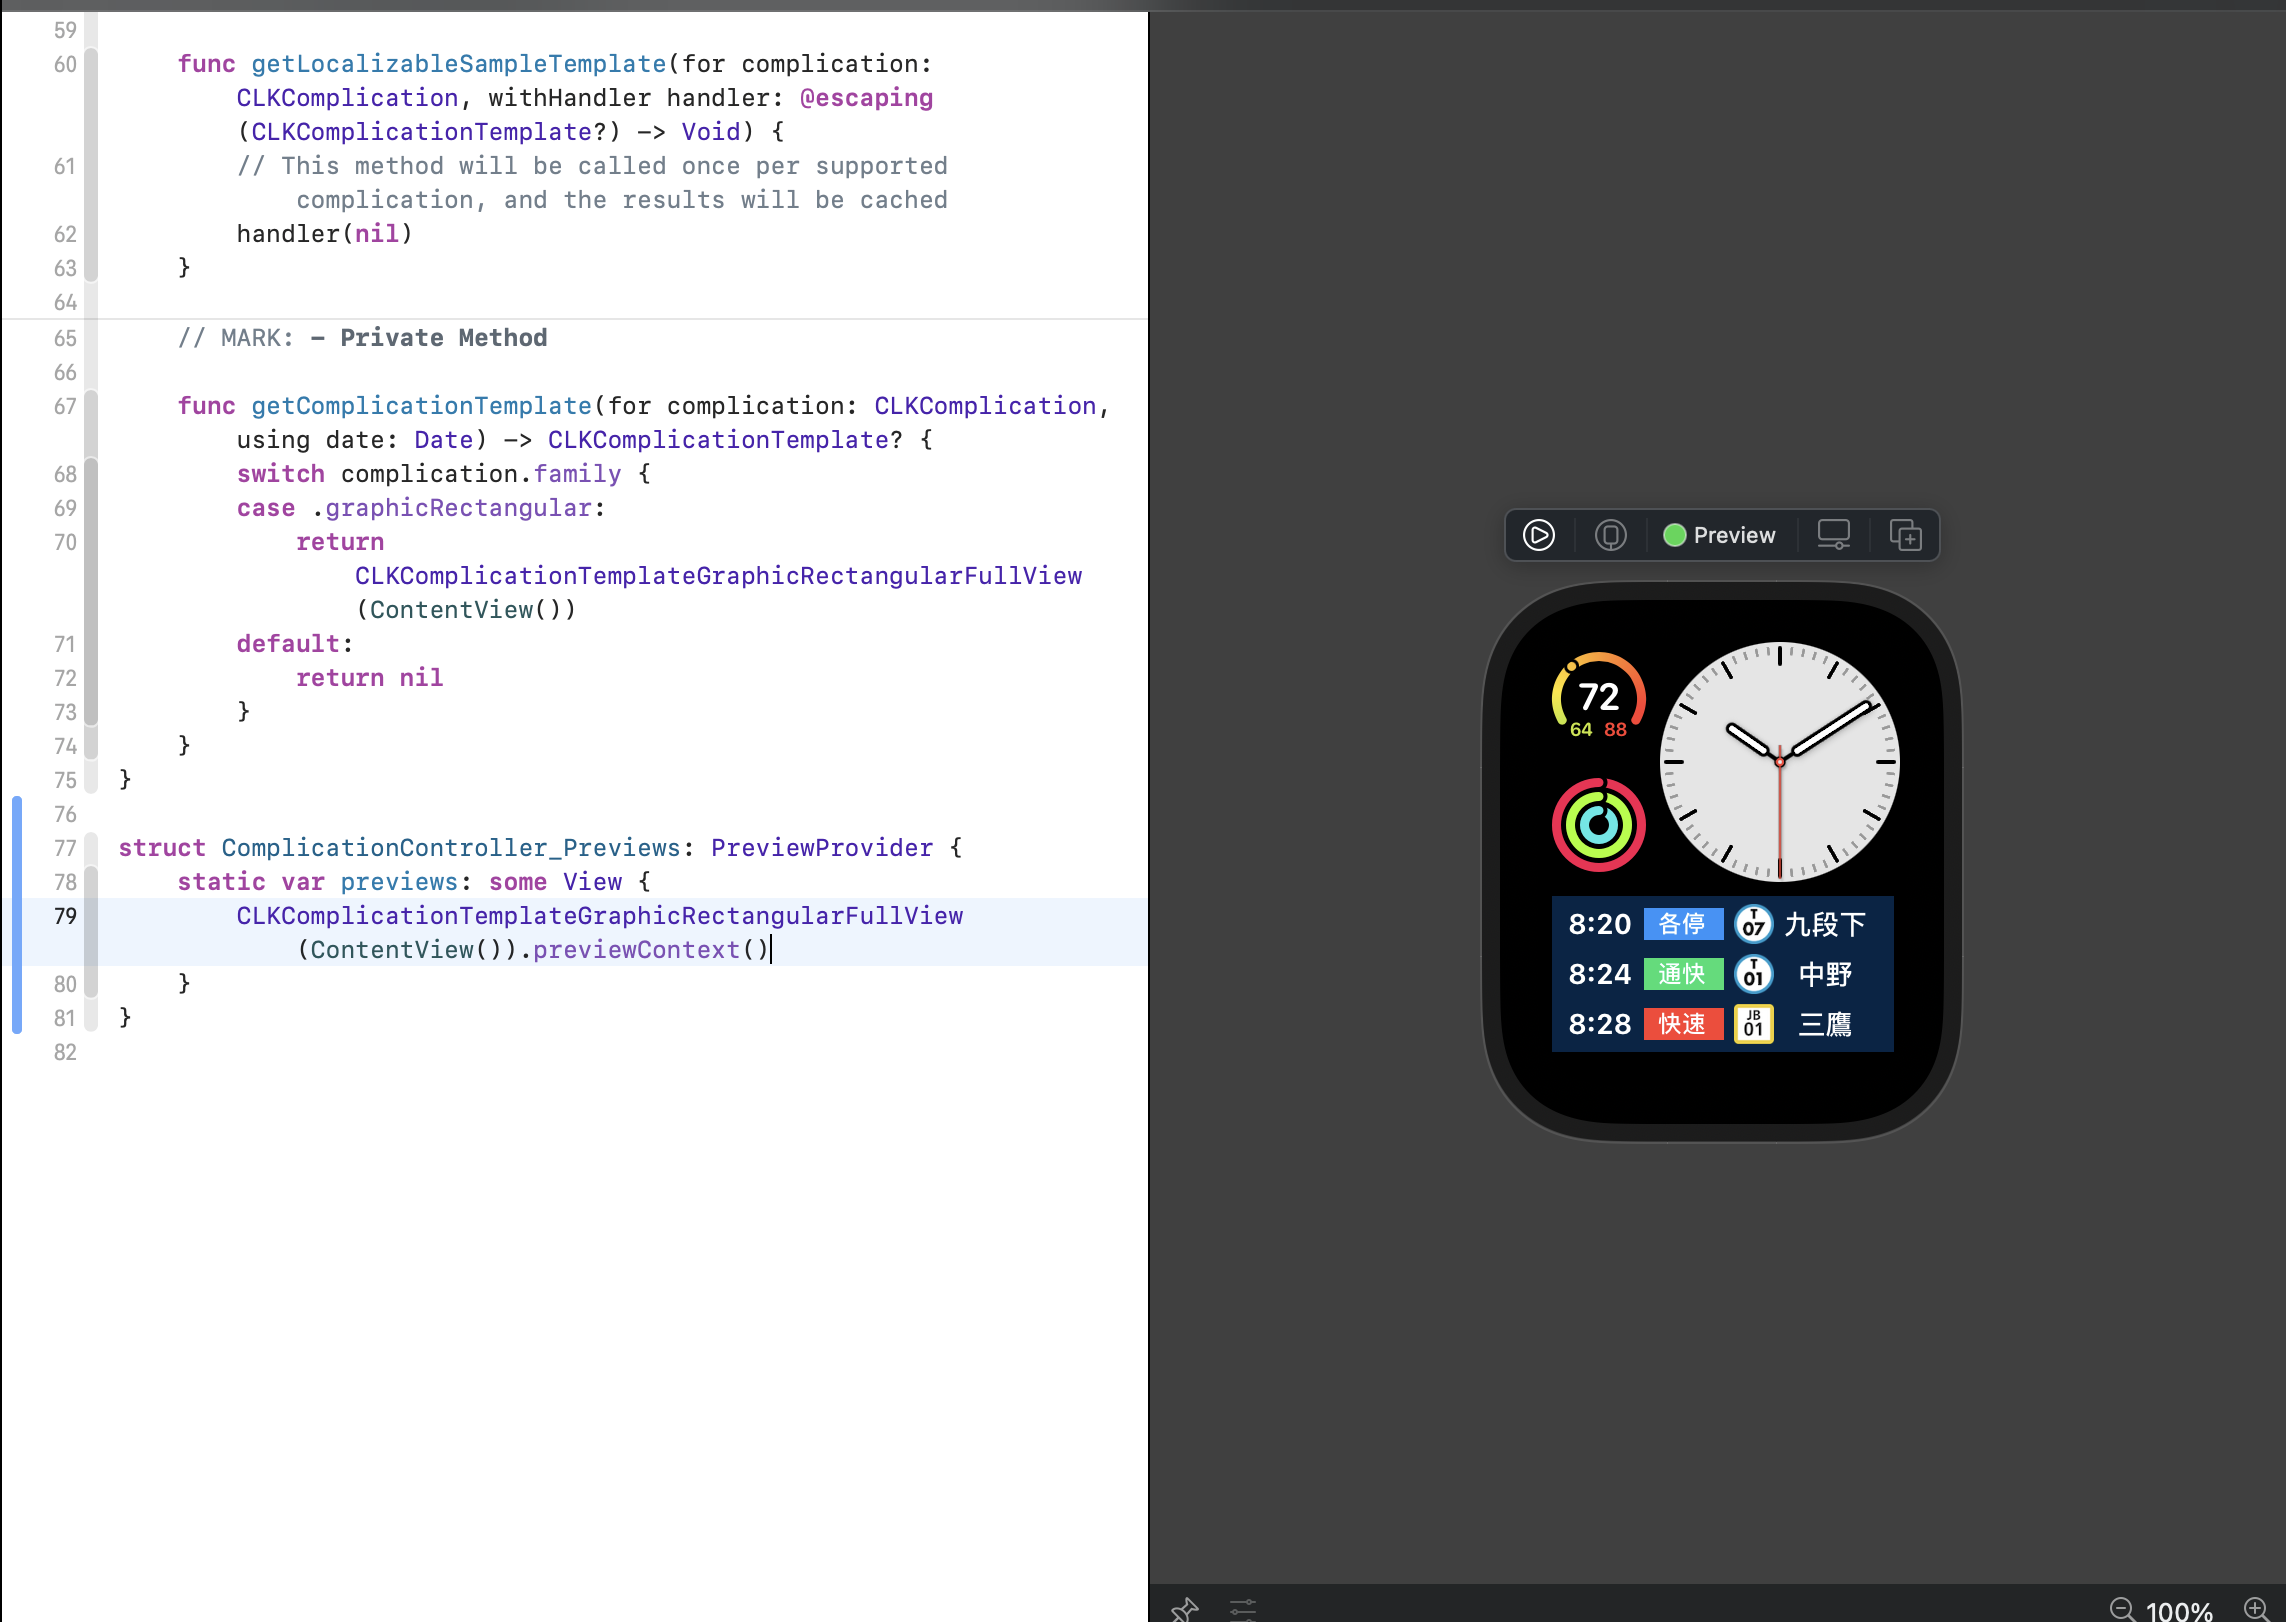
例えば,ComplicationController.swift のファイルの最後に
PreviewProvider を追加し下記のように実装します。
struct ComplicationController_Previews: PreviewProvider {
    static var previews: some View {
        CLKComplicationTemplateGraphicRectangularFullView(ContentView()).previewContext()
    }
}
previewContext() に引数を取らない場合は,
デフォルトでフルカラーの Watch Face になります。
全部の Watch Face tinting のプレビューを確認する場合は下記のようにします。
struct ComplicationController_Previews: PreviewProvider {
    static var previews: some View {
        ForEach(CLKComplicationTemplate.PreviewFaceColor.allColors) { color in
            CLKComplicationTemplateGraphicRectangularFullView(ContentView()).previewContext(faceColor: color)
        }
    }
}
下記のように,設定可能なカラーのプレビューが一気に確認できます。

SafeArea を無視する
Complication の領域は,
40mm の Apple Watch の場合は 162 × 69pt,
44mm の Apple Watch の場合は 184 × 78pt になりますが,
SafeArea を無視することもできます。
お馴染みの edgesIgnoringSafeArea(_:) を使います。
今回の View だと問題なかったですが,見切れたりする場合に設定します。
注意点
SwiftUI で View を実装できるからといって,
tapGesture や Button などを使ったアクションは使えないです。
Complication のタップはあくまでも Watch App の起動になるためです。
また,アニメーションなども使えないです。
Future Work
Gauge や Progress View なども重要な要素ですし,扱ってみたいですね。
また今回はあまり触れなかったのですが,
Watch Face Tinting(Watch Face の色) を考慮した,
Complication の設計についても一度やってみたいです。
セッション動画の最後にベストプラクティスの項目があるのですが,
今回紹介できずでした。しっかり確認したいと思います。
おわりに
今回は,SwiftUI 使って Watch Complication を実装してみました。
パズルのようにレイアウトを組んでいた画面も SwiftUI のおかげで改善され,
watchOS 7 からは Complication も SwiftUI で自由に実装できる
Template が登場しました。これからも楽しみなガジェットには違いないですね!
今年はコロナ禍もあり,公私共に積極的に活動できなかったです。
もっと目標を明確にして活動していこうと思います。
ご覧いただきありがとうございました。
良いお年をお迎えください🎍
参考
Building Complications with SwiftUI
https://developer.apple.com/documentation/clockkit/building_complications_with_swiftui
Build complications in SwiftUI (WWDC20セッション動画)
https://developer.apple.com/videos/play/wwdc2020/10048/