djoserとは
djoserとはDjango REST Framework上での基本的なユーザー認証や登録などの認証周りをサポートしてくれるライブラリです。
カスタムモデルに対しても使え、Djangoのコードを再利用するような形をとるのではなく、Single Page Application(以下SPA)によりフィットするようなアーキテクチャを目指して作られています。
よりシンプルな認証の設定はこちらで解説しています。
今回はdjoserでJWT(JSON Web Token)を使っての認証機能の実装について書きます。
ソースコードはこちら
また、以下の全てが導入後にエンドポイントとして使えます。
/users/
/users/me/
/users/confirm/
/users/resend_activation/
/users/set_password/
/users/reset_password/
/users/reset_password_confirm/
/users/set_username/
/users/reset_username/
/users/reset_username_confirm/
/token/login/ (Token Based Authentication)
/token/logout/ (Token Based Authentication)
/jwt/create/ (JSON Web Token Authentication)
/jwt/refresh/ (JSON Web Token Authentication)
/jwt/verify/ (JSON Web Token Authentication)
Getting started
使い方
まずはインストールから。
$ pip install -U djoser
JWT認証を使うので、simple_jwtも合わせて使う必要があります。
$ pip install -U djangorestframework_simplejwt
まずはプロジェクトを作り、
$ django-admin startproject djoser_authentication
プロジェクト内に移動します。
$ cd djoser_authentication
Djangoの設定を行なっていきます。
from datetime import timedelta # add

   .........

INSTALLED_APPS = [
    'django.contrib.admin',
    'django.contrib.auth',
    'django.contrib.contenttypes',
    'django.contrib.sessions',
    'django.contrib.messages',
    'django.contrib.staticfiles',
    'rest_framework', # add
    'djoser' # add

]

# add
SIMPLE_JWT = {
    #トークンをJWTに設定
    'AUTH_HEADER_TYPES':('JWT'),
    #トークンの持続時間の設定
    'ACCESS_TOKEN_LIFETIME': timedelta(minutes=60)
}

# add
REST_FRAMEWORK = {
    'DEFAULT_AUTHENTICATION_CLASSES': (
        'rest_framework_simplejwt.authentication.JWTAuthentication',
    ),
}
from django.contrib import admin
from django.urls import path,include #add

urlpatterns = [
    path('admin/', admin.site.urls),
    path('api/auth/',include('djoser.urls')), #add
    path('api/auth/',include('djoser.urls.jwt')), #add
]
これだけです。
この後にマイグレーションし、Adminユーザーを作ってローカルで起動します。
$ python manage.py migrations
$ python manage.py createsuperuser
Username: Admin
Email address: xxx@email.com
Password:***********
$ python manage.py runserver
そしてブラウザで
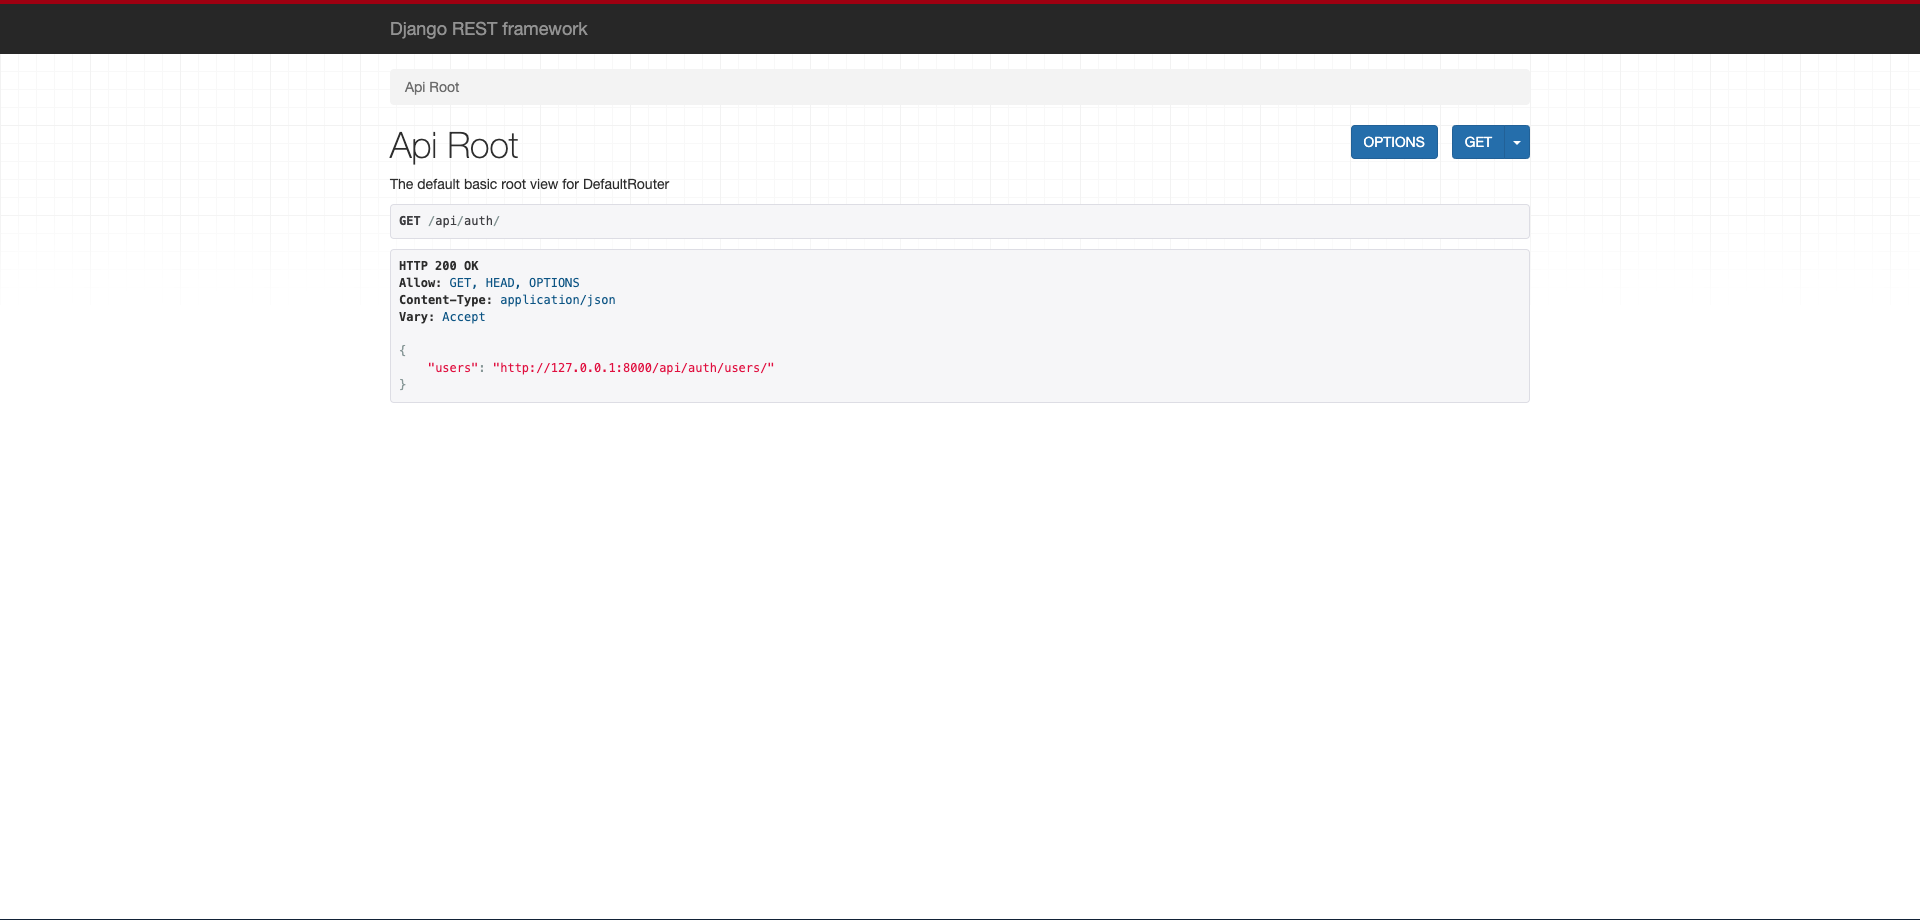
http://localhost:8000/api/auth/
にアクセスすると・・・
いつものDjango REST Frameworkの画面ですね。
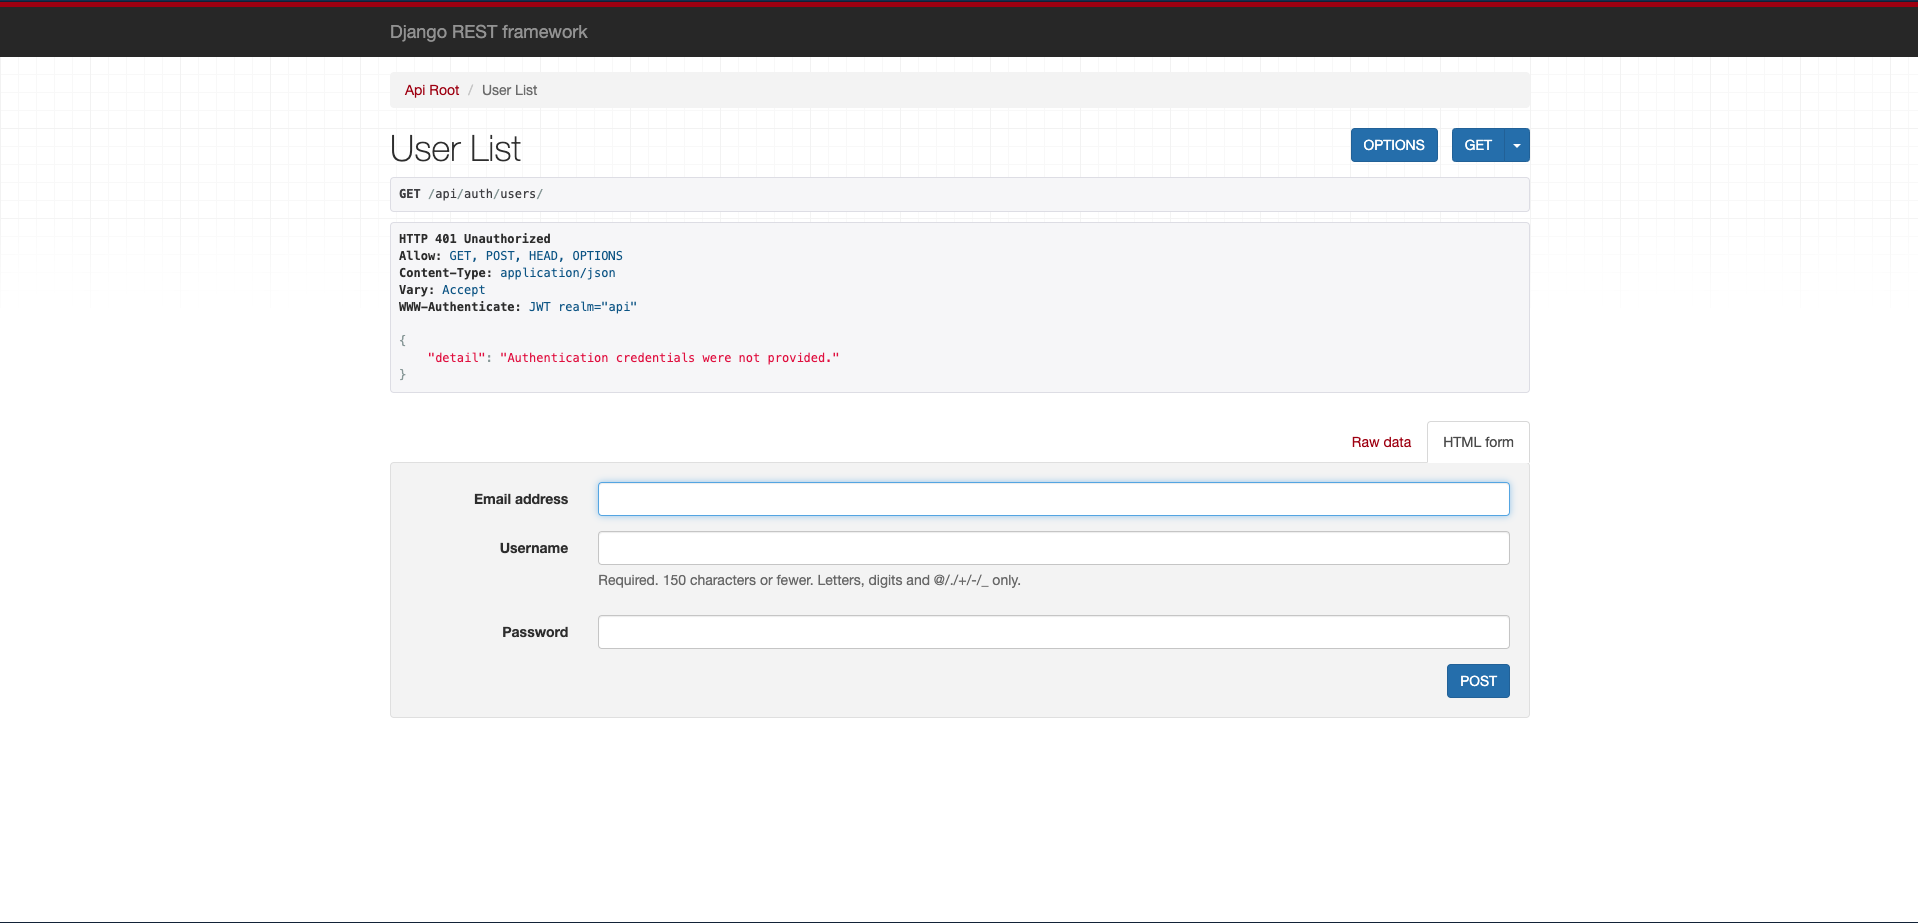
前回ならばこの後Usersにアクセスした時にユーザー情報の一覧が返ってきていましたが、今回はどうなっているでしょうか?
"detail": "Authentication credentials were not provided.
と表示されていますね。これは認証の資格が与えられていないから見せられないよ!!ということです。
さて、ではどうしたらユーザー情報を取得できるでしょうか?
それには認証のためのトークンを取得しなければなりません。
なのでトークンを手に入れるために
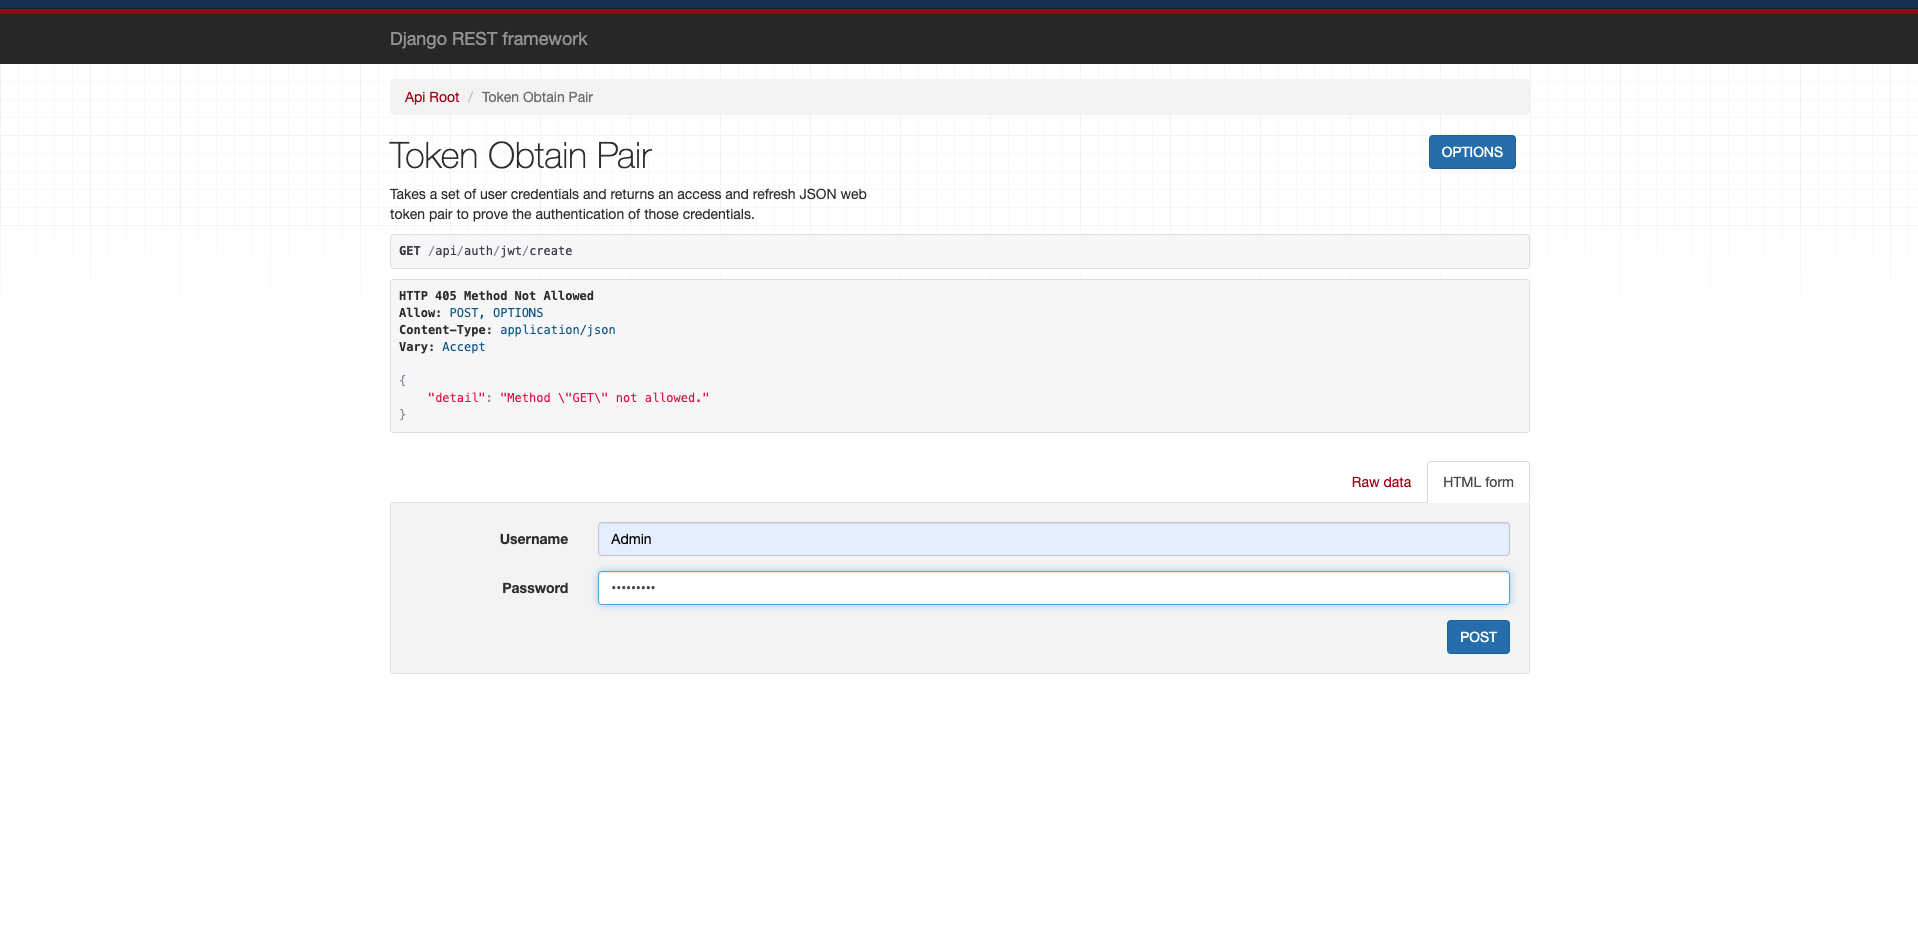
http://localhost:8000/api/auth/jwt/create
にアクセスします。
すると以上のような画面が出るので先ほど登録したUsernameとパスワードを入力します。
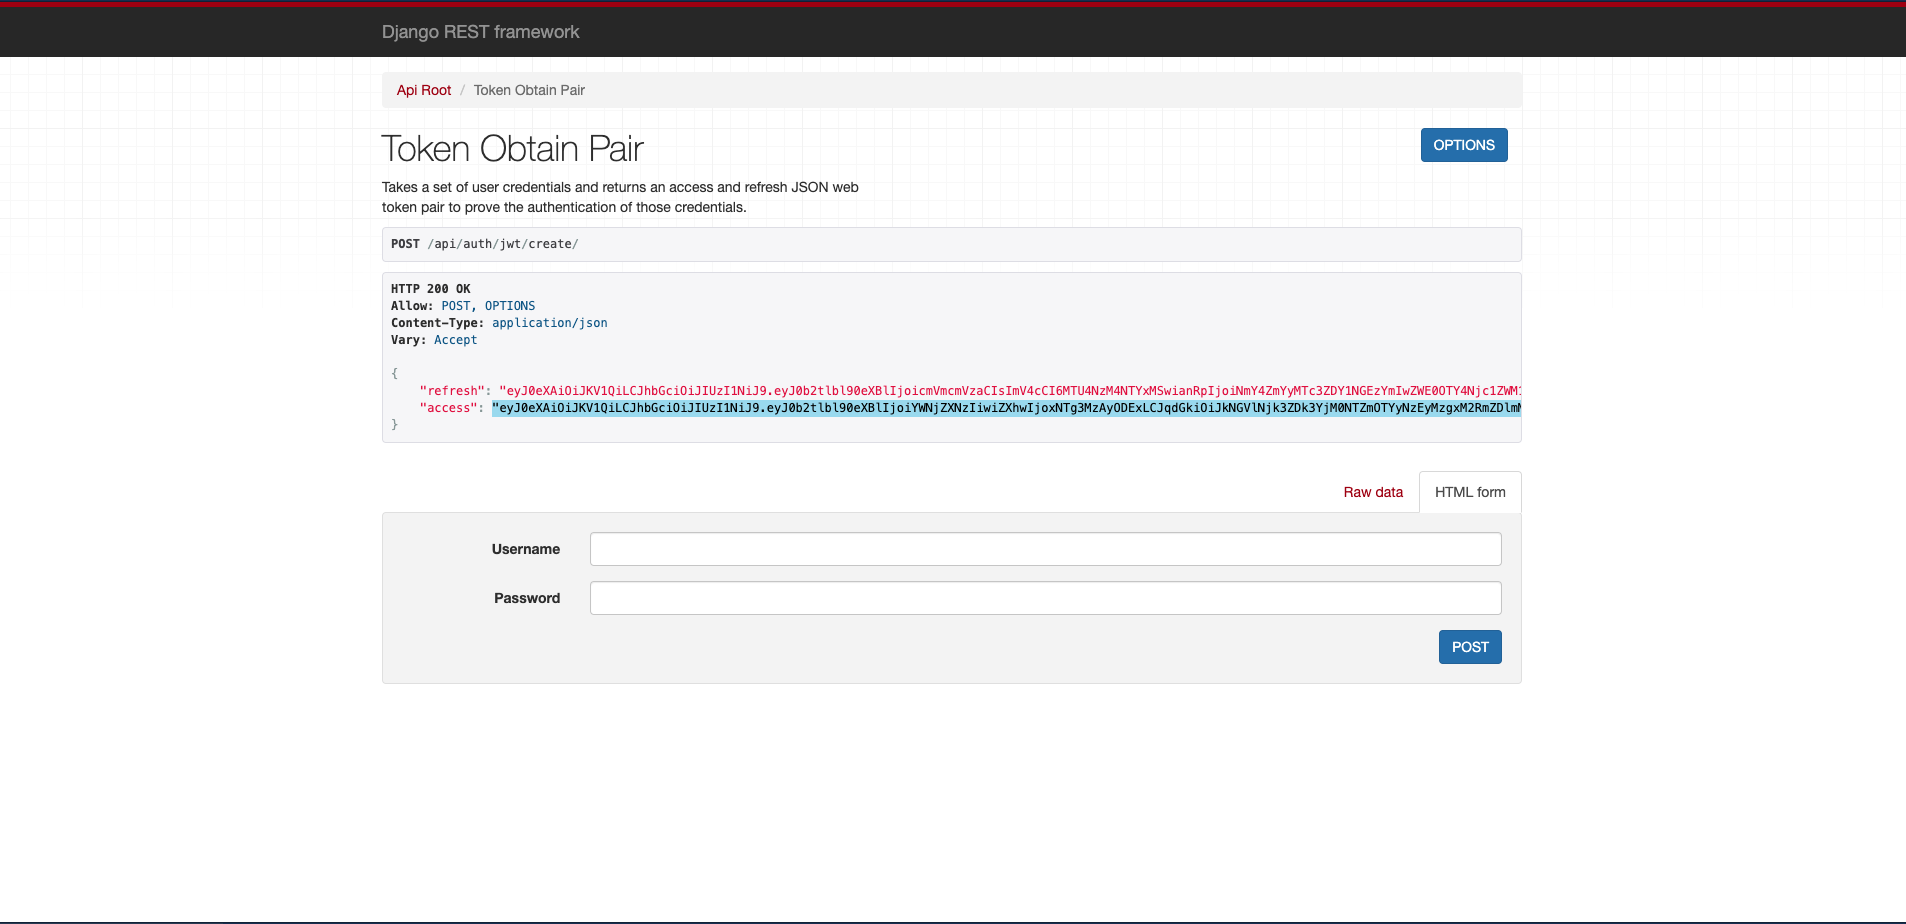
すると、
以上のようなrefrashとaccessの欄に分けられたトークンが表示されます。
これを使ってターミナル上でユーザー情報を取得してみましょう。
ターミナルでは以下のコマンドを実行してください。
curl -LX GET http://127.0.0.1:8000/api/auth/users/me/ -H 'Authorization: JWT xxxxxxxxxxxxxxxxxxxxxxxxxxxxxxxxxxxxx'
(xxxxにはトークンを入力)
すると、
{"email":"xxx@email.com","id":1,"username":"Admin"}
先ほど登録したユーザー情報が返ってきました!
この他にも様々な機能がdjoserには存在するので是非使ってみてください!


