■はじめに
今回はトースト通知を使ってみます。
画面隅に最前面でポップアップ表示され、しばらく時間がたつと自動で消えます。
.NET Frameworkと.NET Coreで、ボタンを押したらトースト通知するサンプルプログラムを作った後、.NET Coreでアラームアプリを作ります。
設定した時刻が来たらトースト通知でお知らせしてくれます。
[注意]
これまでの回で説明済みの操作方法等は、説明を省略したり簡略化している場合があります。
■開発環境
- Windows 10
- Visual Studio Community 2019 (Version 16.4.5)
- .NET Framework 4.5.2 / .NET Core 3.1
■サンプルを作ってみる
◇.NET Framework版サンプル
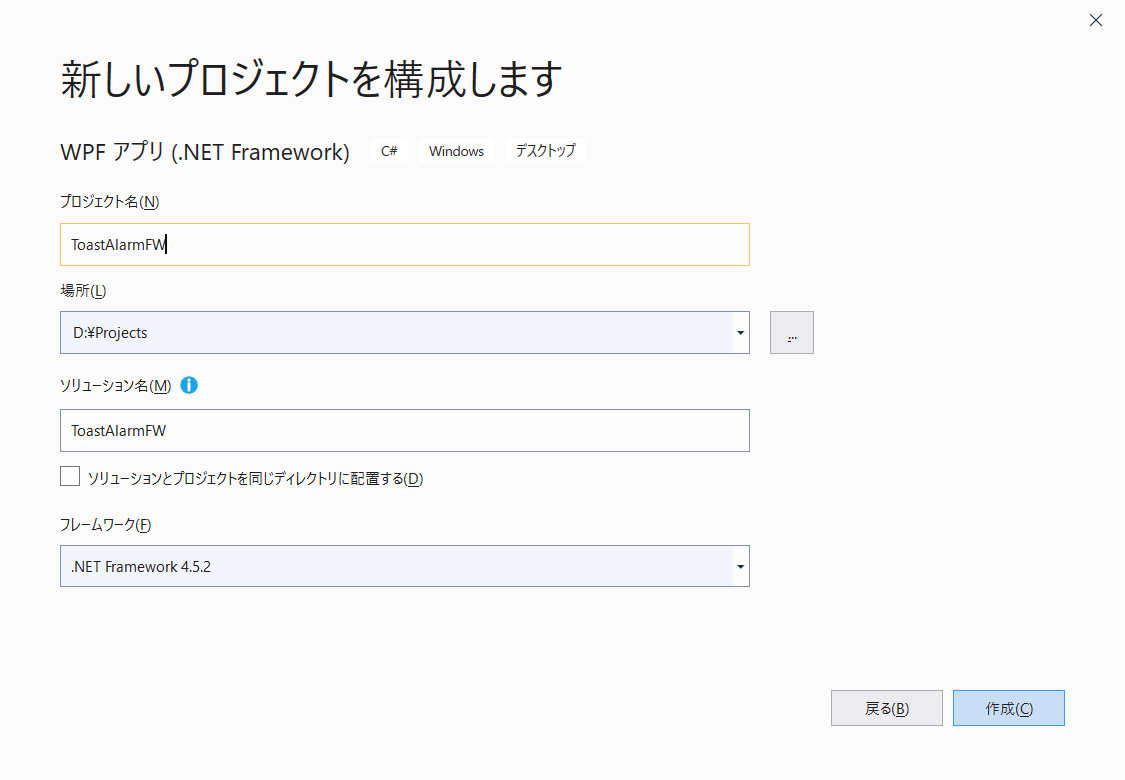
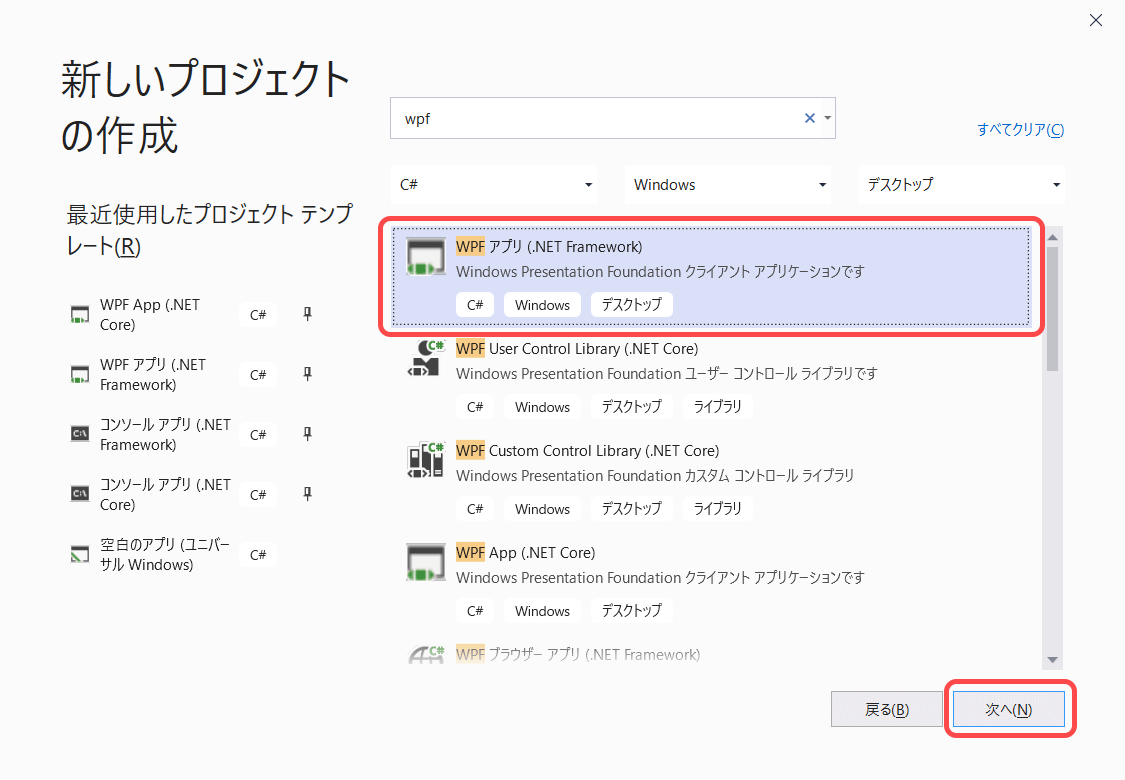
新しいプロジェクトでWPFアプリ(.NET Framework)(C#)を選択します。
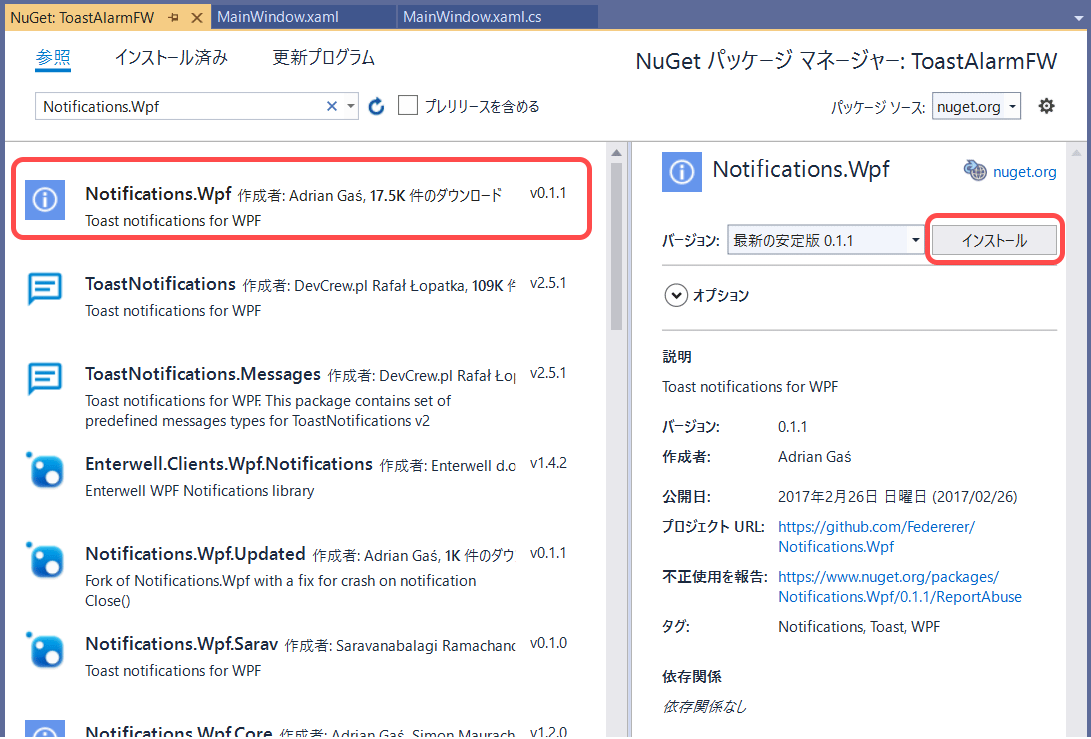
NuGetでNotifications.Wpfをインストールします。
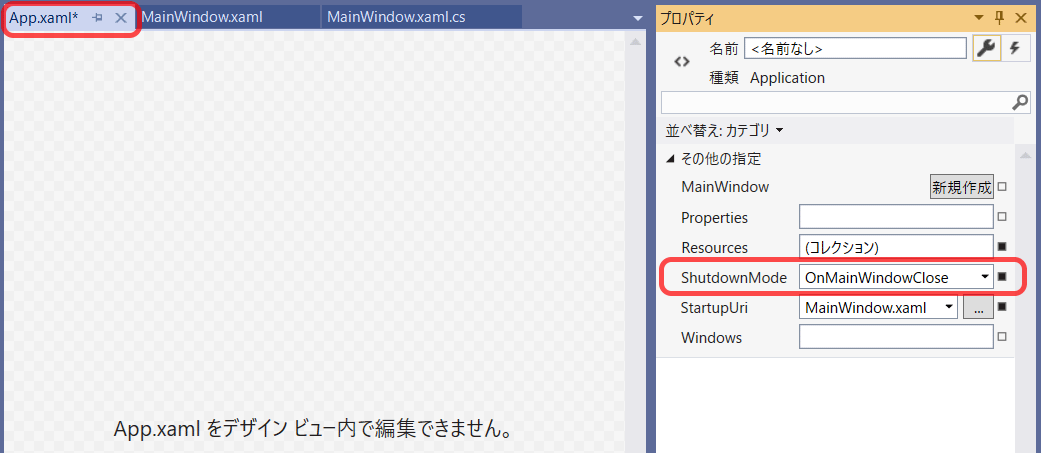
App.xamlのShutdownModeをOnMainWindowCloseにします。
この設定で、通知が残っていてもメイン画面を閉じたらプログラムが終了するようになります。
<Application x:Class="ToastAlarmFW.App"
             xmlns="http://schemas.microsoft.com/winfx/2006/xaml/presentation"
             xmlns:x="http://schemas.microsoft.com/winfx/2006/xaml"
             xmlns:local="clr-namespace:ToastAlarmFW"
             StartupUri="MainWindow.xaml" ShutdownMode="OnMainWindowClose">
    <Application.Resources>

    </Application.Resources>
</Application>
-
using NOTIFY = Notifications.Wpf;を追加します。-
Notifications.Wpfという名前空間をNOTIFYという名前でも使えるようにしています(usingエイリアス)。 - 馴染みのないクラスはusingエイリアスを使うことで、どの名前空間に属するクラスなのか分かりやすくなり、かつ名前空間の記述でソースが長くなるのを抑えることができます。
-
- 通知管理クラス(NotificationManager)を定義し、生成しておきます。
- ボタンクリック時にトースト通知を表示するコードを書きます。
using System;
using System.Windows;
using NOTIFY = Notifications.Wpf;

namespace ToastAlarmFW
{
    /// <summary>
    /// MainWindow.xaml の相互作用ロジック
    /// </summary>
    public partial class MainWindow : Window
    {
        /// <summary>
        /// 通知管理
        /// </summary>
        private readonly NOTIFY.NotificationManager notificationManager = new NOTIFY.NotificationManager();

        public MainWindow()
        {
            InitializeComponent();
        }

        private void Button_Click(object sender, RoutedEventArgs e)
        {
            var content = new NOTIFY.NotificationContent
            {
                Type = NOTIFY.NotificationType.Information,
                Title = "タイトル",
                Message = "こんにちは",
            };

            // メッセージを2秒表示
            notificationManager.Show(
                content, expirationTime: TimeSpan.FromSeconds(2));
        }
    }
}
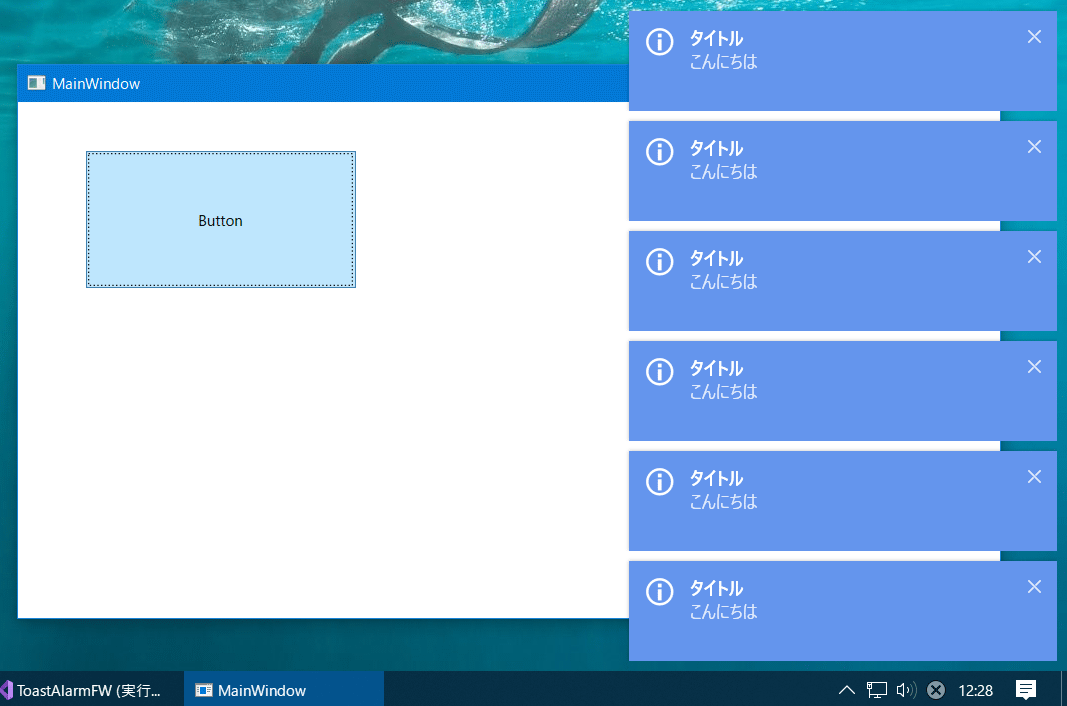
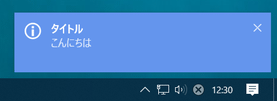
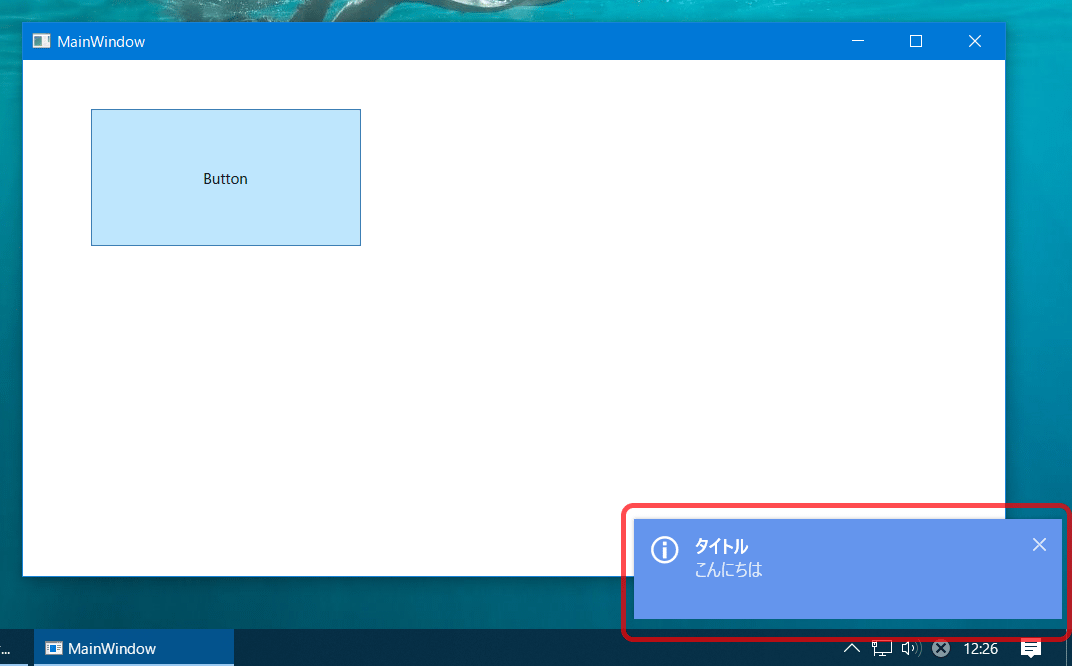
実行してみます。ボタンを押すとメッセージが表示され、2秒経つと自動で消えます。
◇.NET Core版サンプル
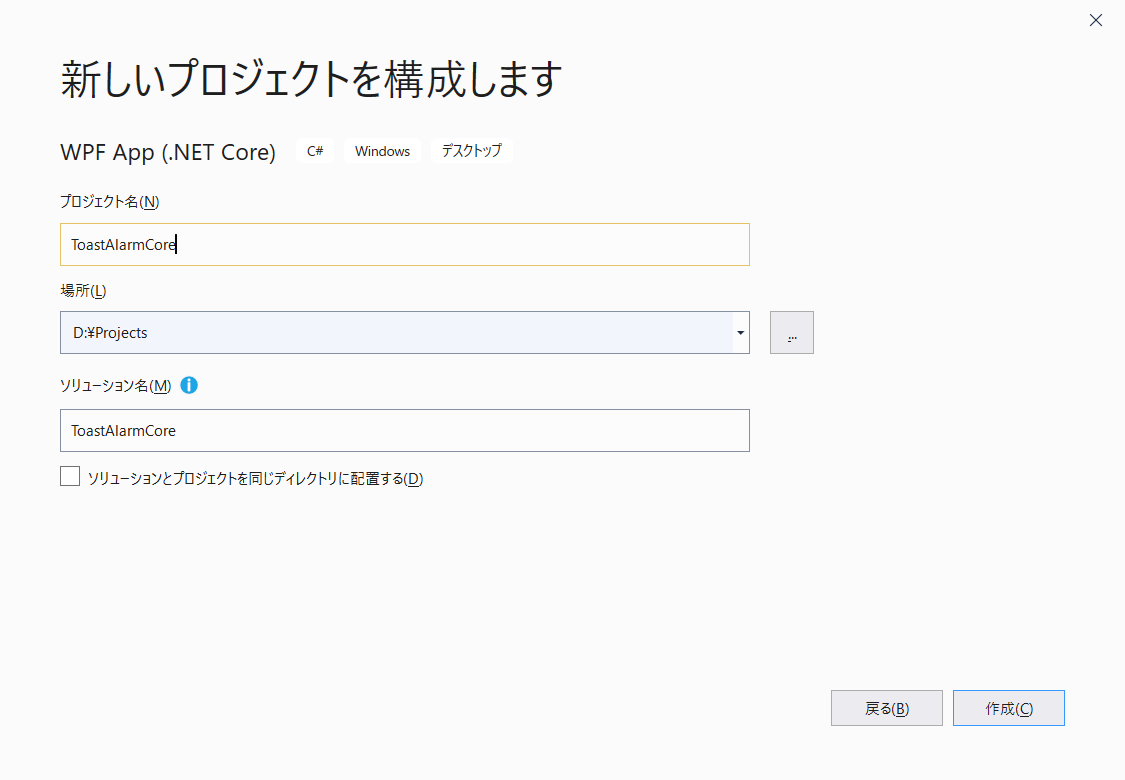
新しいプロジェクトでWPF App(.NET Core)(C#)を選択します。
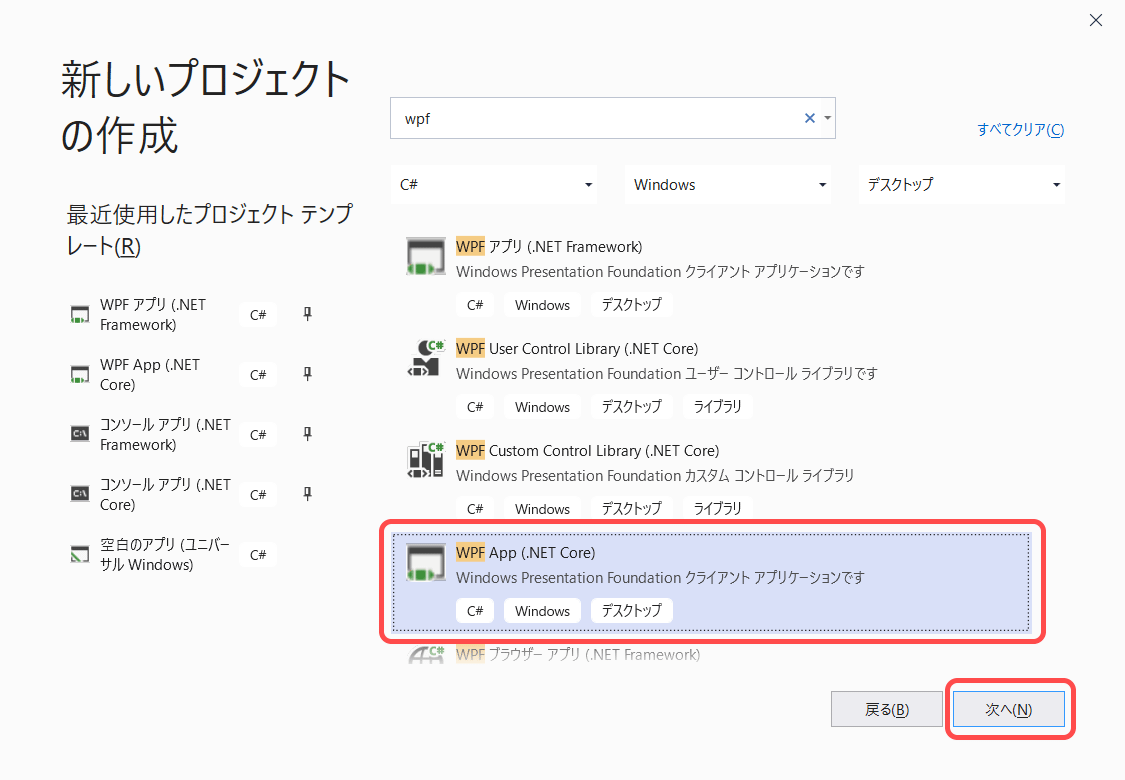
NuGetで.NET Core用のNotifications.Wpf.Coreをインストールします。
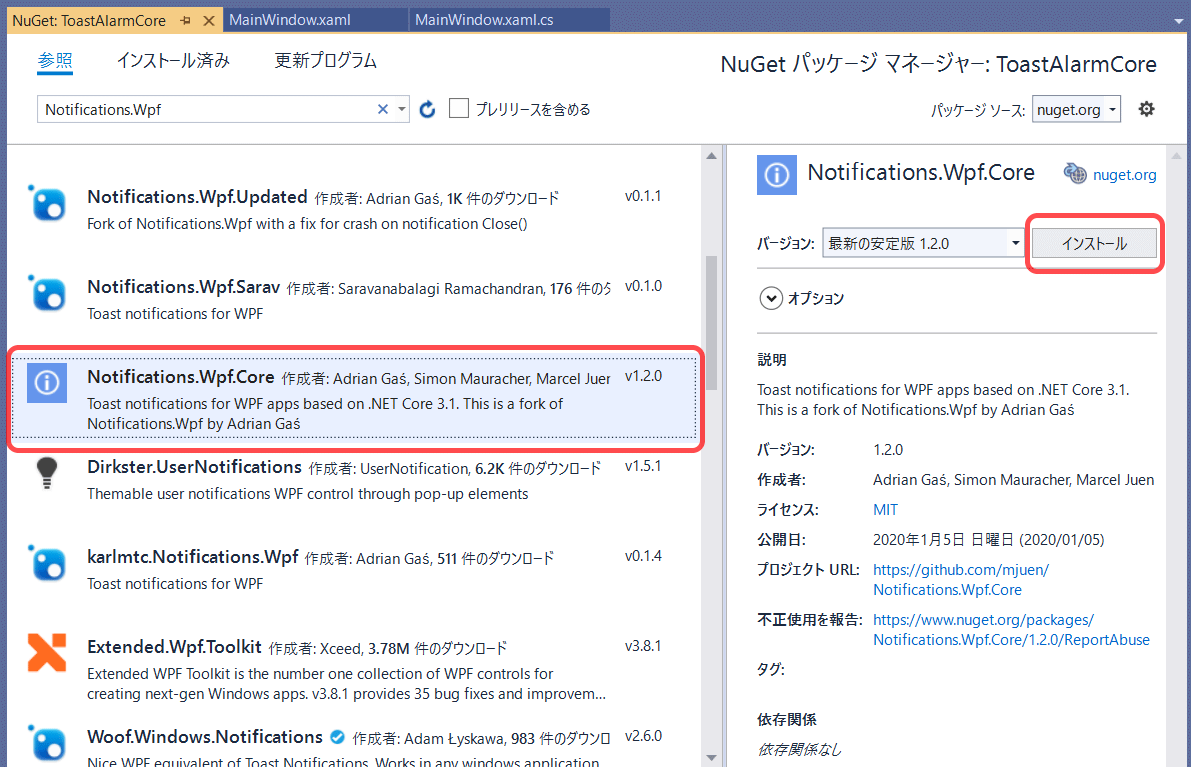
.NET Framework版でやったApp.xamlの設定は不要です。
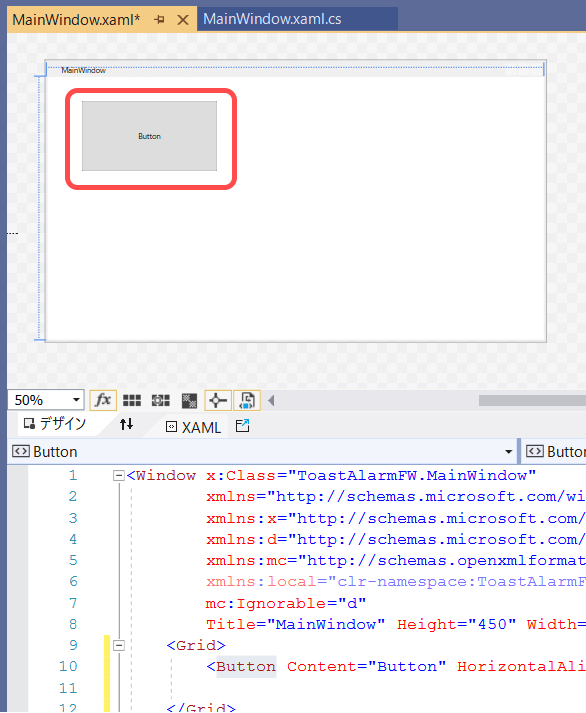
MainWindow.xamlにボタンを追加します。
-
using NOTIFY = Notifications.Wpf.Core;を追加します。 - 通知管理クラス(NotificationManager)を定義し、生成しておきます。
- ボタンクリック時にトースト通知を表示するコードを書きます。
- ボタンクリックのハンドラに
asyncを付けます。 - トースト表示のメソッド名が
ShowからShowAsyncに変わりました。呼び出しにawaitも付けます。
- ボタンクリックのハンドラに
using System;
using System.Windows;
using NOTIFY = Notifications.Wpf.Core;

namespace ToastAlarmCore
{
    /// <summary>
    /// Interaction logic for MainWindow.xaml
    /// </summary>
    public partial class MainWindow : Window
    {
        /// <summary>
        /// 通知管理
        /// </summary>
        private readonly NOTIFY.NotificationManager notificationManager = new NOTIFY.NotificationManager();

        public MainWindow()
        {
            InitializeComponent();
        }

        private async void Button_Click(object sender, RoutedEventArgs e)
        {
            var content = new NOTIFY.NotificationContent
            {
                Type = NOTIFY.NotificationType.Information,
                Title = "タイトル",
                Message = "こんにちは",
            };

            // メッセージを2秒表示
            await notificationManager.ShowAsync(
                content, expirationTime: TimeSpan.FromSeconds(2));
        }
    }
}
実行結果は省略します。
■アラームアプリを作ってみる
ではここから.NET Core版のToastAlarmCoreを使ってアラームアプリを作ります。
◇画面
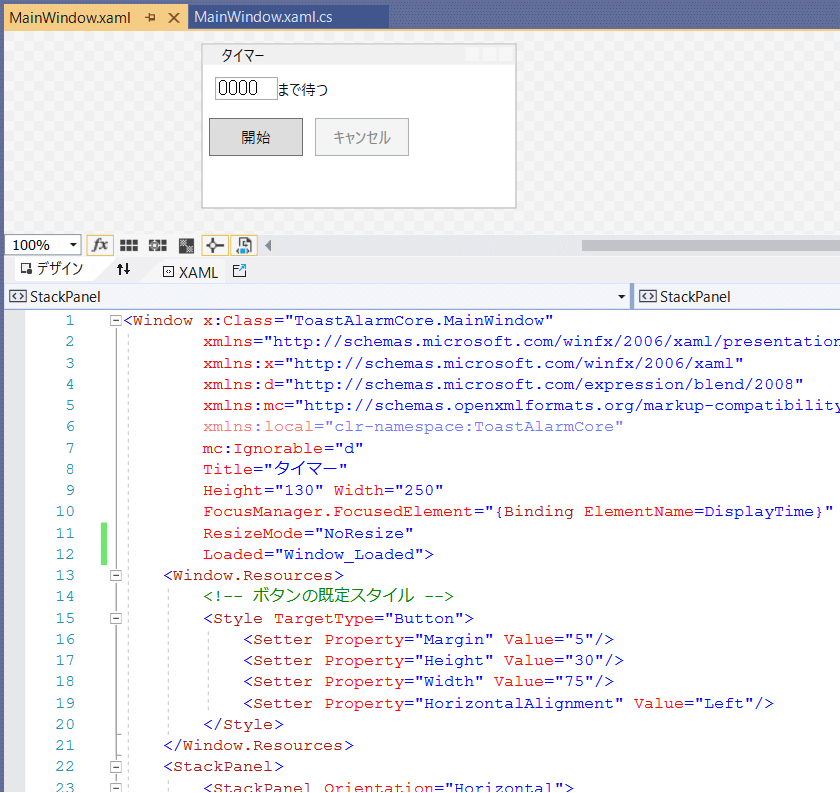
先ほど追加したボタンは削除して、以下のように作り変えます。
<Window x:Class="ToastAlarmCore.MainWindow"
        xmlns="http://schemas.microsoft.com/winfx/2006/xaml/presentation"
        xmlns:x="http://schemas.microsoft.com/winfx/2006/xaml"
        xmlns:d="http://schemas.microsoft.com/expression/blend/2008"
        xmlns:mc="http://schemas.openxmlformats.org/markup-compatibility/2006"
        xmlns:local="clr-namespace:ToastAlarmCore"
        mc:Ignorable="d"
        Title="タイマー"
        Height="130" Width="250"
        FocusManager.FocusedElement="{Binding ElementName=DisplayTime}"
        ResizeMode="NoResize"
        Loaded="Window_Loaded">
    <Window.Resources>
        <!-- ボタンの既定スタイル -->
        <Style TargetType="Button">
            <Setter Property="Margin" Value="5"/>
            <Setter Property="Height" Value="30"/>
            <Setter Property="Width" Value="75"/>
            <Setter Property="HorizontalAlignment" Value="Left"/>
        </Style>
    </Window.Resources>
    <StackPanel>
        <StackPanel Orientation="Horizontal">
            <!-- 通知表示時刻 -->
            <TextBox
                x:Name="DisplayTime"
                Text="0000"
                MaxLength="4"
                InputMethod.IsInputMethodEnabled="False"
                Margin="10,10,0,10" Width="50"
                FontFamily="MS Gothic" FontSize="16"
                GotFocus="DisplayTime_GotFocus"/>
            <TextBlock Text="まで待つ" VerticalAlignment="Center"/>
        </StackPanel>

        <StackPanel Orientation="Horizontal">
            <!-- 開始ボタン -->
            <Button
                x:Name="StartButton"
                Content="開始"
                IsDefault="True"
                Click="StartButton_Click"/>
            <!-- キャンセルボタン -->
            <Button
                x:Name="CancelButton"
                Content="キャンセル"
                IsCancel="True"
                IsEnabled="False"
                Click="CancelButton_Click"/>
        </StackPanel>
    </StackPanel>
</Window>
◇ロジック
先ほど追加したボタンクリック時の処理は削除して、以下のように作り変えます。
using System;
using System.Windows;
using System.Windows.Controls;
using System.Windows.Threading;
using NOTIFY = Notifications.Wpf.Core;

namespace ToastAlarmCore
{
    /// <summary>
    /// Interaction logic for MainWindow.xaml
    /// </summary>
    public partial class MainWindow : Window
    {
        /// <summary>
        /// 通知管理
        /// </summary>
        private readonly NOTIFY.NotificationManager notificationManager =
            new NOTIFY.NotificationManager();

        /// <summary>
        /// タイマー
        /// </summary>
        private DispatcherTimer timer;

        /// <summary>
        /// 通知数
        /// </summary>
        private static readonly int NotifyCount = 8;

        public MainWindow()
        {
            InitializeComponent();
        }

        /// <summary>
        /// 画面起動時の処理
        /// </summary>
        /// <param name="sender"></param>
        /// <param name="e"></param>
        private void Window_Loaded(object sender, RoutedEventArgs e)
        {
            // 時間の初期値を10分後に設定
            DisplayTime.Text = DateTime.Now.AddMinutes(10).ToString("HHmm");
            // 時間を全選択
            DisplayTime.SelectAll();
        }

        /// <summary>
        /// 開始ボタンの処理
        /// </summary>
        /// <param name="sender"></param>
        /// <param name="e"></param>
        private void StartButton_Click(object sender, RoutedEventArgs e)
        {
            // 入力チェック
            if (System.Text.RegularExpressions.Regex.IsMatch(
                DisplayTime.Text, "^[0-9]{4}$") == false)
            {
                MessageBox.Show(
                    "数字4桁で時間を入力してください。例)0945",
                    "エラー", MessageBoxButton.OK, MessageBoxImage.Error);
                return;
            }
            if (timer == null)
            {
                // タイマー生成
                timer = new DispatcherTimer(DispatcherPriority.SystemIdle);
                timer.Interval = TimeSpan.FromMilliseconds(200);
                timer.Tick += new EventHandler(OnTimer);
            }

            // コントロール状態設定
            SetControlStatus(isRunning: true);

            // タイマー開始
            timer.Start();
        }

        /// <summary>
        /// キャンセルボタンの処理
        /// </summary>
        /// <param name="sender"></param>
        /// <param name="e"></param>
        private void CancelButton_Click(object sender, RoutedEventArgs e)
        {
            // コントロール状態設定
            SetControlStatus(isRunning: false);

            // タイマーを止める
            timer?.Stop();
        }

        /// <summary>
        /// 時刻テキストボックスフォーカス取得時の処理
        /// </summary>
        /// <param name="sender"></param>
        /// <param name="e"></param>
        private void DisplayTime_GotFocus(object sender, RoutedEventArgs e)
        {
            // 全選択
            (sender as TextBox).SelectAll();
        }

        /// <summary>
        /// コントロール活性状態設定
        /// </summary>
        /// <param name="isRunning">処理中の時にtrue、処理が終わったらfalse</param>
        private void SetControlStatus(bool isRunning)
        {
            DisplayTime.IsEnabled = !isRunning;
            StartButton.IsEnabled = !isRunning;
            CancelButton.IsEnabled = isRunning;
        }

        /// <summary>
        /// タイマーイベント
        /// </summary>
        /// <param name="sender"></param>
        /// <param name="e"></param>
        private void OnTimer(object sender, EventArgs e)
        {
            // 時間が来た?
            if (DateTime.Now.ToString("HHmm") == DisplayTime.Text)
            {
                // タイマーを止める
                timer?.Stop();

                // コントロール状態設定
                SetControlStatus(isRunning: false);

                string title = "通知";
                string msg = "時間になりました。";

                var contentMoment = new NOTIFY.NotificationContent
                {
                    Type = NOTIFY.NotificationType.Success,
                    Title = title,
                    Message = msg,
                };

                for (int i = 0; i < NotifyCount - 1; i++)
                {
                    // すぐ消すメッセージ表示(通知に気づくようにたくさん表示)
                    notificationManager.ShowAsync(
                        contentMoment, expirationTime: TimeSpan.FromSeconds(2));
                }

                var contentStay = new NOTIFY.NotificationContent
                {
                    Type = NOTIFY.NotificationType.Information,
                    Title = title,
                    Message = msg,
                };

                // 長く残すメッセージ表示
                notificationManager.ShowAsync(
                    contentStay, expirationTime: TimeSpan.FromMinutes(5));
            }
        }

    }
}
◇動かしてみる
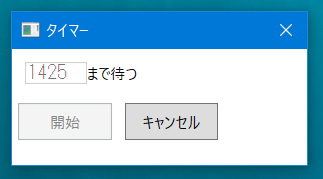
起動すると現在時刻の10分後が既定値として入力されています。
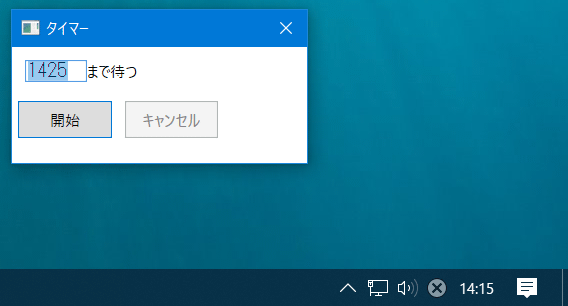
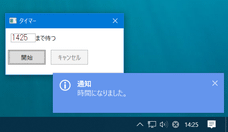
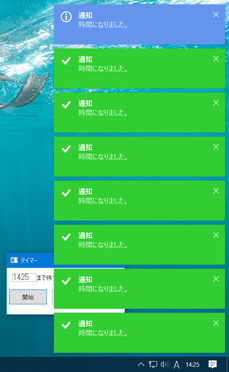
時間が来たらトースト通知されます。
通知に気づくように一瞬だけたくさん表示され、1つは長く残ります。
おしまい
