株式会社やどかり Advent Calendar 2023 17日目の投稿です!!
今年もやってきましたアドベントカレンダー。
これを見ると年の瀬を感じますね⛄️
自分はあまりエンジニアっぽく業務をやっていないので、あまり大したものを書けないのですが、暇つぶしにでも見ていただけたら幸いです
※①こちらの記事の成分は5割が参考記事、5割がchatGPT、マジほんのちょっとの筆者の努力と気まぐれで書かれております。
※②もし間違った内容がありましたら優しく訂正してあげてください。モチベーションに関わります。
5分でわかる簡単ARアプリ作成
| 項番 | 目次 |
|---|---|
| 1 | どんな動作ができるの |
| 2 | 実装について |
| 3 | コード詳細 |
| 4 | 終わりに |
1-どんな動作ができるの
動画の通り
・カメラの起動
・画面をtapしたらスニーカーのオブジェクトを画面上に生成
・スニーカーを右向きにスワイプしたらスニーカーが90度回転する
2-実装
用意するもの
| バージョン | 備考 | |
|---|---|---|
| Xcode(Mac) | 10.0以上 | Mac Book 2014くらいでも動きました。最新OSが入れば大丈夫そう。※追記:iOS11とした場合は9でも大丈夫でした。 |
| iOS(iPhone/iPad) | 12.0以上 | iPhoneだと6s,SE以上、iPadだと第5世代以上が対象機。(iOS11でも対応してるはずですが、一部不具合あるようなのでiOS12以上推奨にします。) |
| 証明書 | 公開や配布などしない場合は不要 | |
| 3Dモデル | 特にこだわりなければ動画のサンプル |
実装コード
import UIKit
import RealityKit
import ARKit
import AVFoundation

class ViewController: UIViewController, ARSessionDelegate, AVAudioPlayerDelegate {

    @IBOutlet var arView: ARView!
    var rootAnchor = AnchorEntity()
    var audioPlayer: AVAudioPlayer? // AVAudioPlayer型のプロパティを追加

    override func viewDidLoad() {
        super.viewDidLoad()
        // Tap gesture recognizerの追加
        let tapGesture = UITapGestureRecognizer(target: self, action: #selector(handleTap(_:)))
        arView.addGestureRecognizer(tapGesture)

        // Swipe gesture recognizerの追加
        let swipeGesture = UISwipeGestureRecognizer(target: self, action: #selector(handleSwipe(_:)))
        swipeGesture.direction = .right // 右にスワイプされたら回転
        arView.addGestureRecognizer(swipeGesture)

        do {
               try AVAudioSession.sharedInstance().setCategory(.playback)
               try AVAudioSession.sharedInstance().setActive(true)
           } catch {
               print("Failed to set audio session category.")
           }

        let audioPath = Bundle.main.path(forResource: "tsudumi", ofType: "mp3", inDirectory: "sample") ?? ""
        setupAudioPlayer(path: audioPath)

        arView.session.delegate = self

    }

    // Tap gesture recognizerの処理
    @objc func handleTap(_ gestureRecognizer: UITapGestureRecognizer) {
        let location = gestureRecognizer.location(in: arView)
        let results = arView.raycast(from: location, allowing: .estimatedPlane, alignment: .any)

        if let firstResult = results.first {
            let anchor = AnchorEntity(world: firstResult.worldTransform)
            arView.scene.addAnchor(anchor)
            addModel(to: anchor)
        }
    }

    // スワイプによる回転処理
    @objc func handleSwipe(_ gestureRecognizer: UISwipeGestureRecognizer) {
        guard let anchor = arView.scene.anchors.first, let child = anchor.children.first else { return }
        let rotation = simd_quatf(angle: .pi / 2, axis: [0, 1, 0]) // y軸周りに90度回転
        child.transform.rotation *= rotation
    }

    // モデルの追加
    func addModel(to anchor: AnchorEntity) {
        let modelName = "sneaker_airforce"
        let modelPath = Bundle.main.path(forResource: modelName, ofType: "usdz", inDirectory: "sample")

        guard let path = modelPath else {
            print("Failed to find model: \(modelName) in 'sample' directory.")
            return
        }

        do {
            let modelEntity = try ModelEntity.load(contentsOf: URL(fileURLWithPath: path))
            anchor.addChild(modelEntity)
        } catch {
            print("Failed to load model: \(modelName), error: \(error)")
        }
    }

    private func setupAudioPlayer(path: String) {
        do {
            let player = try AVAudioPlayer(contentsOf: URL(fileURLWithPath: path))
            player.delegate = self
            player.prepareToPlay()
            self.audioPlayer = player
            player.play()
        } catch {
            print("Error: \(error.localizedDescription)")
        }
    }

    // ARSessionDelegateの実装
    func session(_ session: ARSession, didAdd anchors: [ARAnchor]) {
        for anchor in anchors {
            if anchor.name == "shipAnchor" {
                let modelName = "sneaker_airforce"
                let modelPath = Bundle.main.path(forResource: modelName, ofType: "usdz", inDirectory: "sample")

                guard let path = modelPath else {
                    print("Failed to find model: \(modelName) in 'sample' directory.")
                    return
                }

                do {
                    let modelEntity = try ModelEntity.load(contentsOf: URL(fileURLWithPath: path))
                    modelEntity.position = simd_make_float3(
                        anchor.transform.columns.3.x,
                        anchor.transform.columns.3.y,
                        anchor.transform.columns.3.z)
                    rootAnchor.addChild(modelEntity)
                } catch {
                    print("Failed to load model: \(modelName), error: \(error)")
                }
            }
        }
    }
}
せっかちな人はアプリ作成してこのコードをViewControllerに書いて、
プロジェクト直下に画像sample置いて起動させればOK
構築手順
Lesson ①【プロジェクトの立ち上げ】
xcodeを立ち上げたら画像の赤枠を選択

次の画面でAugmented Reality Appを選択してNext

以下の項目を入力
・プロジェクトの名前
・team (任意のAppleDeveloperを選択)
・Content Technology で RealityKitを選択

問題なくプロジェクトが作成されると以下の画面が表示される。
minimum Developmentを必ず実機のバージョンより下げて設定する

Lesson ②【3Dモデルの配置】
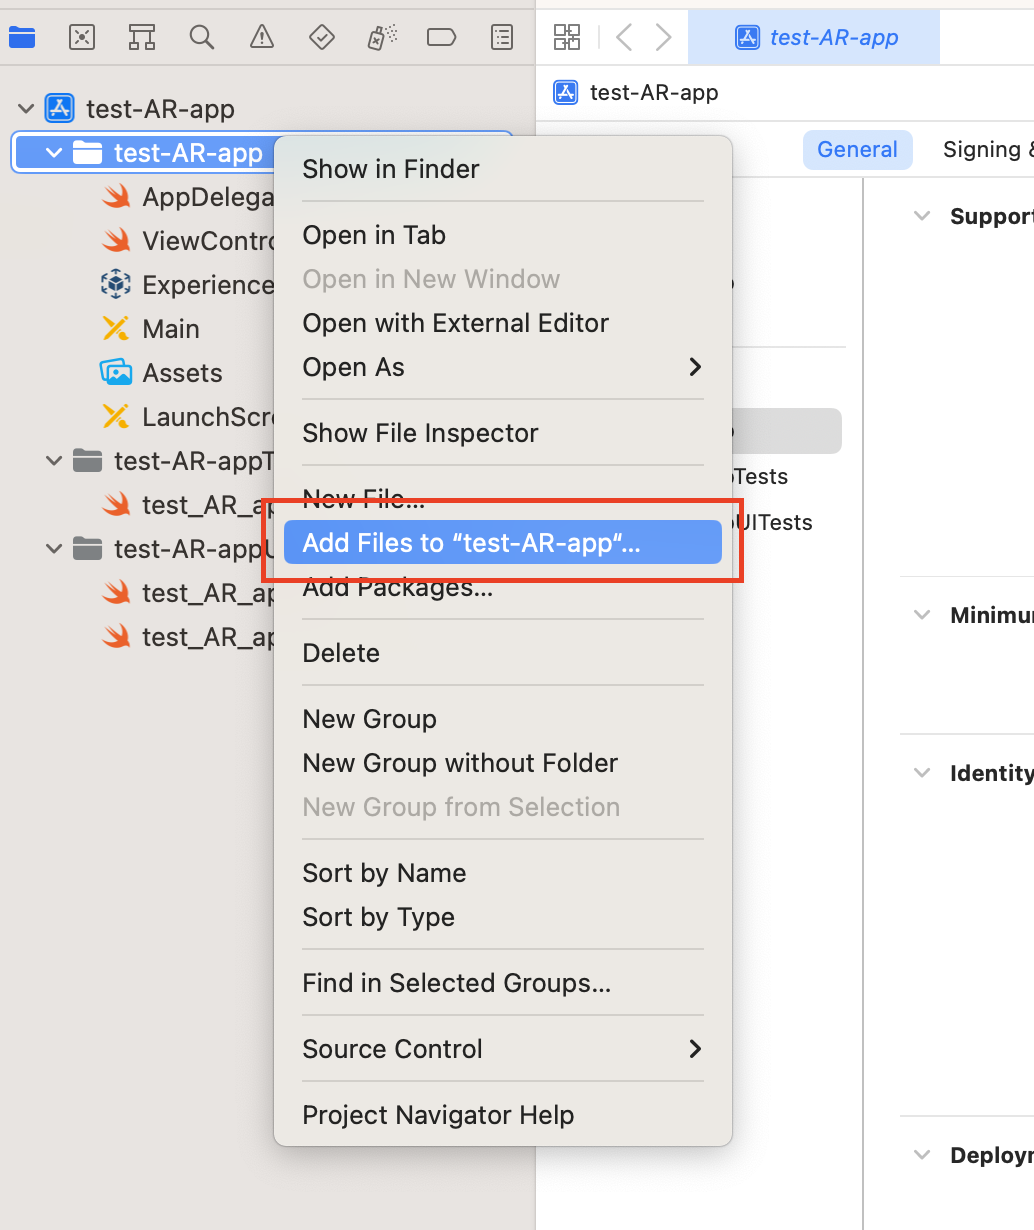
サンプルモデルをプロジェクト直下に配置
(特にこだわりなければダウンロードしたsampleディレクトリごと配置)
Lesson ③【ViewControllerの記載】
ViewControllerに上記のコードをコピペ
3-コード詳細
import(必要なフレームワークの読み込み)
import RealityKit  //Appleが提供するARやVRアプリケーションを開発するためのフレームワーク
                     3Dコンテンツの操作と表示

import ARKit       //(AR)アプリケーションを開発するためのソフトウェアフレームワーク
                     平面検出
                     3Dオブジェクトの配置
ARの宣言
@IBOutlet var arView: ARView!   //ARViewをコードで参照するための接続
var rootAnchor = AnchorEntity() //AR空間に配置されるオブジェクトをまとめるためAnchorEntityのインスタンスを定義
画面上をタップした時の処理
@objc func handleTap(_ gestureRecognizer: UITapGestureRecognizer) {
   //ユーザーがタップした場所の座標を変数locationに格納。この座標は、ARView内の座標系で表される。
   let location = gestureRecognizer.location(in: arView)

   //ARView上でタップされた位置からAR空間内のどのオブジェクトや面に当たるかどうかを判定し、変数resultsに格納。
     この処理では、estimatedPlaneを許可し、どんな向きの平面でも許容している。
   let results = arView.raycast(from: location, allowing: .estimatedPlane, alignment: .any)

   //resultsの結果が存在するかを判定
   if let firstResult = results.first {

       //resultsの情報を元に3Dオブジェクトをタップした位置に配置
       let anchor = AnchorEntity(world: firstResult.worldTransform)
       arView.scene.addAnchor(anchor)
       addModel(to: anchor)
   }
}
タップした時に表示するモデルを定義
 func addModel(to anchor: AnchorEntity) {
       //呼び出すファイル名とパスから3Dモデルを定義
       let modelName = "sneaker_airforce"
       let modelPath = Bundle.main.path(forResource: modelName, ofType: "usdz", inDirectory: "sample")

       //もし3Dモデルがなければエラーを返す
       guard let path = modelPath else {
           print("Failed to find model: \(modelName) in 'sample' directory.")
           return
       }

       do {
           //指定されたUSDZファイルを読み込み(ModelEntity.load)を行い、変数modelEntityに格納
           let modelEntity = try ModelEntity.load(contentsOf: URL(fileURLWithPath: path))

           //指定された位置(anchor)に指定された3Dモデル(modelEntity)を配置
           anchor.addChild(modelEntity)
       } catch {

           //モデルの読み込みに失敗した時にエラーを返す
           print("Failed to load model: \(modelName), error: \(error)")
       }
   }
スワイプした時にモデルを回転させる処理
    @objc func handleSwipe(_ gestureRecognizer: UISwipeGestureRecognizer) {
        //ARViewのシーンから最初のアンカーを取得。
          その最初のアンカーに紐づく最初の子要素(今回だと3Dモデル)をchildとして取得。
          もしアンカーや子要素が存在しない場合、処理を中断してメソッドを抜ける。
        guard let anchor = arView.scene.anchors.first, let child = anchor.children.first else { return }

        //回転させる量を定義
        let rotation = simd_quatf(angle: .pi / 2, axis: [0, 1, 0]) // y軸周りに90度回転

        //取得した子要素の現在の回転に対して新しい回転を乗算する(3Dモデルを回転させる)
        child.transform.rotation *= rotation
    }
4-終わりに
実装を試しにやってみようとして、sampleをダウンロードして、そのままコードを書き写し、実機で動作確認をおこなったせっかちな人へ。
ごめんなさい。急に和風なBGMが流れ始めたと思いますw
この記事のままコードを何も確認せず実行すると、サイレントモードでも音楽が流れるように設計されています。
取り込む際は、焦らずコードをよく読んで実行しましょうね!
(実装を理解せずに取り込むのは危険です)
以下のコードをコメントアウトもしくは削除してもらえれば普通に動きます
           do {
               try AVAudioSession.sharedInstance().setCategory(.playback)
               try AVAudioSession.sharedInstance().setActive(true)
           } catch {
               print("Failed to set audio session category.")
           }

        let audioPath = Bundle.main.path(forResource: "tsudumi", ofType: "mp3", inDirectory: "sample") ?? ""
        setupAudioPlayer(path: audioPath)

______________________________________

    private func setupAudioPlayer(path: String) {
        do {
            let player = try AVAudioPlayer(contentsOf: URL(fileURLWithPath: path))
            player.delegate = self
            player.prepareToPlay()
            self.audioPlayer = player
            player.play()
        } catch {
            print("Error: \(error.localizedDescription)")
        }
    }
そんなことはさておき、実際の業務では基本phpしか触らないので、久々に自分で勉強してswiftのARの実装をしてみたのですが、新しいことを学ぶのは楽しいですね。
正直ARについてまだまだわからないことしかないですが、実際に他の人の記事を読んで、動かしてみると結構簡単に実装できたので良かったです。
また、chatGPTの優秀さには驚かされますw
基本的に、こんなことしたいって入力して、続けて現在のコードをいれるだけで追加実装の方法やバグの修正まで行ってくれるのはびっくりしました。
タップして表示する部分は他記事を参照にしましたが、3Dモデルの回転についてはchatGPTさんオンリーで開発できました。。。
本当に近い将来、コーディングだけのエンジニアは淘汰されそうですね💦
もっと勉強せねば!