この記事はOpenCV Advent Calendar 2022の23日目の記事です。
いや、もう NiceGUI の記事じゃん。と言うツッコミはご容赦を。。。👻
NiceGUI って何?
Python向けのGUIフレームワークです。
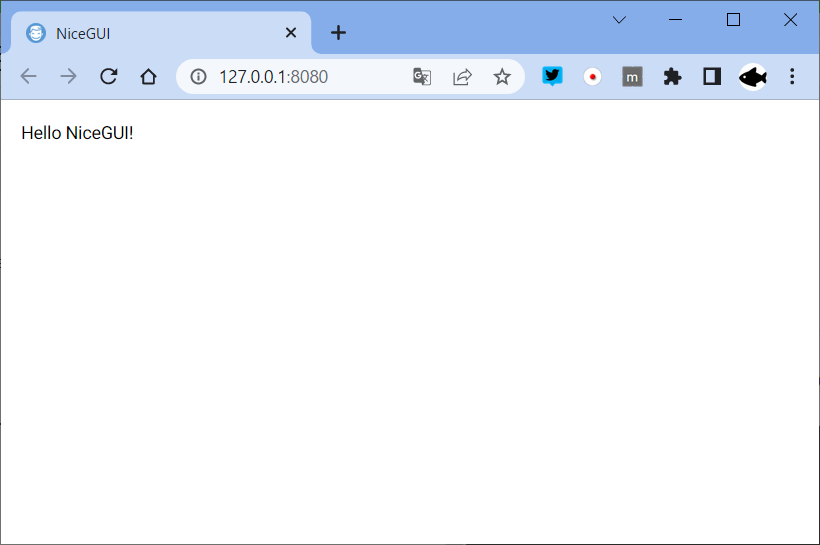
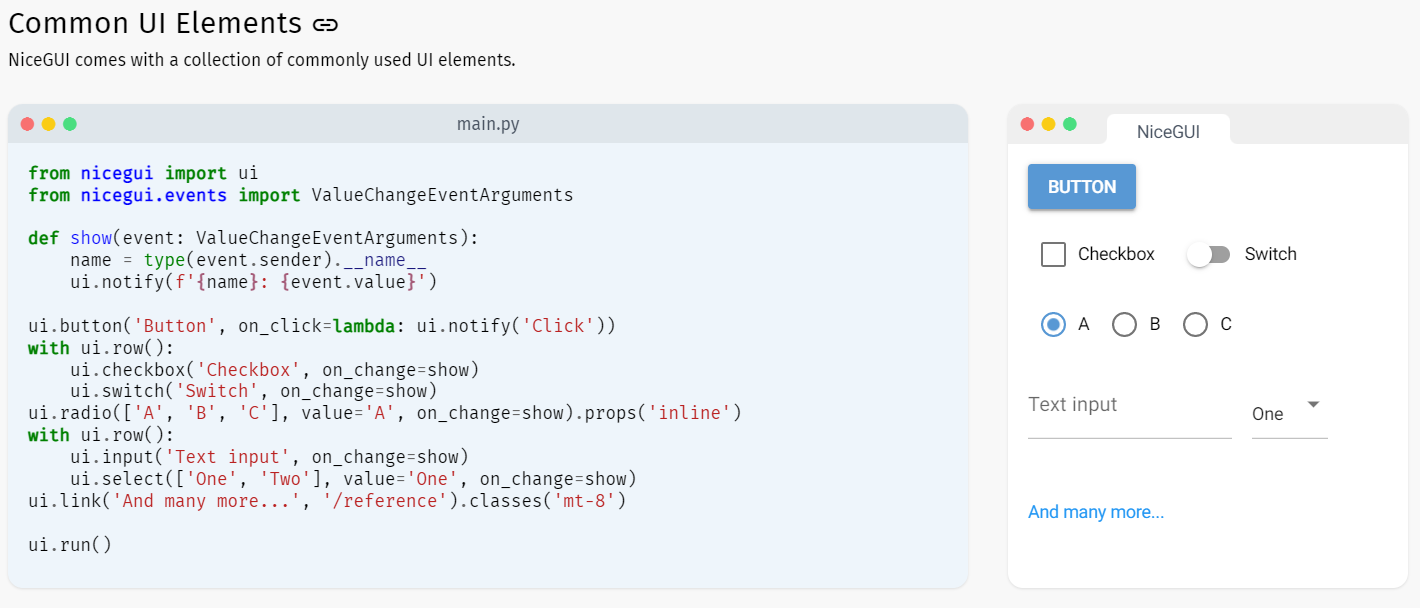
公式ページに載っているサンプルですが、Pythonコードで、
以下のようなブラウザで表示されるGUIが作成できます。
作者さんは作った理由を以下のように書いています。
「We at Zauberzeug like Streamlit but find it does too much magic when it comes to state handling. In search for an alternative nice library to write simple graphical user interfaces in Python we discovered JustPy. Although we liked the approach, it is too "low-level HTML" for our daily usage. But it inspired us to use Vue and Quasar for the frontend.
We have built on top of FastAPI, which itself is based on the ASGI framework Starlette and the ASGI webserver Uvicorn because of their great performance and ease of use.」
ザックリ意訳すると以下みたいな感じでしょうか🤔
「Streamlit は好きだけど、状態に関わるマジックコードが多いよね。代わりのライブラリを探していたら JustPy に出会ったけど、コレも低レイヤーの記載が多いよね。だから、自分で作ったよ。」
NiceGUI インストールとハロワ
pipで入ります。OpenCVの記事なのでOpenCVも入れます🦔
pip install nicegui
pip install opencv-python
ファイル名は何でもよいですが、いったん「main.py」として以下を作ります。
from nicegui import ui

ui.label('Hello NiceGUI!')

ui.run()
以下のように実行するとブラウザに表示されます。
python main.py
NiceGUI で画像を表示してみる
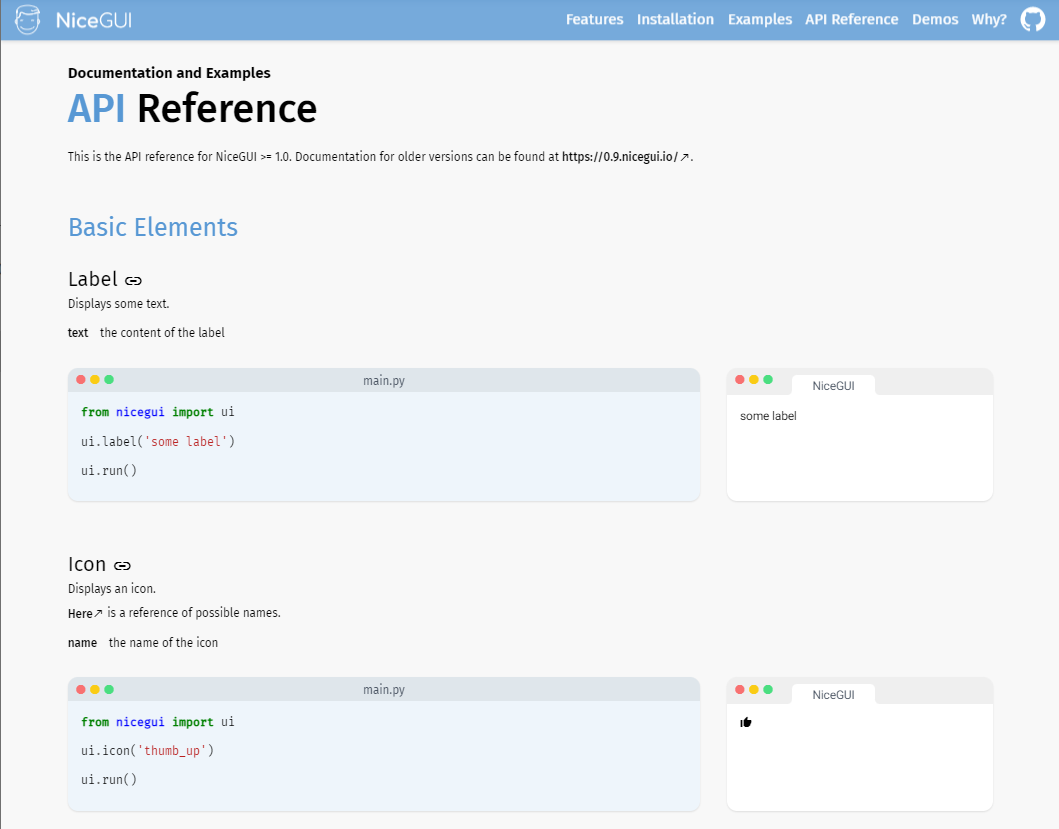
NiceGUIのリファレンスは以下のページにまとまっています。
https://nicegui.io/reference
画像(Image)のリファレンスは以下のリンクにありました。
https://nicegui.io/reference#image

ソースコードは大変シンプルで良いのですが、、、
URL指定だとOpenCVで大変使いにくいんですよねー。。。
「URL or base64 string」とあるので、base64で攻めてみましょう🏃
import base64

import cv2
from nicegui import ui

# 画像読み込み
cv_image = cv2.imread('sample.jpg')
# メモリ上でjpg画像形式にエンコード
_, imencode_image = cv2.imencode('.jpg', cv_image)
# base64形式にエンコード
base64_image = base64.b64encode(imencode_image)
base64_image_string = 'data:image/jpg;base64,' + base64_image.decode('ascii')

# 画像UI生成
ui.image(base64_image_string)

ui.run()
実行する時は同じディレクトリ内に「sample.jpg」を格納してください。
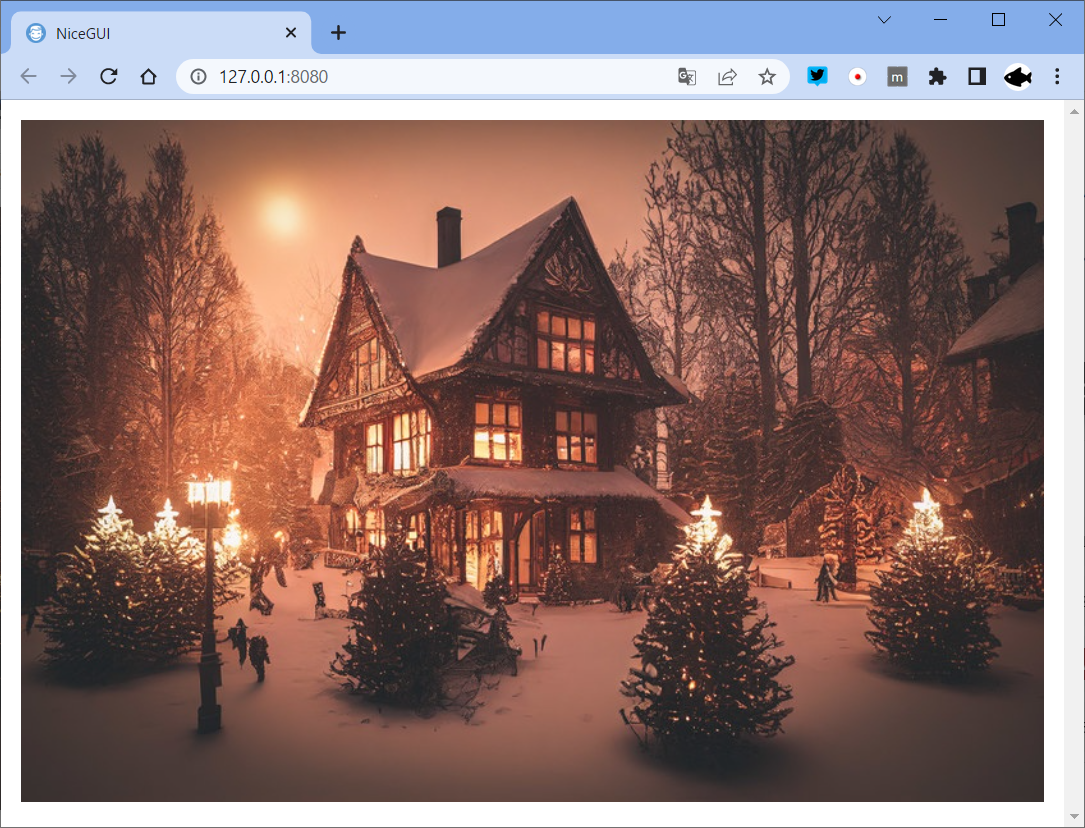
実行すると以下のように表示されました。
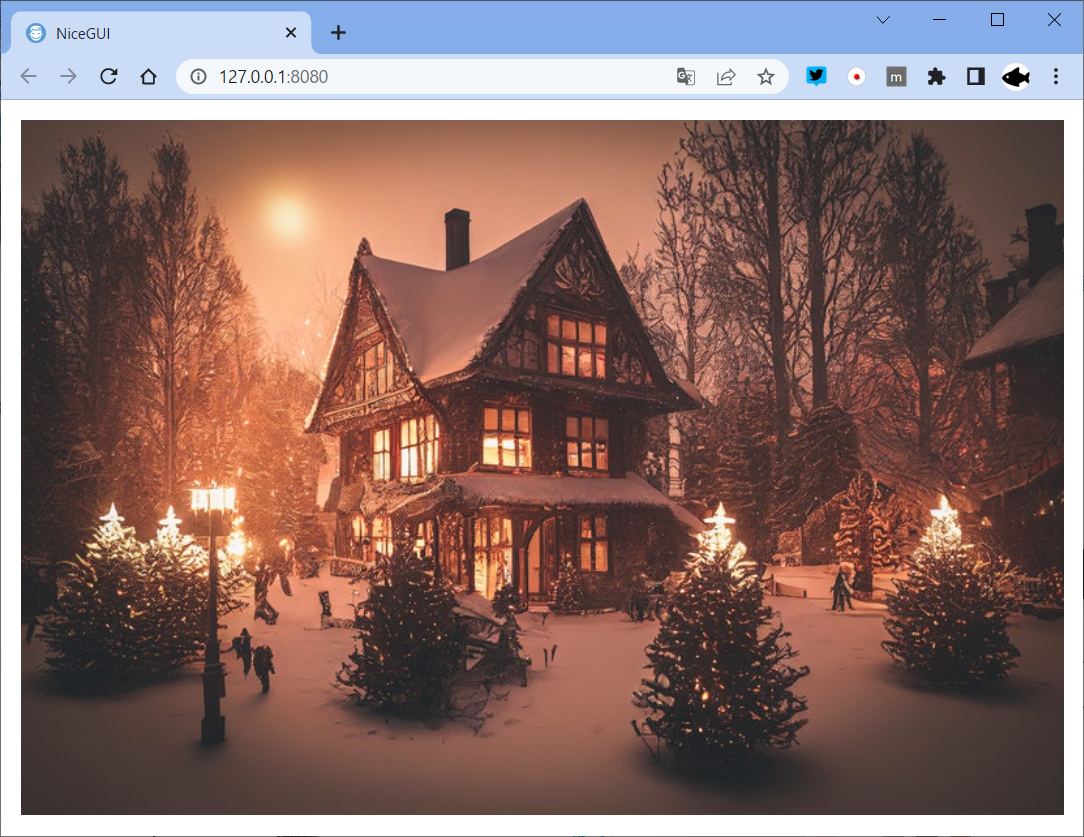
画像は、ぱくたそ様の「積雪と洋館の明かりのAI画像素材」を使用しました。
でも、まだ使いにくそうですね。
ui.image(base64_image_string) となっているとパーツ生成時にしか画像を指定できません。
アプリを作るときには不便そうです。
リファレンス見ても分からないので、ソースコードの中身を眺めてみました。
ソースコードを眺めた途中経過は省きますが、どうやら以下のようにsourceに代入すれば良さそうです。
import base64

import cv2
from nicegui import ui

# 画像読み込み
cv_image = cv2.imread('sample.jpg')
# メモリ上でjpg画像形式にエンコード
_, imencode_image = cv2.imencode('.jpg', cv_image)
# base64形式にエンコード
base64_image = base64.b64encode(imencode_image)
base64_image_string = 'data:image/jpg;base64,' + base64_image.decode('ascii')

# 画像UI生成
ui_image = ui.image()
ui_image.source = base64_image_string

ui.run()
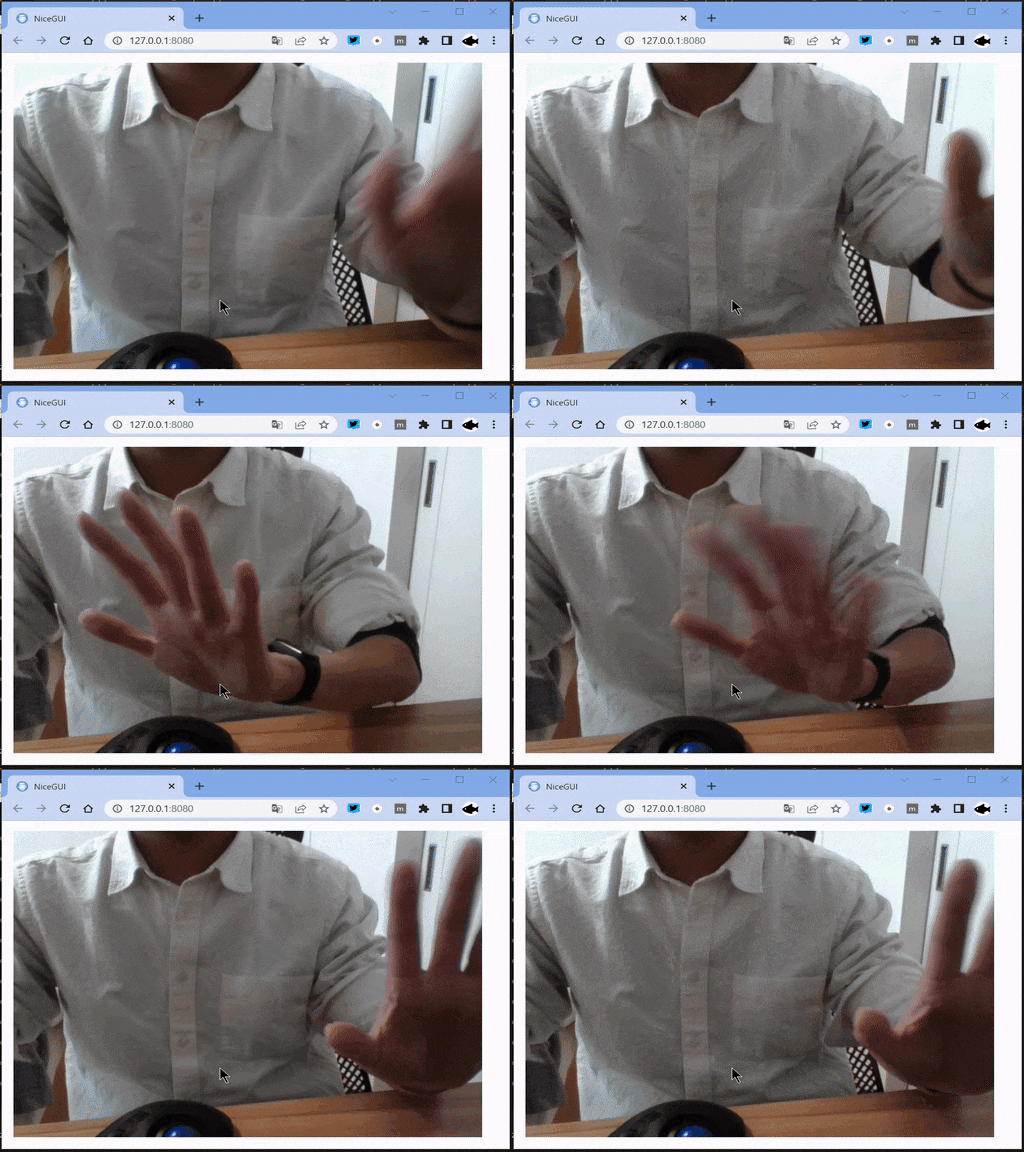
動画は、、、?
可能なら画像処理は動画とかWebカメラの画像に対しても実施したいのですよねー。。。
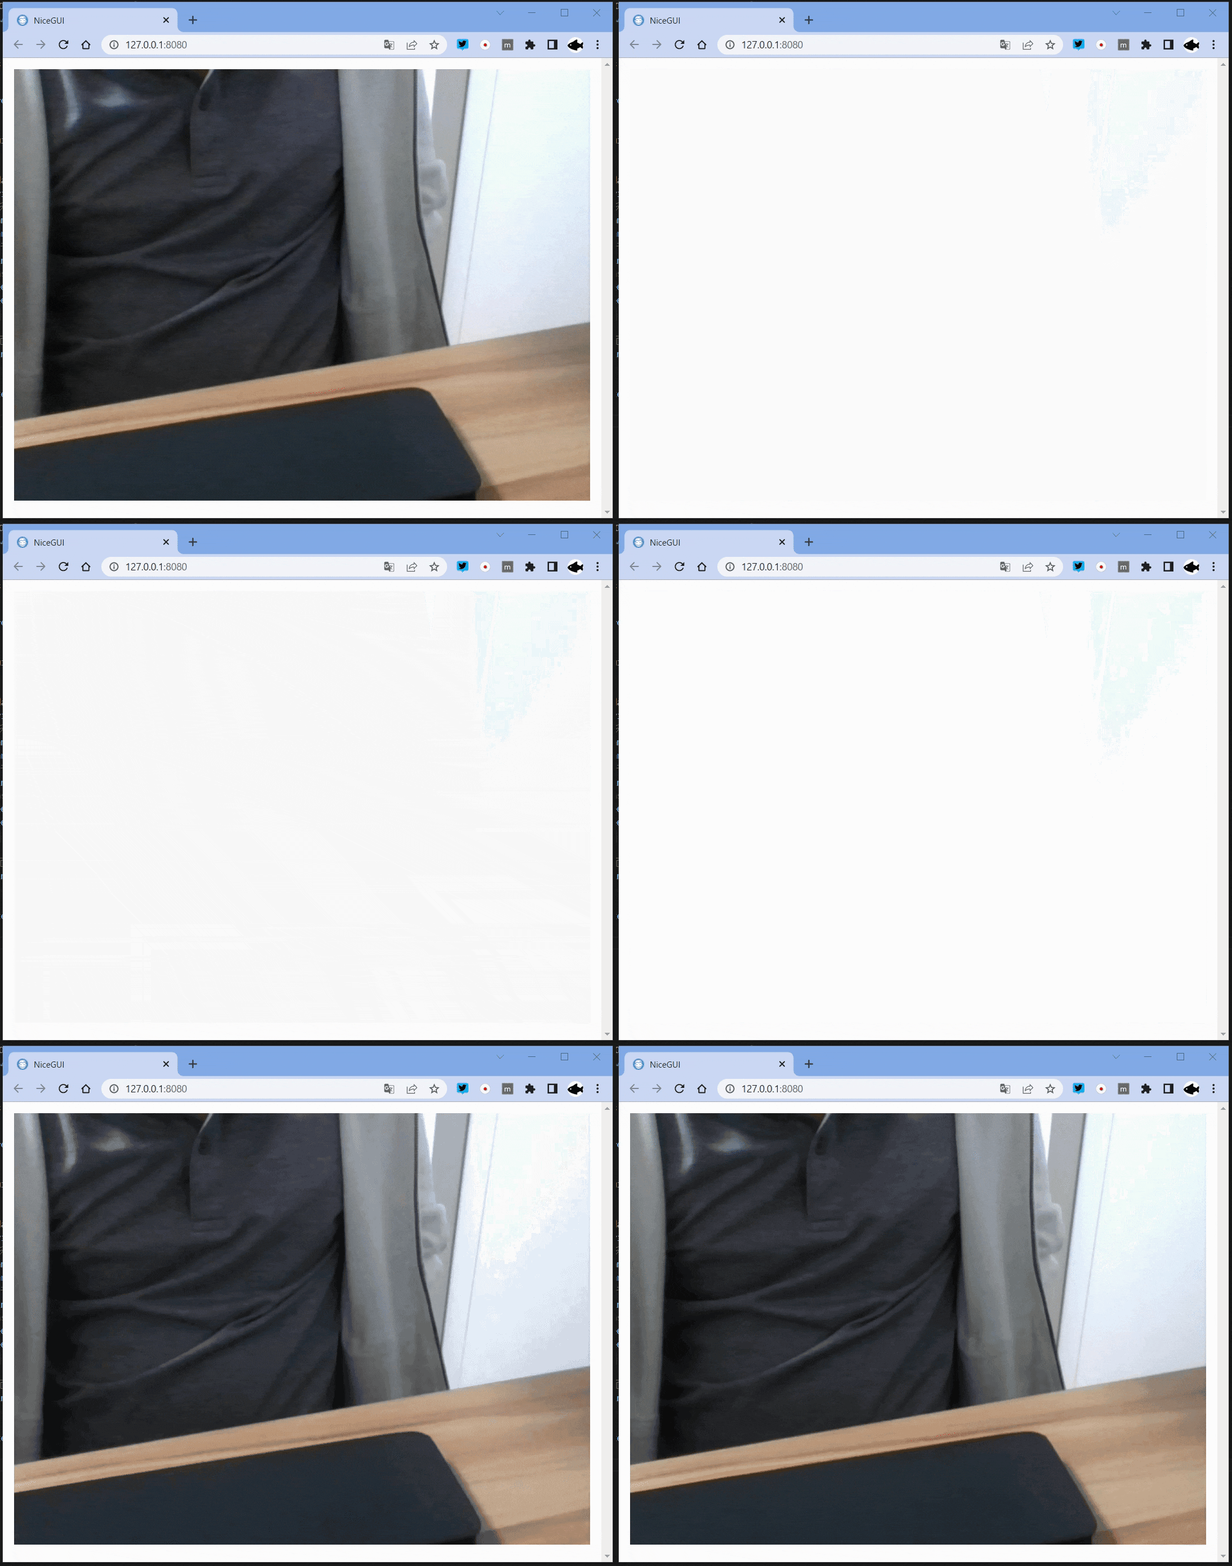
と言うわけで、タイマーイベントなどを駆使して無理矢理書き換え🏃
import base64

import cv2
from nicegui import ui

# カメラ準備
video_capture = cv2.VideoCapture(0)

# 画像UI生成
ui_image = ui.image()


def lazy_update() -> None:
    global video_capture, ui_image
    # 画像読み込み
    ret, frame = video_capture.read()
    if ret and ui_image is not None:
        # メモリ上でjpg画像形式にエンコード
        _, imencode_image = cv2.imencode('.jpg', frame)
        # base64形式にエンコード
        base64_image = base64.b64encode(imencode_image)
        base64_image_string = 'data:image/jpg;base64,' + base64_image.decode('ascii')

        # 画面更新
        ui_image.source = base64_image_string


ui.timer(interval=0.1, callback=lazy_update)

ui.run()
あー、、、久々にこーいう挙動するGUIフレームワーク見た。。。👀
パッと見、ダブルバッファとか裏バッファの設定見当たらなかったのですよねー。
要追加調査🦔
若干締まりませんが、確認できたのはここまで。
【2022/12/24追記】
コメントいただきました。
interactive_image()を使えばよい模様👀
ちょっと雑に修正。
import base64

import cv2
from nicegui import ui

# カメラ準備
video_capture = cv2.VideoCapture(0)

# 画像UI生成
ui_interactive_image = ui.interactive_image()


def lazy_update() -> None:
    global video_capture, ui_interactive_image
    # 画像読み込み
    ret, frame = video_capture.read()
    if ret and ui_interactive_image is not None:
        # メモリ上でjpg画像形式にエンコード
        _, imencode_image = cv2.imencode('.jpg', frame)
        # base64形式にエンコード
        base64_image = base64.b64encode(imencode_image)
        base64_image_string = 'data:image/jpg;base64,' + base64_image.decode(
            'ascii')

        # 画面更新
        ui_interactive_image.source = base64_image_string


ui.timer(interval=0.1, callback=lazy_update)

ui.run()
