はじめに
こんにちは!株式会社ZOZOでiOSエンジニアをしている加藤です。本記事では、SwiftとOpenCVを用いて画像処理する方法を解説します。さらに、C++で画像処理を行い、Swiftで結果を表示する方法についても紹介します。
目次
- 画像処理の概要・前準備
- Swiftのみで画像処理
- SwiftとObjective C++で画像処理
- SwiftとC++で画像処理
画像処理の概要・前準備
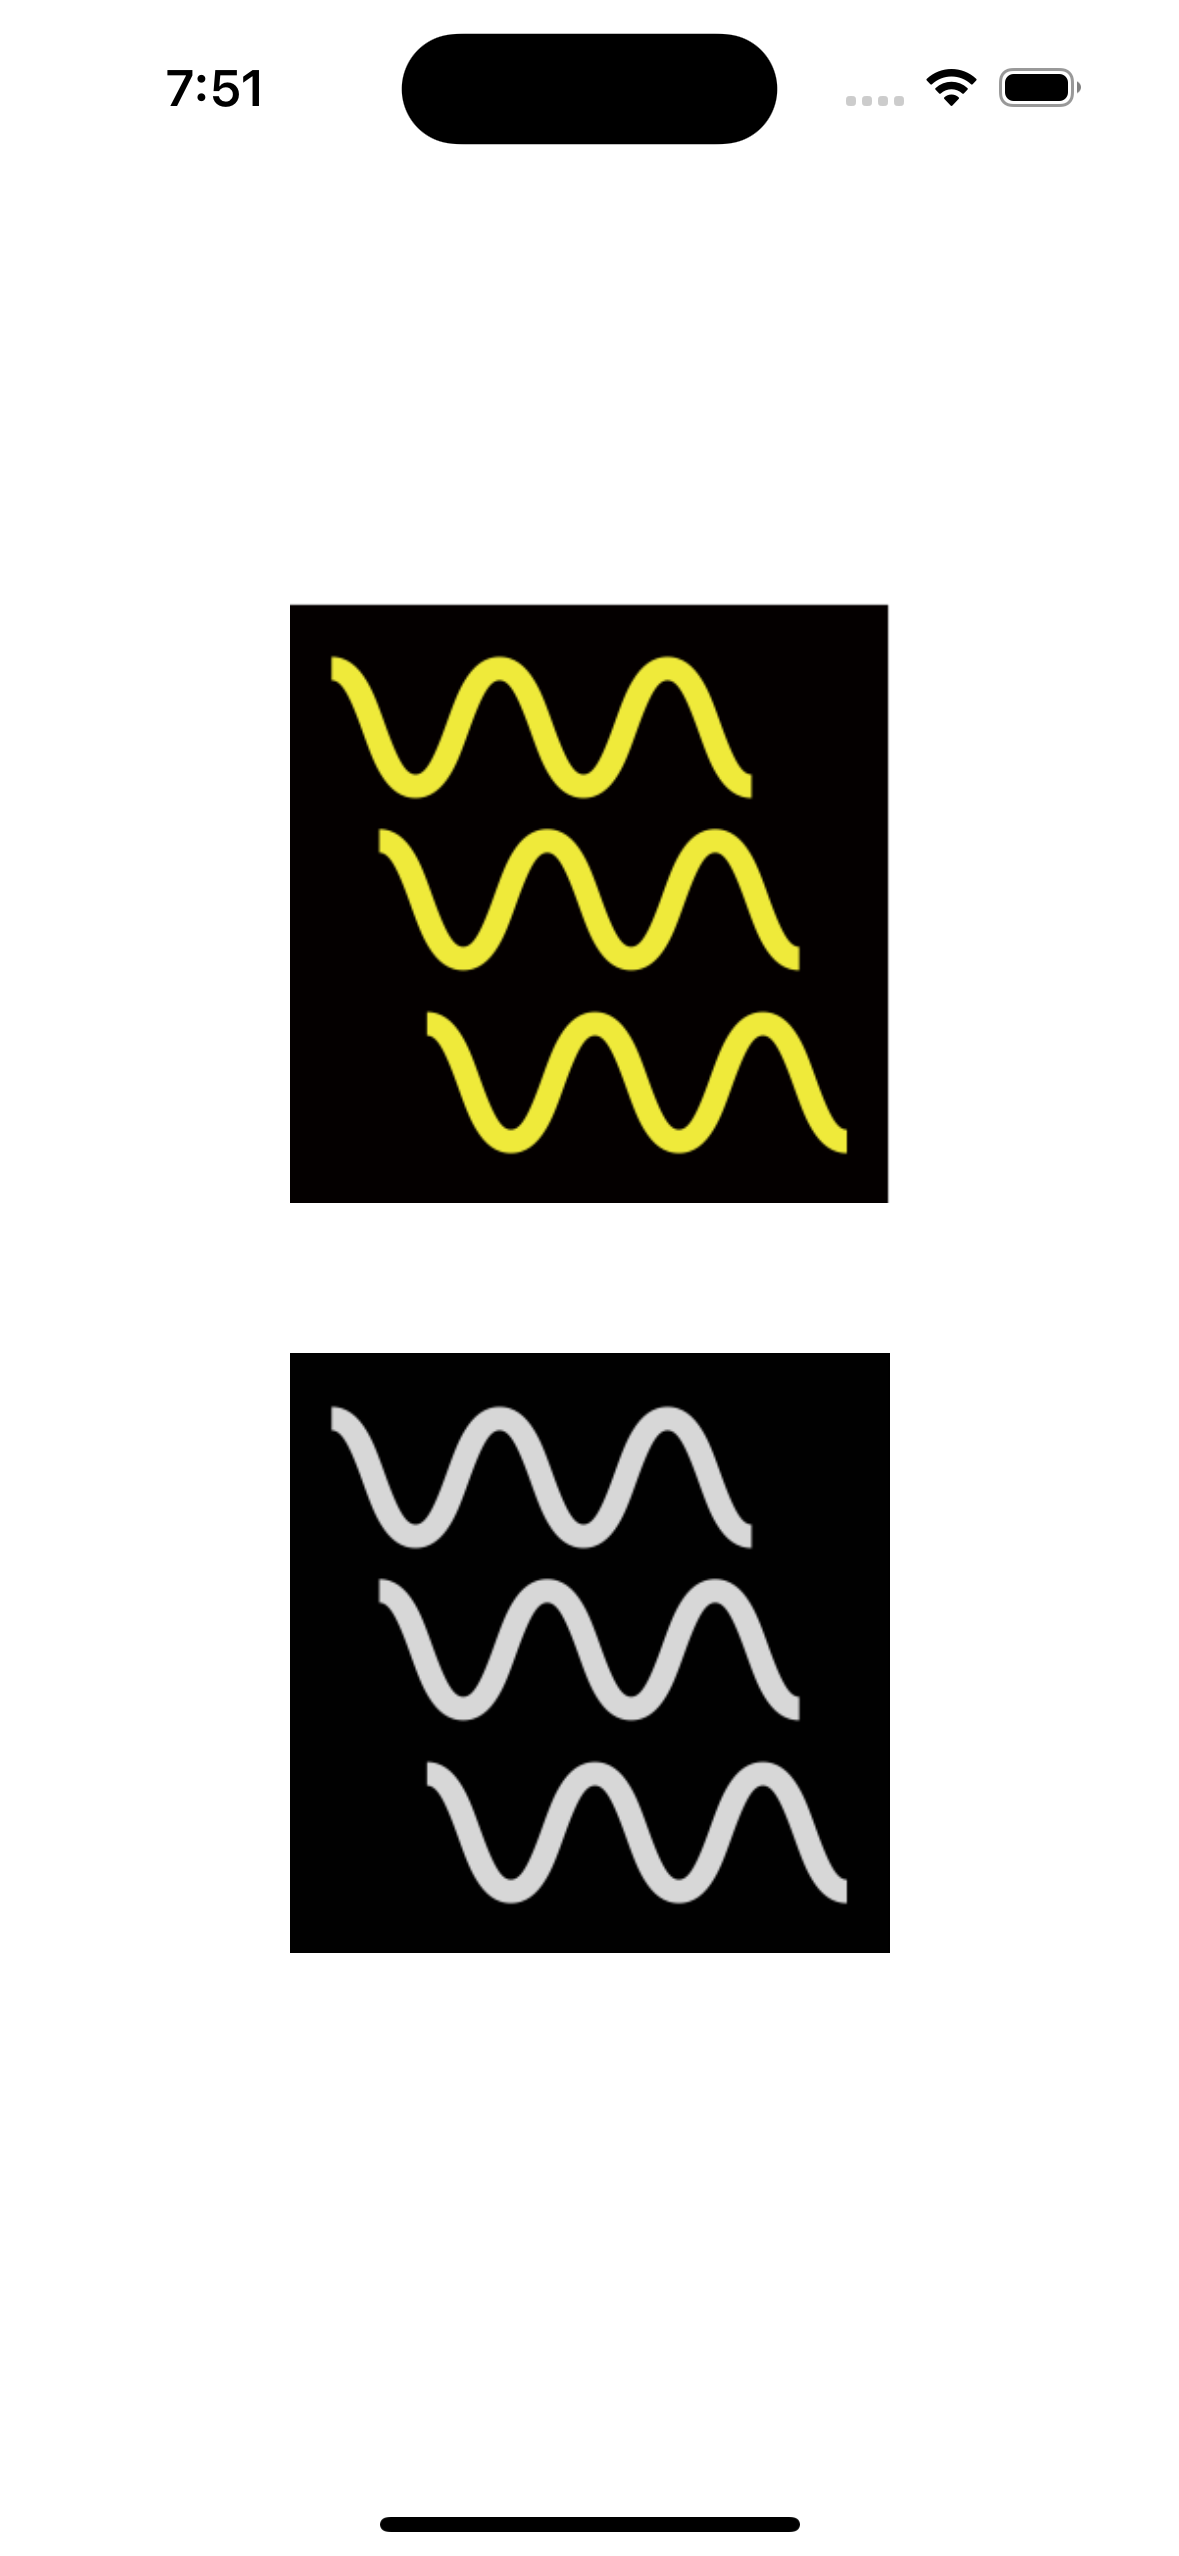
まず画像処理とは、デジタル画像に対して計算処理を行い、画像の特徴を強調したり、必要な情報を抽出したりする技術や手法の総称です。今回は、画像の波線部分の色を黄色から緑色に変換する処理を行います。具体的な処理の流れは、以下の通りです。
- 画像を白〜黒にする(グレースケール化)
- 画像を白黒にする(二値化)
- 画像から輪郭を抽出する
- 輪郭を塗りつぶす
以下は、画像処理の各ステップを示したスクリーンショットです。
| グレースケール化 | 二値化 | 輪郭抽出 |
|---|---|---|
 |
 |
 |
今回の記事ではSwiftとOpenCVの説明が主なので、上記の画像処理フローの詳細な説明は割愛します。
Swiftのみで画像処理
SwiftでOpenCVを利用する場合には、opencv2.frameworkなどのフレームワークを追加する必要があります。今回はXcodeで開発しており、Xcodeにおけるopencv2.frameworkの追加方法は以下の記事を参考にしました。
Swiftのみで行う画像処理は以下の通りです。
import UIKit
import opencv2

enum ImagePainter {
    static func imagePainting(assetName: String) -> UIImage? {
        guard let image = UIImage(named: assetName) else {
            return nil
        }
        let mat = Mat(uiImage: image)
        let matGray = mat.clone()

        // グレースケール化
        Imgproc.cvtColor(
            src: mat,
            dst: matGray,
            code: ColorConversionCodes.COLOR_RGBA2GRAY
        )

        // 二値化
        let matBinary = mat.clone()
        Imgproc.threshold(
            src: matGray,
            dst: matBinary,
            thresh: 100,
            maxval: 255,
            type: .THRESH_BINARY
        )

        let contoursNSMutableArray: NSMutableArray = []
        let hierarchy = Mat()
        // 領域抽出
        Imgproc.findContours(
            image: matBinary,
            contours: contoursNSMutableArray,
            hierarchy: hierarchy,
            mode: RetrievalModes.RETR_TREE,
            method: ContourApproximationModes.CHAIN_APPROX_SIMPLE
        )
        var contours: [[Point2i]] = []
        for contourObj in contoursNSMutableArray {
            if let contour = contourObj as? [Point2i] {
                if contour.count < 100 { // 面積閾値を設定して、小さい領域を無視
                    continue
                }
                contours.append(contour)
            }
        }

        // 塗りつぶしの色を指定
        let green: Scalar = Scalar(0, 255, 0, 255)
        let coloringImage = mat.clone()

        // 指定した色で塗りつぶし
        Imgproc.drawContours(image: coloringImage, contours: contours, contourIdx: -1, color: green, thickness: -1)

        return coloringImage.toUIImage()
    }
}
imagePainting関数からreturnされたUIImageが画像処理された画像になります。
SwiftとObjective C++で画像処理
C++で画像処理を行い、Swiftで表示する方法の一つとして、Objective C++でブリッジするという方法があります。そのため、ブリッジヘッダーを作成してから実装する必要があります。プログラムは以下の通りです。
let objcPaintedImage = ObjcImagePainter.imagePainting(UIImage(named: assetName))
#import <opencv2/opencv.hpp>
#import <opencv2/imgcodecs/ios.h>
#include "ObjcImagePainter.h"

@implementation ObjcImagePainter

+(UIImage *)imagePainting: (UIImage *)image {
    cv::Mat source_img;
    UIImageToMat(image, source_img);

    cv::Mat painted_img, gray_img, bin_img;
    painted_img = source_img.clone();
    cv::cvtColor(source_img, gray_img, cv::COLOR_RGBA2GRAY); // グレースケール化
    cv::threshold(gray_img, bin_img, 1, 255, cv::THRESH_BINARY); // 二値化

    std::vector<std::vector<cv::Point>> contours;
    std::vector<cv::Vec4i> hierarchy;
    cv::findContours(bin_img, contours, hierarchy, cv::RETR_EXTERNAL, cv::CHAIN_APPROX_SIMPLE); // 輪郭抽出
    for( size_t i = 0; i< contours.size(); i++ ) {
        // 塗りつぶし
        cv::drawContours(painted_img, contours, i, cv::Scalar(0, 255, 0, 255), -1);
    }
    UIImage *dst_img = MatToUIImage(painted_img);
    return dst_img;
}

@end
このプログラムでは、UIImageをObjective C++内でcv::Mat型(OpenCV C++の画像型)に変換して、画像処理を施した後、再度UIImageに戻してreturnしています。
SwiftとC++で画像処理
SwiftとC++で画像処理では、C++ interoperabilityという機能を使用してみました。プログラムは以下の通りです。(こちらのプログラムは、高解像度画像の場合、メモリ消費が大きくなるかもしれません。必要に応じて画像サイズを調整してください。)
// 3.1 画像ステータスの取得
let pixelValues = originalImage.getPixelValueFromUIImage()
let channels = originalImage.getImageChannel()
let imageWidth = originalImage.cgImage!.width
let imageHeight = originalImage.cgImage!.height

// 3.2 Array<UInt8> (swift) -> std::vector<uint8_t> (c++)
var cxxVector = CxxImageProcessor.Vector()
for value in pixelValues {
    cxxVector.push_back(value)
}

// 3.3 Image Processing in C++
let convertedPixelValues = Array<UInt8>(
    cxxImageProcessor.process(cxxVector, Int32(channels), Int32(imageWidth), Int32(imageHeight))
)

// 3.4 Create UIImage from Array<UInt8>
let cxxPaintedImage = UIImage.arrayToImage(pixelValues: convertedPixelValues, width: imageWidth, height: imageHeight)
import UIKit

extension UIImage {
    func getImageChannel() -> Int {
        guard let cgImage = self.cgImage else {
            return 4
        }

        guard let colorSpace = cgImage.colorSpace else {
            return 4
        }

        let colorSpaceModel = colorSpace.model

        var channelCount: Int = 0
        switch colorSpaceModel {
        case .monochrome:
            channelCount = 1
        case .rgb:
            channelCount = 3
        default:
            break
        }

        if cgImage.alphaInfo != .none && cgImage.alphaInfo != .noneSkipLast && cgImage.alphaInfo != .noneSkipFirst {
            channelCount += 1
        }

        return channelCount
    }

    func getPixelValueFromUIImage() -> [UInt8] {
        guard let cgImage = self.cgImage else { return [] }
        let width = cgImage.width
        let height = cgImage.height
        let colorSpaceModel = cgImage.colorSpace?.model

        var bytesPerPixel = 4
        var bitmapInfo: UInt32 = CGImageAlphaInfo.premultipliedLast.rawValue
        var colorSpace = CGColorSpaceCreateDeviceRGB()

        switch colorSpaceModel {
        case .monochrome:
            bytesPerPixel = 1
            bitmapInfo = CGImageAlphaInfo.none.rawValue
            colorSpace = CGColorSpaceCreateDeviceGray()
        case .rgb:
            if cgImage.alphaInfo == .none {
                bytesPerPixel = 3
                bitmapInfo = CGImageAlphaInfo.noneSkipLast.rawValue | CGBitmapInfo.byteOrder32Big.rawValue
            }
        default:
            break
        }
        let bytesPerRow = bytesPerPixel * width
        let bitsPerComponent = 8
        var pixelData = [UInt8](repeating: 0, count: width * height * bytesPerPixel)

        // ビットマップコンテキストを作成
        guard let context = CGContext(data: &pixelData,
                                      width: width,
                                      height: height,
                                      bitsPerComponent: bitsPerComponent,
                                      bytesPerRow: bytesPerRow,
                                      space: colorSpace,
                                      bitmapInfo: bitmapInfo) else { return [] }

        // CGContextに画像を描画してピクセルデータを取得
        context.draw(cgImage, in: CGRect(x: 0, y: 0, width: width, height: height))

        return pixelData
    }

    static func arrayToImage(pixelValues: [UInt8], width: Int, height: Int) -> UIImage? {
        let bytesPerPixel = 4
        let bytesPerRow = bytesPerPixel * width
        let bitsPerComponent = 8

        // ピクセルデータを使ってCGImageを生成
        guard let providerRef = CGDataProvider(data: Data(pixelValues) as CFData) else { return nil }
        guard let cgim = CGImage(
            width: width,
            height: height,
            bitsPerComponent: bitsPerComponent,
            bitsPerPixel: bytesPerPixel * bitsPerComponent,
            bytesPerRow: bytesPerRow,
            space: CGColorSpaceCreateDeviceRGB(),
            bitmapInfo: CGBitmapInfo(rawValue: CGImageAlphaInfo.premultipliedLast.rawValue),
            provider: providerRef,
            decode: nil,
            shouldInterpolate: true,
            intent: .defaultIntent
        ) else { return nil }

        return UIImage(cgImage: cgim)
    }
}
#include "CxxImageProcessor.hpp"
#import "IconPainter-Swift.h"

#import <opencv2/opencv.hpp>

std::vector<uint8_t> CxxImageProcessor::process(std::vector<uint8_t> pixel_values, int channel, int image_width, int image_height) {

    cv::Mat src_img = array_to_Mat(pixel_values, image_width, image_height, channel);
    cv::Mat origin_img, gray_img, bin_img, bin_inv_img;
    origin_img = src_img.clone();
    cv::cvtColor(src_img, gray_img, cv::COLOR_RGBA2GRAY);
    cv::threshold(gray_img, bin_img, 1, 255, cv::THRESH_BINARY);

    std::vector<std::vector<cv::Point>> contours;
    std::vector<cv::Vec4i> hierarchy;
    cv::findContours(bin_img, contours, hierarchy, cv::RETR_EXTERNAL, cv::CHAIN_APPROX_SIMPLE);
    for( size_t i = 0; i< contours.size(); i++ ) {
        cv::drawContours(origin_img, contours, i, cv::Scalar(0, 255, 0, 255), -1);
    }

    std::vector<uint8_t> outputPixelValues = Mat_to_array(origin_img);

    return outputPixelValues;
}

cv::Mat CxxImageProcessor::array_to_Mat(std::vector<uint8_t> array, int width, int height, int channel) {
    cv::Mat image;
    if (channel == 4) {
        image = cv::Mat(height, width, CV_8UC4, array.data());
        cv::cvtColor(image, image, cv::COLOR_BGRA2RGBA); // RGBAの並びに変更
    }
    return image;
}

std::vector<uint8_t> CxxImageProcessor::Mat_to_array(cv::Mat image) {
    std::vector<uint8_t> array;
    array.assign(image.data, image.data + image.total() * image.elemSize());
    return array;
}

CxxImageProcessor::CxxImageProcessor() {}
上記のプログラムでは、UIImageをC++にそのまま渡せないことを考慮して、UIImageの画像における色を1ピクセルずつ抽出して配列に格納しています。この配列をC++側に渡して、配列からcv::Mat型で画像を復元して、画像処理を施します。その後、画像処理を適用した画像における色を1ピクセルごとに抽出して再度配列に戻して、Swift側に渡します。そして、Swift側で配列からUIImageを復元することで画像処理を施したUIImageを取得できます。
まとめ
いかがだったでしょうか?本記事では、SwiftとC++を用いて画像処理を行う方法について紹介しました。記事を通して、Swiftを用いた画像処理の方法や、SwiftとC++の連携の方法について興味を持っていただけたら幸いです。