概要##
laravlデプロイ後独自ドメイン設定までは上手くいったがHTTPS化に苦戦したので今後の備忘録として残しておきます。
AWSのELBを使用してもhttps通信出来ない方やLet's Encryptでssl証明書を取得しhttps化したい方、Let's Encryptの他の記事を読んでも出来ない方向けです。
著者自身初めてのhttps接続を試した為全ての方で出来るとは限りません。
環境##
・MacOs
・Amazon Linux2
・Apache2
・laravel6
前提##
・AWSのEC2にApache2を使用してデプロイしている。
・独自ドメインを取得している。
・Route53の設定を終わらせている。
セキュリティーグループの設定##
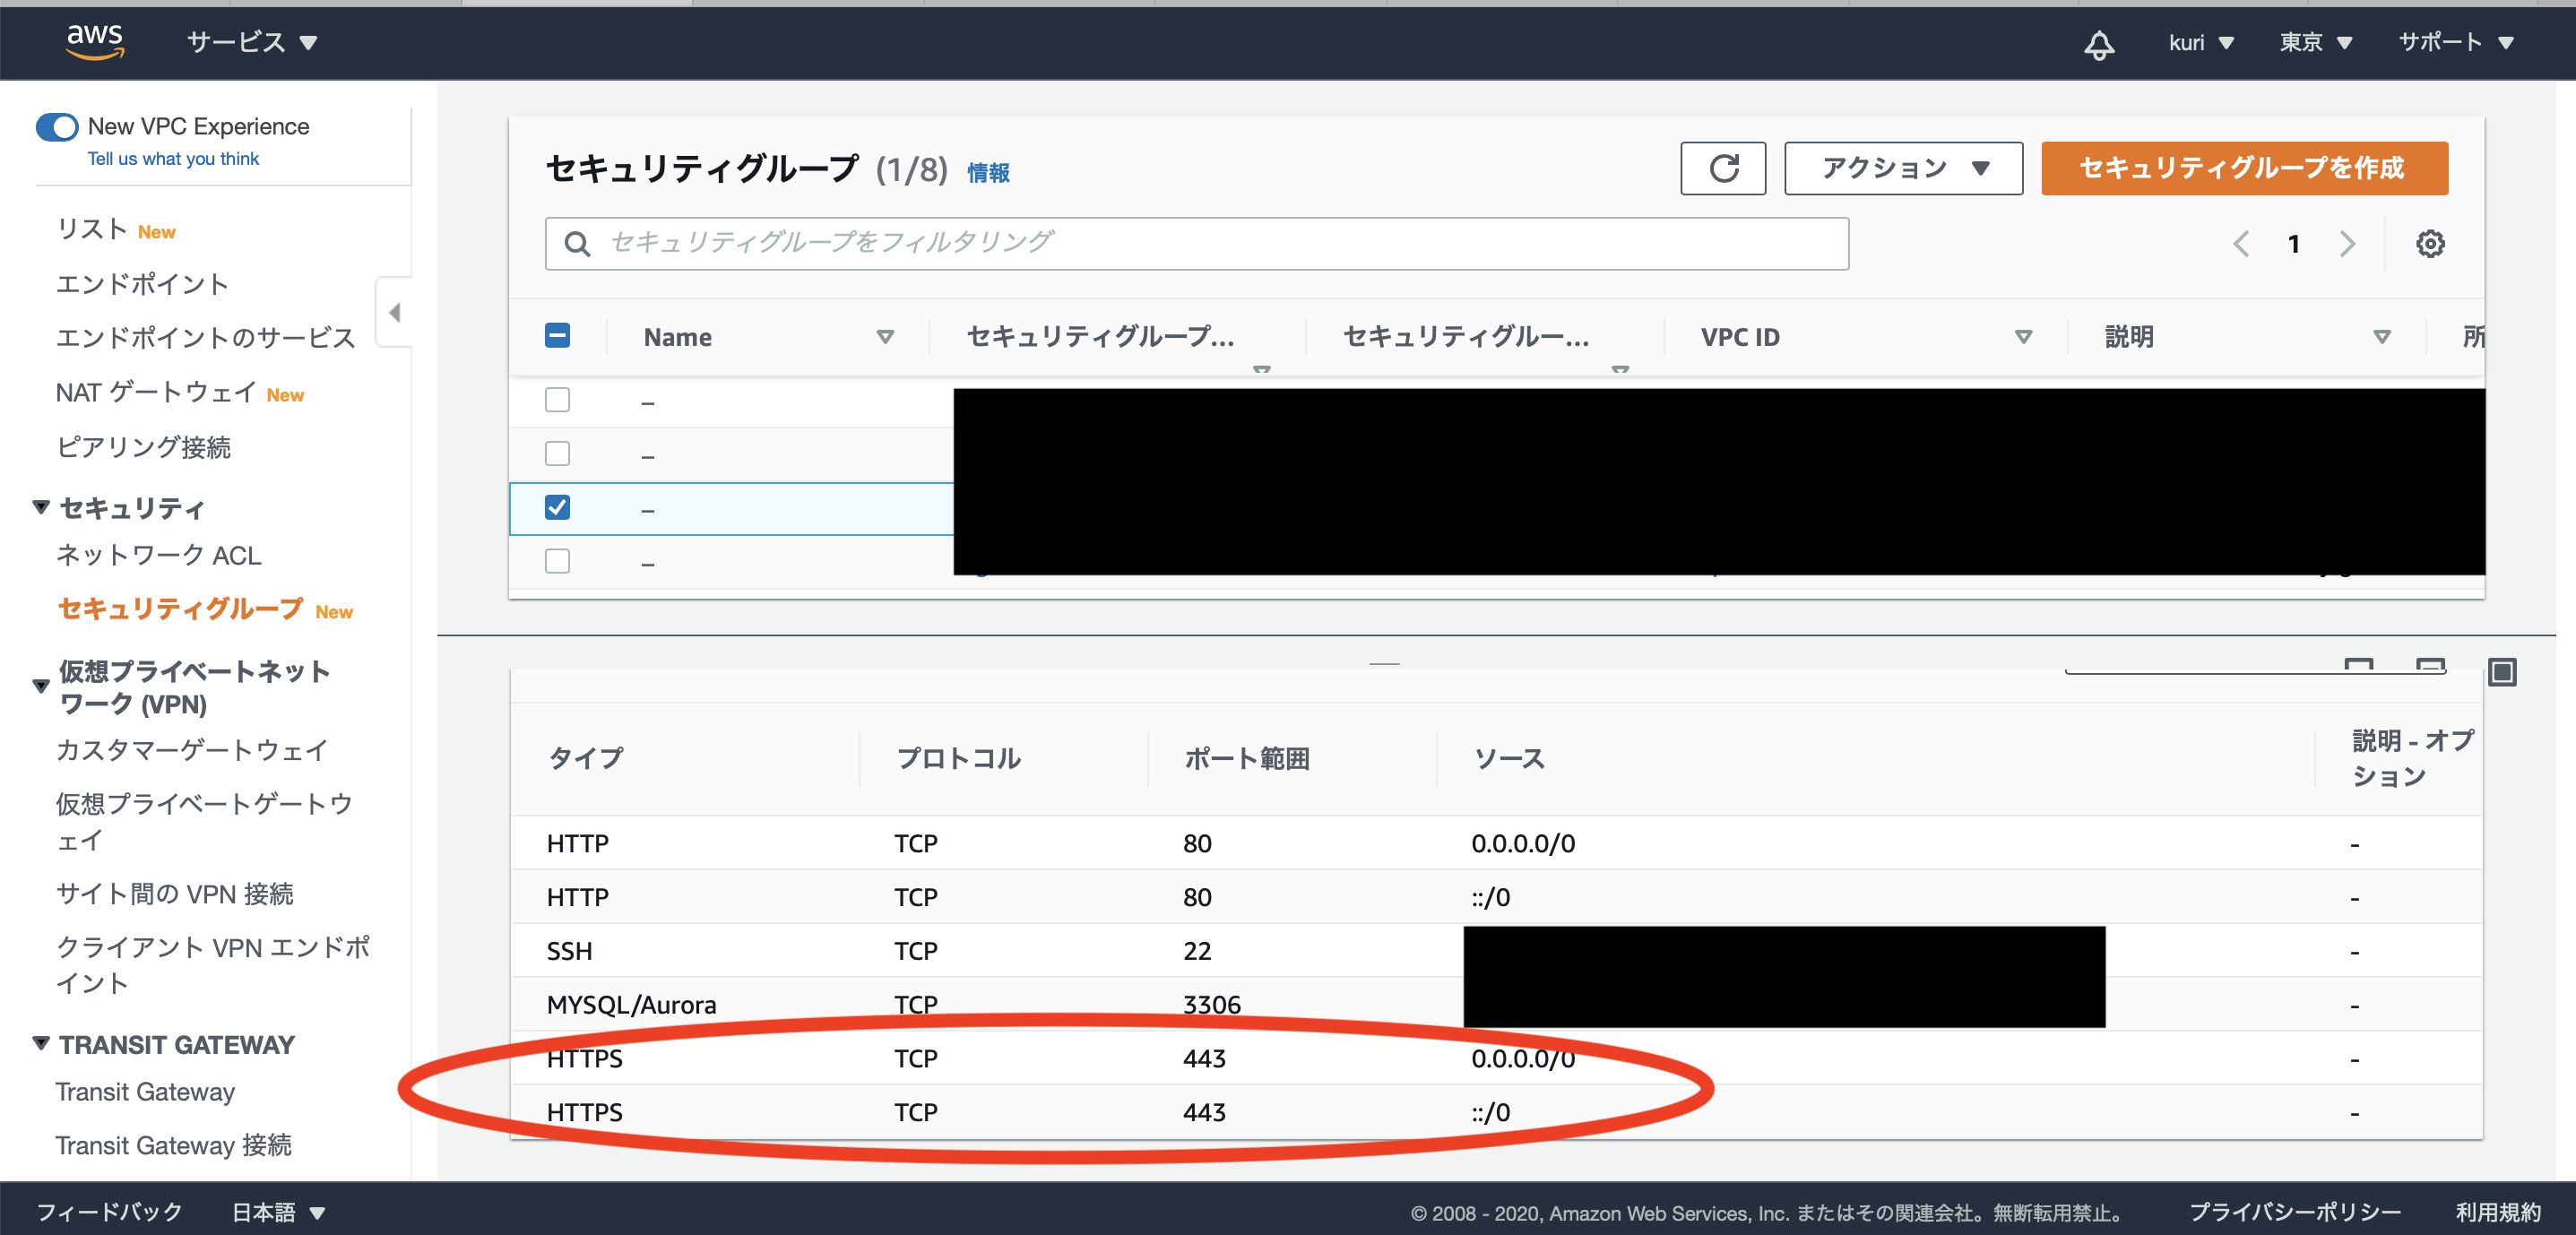
HTTPSのポートを追加して下さい。
Amazon Linux2対応のcertbotをインストール##
rootユーザー切り替え
# sudo -i

Amazon Linux 2のEPELレポジトリを有効にする
# amazon-linux-extras install -y epel

certbotとpython-certbot-apacheをインストール
# yum install certbot python-certbot-apache
インストール出来ているか確認
# certbot -h

certbot [SUBCOMMAND] [options] [-d DOMAIN] [-d DOMAIN] ...

Certbot can obtain and install HTTPS/TLS/SSL certificates.  By default,
it will attempt to use a webserver both for obtaining and installing the
certificate. The most common SUBCOMMANDS and flags are:
以下省略
証明書を取得する##
なぜかこのコマンドが通らない...
メールアドレスのエラーが起きてしまう。
失敗例
certbot certonly –webroot -w [ドキュメントルート] -d [SSLをかけたいドメイン・URL] –email [メールアドレス] -n –agree-tos
なのでメールアドレスをなくし
成功例
# certbot certonly --webroot -w [ドキュメントルート] -d [SSLをかけたいドメイン・URL]

コマンド例
# certbot certonly --webroot -w /var/www/html/public -d www.hoge.com
コマンドを打つと以下会話形式に進みます
・連絡用のメールアドレスを入力
・規約への同意 : Y
・メーリングリストへの登録 : N (今回不要だった)
3点を入力すると発行される。
補足としてドキュメントルートの確認方法
# vi /etc/httpd/conf/httpd.conf

ここを確認
DocumentRoot "/var/www/html/public"
証明書の確認##
# ll /etc/letsencrypt/live/[証明書を取得するで入力したドメイン]

合計 4
-rw-r--r-- 1 root root 692 10月 18 16:24 README
lrwxrwxrwx 1 root root  41 10月 18 16:24 cert.pem -> ../../archive/ドメイン/cert1.pem
lrwxrwxrwx 1 root root  42 10月 18 16:24 chain.pem -> ../../archive/ドメイン/chain1.pem
lrwxrwxrwx 1 root root  46 10月 18 16:24 fullchain.pem -> ../../archive/ドメイン/fullchain1.pem
lrwxrwxrwx 1 root root  44 10月 18 16:24 privkey.pem -> ../../archive/ドメイン/privkey1.pem
ApacheのSSL設定ファイルを編集する##
Apache の SSL 設定ファイルを編集します
# vi /etc/httpd/conf.d/ssl.conf
下記を修正します。
ここの#は元々コメントアウトされている物です。

SSLCertificateFile で文字列検索する
#   Server Certificate:
# Point SSLCertificateFile at a PEM encoded certificate.  If
# the certificate is encrypted, then you will be prompted for a
# pass phrase.  Note that a kill -HUP will prompt again.  A new
# certificate can be generated using the genkey(1) command.
SSLCertificateFile /etc/letsencrypt/live/[ドメイン]/cert.pem

SSLCertificateKeyFile で文字列検索する
#   Server Private Key:
#   If the key is not combined with the certificate, use this
#   directive to point at the key file.  Keep in mind that if
#   you've both a RSA and a DSA private key you can configure
#   both in parallel (to also allow the use of DSA ciphers, etc.)
SSLCertificateKeyFile /etc/letsencrypt/live/[ドメイン]/privkey.pem

SSLCertificateChainFile で文字列検索する
#   Server Certificate Chain:
#   Point SSLCertificateChainFile at a file containing the
#   concatenation of PEM encoded CA certificates which form the
#   certificate chain for the server certificate. Alternatively
#   the referenced file can be the same as SSLCertificateFile
#   when the CA certificates are directly appended to the server
#   certificate for convinience.
SSLCertificateChainFile /etc/letsencrypt/live/[ドメイン]/chain.pem
この様に変更します。
ドメインの部分は [証明書を取得するで入力したドメイン] を使用して下さい。
viエディタの文字列検索方法
上から順番に検索する「/」
下から検索を行う「?」
Apache を再起動します。
# sudo service httpd restart
これで準備完了です。
https://ドメイン でアクセスできるか確認してみましょう。
注意##
Let's Encryptの証明書は有効期限が90日です。
更新手続きの自動化も出来るらしいが更新を確認していないので自動更新は別記事を参考にして下さい。
参考記事##
無料SSL証明書 Let’s Encryptのススメ その2
Let's Encryptで無料SSL証明書を取得する
終わりに##
ELBが上手くいかずLet's Encryptもエラーで苦しんでなんとか実装出来た方法です。
いろいろな方法がありますので1つの参考になれば幸いです。
間違い等ございましたらコメントでご指摘お願いします。
お疲れ様でした。