はじめに
前回のMaixduino+Obniz OSとenebularを使って、顔検出したらLINEで通知するといった流れを作ってみようと思う。
前提
- 前回の記事でObniz Cloudへ向けて顔検出データを飛ばせていること。
- enebularで無料アカウントを作成していること。そして、細かいことは置いておいてflowまで作成できること。
- YSFK_KOBE様の"Line Messaging APIで簡単Line Bot作成(超初心者向け)"などを参考に、プロバイダーならびにチャネルの準備をしておくこと。
準備
まず、enebularへログインして、プロジェクトとflowを作成する。
何もノードが置かれていない空のエディット画面が用意されている状態にする。
CategoryやFlow名はお好みで。

その後、漢字の三の時みたいなメニューボタンをクリックして、パレットの管理をクリックした後にノードを追加を選択する。


"ノードを検索"エディットボックスにobnizと入力し、node-red-contrib-obnizノードを追加する。また、同じ要領でline-messagingと入力しnode-red-contrib-line-messaging-apiをインストールする。


これでenebularの準備はOK。
Obniz repeatノードの実装
Obniz RepeatノードとLine Push messageノードをおいて、このような構成を組んでみる。

jsonはこちら。
[{"id":"2e4d0b90.67f3e4","type":"obniz-repeat","z":"795be71.f9b8718","obniz":"96dff62f.0b17e8","name":"","interval":"5000","code":"msg.payload = obnizParts.getCheck();\nreturn msg;","x":150,"y":380,"wires":[["901da50.abc8658"]]},{"id":"901da50.abc8658","type":"json","z":"795be71.f9b8718","name":"","property":"payload","action":"","pretty":false,"x":330,"y":400,"wires":[["9d2be575.312238","7d71c9d3.3a07e8"]]},{"id":"9d2be575.312238","type":"debug","z":"795be71.f9b8718","name":"","active":true,"tosidebar":true,"console":false,"tostatus":false,"complete":"payload","targetType":"msg","x":570,"y":400,"wires":[]},{"id":"7d71c9d3.3a07e8","type":"switch","z":"795be71.f9b8718","name":"","property":"payload","propertyType":"msg","rules":[{"t":"nempty"}],"checkall":"true","repair":false,"outputs":1,"x":290,"y":480,"wires":[["53ad5b68.9a6284"]]},{"id":"53ad5b68.9a6284","type":"template","z":"795be71.f9b8718","name":"","field":"payload","fieldType":"msg","format":"handlebars","syntax":"mustache","template":"だれかが おまえの へやにいる !","output":"str","x":440,"y":480,"wires":[["e47d889.70a3678"]]},{"id":"e47d889.70a3678","type":"PushMessage","z":"795be71.f9b8718","name":"","channelSecret":"","channelAccessToken":"","targetId":"","x":620,"y":480,"wires":[]},{"id":"96dff62f.0b17e8","type":"obniz","z":"","obnizId":"XXXX-XXXX","deviceType":"esp32","name":"maixduino","accessToken":"","code":"obnizParts.str = [0];\nobniz.plugin.onreceive = data => {\n obnizParts.str = data;\n};\n\nobnizParts.getCheck = function(){\n let str = String.fromCharCode.apply(null,obnizParts.str);\n obnizParts.str = [0];\n \n let countL = ( str.match( /{/g ) || [] ).length ;\n let countR = ( str.match( /}/g ) || [] ).length ;\n if(countL!=countR || (countL==0 || countR==0)){\n return \"{}\";\n }\n \n return str;\n}"}]
上述のsampleをコピーし、メニューから"読み込み"をクリックして貼り付けて、”読み込み”ボタンを押せばフローをそのままコピーすることができる。

Obniz Repeatブロックの設定
flow中のObniz Repeatノードをクリックし、コードの設定を行う。鉛筆マークをクリックして、自身のMaixduinoにインストールしたObnizのObniz IDを入力する。


その後、完了をクリックして設定を終了する。
Line Push Messageノードの設定
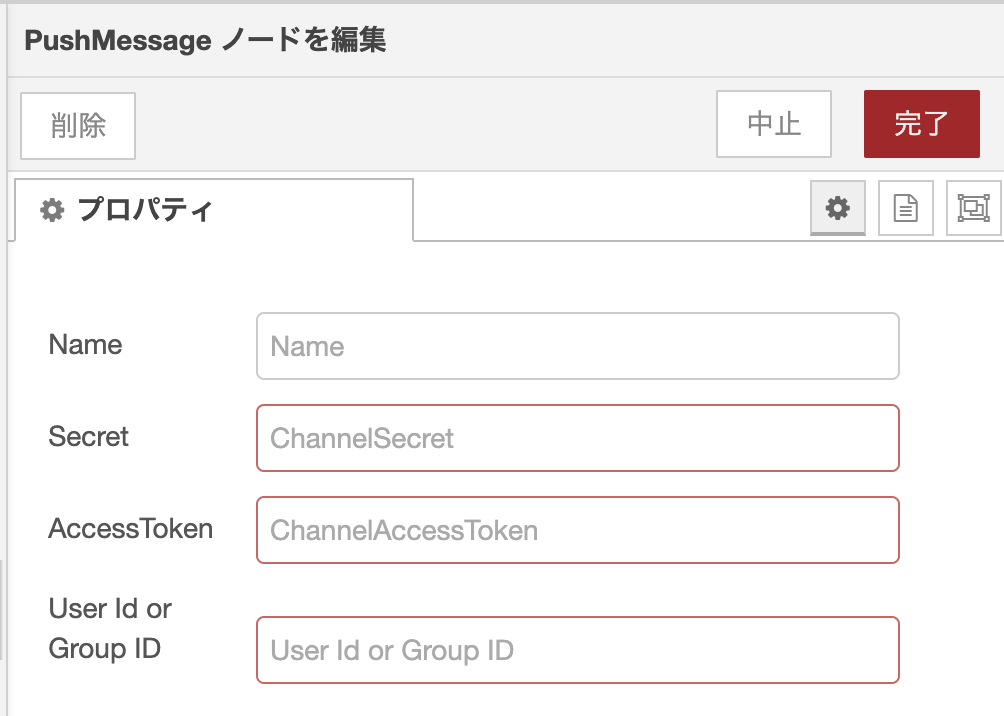
自身のチャネルの情報を入力する。
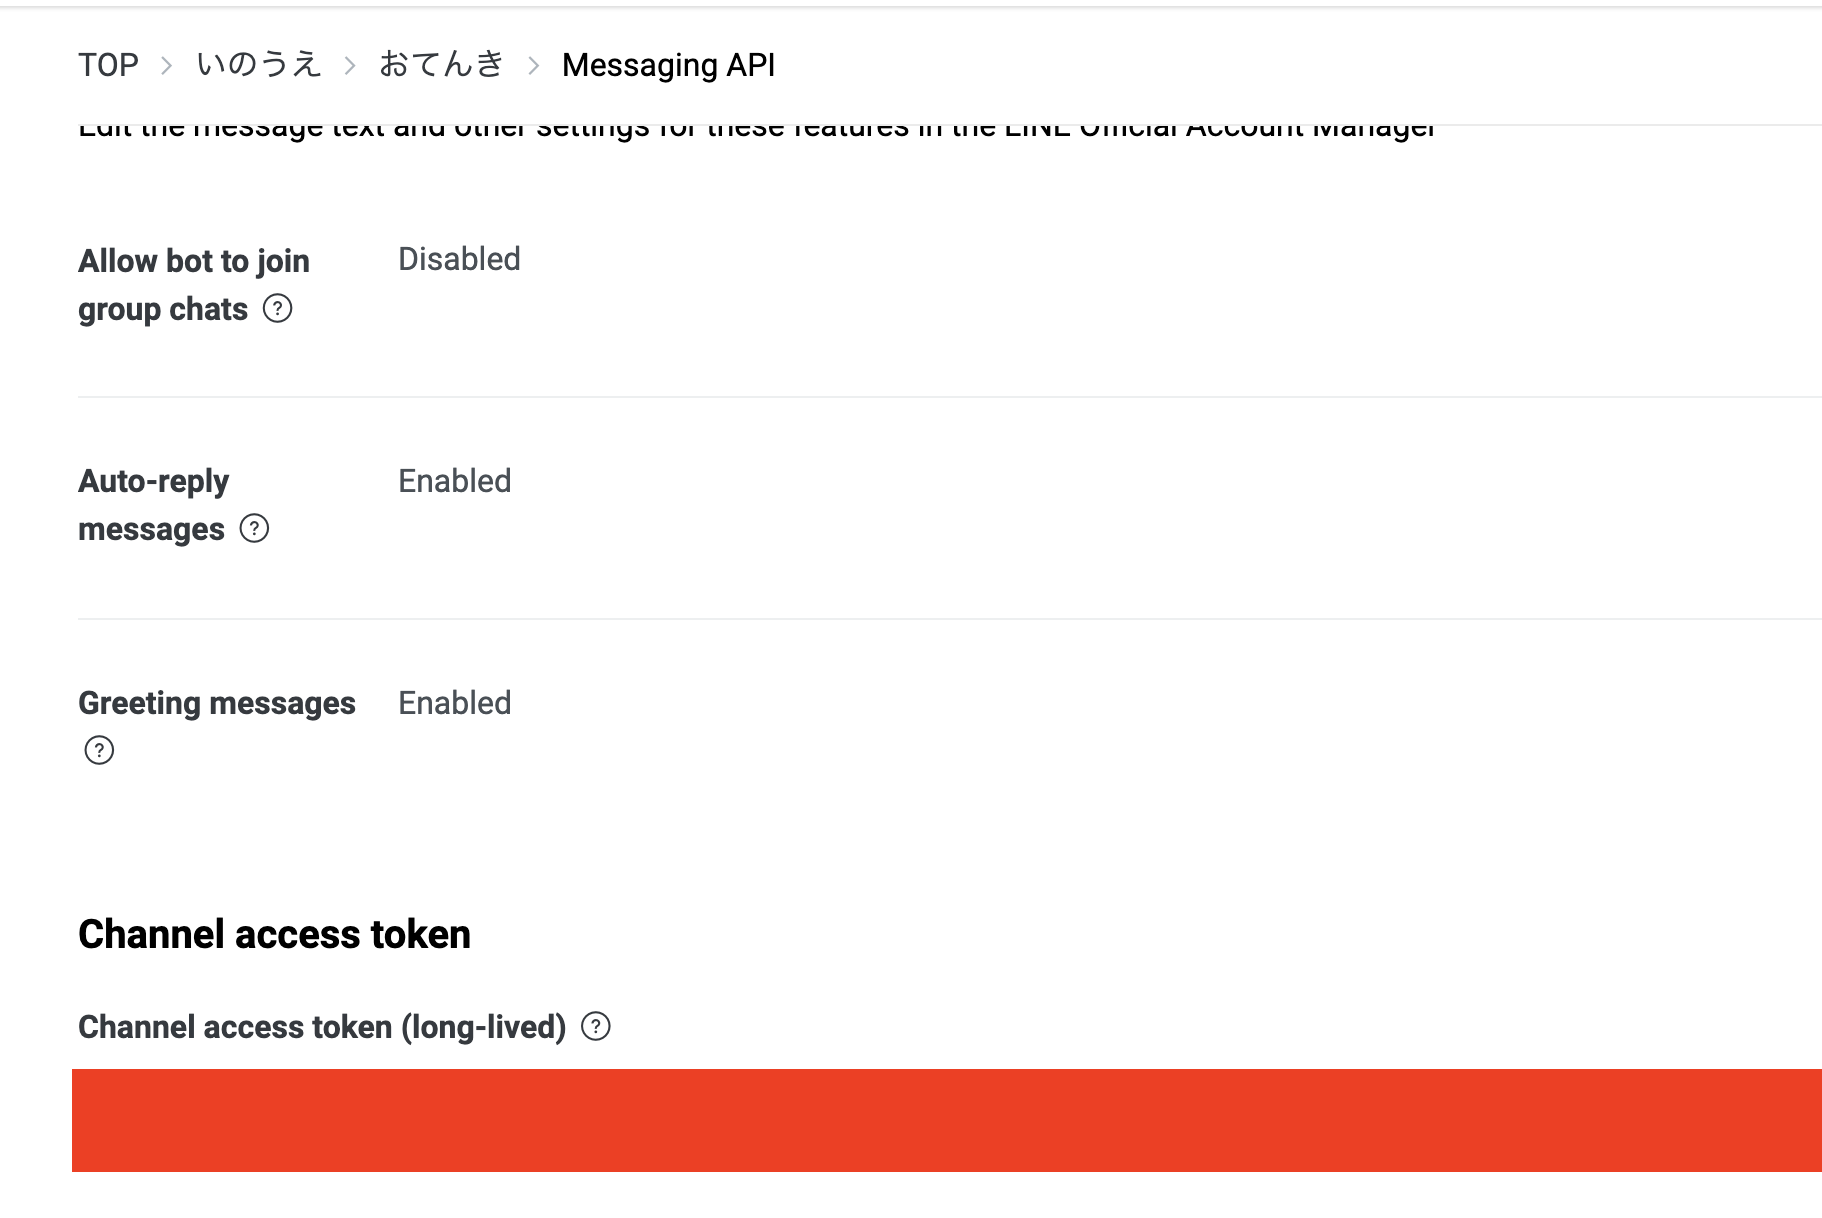
必要なチャネルの情報として、Channel SecretとYour User ID、Channel access tokenがある。2020年11/3(火)では、Channel SecretとYour User IDはBasic Settingsにある。また、Channel access tokenはMesseging APIにある。

それぞれの情報の存在を確認したら、Push Messageノードをクリックして設定する。
その後、完了を押して設定を終了する。
結果
顔を検出して数秒後にLineにて「おまえの へやに だれかがいる!」というメッセージが出力されるはず。もうちょっと文章考えておけばよかった。むっちゃ怖い。

終わりに
- Obniz OS入りMaixduinoとenebularを連携してみた。
- Obniz Repeatノードを使ってObniz入りMaixduinoをjsで操作した。
- Line Messaging APIを使って顔推論後にLineへプッシュ通知できるようにした。
AIoTも手軽になったなぁ。。。