はじめに
Pythonを使ってSAML認証の検証を行機会があり、Pythonで動かせたので、SAMLの勉強がてら、Elixirでも試してみることにしました。
samlyを試してみます
簡単にできるかと思ったんですが、認証エラーの原因が特定に結構苦労しました。
最終的には動作させる事ができたので、ハマりポイントも含めて、結果を紹介します。
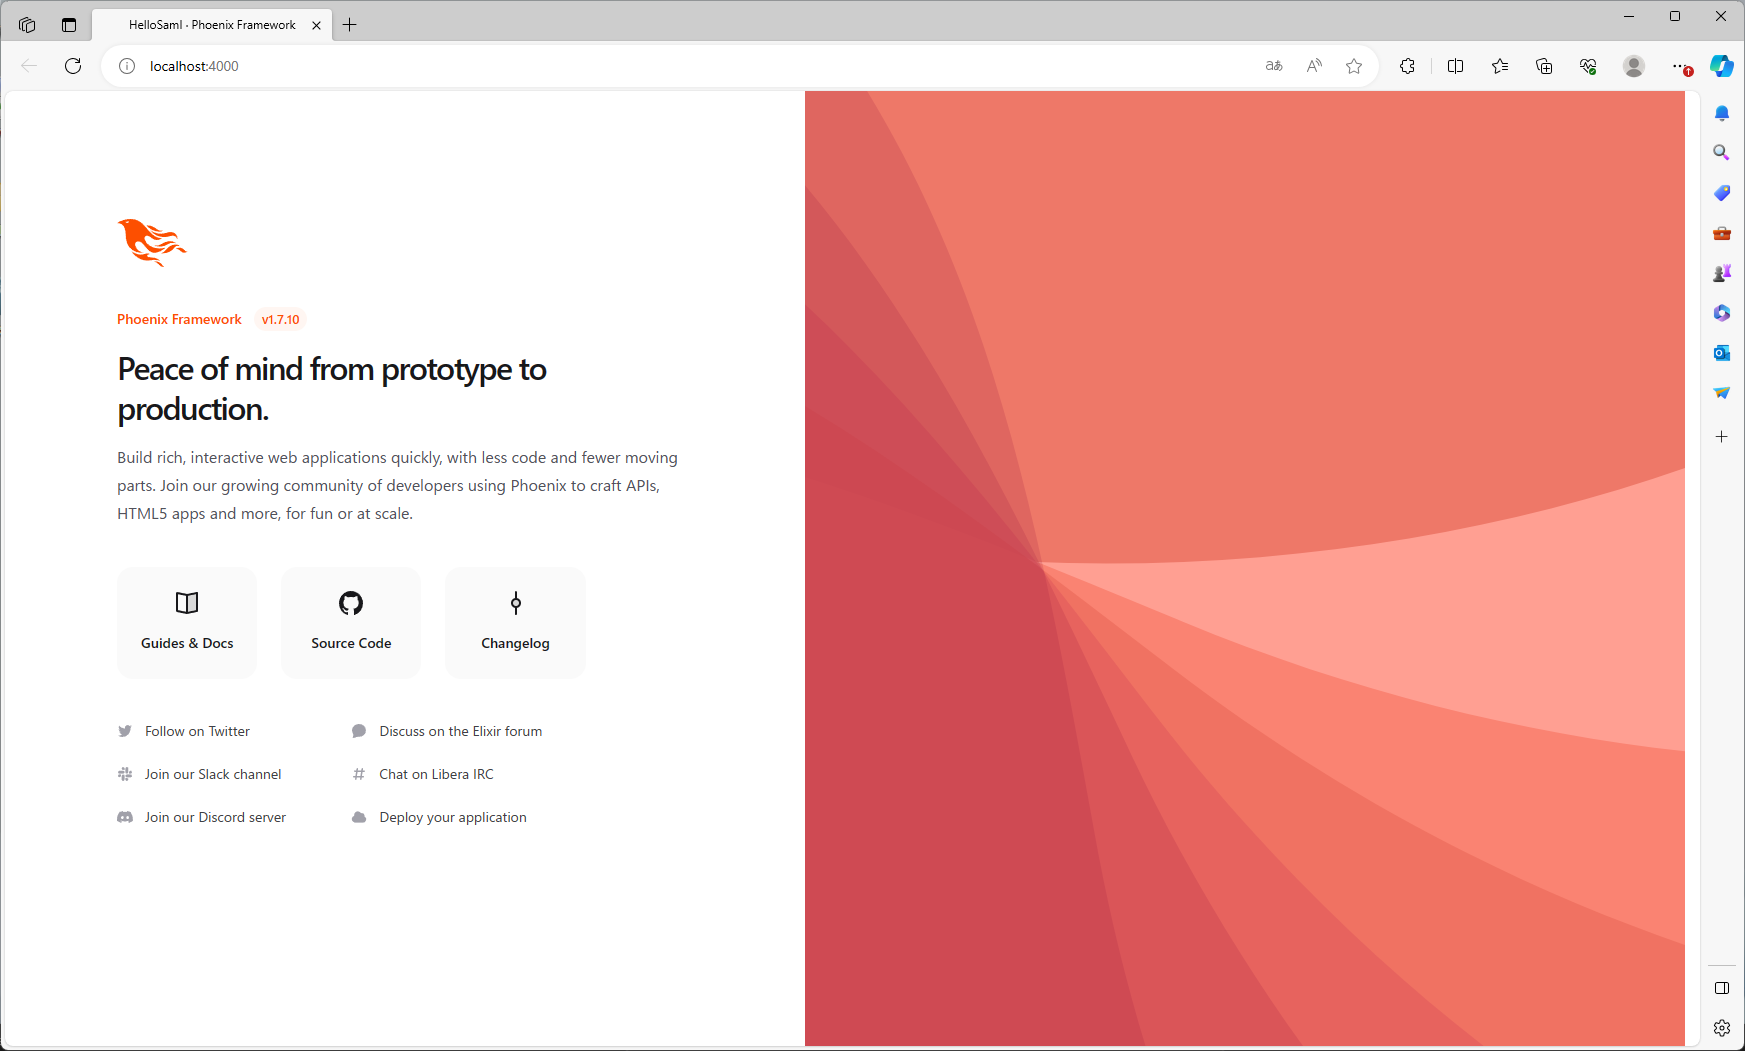
Phoenix初期状態
$ mix phx.new hello_saml --database sqlite3
$ cd hello_saml
$ mix ecto.create
$ mix phx.server
動作することを確認しておきます。sqlite3にしてるのは、私の好みです。DBはなくても問題ないとおもいます。
Samlyの組み込み
ドキュメントのReadmeに従って組み込みます。
{:samly, "~> 1.3.0"},
  def start(_type, _args) do
    children = [
     # ...
      {Samly.Provider, []},
    ]
  scope "/sso" do
    forward "/", Samly.Router
  end
same_site:の記述をコメントアウトしないとcookieによるセッションの保存が行われずうまくいきませんでした。はまりポイントの一つでした。
samlyのソースにIO.inspect仕込んでセッションの情報が無いことがわかって、解決したんですが、cookieの設定だったとは。
  @session_options [
    store: :cookie,
    key: "_hello_saml_key",
    signing_salt: "6MKq1HMr"
    # same_site: "Lax"
  ]
証明書の作成
IDpとの通信で使用する証明書作成
$ mix phx.gen.cert --output priv/cert/samly_sp sp.samly
ブラウザーとの通信で使用する証明書作成
$ mix phx.gen.cert --output priv/cert/hello_saml hello.saml
Httpsのエンドポイント作成
config :hello_saml, HelloSamlWeb.Endpoint,
  http: [port: 4000],
  https: [
    port: 4001,
    cipher_suite: :strong,
    certfile: "priv/cert/hello_saml.pem",
    keyfile: "priv/cert/hello_saml_key.pem"
  ]
Samlyのconfigを追加
最低限の設定をしてみました。
base_urlは、設定しないと、IdPで認証が成功し、リダイレクトで戻ってくる段階でエラーが発生します。base_urlの問題とわかるようなエラーメッセージではなかったので、ハマりました。
config :samly, Samly.State,
  store: Samly.State.Session,
  opts: [key: :my_assertion_key]

config :samly, Samly.Provider,
  idp_id_from: :path_segment,
  service_providers: [
    %{
      id: "sp1",
      entity_id: "urn:samly.howto:helo_saml",
      certfile: "priv/cert/samly_sp.pem",
      keyfile: "priv/cert/samly_sp_key.pem",
    }
  ],
  identity_providers: [
    %{
      id: "idp1",
      sp_id: "sp1",
      base_url: "https://hello.saml:4001/sso",
      metadata_file: "metadata.xml",
    }
  ]
ログイン画面を作成
samly_howtoのログイン画面を使いました。Phoenix 1.7だと、heexの記述がエラーになる部分があったので直してます。
<section class="row">
  <div class="column">
    <%= if @uid do %>
      <a class="button" style="width: 100%;"
        href={URI.encode(@signout_uri)}>Sign out</a>
    <% else %>
      <a class="button" style="width: 100%;"
        href={URI.encode(@signin_uri)}>Sign in</a>
    <% end %>
  </div>
  <div class="column">
    <a class="button button-outline" style="width: 100%;"
        href={URI.encode(@metadata_uri)}>SP Metadata</a>
  </div>
</section>
<section class="row">
  <div class="column">
    <div class="signin-status">
      <%= if @uid do %>
        <strong>Signed in as <%= Plug.HTML.html_escape(@uid) %></strong>
      <% else %>
        Not signed in
      <% end %>
      <%= if @idp_id do %>
        <small>(IdP: <%= Plug.HTML.html_escape(@idp_id) %>)</small>
      <% end %>
    </div>
  </div>
</section>


<%= if @attributes do %>
  <strong>Assertions in SAML Response</strong>
  <table class="table attribute-table">
    <thead>
      <tr><th>Attribute</th><th>Value</th></tr>
    </thead>
    <tbody>
      <%= for {k, v} <- @attributes do %>
        <tr>
          <td><%= Plug.HTML.html_escape(k) %></td>
          <td><%= Plug.HTML.html_escape([v] |> List.flatten() |> Enum.join(", ")) %></td>
        </tr>
      <% end %>
    </tbody>
  </table>
<% end %>

<%= if @computed do %>
  <strong>Computed Attributes</strong>
  <table class="table attribute-table">
    <thead>
      <tr><th>Attribute</th><th>Value</th></tr>
    </thead>
    <tbody>
      <%= for {k, v} <- @computed do %>
        <tr>
          <td><%= Plug.HTML.html_escape(k) %></td>
          <td><%= Plug.HTML.html_escape([v] |> List.flatten() |> Enum.join(", ")) %></td>
        </tr>
      <% end %>
    </tbody>
  </table>
<% end %>
ログイン画面のコントローラです。
ところどころにIO.inspect入れてます。
defmodule HelloSamlWeb.PageController do
  use HelloSamlWeb, :controller

  alias Samly.Assertion

  def home(conn, params) do
    assertion = Samly.get_active_assertion(conn)
    IO.inspect(assertion, label: "assertion")

    opts = Application.get_env(:samly, Samly.Provider, [])
    idp_in_uri_type = Keyword.get(opts, :idp_id_from, :path_segment)
    IO.inspect(opts, label: "opts")

    idp_id =
      case {idp_in_uri_type, get_assertion_idp_id(assertion)} do
        {_, idp_id} when idp_id != nil -> idp_id
        {:path_segment, _} -> Map.get(params, "idp", "idp1")
        _ -> nil
      end
    IO.inspect(idp_id, label: "idp_id")

    demo_target_qp = %{a: "value one", b: "value two"}

    demo_target_qp =
      case idp_in_uri_type do
        :path_segment -> Map.put(demo_target_qp, :idp_id, idp_id)
        :subdomain -> demo_target_qp
      end

    demo_target_uri = URI.to_string(%URI{path: "/", query: URI.encode_query(demo_target_qp)})

    IO.inspect(demo_target_uri, label: "target_url")

    signin_uri_with_target =
      URI.to_string(%URI{
        path: get_signin_uri(idp_id, idp_in_uri_type),
        query: URI.encode_query(%{target_url: demo_target_uri})
      })

    signout_uri_with_target =
      URI.to_string(%URI{
        path: get_signout_uri(idp_id, idp_in_uri_type),
        query: URI.encode_query(%{target_url: demo_target_uri})
      })

    assigns = %{
      idp_id: idp_id,
      uid: Samly.get_attribute(assertion, "uid"),
      attributes: get_assertion_attributes(assertion),
      computed: get_assertion_computed_attributes(assertion),
      metadata_uri: get_metadata_uri(idp_id, idp_in_uri_type),
      signin_uri: signin_uri_with_target,
      signout_uri: signout_uri_with_target
    }

    render(conn, :home, assigns)
  end

  defp get_assertion_idp_id(%Assertion{idp_id: idp_id}), do: idp_id
  defp get_assertion_idp_id(nil), do: nil

  defp get_assertion_attributes(%Assertion{attributes: attributes}), do: attributes
  defp get_assertion_attributes(nil), do: nil

  defp get_assertion_computed_attributes(%Assertion{computed: computed}), do: computed
  defp get_assertion_computed_attributes(nil), do: nil

  defp get_metadata_uri(_idp_id, :subdomain), do: "/sso/sp/metadata"
  defp get_metadata_uri(idp_id, :path_segment), do: "/sso/sp/metadata/#{idp_id}"

  defp get_signin_uri(_idp_id, :subdomain), do: "/sso/auth/signin"
  defp get_signin_uri(idp_id, :path_segment), do: "/sso/auth/signin/#{idp_id}"

  defp get_signout_uri(_idp_id, :subdomain), do: "/sso/auth/signout"
  defp get_signout_uri(idp_id, :path_segment), do: "/sso/auth/signout/#{idp_id}"
end
hostsファイルの変更
IdPとSPが直接通信することはないので、SPはインターネットに公開されている必要もありません。
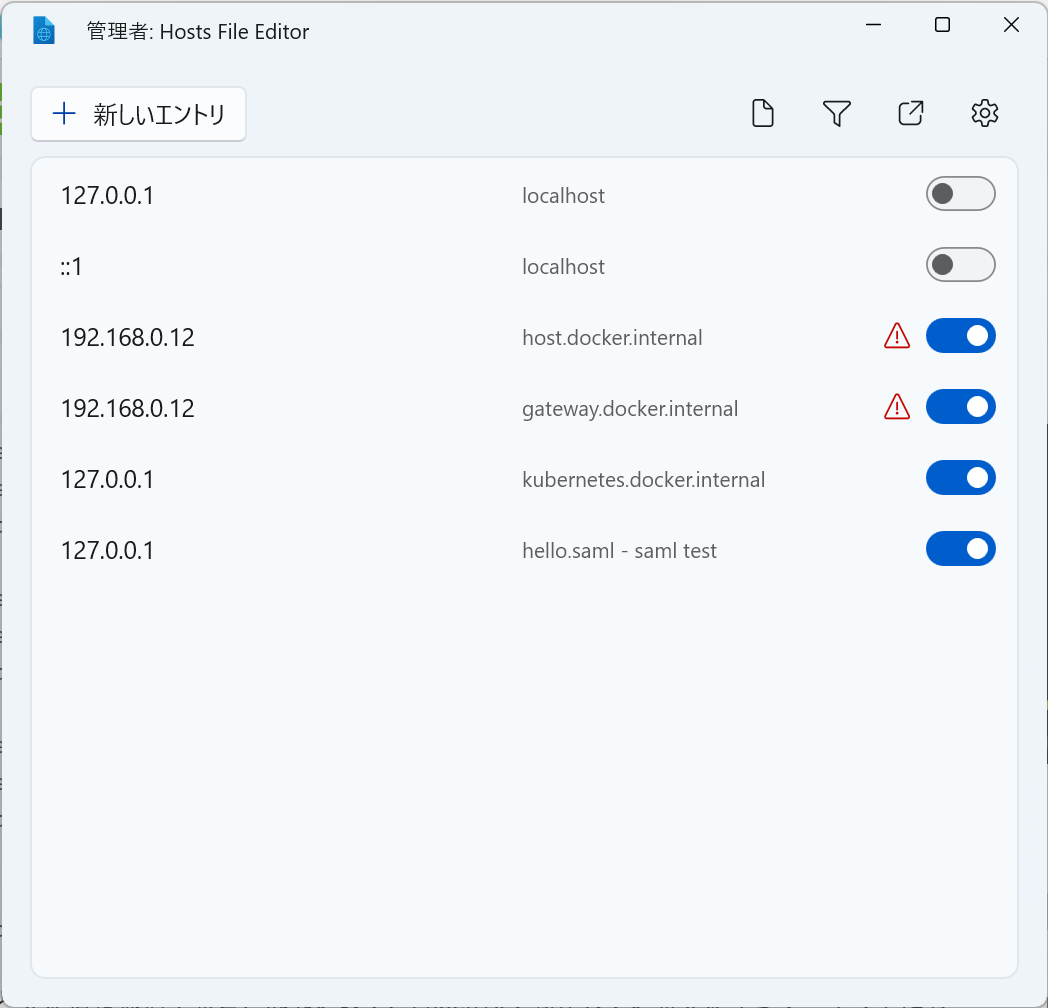
名前でアクセスできる必要もたぶんなくて、localhostのままでも大丈夫だとおもいますが、samlyのサンプルでhostsファイルで127.0.0.1に名前を付けて、名前で参照する方法がとられていたので真似してみます。
Windowsを使っているので、PowerToysのホストファイルエディターを使って hello.saml を登録しました。
これでhttps://hello.saml:4001/でブラウザーで開けるようになります。
連携するIdPの用意
samly hotwoでは、ローカルでIdPを動作させる方法が紹介されています。
これでもよいと思いますが、IdPの無料トライアルで試してみました。
GMO Trust
okta
結論から書くと、GMO TrustはSamlyで試したところ、エラーとなりうまくいきませんでした。なにか私の設定問題かもしれませんが、解決できててません。
samlyのドキュメントで動作確認されているoktaでは、動作しました。
oktaの設定
GMO TrustでIdP+Python-samlで設定した経験があったので、oktaの設定できましたが、慣れないと難しいと思いました。
設定の詳細は省略しますが、スクリーンショットの様に設定すれば連携できると思います。
Single Sign On URLが、IdPで認証を行った後に、SPに制御が戻ってくるURLになります。
https://hello.saml:4001/sso/sp/consume/[idpのID]を指定して、認証結果をsamlyが受け取るようにします。
このURLは、samlyのドキュメントのSAML Assertion Consumer ServiceのURLに説明があります。
okta のアプリケーション設定
oktaの管理画面で、metadataのxmlファイルをダウンロードして、metadate.xmlとして保存します。
configのidentity_providersのmetadata_fileにこのファイルが指定してあるので、idp1として利用できるようになります。
  identity_providers: [
    %{
      id: "idp1",
      sp_id: "sp1",
      base_url: "https://hello.saml:4001/sso",
      metadata_file: "metadata.xml",
    }
  ]
動作確認
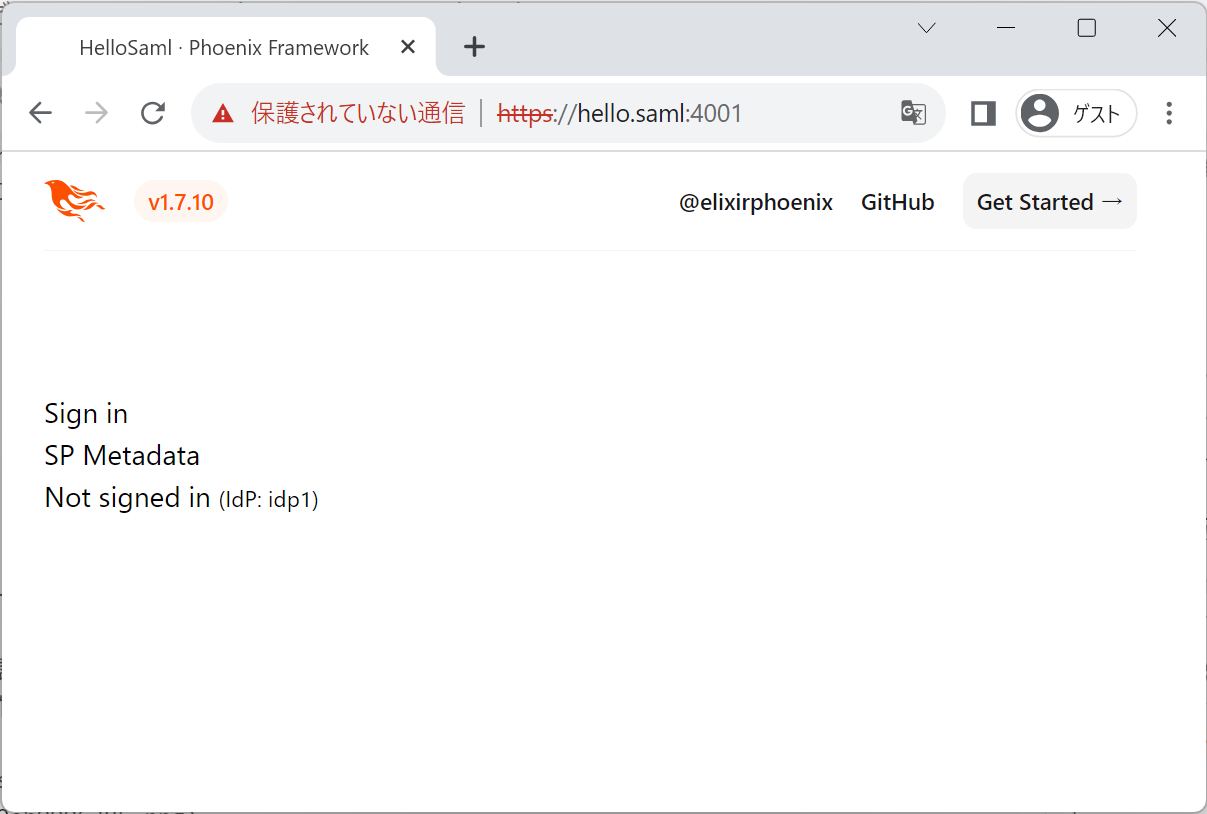
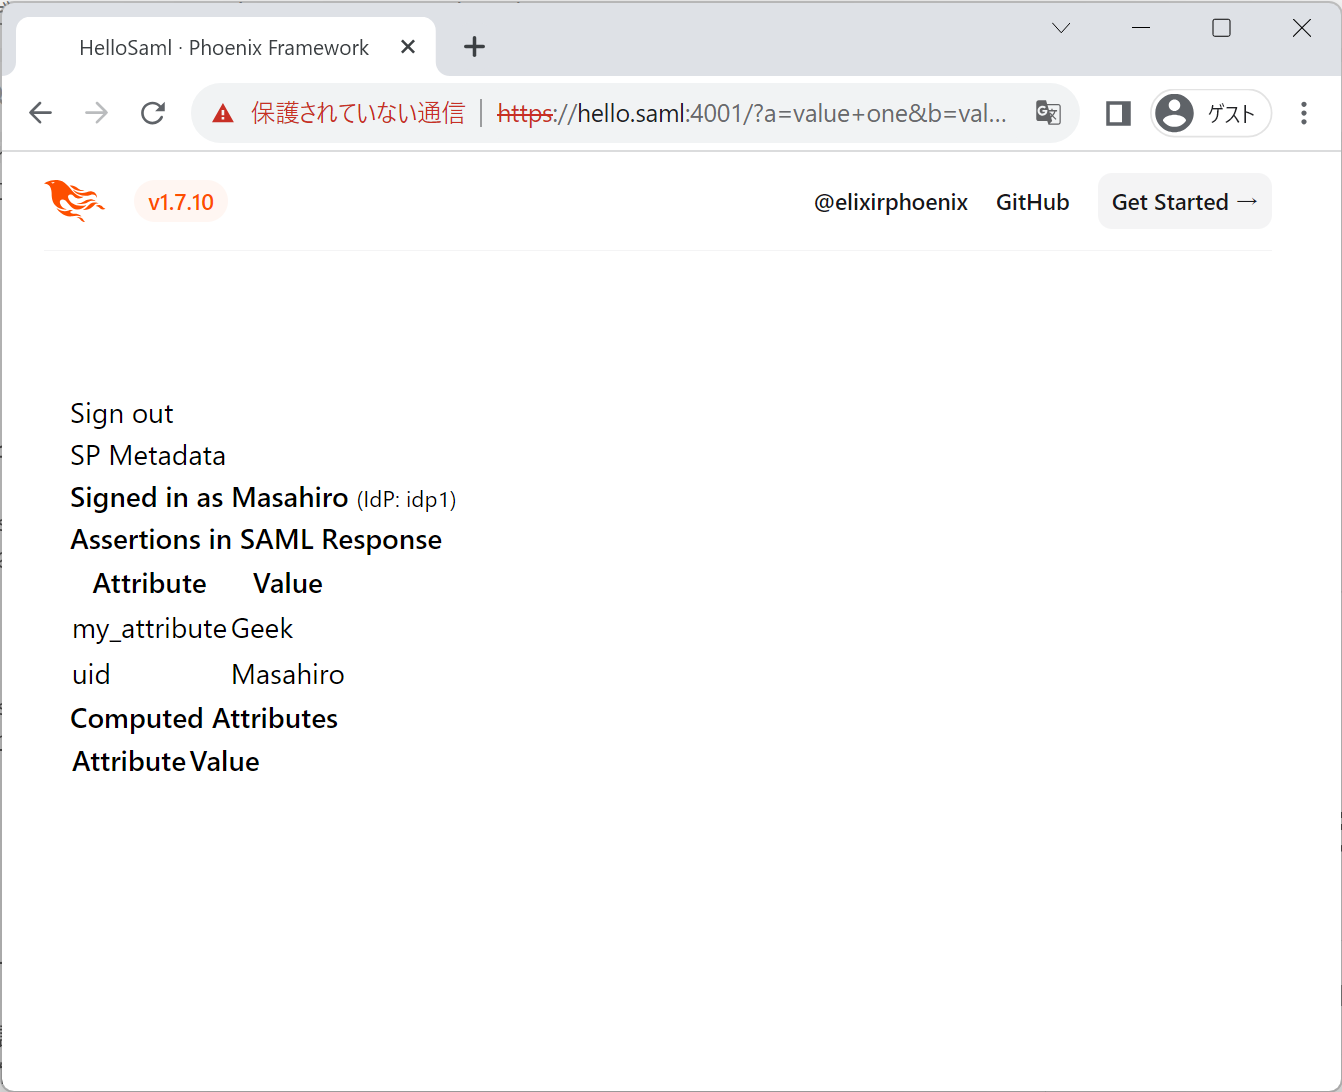
トップページを開くと作成したページが表示されます。
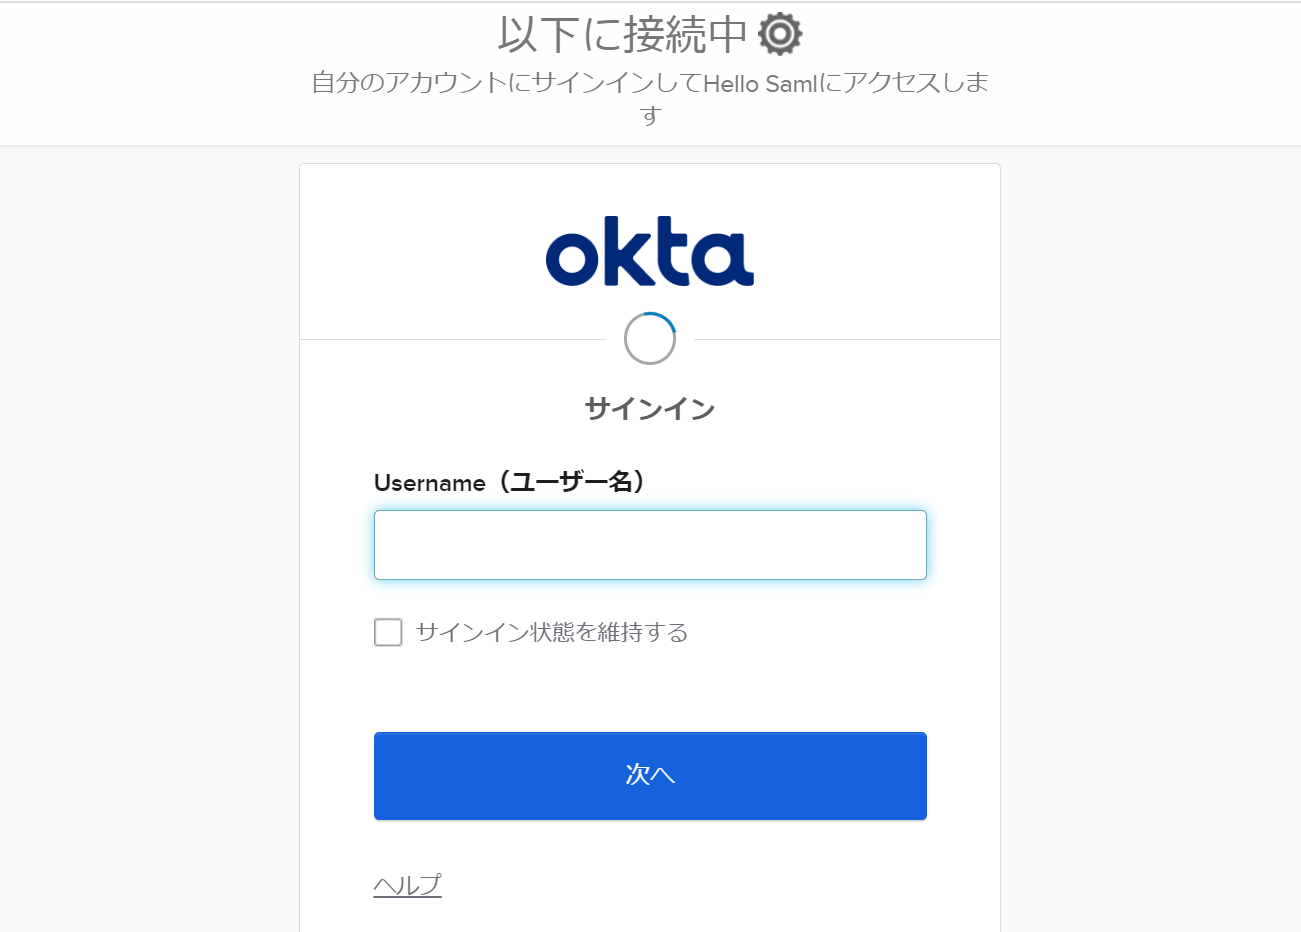
Sign in をクリックするとIdPの認証画面が表示されるのでログインします。
ログイン後、Signed in asの後にログインしたユーザのuidが表示されています。
uid以外のAttributeもokta側で設定しているものが取得できている事がわかります。
【余談】ブラウザーとの通信をhttpsにする必要があるか?
httpのサイトでSAML認証を行うと、iDpで認証後acsに戻ってくるときに、送信してよいかを尋ねるダイアログが表示されます。動作を確認するだけなら、httpのサイトでも大丈夫でした。
みかけた不具合
- Sign outのボタンを押すと、esaml内でエラーが発生します
- GMO Trustでは動作しませんでした
- samlyのgithubのissueも確認したほうがいいかも
まとめ
- サンプルのsamly-howtoはバージョンが古くPhonix1.7ではエラーになる部分があるので注意。基本的な部分に違いはない
- ドキュメントもしっかり書かれていて、使い方も理解できれば、分かりやすい。
- 実際のIdP(okta)で動作させてみて、トライandエラーの末、認証できた。
- 認証できなかったIdPもあり、いろいろ試してみる必要がありそう。
- 最近メンテナンスされていないのが課題
