この記事はUnity #2 Advent Calender 2018 21日目の記事です。
先にECSを紹介された方がいたが、多忙につき取り上げられず。申し訳ないです。
そもそもECSとは?
Entity Component Systemの略です。
引用:Unity-Technologies/EntityComponentSystemSamples
Offers a better approach to game design that allows you to concentrate on the actual problems you are solving: the data and behavior that make up your game. It leverages the C# Job System and Burst Compiler enabling you to take full advantage of today's multicore processors. By moving from object-oriented to data-oriented design it will be easier for you to reuse the code and easier for others to understand and work on it
The Entity Component System ships as an experimental package in 2018.1 and later, and we’ll continue to develop and release new versions of the package in the 2018.x cycle. It is important to stress that the Entity Component System is not production ready
意訳
- C#JobSystem と BurstCompilerを使って、今日のメモリ並列処理技術をフル活用できますよ。
- オブジェクト志向から移行することで、コードが使い回し安くなります。どう動いているかが他人に理解しやすくなります。
- ECSはUnity2018.1以降から試験的にリリースされています。まだ製品版じゃありませんよ。
→ GameObjectの上位互換になりうる新しい技術ということかな?
BurstCompilerと組み合わせれば飛躍的にパフォーマンスが向上するようです。
他記事にも沢山説明があるので、より詳しく知りたい方は以下を読んでみるといいかも。
【Unity】Unity 2018のEntity Component System(通称ECS)について(1)
まずECSとは何か?ECSは 何か凄い機能 というよりは、コンポーネント志向に変わる新しいアーキテクチャパターンです。
要するに、(目標としては)GameObject / Componentを差し替えるモノです。
ECSはGameObject / MonoBehaviourと較べて、膨大なオブジェクトを処理しやすい設計になっています。ECSはUnityのコンポーネント志向と用語的には似ており、ECSはUnity的な視点から言えば「コンパクトな GameObject & Monobehaviourのようなモノ」とも言えなくはないです。
今後エンジニアとして生きていくなら、絶対勉強しておかないとダメ!といった記事も目に入り、今回はこのネタを選びました。
と言っても、他の記事を読んでもふんわりとしか分からず、初級者向けに、何かに例えながら紹介させてもらいます。
ECS用語
- Entity
- 「ComponentSystemが動作する為に要求するComponentData各種(Group)」を持つデータの単位
- インスタンスに該当。速いGameObjectのようなもの。
- ComponentData
- 処理(ComponentSystem)で使われるデータ
- MonoBehaviorで言うところのデータ部分
- ComponentSystem
- Groupのデータが揃っている際に動作する処理の内容
- MonoBehavior で言うところの振る舞い部分
- Group
- 処理(ComponentSystem)を動作させるために必要となるデータ(ComponentData)各種の定義
- 必要なComponentDataはこれとこれです的な事を決めている。要求リスト
導入

- PlayerSettingsから、Scripting Runtime Versionを**.NET 4.x**にします。
- PlayerSettingsから、unsafeコードを許可する
- Package ManagerからEntitiesをインストールします。
公式ECSサンプルを見てみた
Unity-Technologies/EntityComponentSystemSamples
をgit clone。動作環境はUnity2018.2.3f1
サンプルの中にはPureECS(現行のGameObjectやComponentを使用しないECSのみでの実装)、HybridECS(現行のComponent等とECSを組み合わせたハイブリットと呼ばれる実装)と色々なものがありました。
試しにBoidExampleを再生してみた。


魚の大群が現れました。すごい...(語彙力)

ヒエラルキーは上記のように組まれてます。この中で、BoidFishSpawnerと**生成する魚(prefab)**にECSが実装されていました。
BoidFishSpawnerには、魚を生成するためのComponentDataが、**生成する魚(prefab)**にはその魚を制御するComponentDataがアタッチされています。
ComponentData の中身を見てみる
魚の挙動は複雑だったので、魚を生成する方のComponentDataだけ紹介します。
Boidコンポーネントデータには、魚群の生成範囲、魚の数、魚プレハブを持たせています。
これらをComponentSystemに渡し、生成するという事ですね。
using System;
using Unity.Entities;
using UnityEngine;

namespace Samples.Common
{
    [Serializable]
    public struct SpawnRandomInSphere : ISharedComponentData
    {
        public GameObject prefab;
        public float radius; //魚群の生成範囲
        public int count;     //魚の数
    }

    public class SpawnRandomInSphereComponent : SharedComponentDataWrapper<SpawnRandomInSphere> { }
}
Positionコンポーネントデータは、 float3 Value を持つのみですね。
座標など、生成位置以外にも使える汎用的なComponentDataは、使いまわして使用してます。
例えばここでは、生成位置以外にも、移動する座標(魚の挙動)にもPositionコンポーネントデータが使われていました。
using System;
using Unity.Entities;
using Unity.Mathematics;

namespace Unity.Transforms
{
    /// <summary>
    /// If Attached, in local space (relative to parent)
    /// If not Attached, in world space.
    /// </summary>
    [Serializable]
    public struct Position : IComponentData
    {
        public float3 Value; //生成位置情報
    }

    [UnityEngine.DisallowMultipleComponent]
    public class PositionComponent : ComponentDataWrapper<Position> { }
}
ComponentSystem の中身を見てみる
上述のComponentData(SpawnRandomInSphereComponent)はComponentSystem(SpawnRandomInSphereSystem)にて使われています。
どうやらこの中で、ComponentSystemの他、Groupの定義もしているようです。
using System.Collections.Generic;
using Unity.Collections;
using Unity.Entities;
using Unity.Mathematics;
using Unity.Transforms;

namespace Samples.Common
{
    public class SpawnRandomInSphereSystem : ComponentSystem
    {
        struct SpawnRandomInSphereInstance
        {
            public int spawnerIndex;
            public Entity sourceEntity;
            public float3 position;
#pragma warning disable 649
            public float radius;
#pragma warning restore 649
        }

        ComponentGroup m_MainGroup;

        // ここで要求するComponentDataを決めています。
        protected override void OnCreateManager()
        {
            m_MainGroup = GetComponentGroup(typeof(SpawnRandomInSphere), typeof(Position));
        }

        protected override void OnUpdate()
        {
            var uniqueTypes = new List<SpawnRandomInSphere>(10);

            EntityManager.GetAllUniqueSharedComponentData(uniqueTypes);

            int spawnInstanceCount = 0;
            for (int sharedIndex = 0; sharedIndex != uniqueTypes.Count; sharedIndex++)
            {
                var spawner = uniqueTypes[sharedIndex];
                m_MainGroup.SetFilter(spawner);
                var entities = m_MainGroup.GetEntityArray();
                spawnInstanceCount += entities.Length;
            }

            if (spawnInstanceCount == 0)
                return;

            var spawnInstances = new NativeArray<SpawnRandomInSphereInstance>(spawnInstanceCount, Allocator.Temp);
            {
                int spawnIndex = 0;
                for (int sharedIndex = 0; sharedIndex != uniqueTypes.Count; sharedIndex++)
                {
                    var spawner = uniqueTypes[sharedIndex];
                    m_MainGroup.SetFilter(spawner);
                    var entities = m_MainGroup.GetEntityArray();
                    var positions = m_MainGroup.GetComponentDataArray<Position>();

                    for (int entityIndex = 0; entityIndex < entities.Length; entityIndex++)
                    {
                        var spawnInstance = new SpawnRandomInSphereInstance();

                        spawnInstance.sourceEntity = entities[entityIndex];
                        spawnInstance.spawnerIndex = sharedIndex;
                        spawnInstance.position = positions[entityIndex].Value;

                        spawnInstances[spawnIndex] = spawnInstance;
                        spawnIndex++;
                    }
                }
            }

            for (int spawnIndex = 0; spawnIndex < spawnInstances.Length; spawnIndex++)
            {
                int spawnerIndex = spawnInstances[spawnIndex].spawnerIndex;
                var spawner = uniqueTypes[spawnerIndex];
                int count = spawner.count;
                var entities = new NativeArray<Entity>(count,Allocator.Temp);
                var prefab = spawner.prefab;
                float radius = spawner.radius;
                var spawnPositions = new NativeArray<float3>(count, Allocator.Temp);
                float3 center = spawnInstances[spawnIndex].position;
                var sourceEntity = spawnInstances[spawnIndex].sourceEntity;

                // 魚の生成位置
                GeneratePoints.RandomPointsInSphere(center,radius,ref spawnPositions);

                // 魚の生成
                EntityManager.Instantiate(prefab, entities);

                for (int i = 0; i < count; i++)
                {
                    var position = new Position
                    {
                        Value = spawnPositions[i]
                    };
                    EntityManager.SetComponentData(entities[i],position);
                }

                EntityManager.RemoveComponent<SpawnRandomInSphere>(sourceEntity);

                spawnPositions.Dispose(); // NativeArrayは必ず破棄処理が必要
                entities.Dispose();
            }
            spawnInstances.Dispose();
        }
    }
}
自作サンプル作ってみた
公式サンプルを眺めてみたが、なんとなくしか分からない。やはり習うより慣れろだろうということで、簡単なサンプル作ってみようと思います。
決められた長方形の範囲内にCubeを生成するものを作ります。
動作環境につきましては、公式と同じです。(Unity2018.2.3f1)
まずComponentDataを用意する
まずは生成するためには、生成する物(Prefab)、生成数、生成範囲、生成場所が必要なので、以下の2つのComponentDataをSpawnerにアタッチします。

using UnityEngine;
using Unity.Entities;
using System;

namespace Samples.Common
{
    [Serializable]
    public struct Cube : ISharedComponentData
    {
        public GameObject prefab; // プレハブを持たす
        public float halfWidth; // 生成する範囲の半径
        public bool spawnLocal;
        public int count; // 生成数
    }

    public class CubeComponent : SharedComponentDataWrapper<Cube> { }
}
Positionコンポーネントデータについては、先ほど使った魚の生成位置と同じのを使い回します。
using System;
using Unity.Entities;
using Unity.Mathematics;

namespace Unity.Transforms
{
	[Serializable]
	public struct Position : IComponentData
	{
		public float3 Value;
	}
}
ComponentSystemを作成する。
データを元にどのような挙動をす流のか決めるCompoonentSystemを作成します。
using Unity.Entities;
using Unity.Transforms;
using Unity.Mathematics;
using Unity.Collections;

namespace Samples.Common
{
    public class CubeSystem : ComponentSystem
    {
        // 要求リスト一覧
        struct Group
        {
            [ReadOnly]
            public SharedComponentDataArray<Cube> Spawner;
            public ComponentDataArray<Position> Position;
            public EntityArray Entity;
            public readonly int Length;
        }

        [Inject]
        Group m_Group;

        protected override void OnUpdate()
        {
            while (m_Group.Length != 0)
            {
                var spawner = m_Group.Spawner[0];
                var sourceEntity = m_Group.Entity[0];
                var center = m_Group.Position[0].Value;

                var entities = new NativeArray<Entity>(spawner.count, Allocator.Temp);
                EntityManager.Instantiate(spawner.prefab, entities);

                var positions = new NativeArray<float3>(spawner.count, Allocator.Temp);

                if (spawner.spawnLocal)
                {
                    GeneratePoints.RandomPointsInSquare(new float3(), spawner.halfWidth, ref positions);
                    for (int i = 0; i < spawner.count; i++)
                    {
                        var position = new Position
                        {
                            Value = positions[i]
                        };
                        EntityManager.SetComponentData(entities[i], position);

                        // Spawn Attach
                        var attach = EntityManager.CreateEntity();
                        EntityManager.AddComponentData(attach, new Attach
                        {
                            Parent = sourceEntity,
                            Child = entities[i]
                        });
                    }
                }
                else
                {
                    GeneratePoints.RandomPointsInSquare(center, spawner.halfWidth, ref positions);
                    for (int i = 0; i < spawner.count; i++)
                    {
                        var position = new Position
                        {
                            Value = positions[i]
                        };
                        EntityManager.SetComponentData(entities[i], position);
                    }
                }

                entities.Dispose();
                positions.Dispose();

                EntityManager.RemoveComponent<Cube>(sourceEntity);

                // Instantiate & AddComponent & RemoveComponent calls invalidate the injected groups,
                // so before we get to the next spawner we have to reinject them
                UpdateInjectedComponentGroups();
            }
        }
    }
}
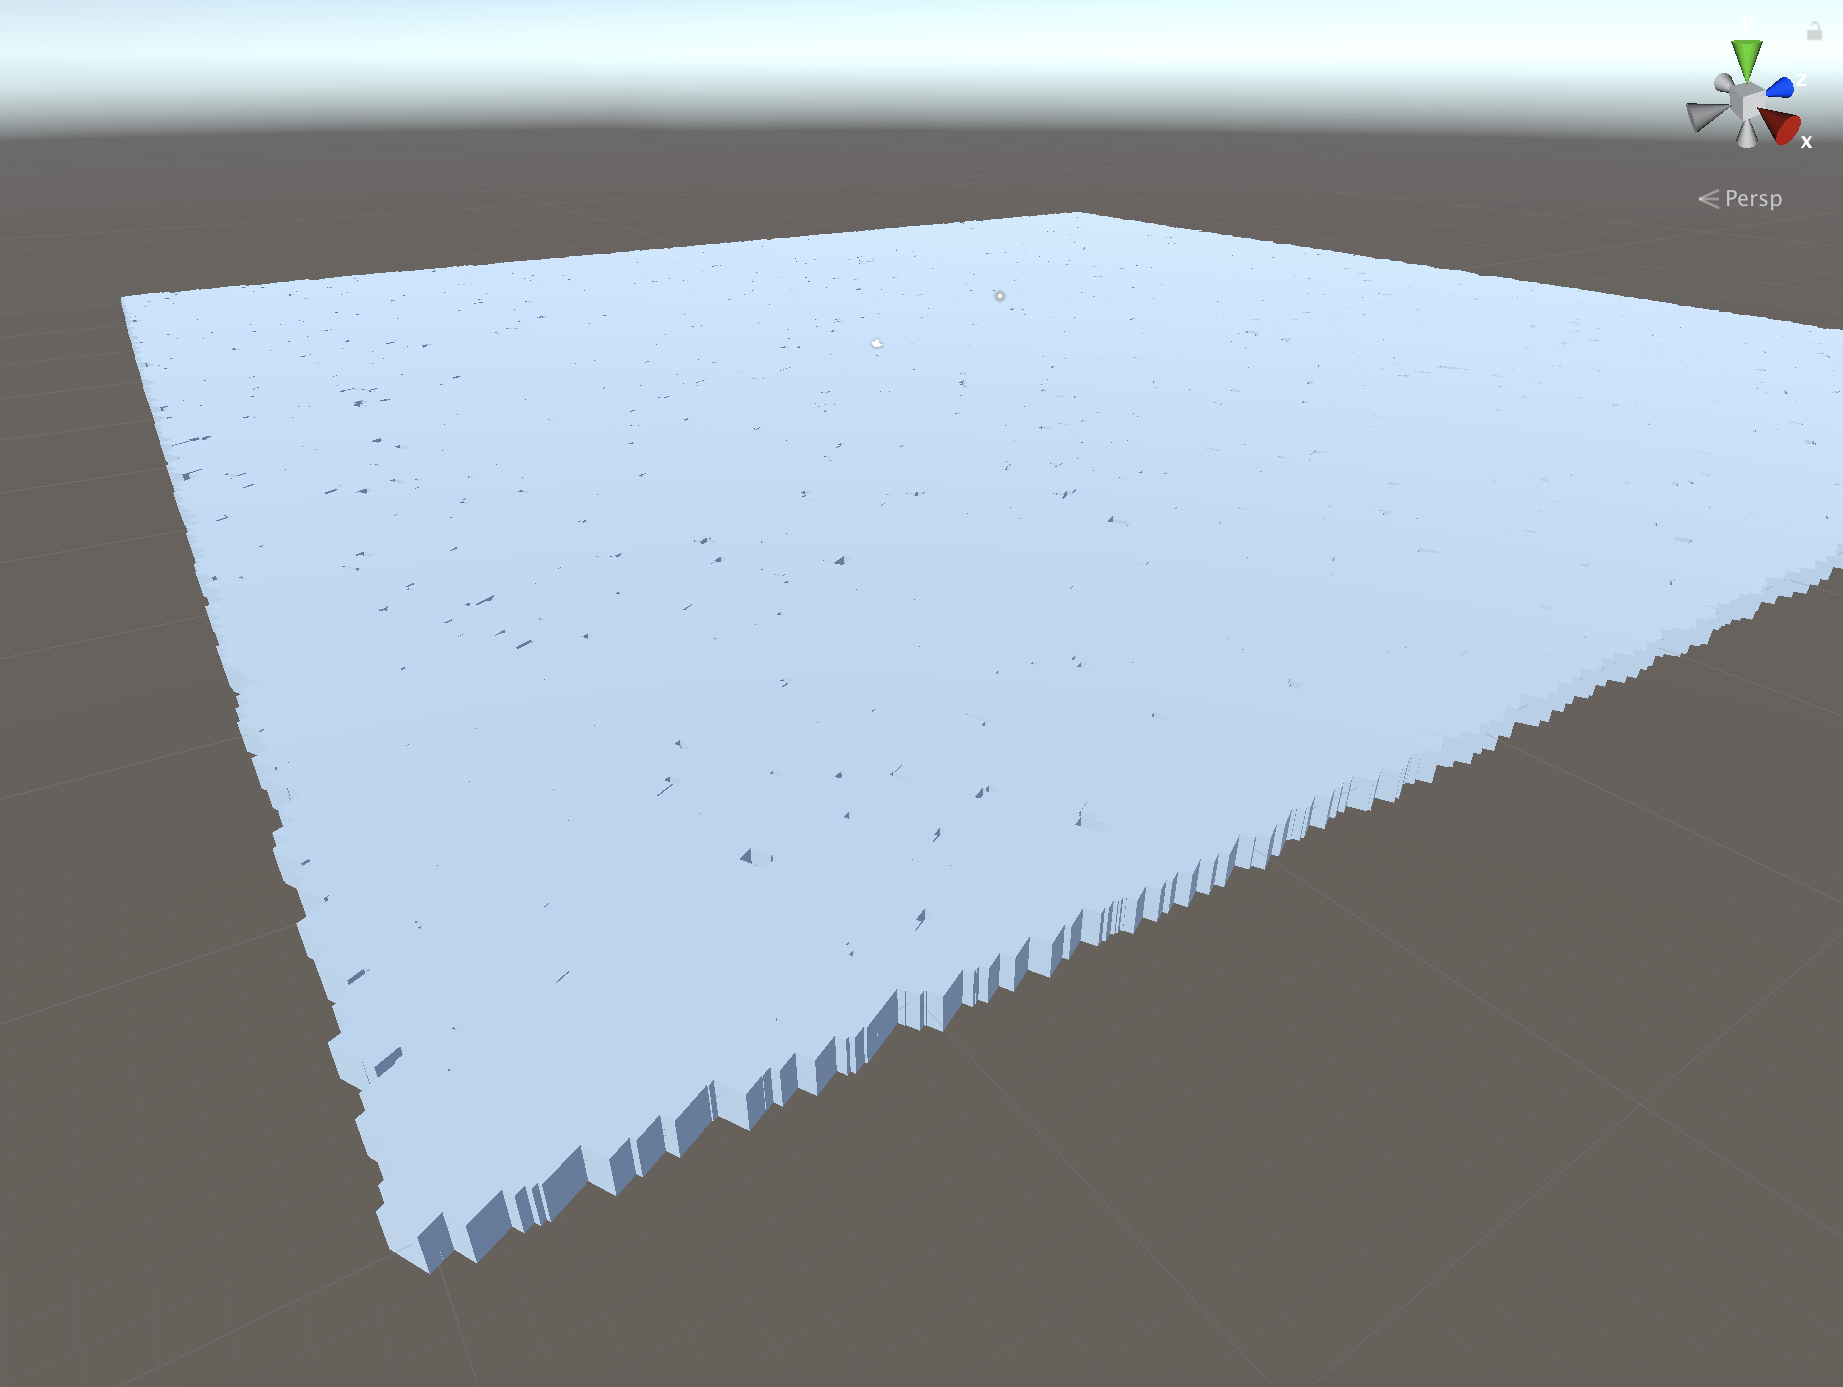
100x100の正方形内に、50,000個のCubeがビッシリ生成されました!
MonoBehaviorだったらこの時点で激重なのでは...?
さらに振る舞いを追加してみる
これでは公式サンプルのままで寂しいので、もう少し手を加えます。
生成した Cube Prefab に波のような挙動を追加してみます。
Cubeの挙動なので、Prefabに持たせるコンポーネントデータが必要です。
今回は従来からあるPositionComponent(コンポーネントデータ)を使い回し、アタッチします。
また、UpDownコンポーネントデータを用意します。
using Unity.Entities;

namespace Samples.Common
{
    public struct UpDown : ISharedComponentData{ }

    public class UpDownComponent : SharedComponentDataWrapper<UpDown>{}

}

さて、ComponentDataを用意し、Prefabへアタッチしたら、今度はComponentSystemを作成します。
using Unity.Collections;
using Unity.Entities;
using Unity.Jobs;
using Unity.Burst;
using Unity.Mathematics;
using Unity.Transforms;
using UnityEngine;

namespace Samples.Common
{
    public class UpDownSystem : JobComponentSystem
    {
        /* IJobParallelForインターフェースを使うと、
         * 複数のスレッドに分散させて配列要素を並列で実行することができます。*/

        [BurstCompile]
        struct MoveUpdown : IJobParallelFor
        {
            // CubeにPositionComponentがアタッチされているか確認しましょう
            public ComponentDataArray<Position> positions;
            public float time;

            /// <summary>
            /// ジョブの処理内容
            /// </summary>
            public void Execute(int i)
            {
                positions[i] = new Position
                {
                    Value = new float3(positions[i].Value.x,
                                       Mathf.Sin(time+(positions[i].Value.x + positions[i].Value.z)),
                                      positions[i].Value.z)
                };
            }
        }

        ComponentGroup m_MoveUpDownGroup;

        /* 要求リストを作成。
         * ここではUpDownコンポーネントデータと
         * Positionコンポーネントデータを要求するという事 */
        protected override void OnCreateManager()
        {
            m_MoveUpDownGroup = GetComponentGroup(
                ComponentType.ReadOnly(typeof(UpDown)),
                typeof(Position));
        }

        // ジョブを実行する。
        protected override JobHandle OnUpdate(JobHandle inputDeps)
        {
            var moveUpDownJob = new MoveUpdown
            {
                positions = m_MoveUpDownGroup.GetComponentDataArray<Position>(),
                time = Time.realtimeSinceStartup
            };

            // Scheduleメソッドの第2引数にはバッチ数を指定します。
            var moveUpDownJobHandle = moveUpDownJob.Schedule(m_MoveUpDownGroup.CalculateLength(),
                                                             64,
                                                             inputDeps);
            return moveUpDownJobHandle;
        }
    }
}
こんな感じで再生できました!

...従来のGameObjectとMonoBehaviorなら激重間違いなし
まとめ・感想
ECSは下記のように使えば動くと分かった
- 動かしたいものに**ComponentDataをアタッチ**する
→ComponentDataの記述方法は、例えばScriptableObjectにキャラクターのパラメーターを持たすイメージに近いかも! - ComponentDataは同じものであれば**使い回す**
- **ComponentSystem**にて必要なComponentDataを決め、ジョブを実行する。
ブログ等の説明を読んで分からなかったのですが、実際手を動かしてみると案外シンプルだなと思いました。
他、Unity JobSystemとBurst Compilerについて、今後勉強しなくてはと思いました。
私は常日頃3Dシューティングゲームを作りたいと考えていて、弾丸や敵のスポーンにECSを活用してみる予定です。
明日はUnity #2 Advent Calender 2018 22日目、投稿者はchroskeさんです!
参考
- UnityのECS(Entity Component System)で雪の結晶を降らせる
- Unity-Technologies/EntityComponentSystemSamples
- 【Unity】Unity 2018のEntity Component System(通称ECS)について(1)
- 【Unity】Unity 2018のEntity Component System(通称ECS)について(2)
- 【Unity】ECS + JobSystemで10万個のドカベンロゴをアニメーションさせてみた
- 【Unite Tokyo 2018 Training Day】C#JobSystem & ECSでCPUを極限まで使い倒そう ~Entity Component System 編~
- Unity:はじめてのECS
- IJobParallelForで並列処理させるジョブを作ってみる
- Unity JobSystemをとりあえずやってみる序