Azure App Service上に作ったREST APIにEasy Authを追加。
Python クライアントを作り、 OAuth 2.0 Authorization Code Flow with PKCE により Microsoft Entra ID で認証しています。
OAuth 2.0 Client Credintial Flow を使ったのは以下の記事。
実装イメージ
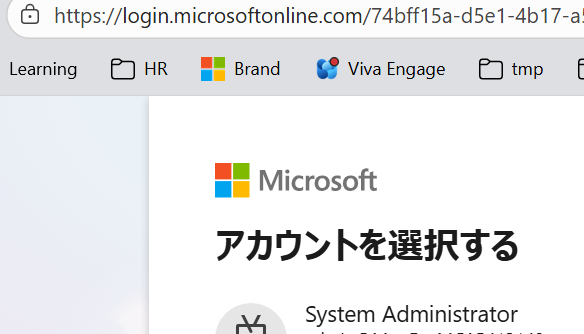
Pythonアプリを実行すると、以下のようなブラウザ認証をします。
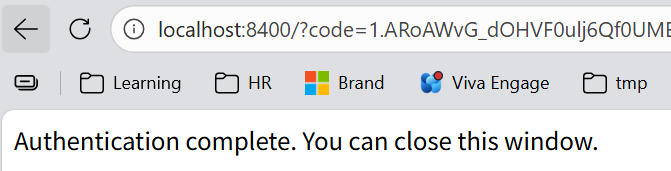
認証通ると、ブラウザでは以下の画面のようになり、Tokenを取得できます。あとはToken取得してREST Call。プログラムは後ろに記載。
Steps
前提としてApp Serviceは以前作ったこれを流用。
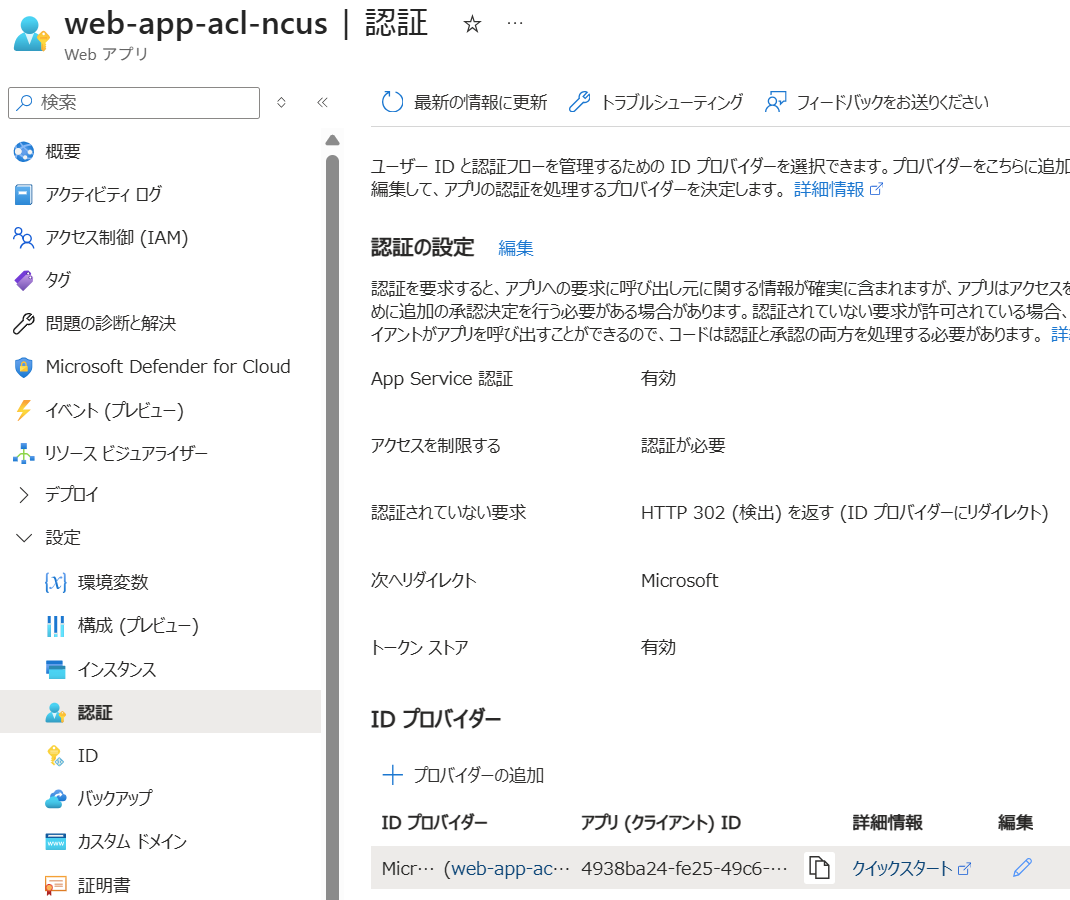
1. Easy Auth設定
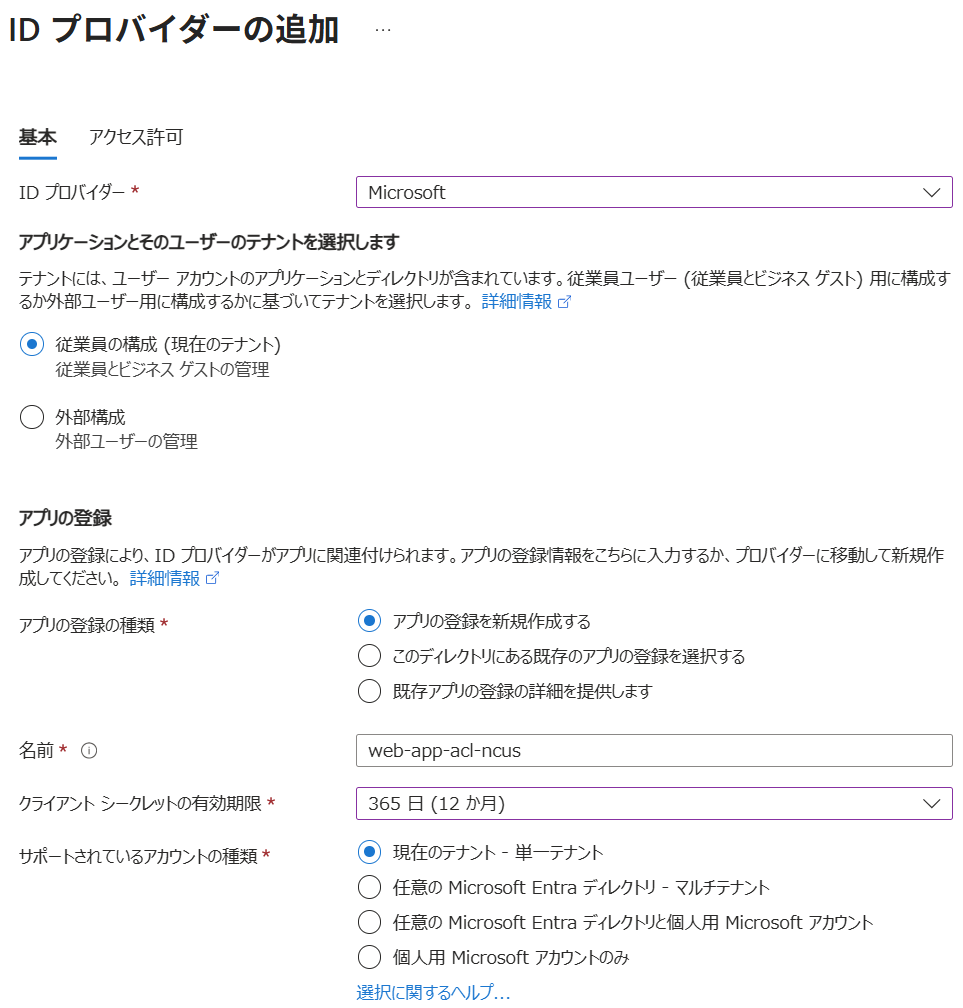
Portalのメニュー 設定 -> 認証で IDプロバイダーとして Microsoft を追加。
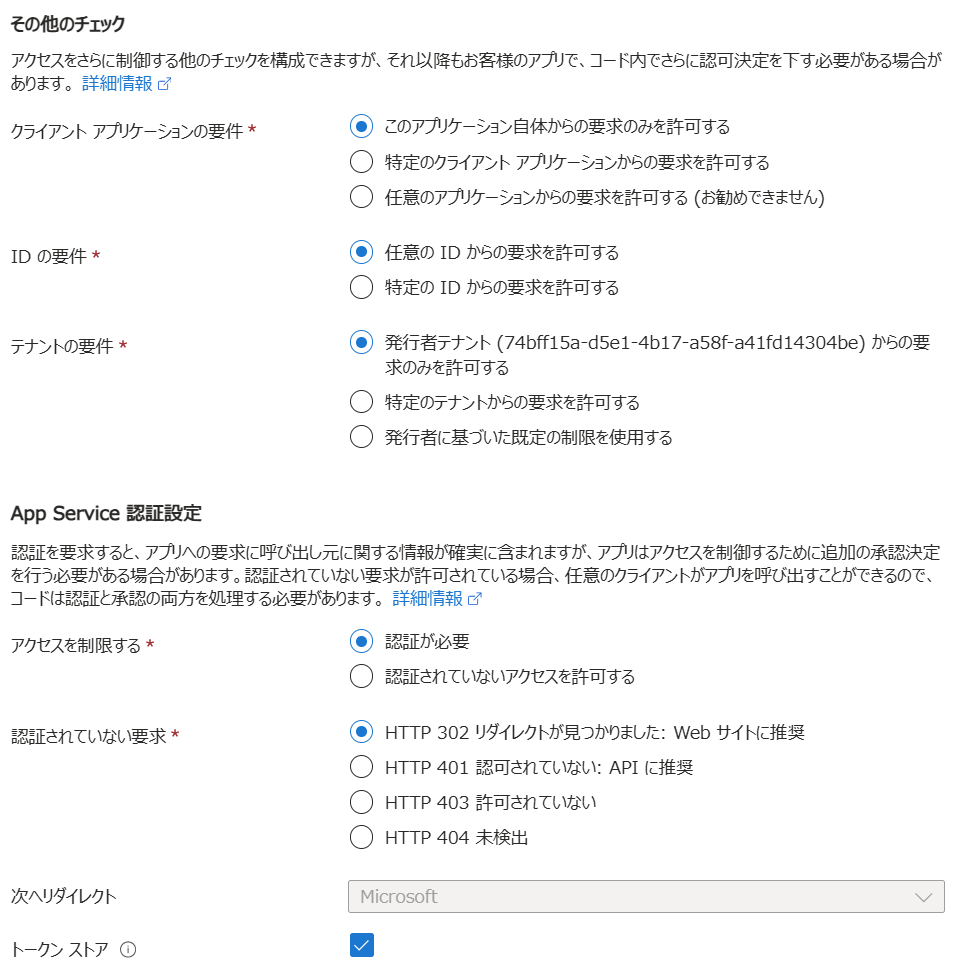
基本、上記のデフォルト設定でいいのですが、APIなので「認証されていない要求」は401の方がベターです。

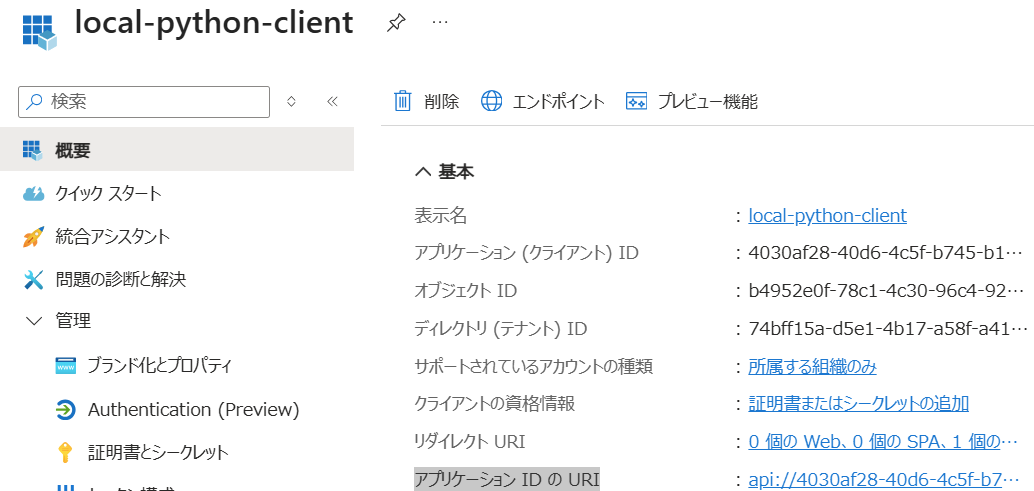
2. アプリの登録
2.1. 登録
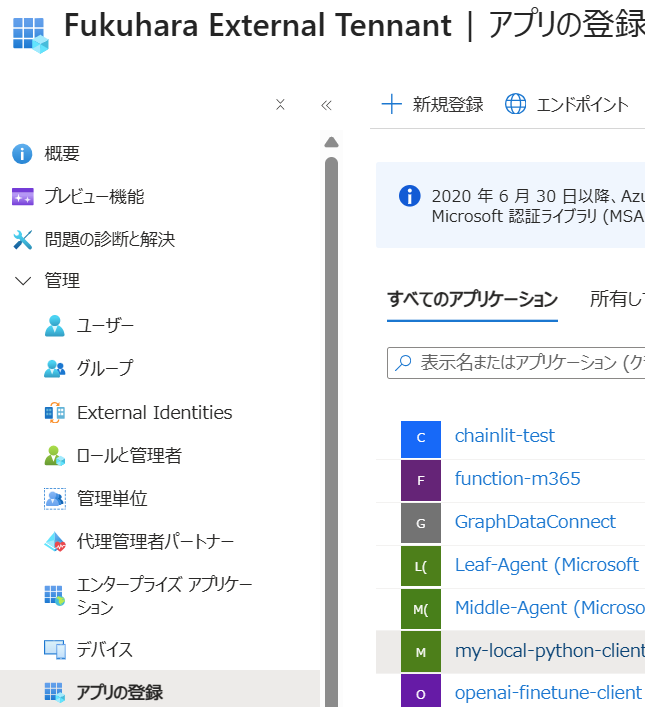
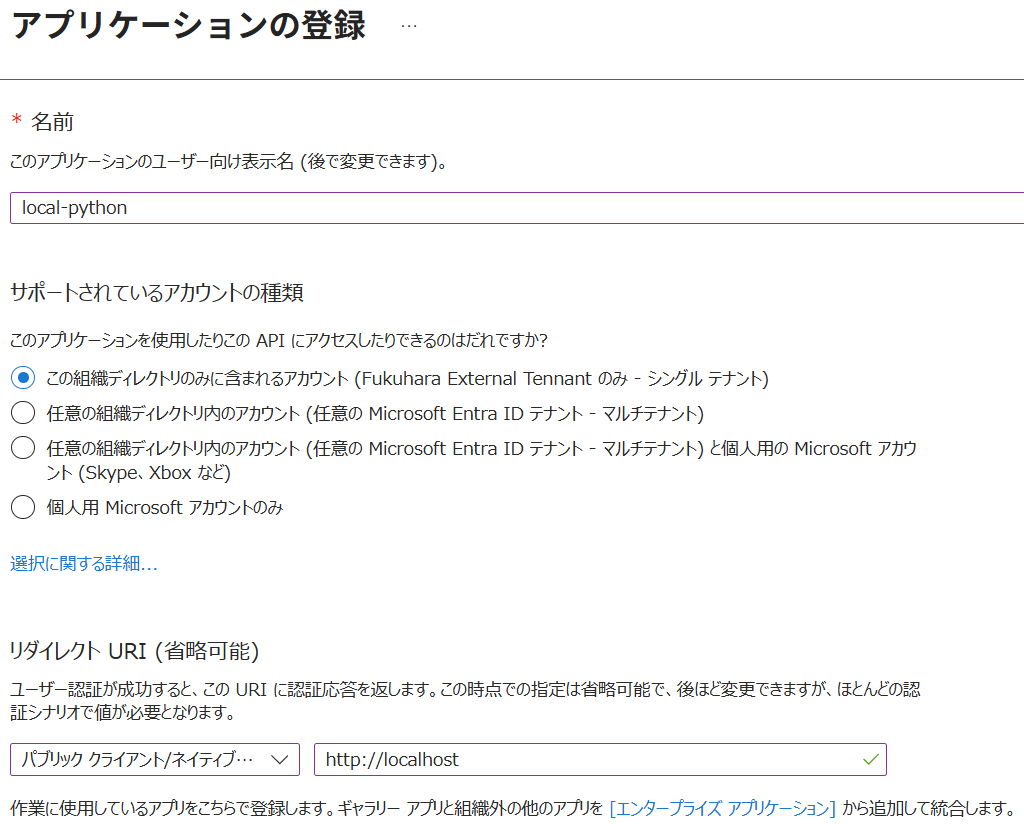
Entra のメニュー 管理 -> アプリの登録 で 「+新規登録」をクリック
リダイレクトURIに「パブリック クライアント/ネイティブ (モバイルとデスクトップ)」で"http://localhost"を入力しておきます。
2.2. パブリッククライアントフロー有効化
メニュー 管理 -> Authentication(Preview) で 設定タブで、「パブリック クライアントフローを許可する」を有効に設定して保存
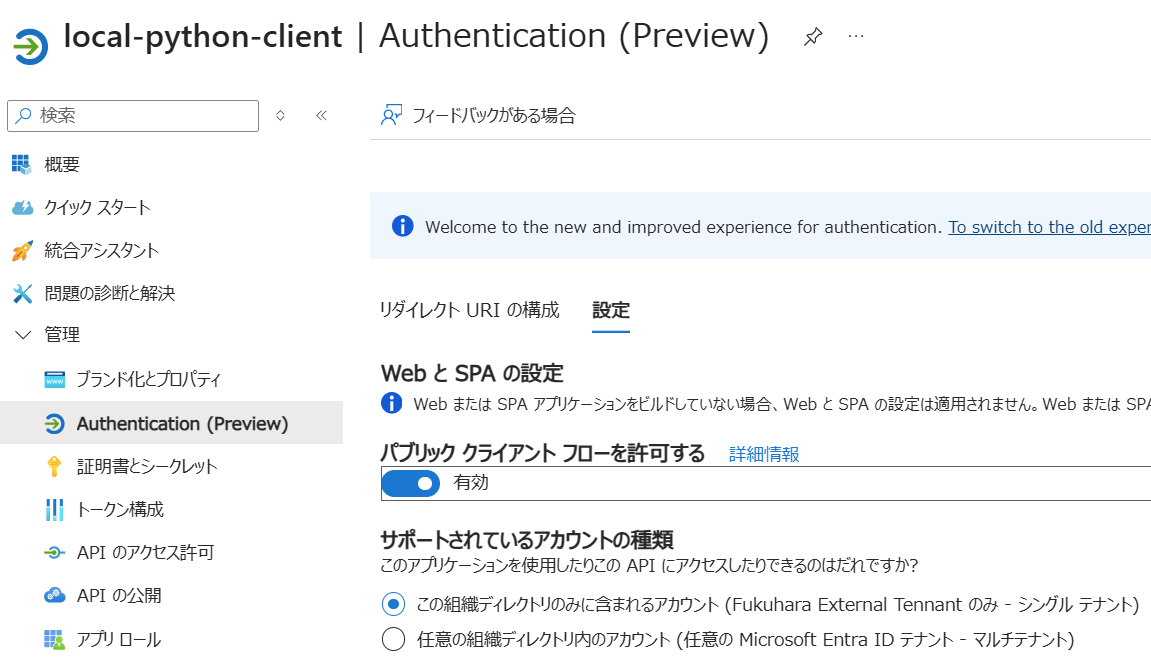
今回はシークレット管理をしないので、パブリッククライアントフローを有効にしました。
2.3. APIのアクセス許可
メニュー 管理 -> APIのアクセス許可 で「+アクセス許可の追加」をクリック
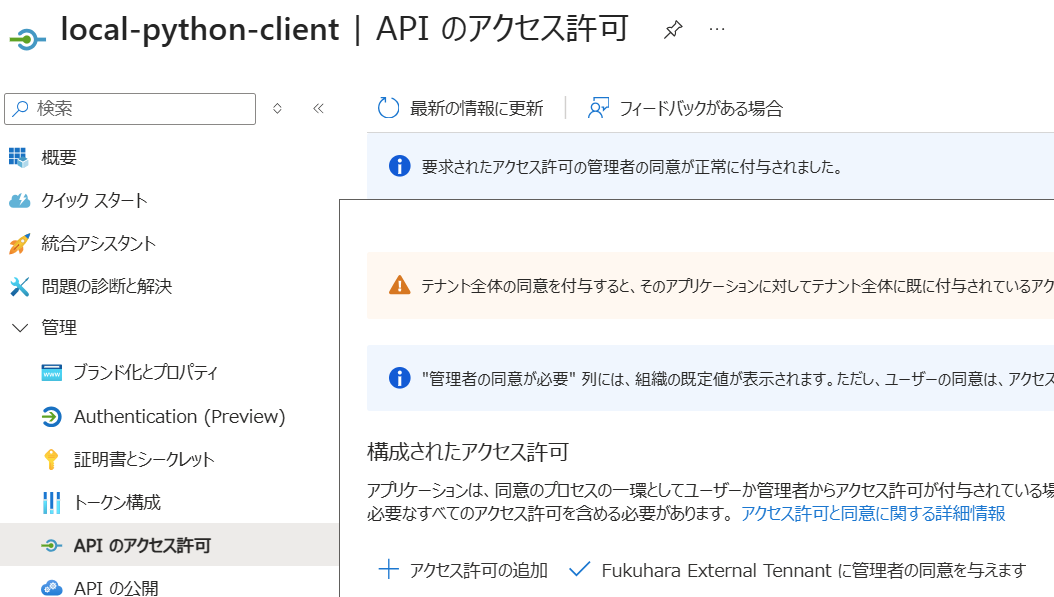
すべてのAPIから自分のApp Serviceを選択し、「委任されたアクセス許可」を選び、「アクセス許可の追加」
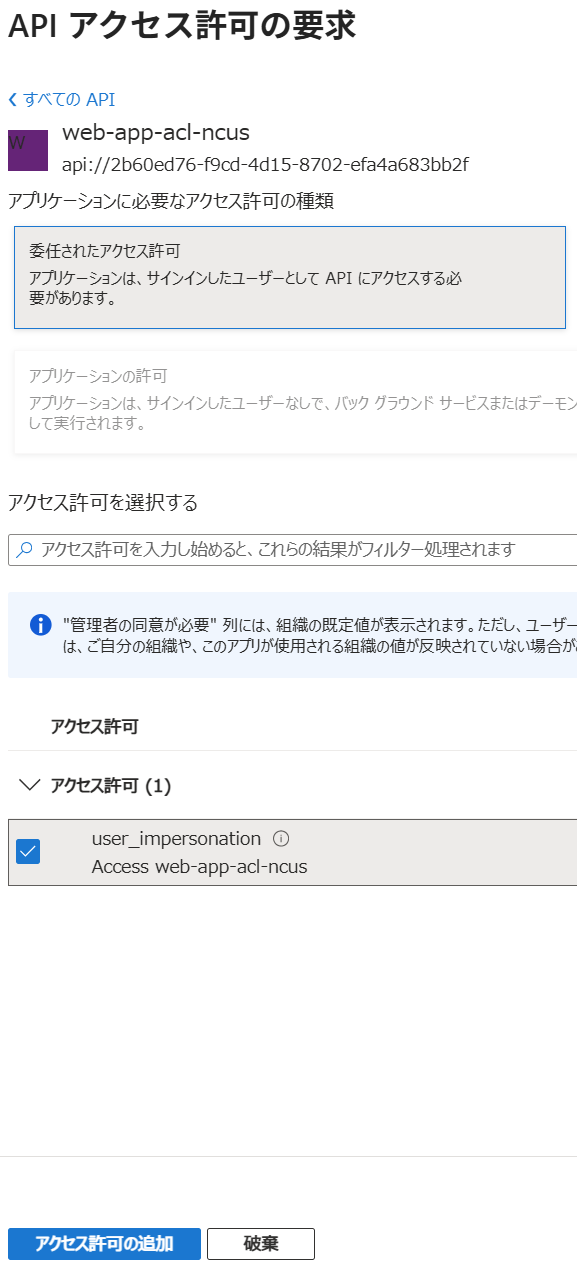
「<テナント名>に管理者の同意を与えます。」をクリック
3. 許可されるトークン対象ユーザの追加
Portalの App Service 画面の メニュー 設定 -> 認証 で IDプロバイダー Microsoftを編集。
「許可されるトークン対象ユーザー」に先ほど登録したアプリケーション("api://")を追加。
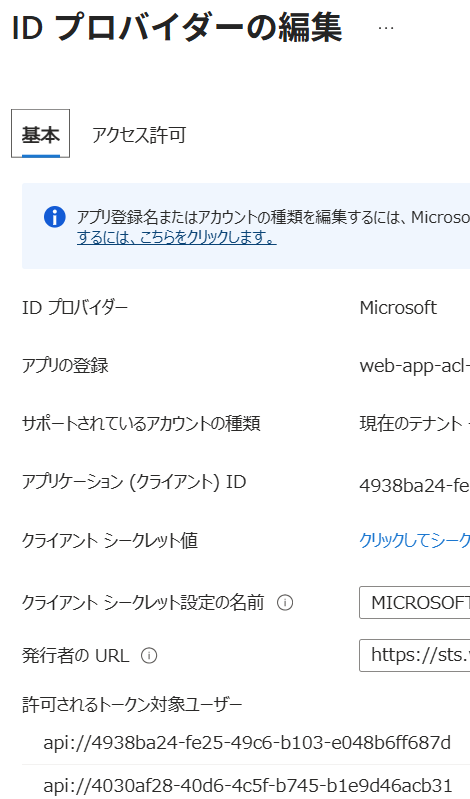
追加する値はEntraのアプリケーションで概要にある「アプリケーション ID の URI」の値
4. APIを呼び出すPython Script
WSL の Ubuntu24.04でPython 3.13.11で実装。以下のパッケージ使用。
azure-identity: 1.25.1
httpx: 0.28.1
from azure.identity import InteractiveBrowserCredential
import httpx


tenant_id = "<tenant id>"
client_id = "<client id>" # Entraで登録したアプリのClient ID

credential = InteractiveBrowserCredential(tenant_id=tenant_id, client_id=client_id)

scope = "api://<app serviceのclient id>/user_impersonation"
token = credential.get_token(scope)
headers = {"Authorization": f"Bearer {token.token}"}

url = "https://<app service host>/hello"

async with httpx.AsyncClient() as client:
    response = await client.get(url, headers=headers)
    print(f"Status Code: {response.status_code}")
    print(f"Response: {response.text}")
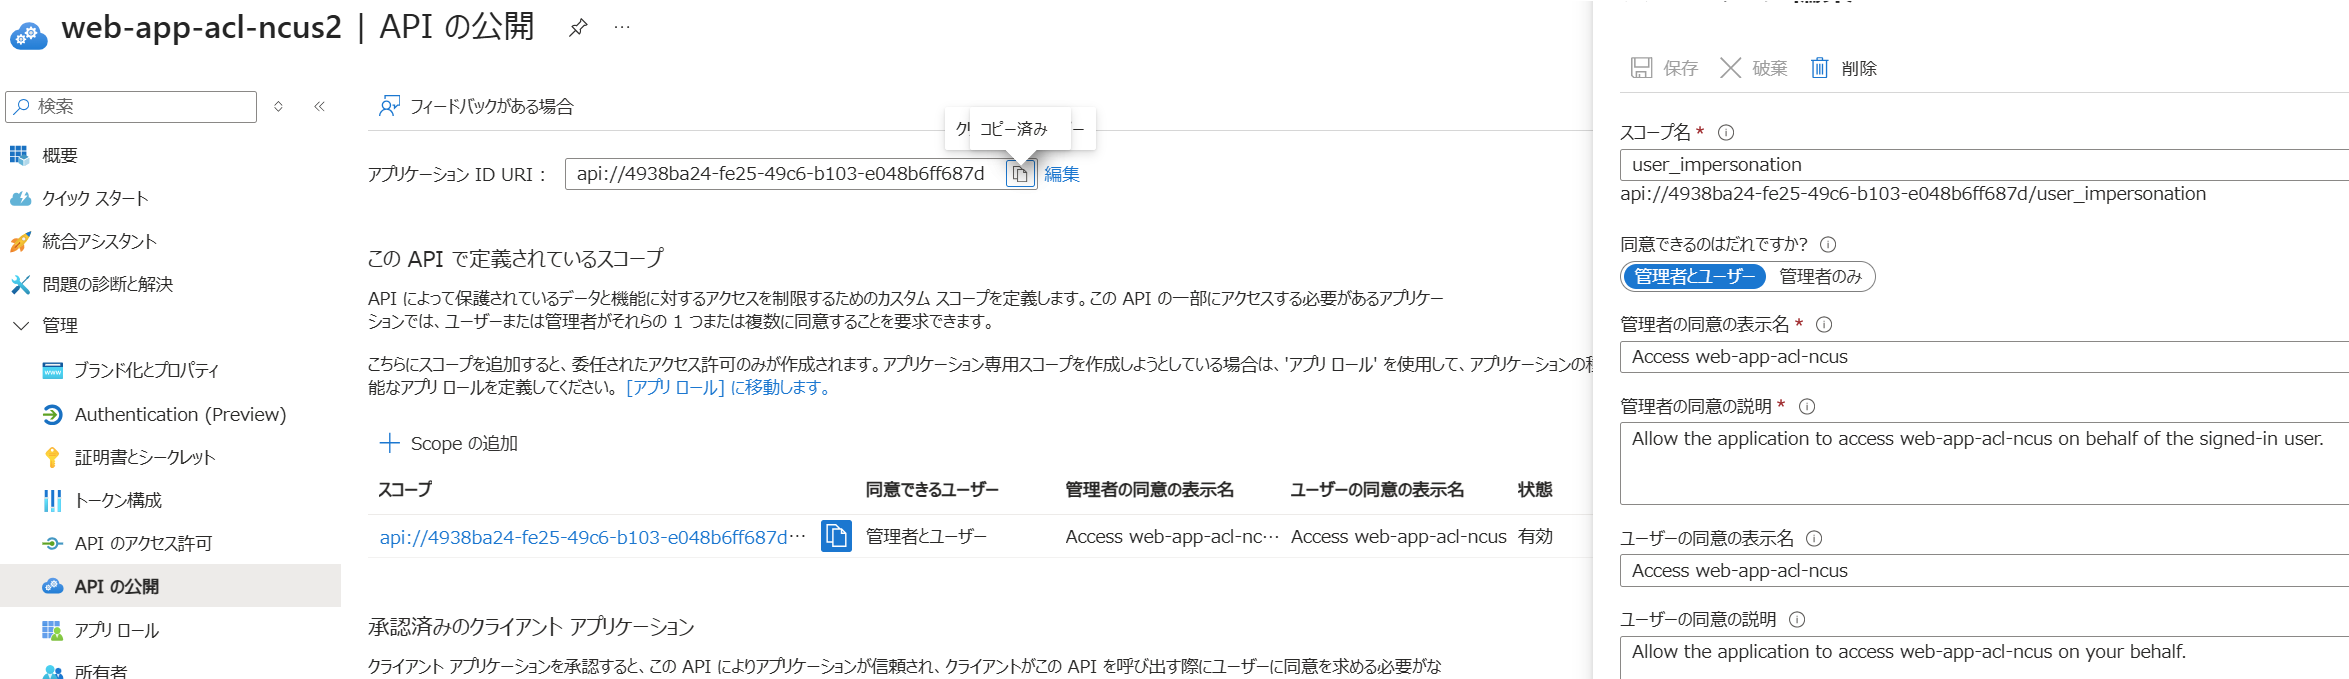
scopeはEntraのメニュー 管理 -> APIの公開 から確認可能。api://<client id>/<スコープ名>。Python Client側のアプリケーションではなく、App Serviceのアプリケーションである点が要注意。
Status Code: 200
Response: {"message":"hello, world"}
おまけ
認証除外パス追加
認証除外のパスを追加したい場合の処理。
az webapp auth update --excluded-pathを使った方法もありますが、こちらの方が安定していそう。
まずは、authsettingsを取得
SUB="<subscription-id>"
RG="<resource-group>"
APP="<app-name>"

az rest --method get \
  --url "https://management.azure.com/subscriptions/$SUB/resourceGroups/$RG/providers/Microsoft.Web/sites/$APP/config/authsettingsV2?api-version=2025-03-01" \
  > authsettingsV2.json
authsettingsV2.json の properties.globalValidation.excludedPaths に対象パスを入れます
  "properties": {
    "clearInboundClaimsMapping": "false",
    "globalValidation": {
      "excludedPaths": ["<対象パス>"],
最後に設定
az rest --method put \
  --url "https://management.azure.com/subscriptions/$SUB/resourceGroups/$RG/providers/Microsoft.Web/sites/$APP/config/authsettingsV2?api-version=2025-03-01" \
  --body @authsettingsV2.json
参考リンク