2018/08/04時点での、CMake最新バージョンのリンクは下記となります。
CMake 3.12.0 インストール手順
1. ダウンロード
以下からBinary distributionsにあるcmake-3.3.1-win32-x86.exeをダウロードする(64bitでもこれで問題ない)。
http://www.cmake.org/download/
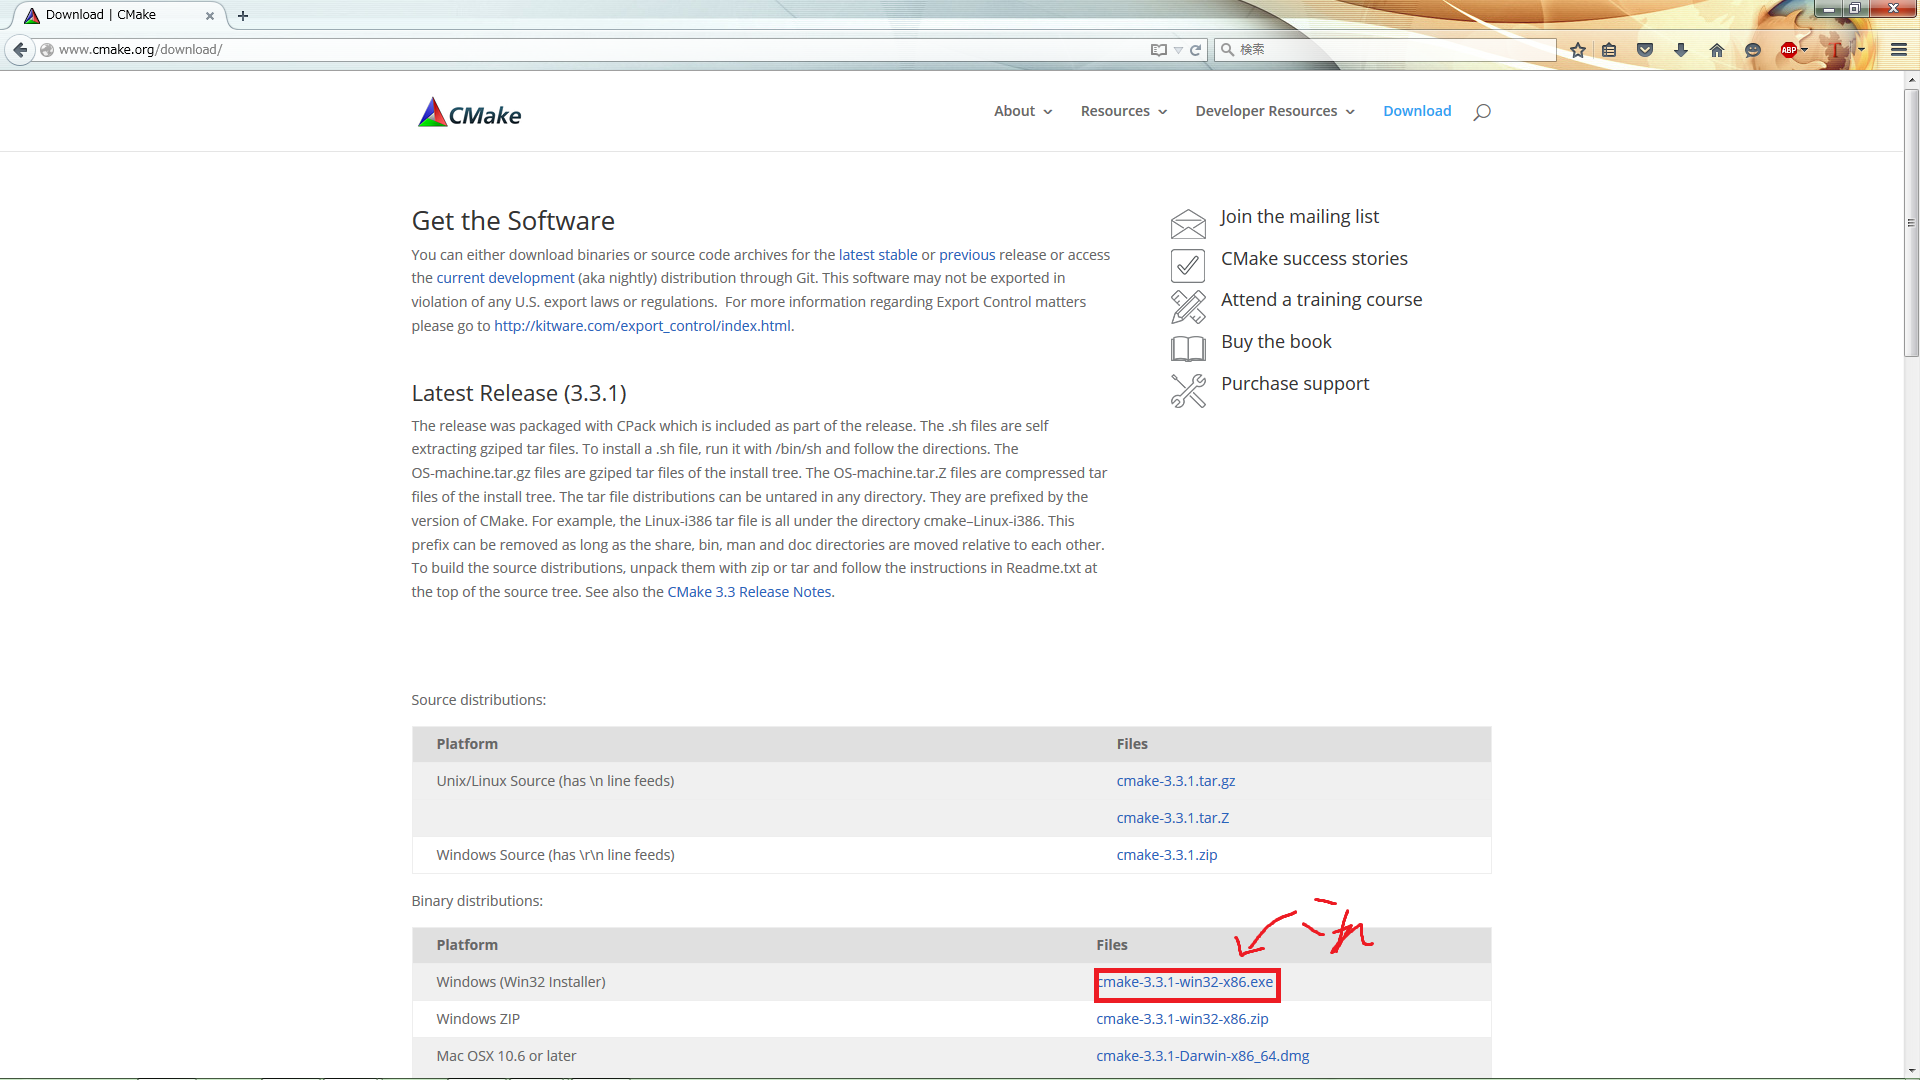
今回はWindows版で説明を行っていく。
2. インストール
ダウンロードしたcmake-3.3.1-win32-x86.exeを実行しインストールを進めていく。
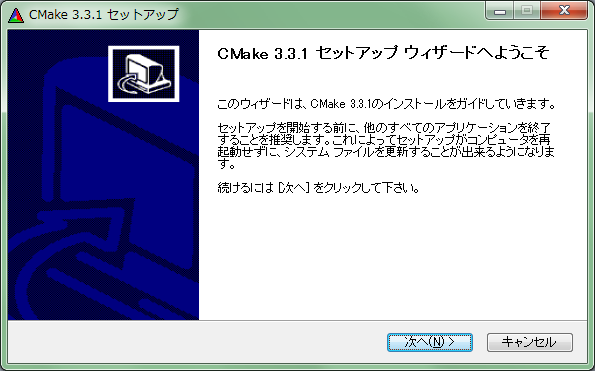
「次へ」を押す。
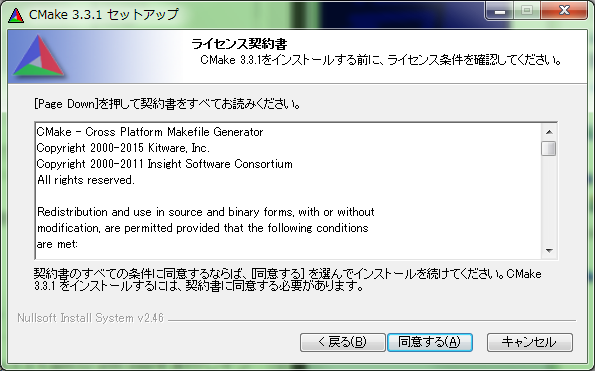
「同意する」を押す。
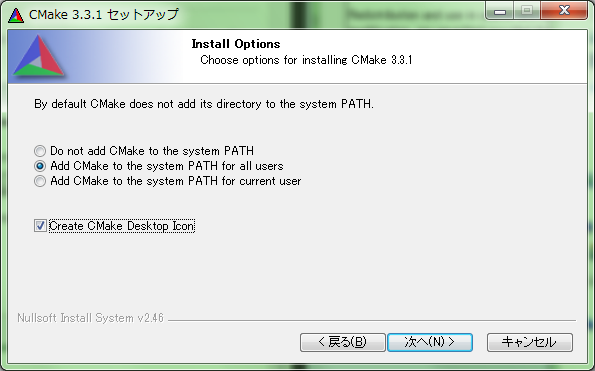
環境変数にPATHを追加しておくために、「Add CMake to the system PATH for all users」(全てのユーザーに追加)か「Add CMake to the system PATH current users」(現在のユーザーに追加)を選んでおく。「Create CMake Desktop Icon」(デスクトップにCMakeのアイコンを追加する)はデスクトップにアイコンを追加したい場合はチェックをしておく。これはどっちでもいい。
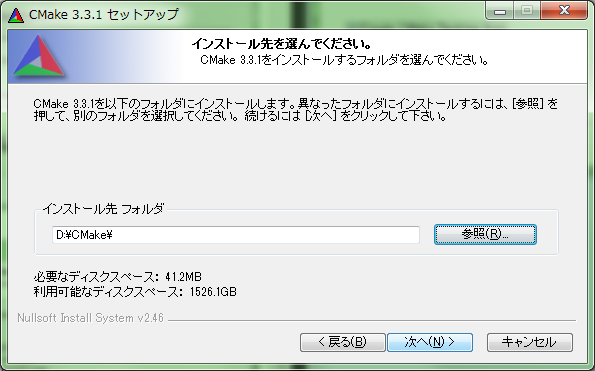
インストールしたいフォルダを指定して「次へ」を押す。(今回はD:\CMake\にしたが、デフォルトでもよい)。
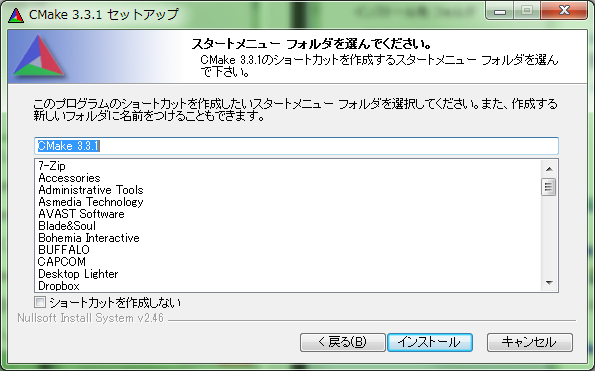
「次へ」を押す。
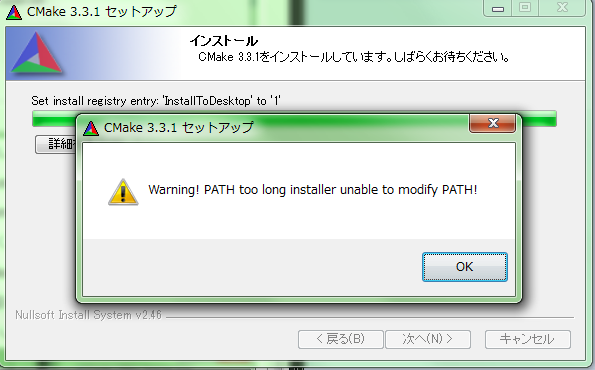
PATHが長いと警告が出る場合がある。とりあえず「OK」を押す。
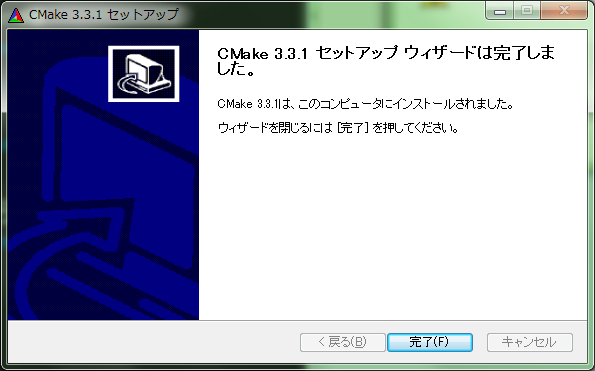
インストールが終わったので「完了」を押す。
先ほどの警告が出た場合環境変数にPATHが追加されていないと思うので、「D:\CMake\bin」を環境変数に追加して終了!(デフォルト設定でインストールした場合は「C:\Program Files (x86)\CMake\bin」になっていると思います)