はじめに
DreamHanksのMOONです。
前回はアプリの画面にボタンを追加し、そのボタンにイベント機能を追加してみました。
2. 【Android/Kotlin】ボタン追加
今回は画面を遷移させる方法と、遷移させる場合値も送る方法を見ていきたいと思います。
Intentとは
Intent は、別のアプリ コンポーネントからのアクションをリクエストするときに使用できるメッセージング オブジェクトです。
・基本的な使用例
①アクティビティを開始
②サービスを開始
③ブロードキャストを配信
詳細な概念については
https://developer.android.com/guide/components/intents-filters#kotlin
このリンクで確認してください。
この使用例中に今回は代表的に使用している①で画面遷移をしていきます。
Intentで画面遷移
・遷移される新しいActivityとxmlを追加します。
package com.example.practiceapplication

import androidx.appcompat.app.AppCompatActivity
import android.os.Bundle
import android.widget.TextView

class IntentTestActivity : AppCompatActivity() {
    override fun onCreate(savedInstanceState: Bundle?) {
        super.onCreate(savedInstanceState)
        setContentView(R.layout.activity_intent_test)

        val intent_contents = findViewById<TextView>(R.id.intent_contents)

        //Intentオブジェクで「main_tv」というkeyに対する値を代入する
        val intented_string = intent.getStringExtra("main_tv")

        intent_contents.text = intented_string
    }
}
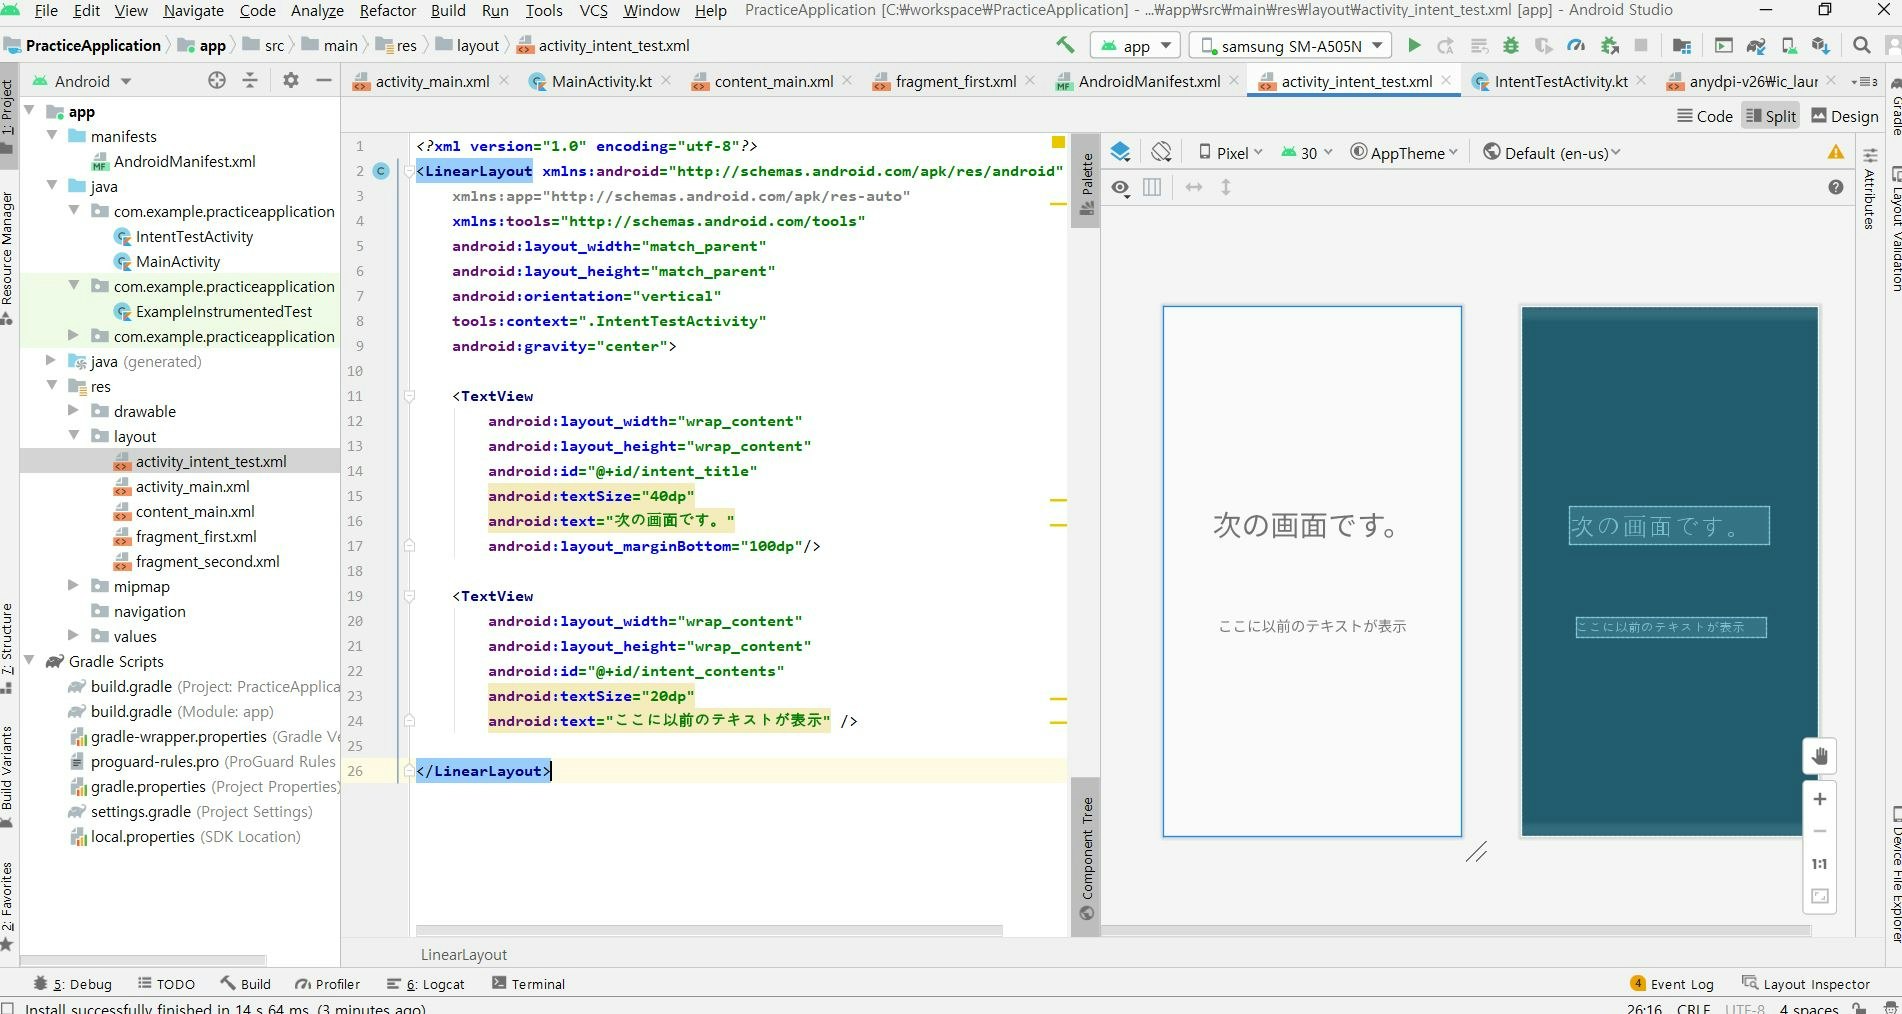
<?xml version="1.0" encoding="utf-8"?>
<LinearLayout xmlns:android="http://schemas.android.com/apk/res/android"
    xmlns:app="http://schemas.android.com/apk/res-auto"
    xmlns:tools="http://schemas.android.com/tools"
    android:layout_width="match_parent"
    android:layout_height="match_parent"
    android:orientation="vertical"
    tools:context=".IntentTestActivity"
    android:gravity="center">

    <TextView
        android:layout_width="wrap_content"
        android:layout_height="wrap_content"
        android:id="@+id/intent_title"
        android:textSize="40dp"
        android:text="次の画面です。"
        android:layout_marginBottom="100dp"/>

    <TextView
        android:layout_width="wrap_content"
        android:layout_height="wrap_content"
        android:id="@+id/intent_contents"
        android:textSize="20dp"
        android:text="ここに以前のテキストが表示" />

</LinearLayout>
・MainActivity(遷移させる画面のActivity)ファイルを下記のように修正します。
package com.example.practiceapplication

import android.content.Intent
import androidx.appcompat.app.AppCompatActivity
import android.os.Bundle
import android.widget.Button
import android.widget.TextView

class MainActivity : AppCompatActivity() {
    override fun onCreate(savedInstanceState: Bundle?) {
        super.onCreate(savedInstanceState)
        setContentView(R.layout.activity_main)

        val main_tv = findViewById<TextView>(R.id.main_tv)        //画面のテキストヴュー
        val change_btn = findViewById<Button>(R.id.change_btn)    //画面のボタン

        //ボタンクリックイベントリスナー設定
        change_btn.setOnClickListener {
            //Intentオブジェクト生成、遷移画面定義
            val nextIntent = Intent(this, IntentTestActivity::class.java)
            //Intentオブジェクトにテキストの内容をプットする
            nextIntent.putExtra("main_tv", main_tv.text.toString())
            //次のActivity実行
            startActivity(nextIntent)
        }
    }
}
・ボタンのクリックリスナー内にIntentという画面を遷移するためのオブジェクトを生成。
・画面を遷移させる前にputExtraメソッドを使って最初画面のテキストの文字列を入れます。
・最後にstartActivityメソッドにintentオブジェクトを入れて実行します。
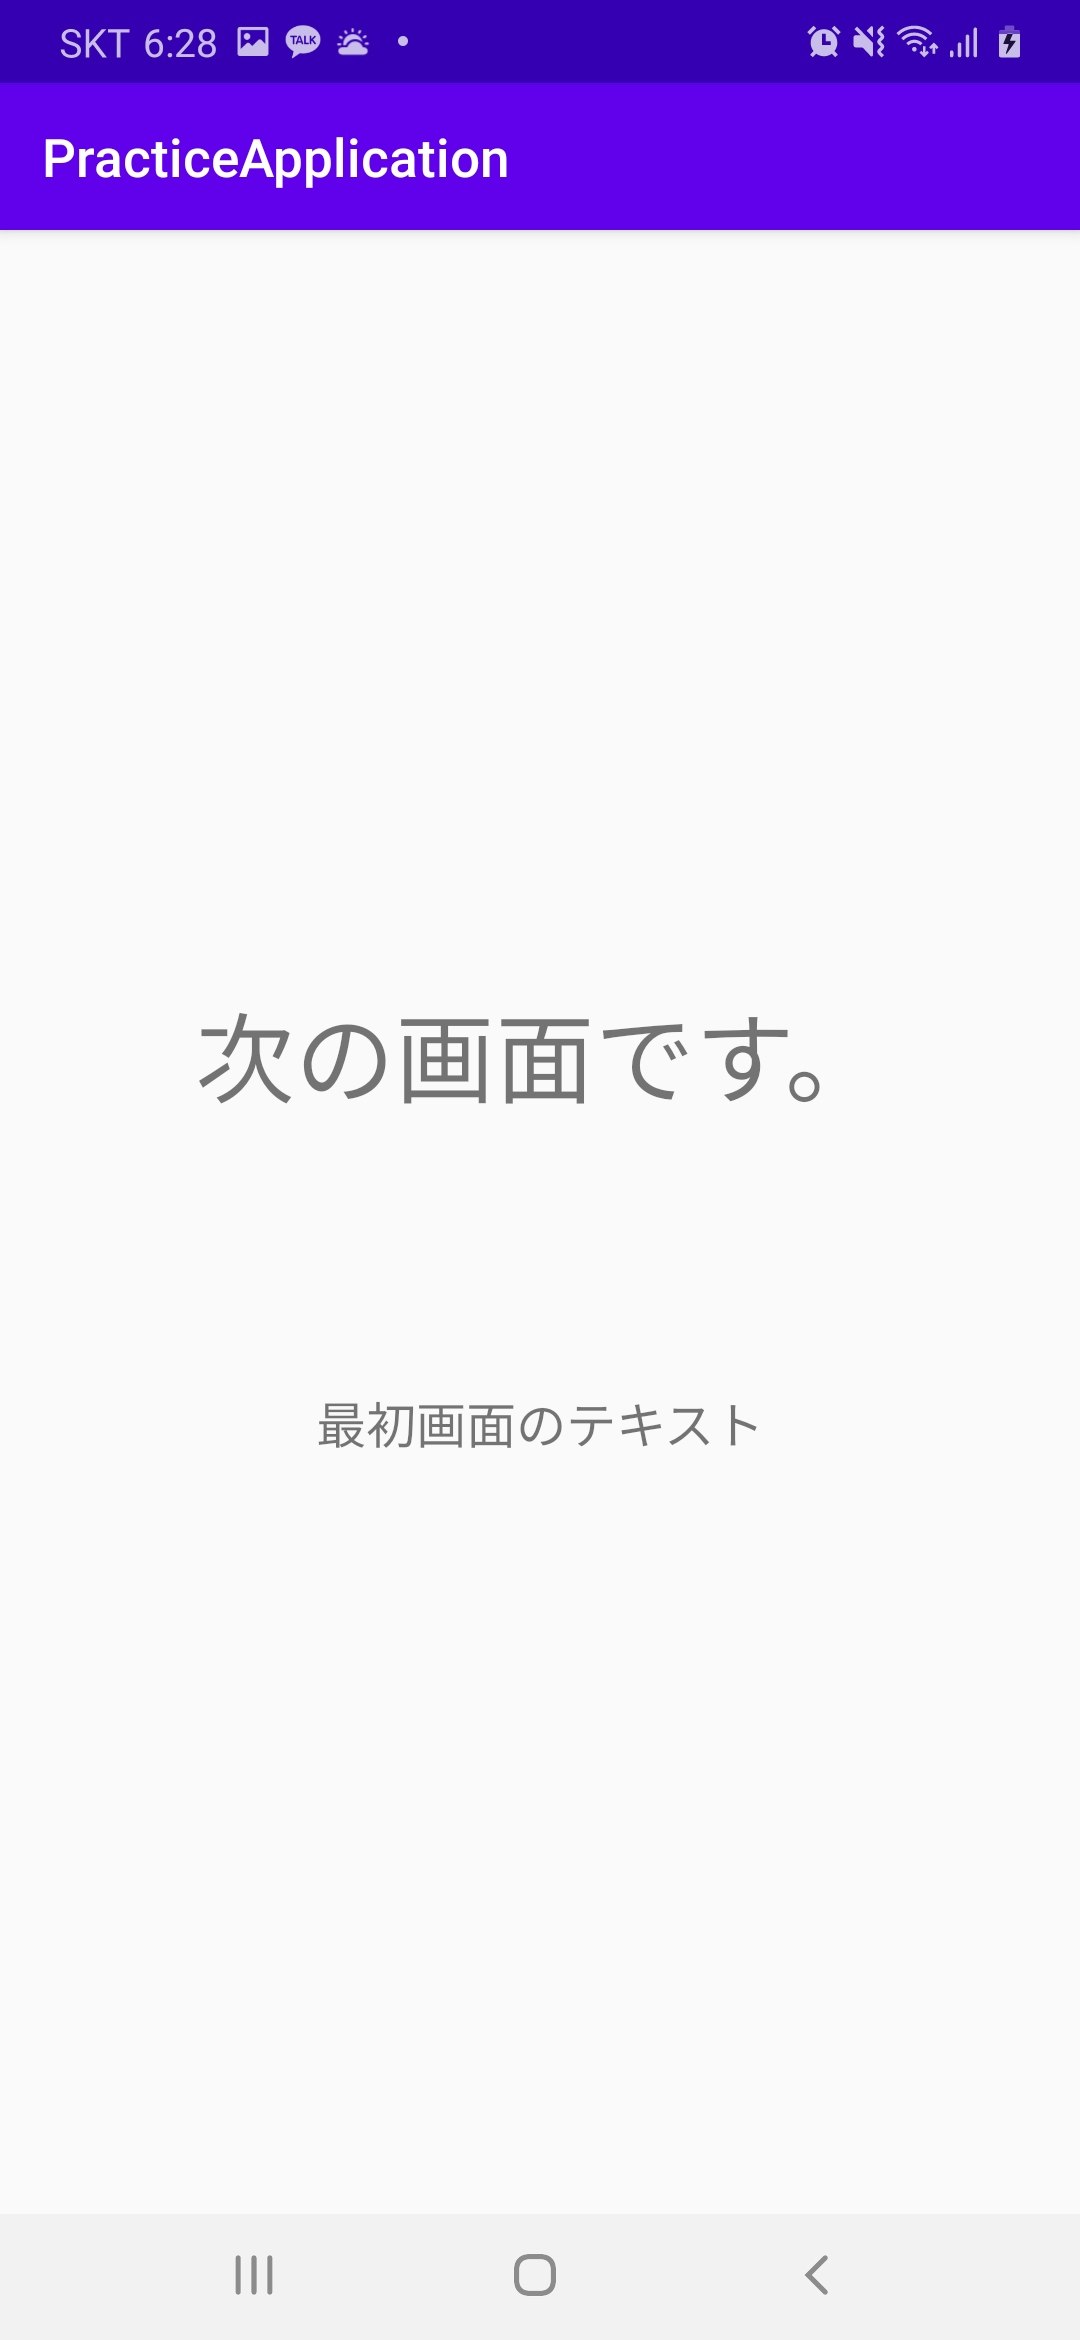
アプリ起動
・最初の画面
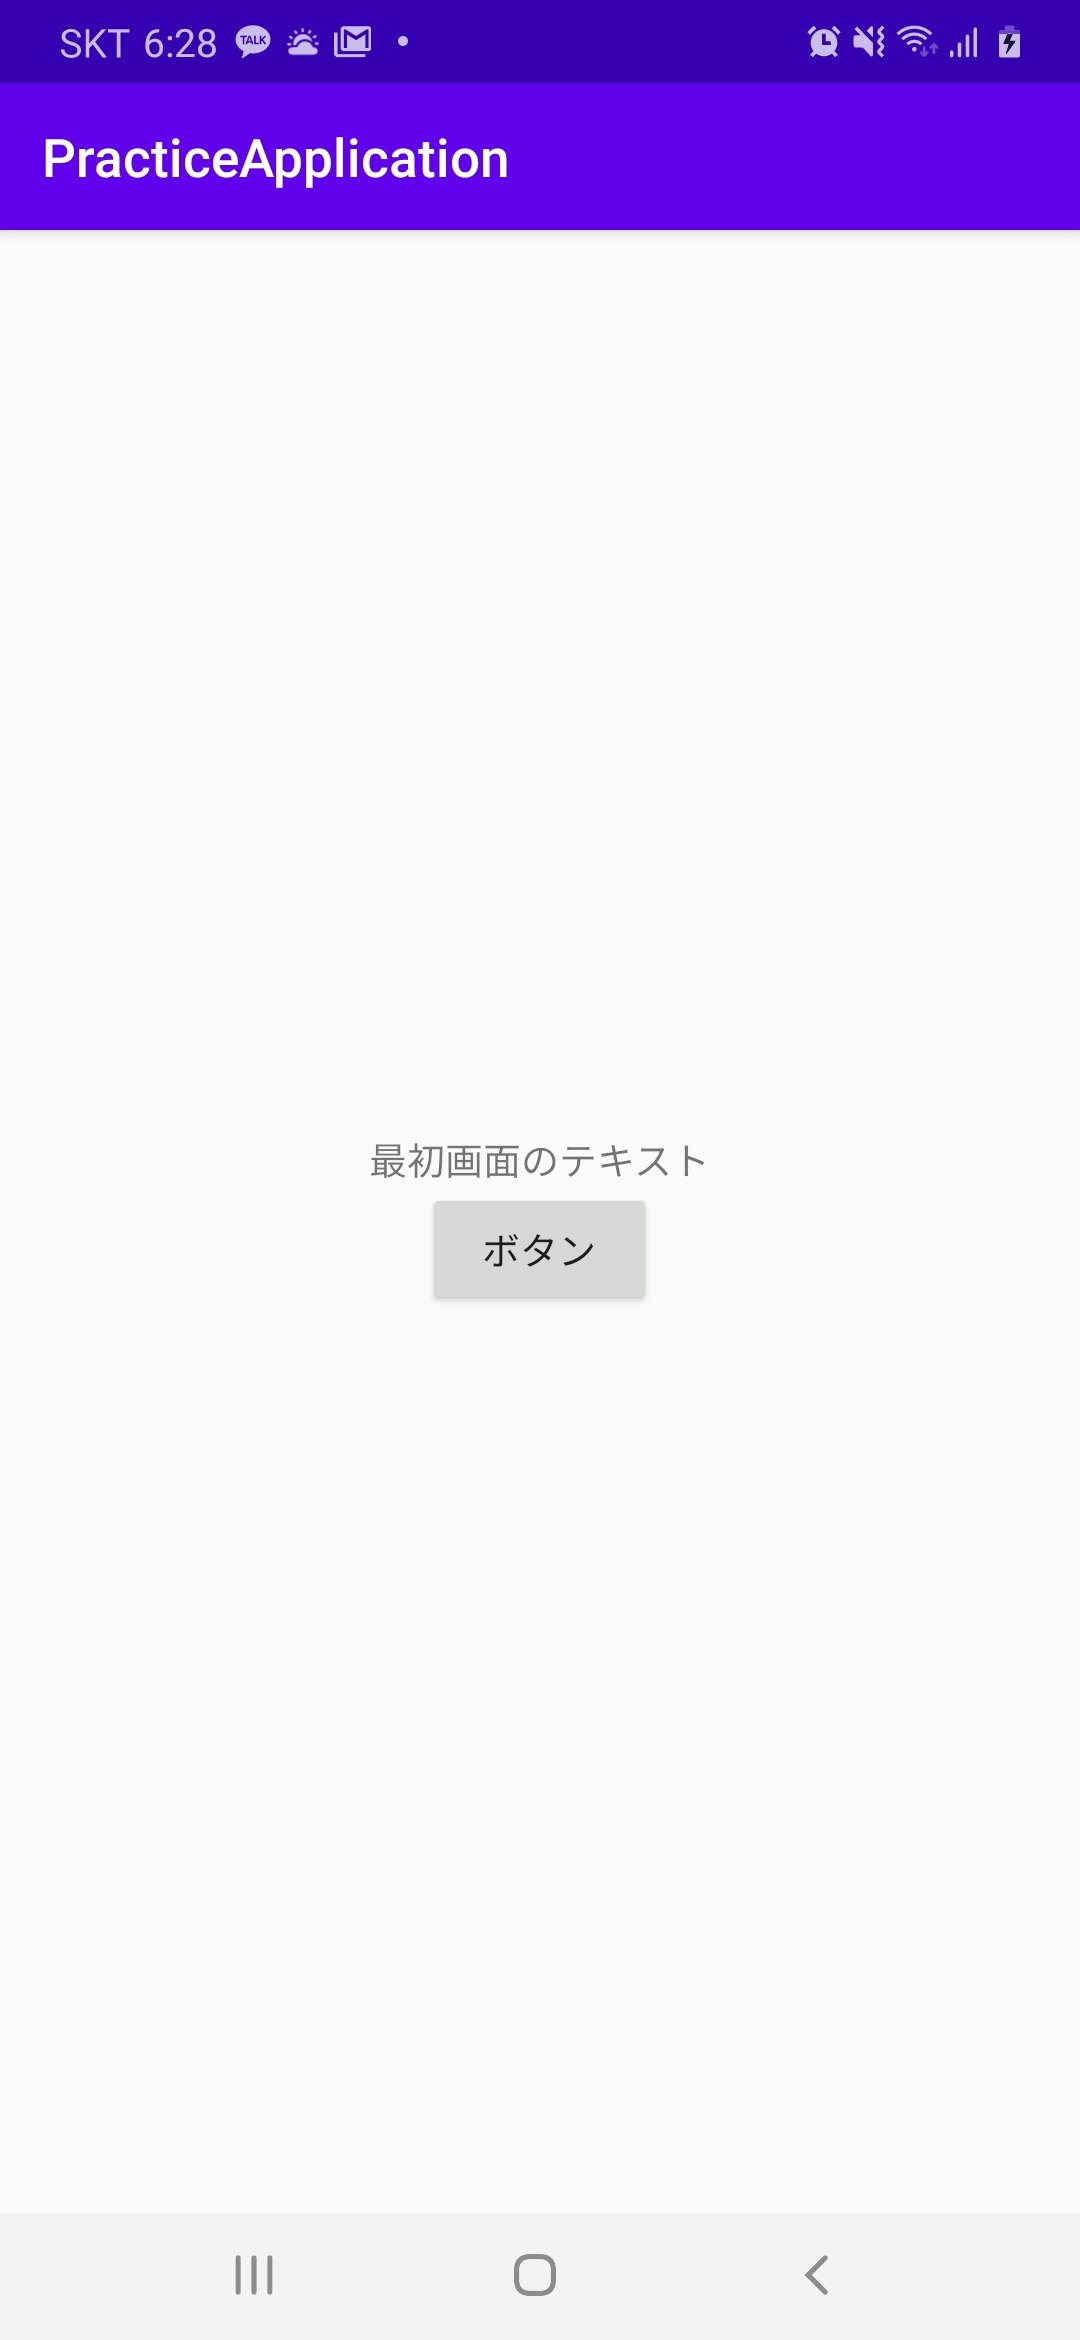
・最初の画面でボタンをクリックする場合
終わりに
今回は画面を遷移させる方法と遷移させる場合、値も送る方法を見てみました。
次回は「リストビュー」について見ていきたいと思います。
4. 【Android/Kotlin】リストビュー(ListView)
最新内容については下記のリンク(DreamHanksのブログ)で確認することができます。
DreamHanksブログ(Android/Kotlinアプリ開発)