はじめに
仕事の都合でJupyter on OpenShiftを試したくなったので、複数回に分けてその過程を紹介してゆきます。
本稿は、1本目です。
1本目:CentOSのインストールとCRCのインストール ★本稿
2本目:NFSサーバのインストールとJupyterHubのデプロイ
3本目:JupyterLabへの永続ボリュームの割当てとJupyterLabイメージの切替え設定
本稿で紹介すること
- CentOSのインストール
- CRCのインストール
参考記事
以下の記事を見て、手元PCで進めてゆきます。
CentOSのインストール
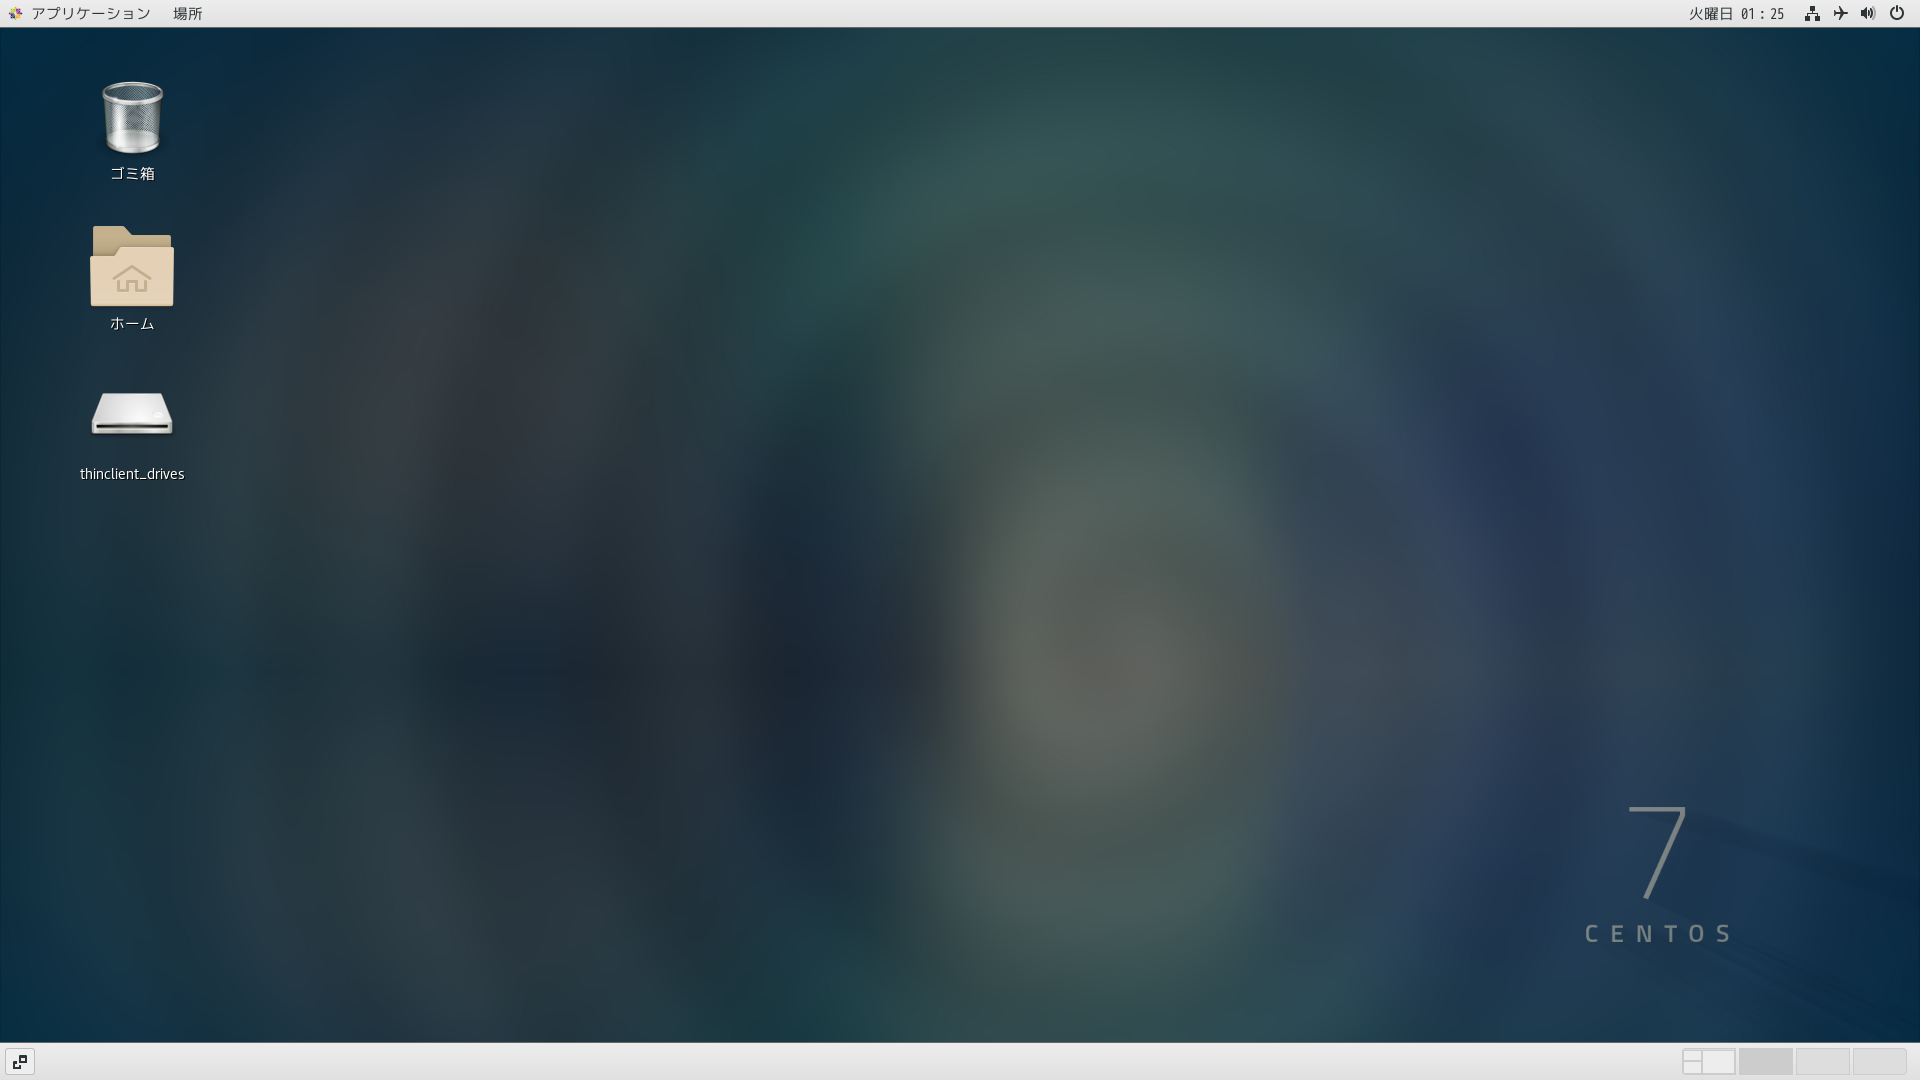
元々、手元PCはOSがWindows11だったのですが、CentOS7に入れ替えています。
CentOSのインストールは、ざっくり言うと以下の5ステップです。
Rufus、、、便利ですよね。毎度、ISOファイル(Windows、Linux)からUSBインストールメディアを作成するのに重宝しています。(非常にありがたく利用しております。)
- Rufus1のダウンロード
- CentOS72のダウンロード
- Rufusの実行/CentOS7の起動可能なUSBインストールメディアを作成
- CentOS7のインストール
- CentOS7のソフトウェアインストールと環境設定
筆者は、CentOS Linux release 7.9.2009で突き進みましたが、強いこだわりがなければCentOS8+を使いましょう。
Linuxなら何でもOKと思い混んでいましたが、Minimum system requirements3を参照すると明確にRequirementsがあることを後から知りました。。。
仮想化のネストはサポートしていないようです。(これは筆者も考えてなかったから無問題。)
2.1.1. Hardware requirements
CRC is supported on AMD64, Intel 64 processor and M1 architectures. The OKD preset is not supported on the M1 architecture. CRC does not support nested virtualization.Depending on the desired container runtime, CRC requires the following system resources:
For OpenShift Container Platform
4 physical CPU cores
9 GB of free memory
35 GB of storage space
CentOS8系の最新2世代以前はサポートしていないようです。(これは筆者としてまさかという感じですが、まぁ大丈夫だろうということでスルー。)
そして、Ubuntu18+もサポートしていない、かつ、手作業が発生するようですね。(Ubuntu20で最初試みようとしたので、これは筆者として問題ありというか、、、非常に残念。)
2.1.2. Operating system requirements
CRC requires the following minimum version of a supported operating system:(略)
Linux
On Linux, CRC is supported only on the latest two Red Hat Enterprise Linux/CentOS 8 and 9 minor releases and on the latest two stable Fedora releases.
When using Red Hat Enterprise Linux, the machine running CRC must be registered with the Red Hat Customer Portal.
Ubuntu 18.04 LTS or later and Debian 10 or later are not supported and may require manual set up of the host machine.
See Required software packages to install the required packages for your Linux distribution.
意識して追加インストールしたソフトウェアは、以下です。
Pythonは正直言うと不要なのですが、Pythonが単純に好きなのでとりあえずインストしています。
yum install -y python3 python3-pip
yum groupinstall "GNOME Desktop"
yum install -y qemu-kvm libvirt libvirt-client virt-install virt-manager bridge-utils
yum install -y tigervnc-server
XRDP、VNC、SSHなりでCentOSに操作/接続してTerminalが使えるようになっていればOKです。

CRCのインストール
本家公開のドキュメントは豊富なので、そちらを参照して進めればOKです。
2.3. Installing CRC4と3.2. Setting up CRC5を順に進めました。
恐らく、CRC用のVMイメージをダウンロードして展開して、、、という内部処理のためマシンSpecとNW速度で所要時間は前後します。気長にやりましょう。
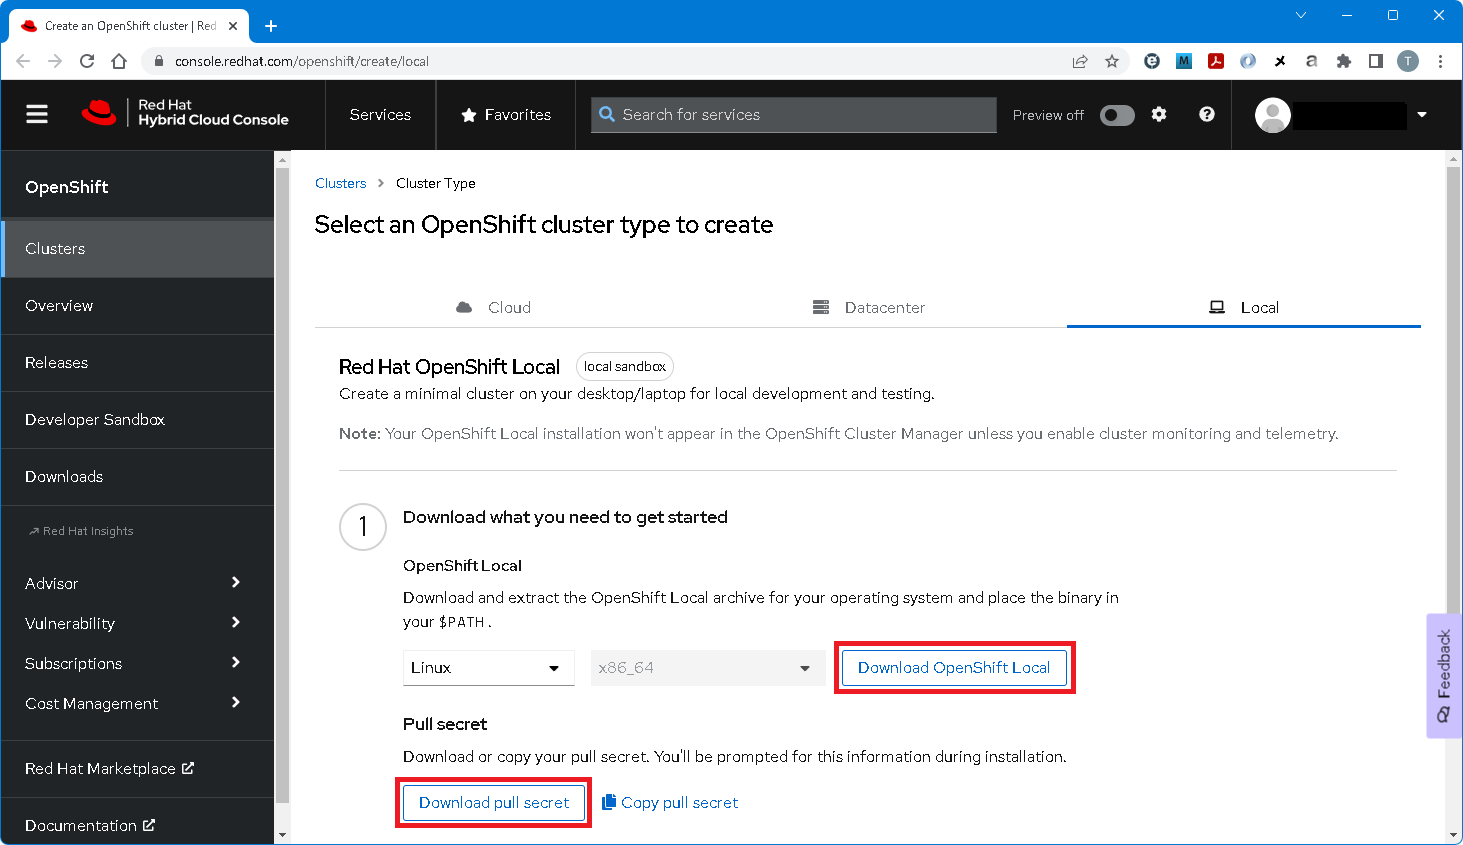
以下のスクショ、「Download OpenShift Local」および「Download pull secret」のボタンを押下してファイルをダウンロードします。
(RedHatアカウントでログインが必要で、RedHatアカウントがなければこの機会に登録・作成をしておきましょう。)

3.2. Setting up CRC5は、一般アカウント(Not管理者アカウント≒root)で実行する必要ありです。
筆者は、sudoとvirshの使える一般アカウントを作って臨みました。
本家公開のドキュメントにも、以下の記載です。
(ガイド冒頭に注意点・制約事項という記載でまとめてほしかった。。。)
Do not run the crc executable as the root user or an administrator. Always run the crc executable with your user account.
CRCのCLIツールにPATHを通した上で、CRCのVer.情報は以下の通りです。OpenShiftは4.12.9相当のようです。
[cent@centos7 ~]$ crc version
CRC version: 2.16.0+05b62a75
OpenShift version: 4.12.9
Podman version: 4.4.1
そして、筆者は以下のコマンドを実行しました。
手元PCはそもそも4CoreなのでCPUは規定値と結果的に同じなのですが、メモリ(+15GB)とDISK(+50GB)は割り当てを増やしました。
crc config get/setを使えば設定値の確認と変更ができるのですが、、、試行錯誤の積み重ねから以下のコマンドを実行して進めるのがベターです。
crc config set cpus 4
crc config set memory 24576
crc config set disk-size 81
crc config set pull-secret-file ~/pull-secret.txt
crc config view
crc setup
crc start
以下のように、OpenShiftクラスタが開始した旨のメッセージが表示されていればOKです。
Started the OpenShift cluster.

The server is accessible via web console at:
  https://console-openshift-console.apps-crc.testing

Log in as administrator:
  Username: kubeadmin
  Password: xxxxx-xxxxx-xxxxx-xxxxx

Log in as user:
  Username: developer
  Password: developer

Use the 'oc' command line interface:
  $ eval $(crc oc-env)
  $ oc login -u developer https://api.crc.testing:6443
[cent@centos7 ~]$
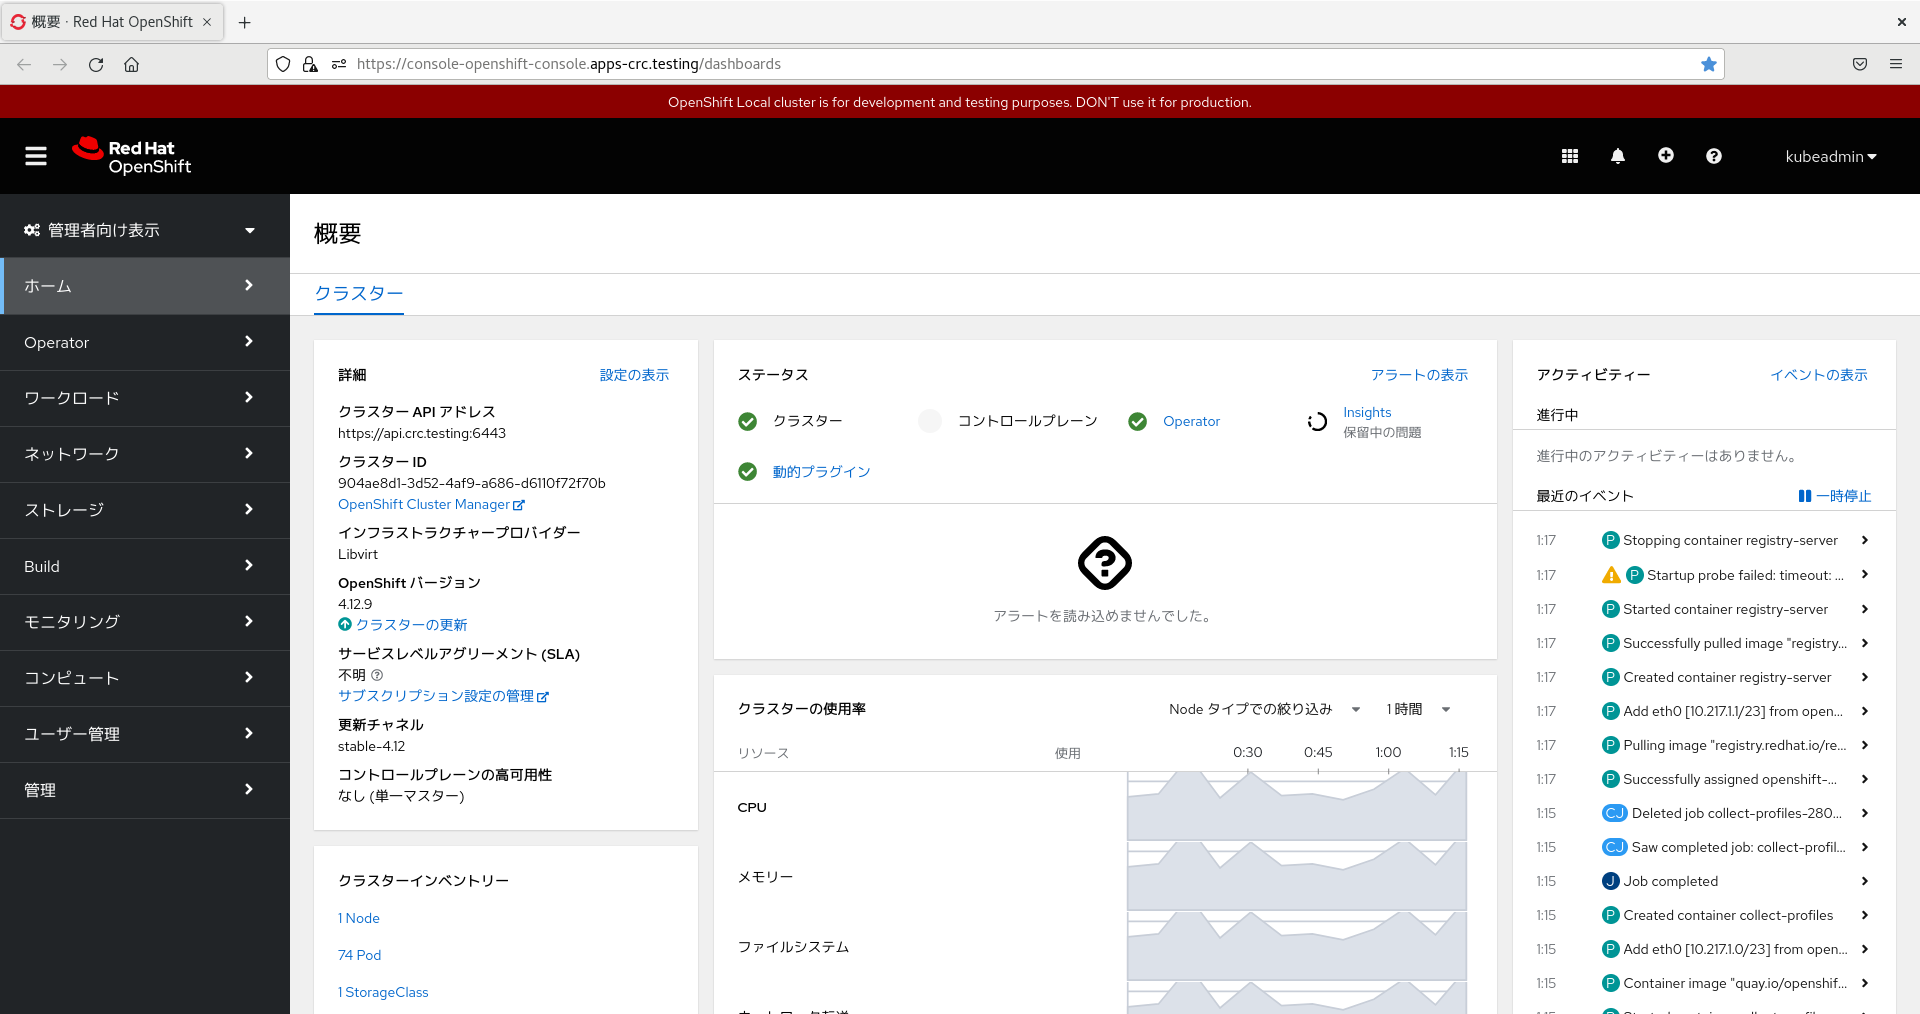
Webブラウザでコンソール画面を開いてみると、こんな感じです。

PC情報
遡ること約1年、2022年6月に某ECサイトのタイムセール期間中に購入したサブPCです。
メインPCはWindows11/WSL2を使ったりの一方、サブPCはLinux/VirtualBox or KVMを使ったりです。
製品:Beelink U59
CPU:4C/4T6
MEM:32GB7
DISK:SSD500GB
まとめ
本稿ではCentOSのインストールおよびCRCのインストールを進めましたが、インターネット接続なしの環境だともっと苦労するだろうなという印象でした。
OpenShiftクラスタは動いていることも確認できました。
-
Rufus - 起動可能なUSBドライブを簡単に作成できます | https://rufus.ie/ja/ ↩
-
Download - CentOS Wiki | https://wiki.centos.org/Download ↩
-
2.1. Minimum system requirements | https://crc.dev/crc/#minimum-system-requirements_gsg ↩
-
2.3. Installing CRC | https://crc.dev/crc/#installing_gsg ↩
-
3.2. Setting up CRC | https://crc.dev/crc/#setting-up_gsg ↩ ↩2
-
インテル® Celeron® プロセッサー N5095 | https://www.intel.co.jp/content/www/jp/ja/products/sku/212322/intel-celeron-processor-n5095-4m-cache-up-to-2-90-ghz/specifications.html ↩ ↩2
-
CPU諸元6の記載では最大16GBをサポートだが、筆者が32GB(16GB×2)に増設したところ無事認識。ただし、自己責任。 ↩