はじめに
この記事ではinteractions.pyというモジュールを使用してDiscord Botを作りたい人向けです。
#02ではButtonとSelectMenuについて解説していきたいと思います。
Buttonの実装
では今から前回作ったプログラムにボタンを追加していきます。
前回作った async def test... から下を全てこれに置き換えましょう。
async def test(ctx: interactions.CommandContext):
  button = interactions.Button(
    style=interactions.ButtonStyle.PRIMARY,
    label="ボタン",
    custom_id="primary"
  )

  await ctx.send("ボタンが押されました", components=[button])

bot.start()
これは button = interactions... のところでボタンの外見を設定し、 components=[button] でメッセージに実際に実装しています。
ボタンの種類もいくつかあり、
interactions.Button(style=interactions.ButtonStyle.PRIMARY, label="青ボタン", custom_id="blue")
interactions.Button(style=interactions.ButtonStyle.SECONDARY, label="灰ボタン", custom_id="gray")
interactions.Button(style=interactions.ButtonStyle.SUCCESS, label="緑ボタン", custom_id="green")
interactions.Button(style=interactions.ButtonStyle.DANGER, label="赤ボタン", custom_id="red")
の4種類があります。
実際にBotを実行してみる
早速実行してみましょう。
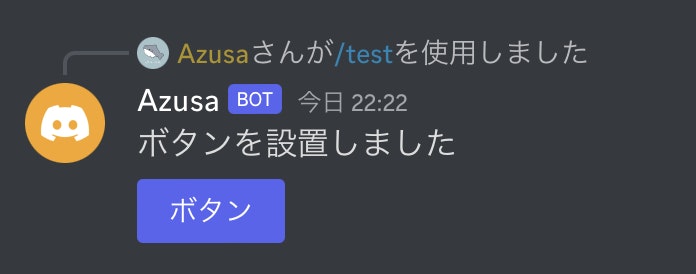
/test と打った時にこのような物が出れば成功です。
ただ、このままではボタンがあるだけになってしまうので、ボタンが押された時の処理を追加していきましょう。
ボタンを押された時の処理
以下のコードがボタンが押された時の処理のプログラムです。
@bot.component("primary")
async def button_component(ctx: interactions.ComponentContext):
  #ここに処理を追加
Primary のところに先ほどのボタンで指定した custom_id を書き込みます。
どのような処理をするかは3行目の async def... の下に書きましょう。
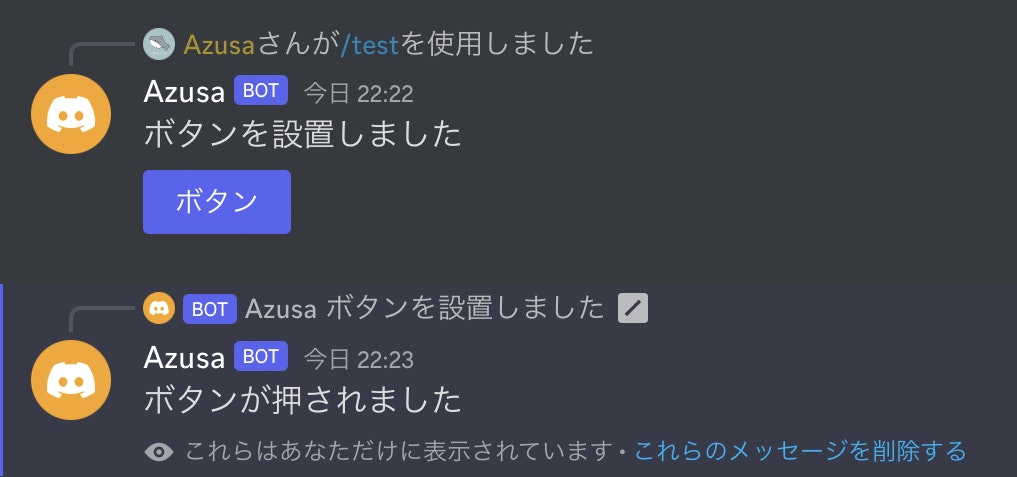
上手く出来るとこの様になります。
今回は試しに自分にしか見えないメッセージを送信する様にしました。
SelectMenuの実装
では、今からSelectMenuを追加していきたいと思います。
先ほどのbuttonと同じ位置に以下の物を書き込みましょう。
  se1 = interactions.SelectMenu(
      options=[
        interactions.SelectOption(label="🔎 テスト", value="test1"),
        interactions.SelectOption(label="👾 テスト", value="test2")
     ],
      placeholder="テキストを選択",
      custom_id="select-menu",
  )

  await ctx.send("メニューが設置されました", components=[se1])
これはoptionsの部分に選択肢を追加していき、その下のplaceholderで選択肢の文字を変更します。
理解できたら実際にBotを実行してみましょう!
実際にBotを実行してみる
成功するとこの様になります。
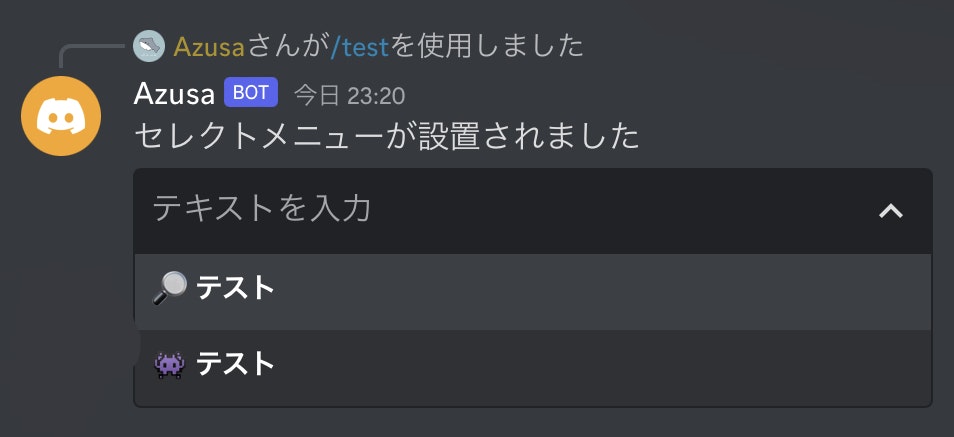
選択肢がちゃんと表示されていますね。
では今から選択肢が選ばれた時の処理を書いていきます。
選択肢が選ばれた時の処理
@bot.component("select-menu")
async def select_component(ctx: interactions.ComponentContext, response: str):
  #ここに処理を書く
先程と同様、Primary のところに先ほどのメニューで指定した custom_id を書き込みます。
どのような処理をするかは3行目の async def... の下に書きましょう。
好きな処理をかけたら完成です。お疲れ様でした。
最後に
今回はButtonとSelectMenuについて解説しました。
次回はmodalについて解説していきたいと思います。
もし分からないところがあれば Azusa#5812 に気軽にDMしてください。
Discordサーバー
この度、bot開発者が話し合えるようなDiscordサーバーを開設しました!
ぜひ見に来てください!